

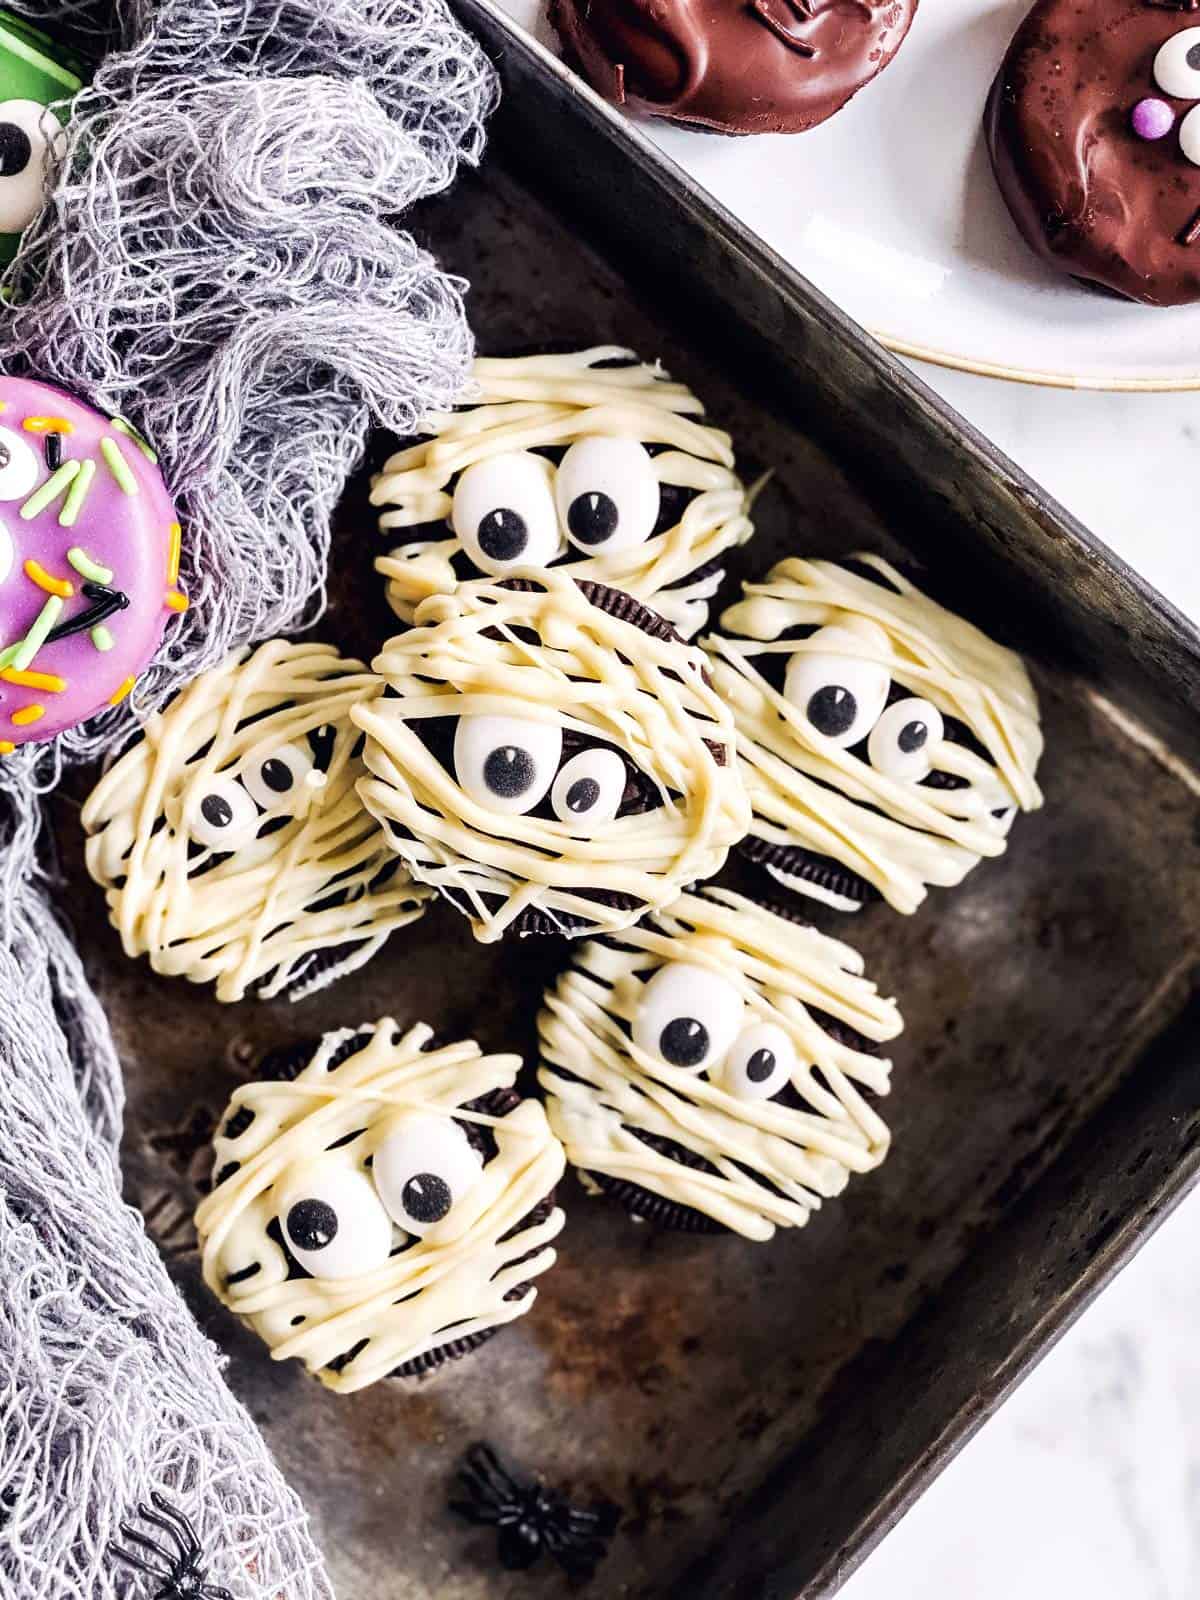
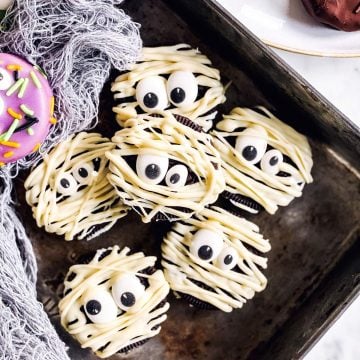
These Mummy Oreos are incredibly easy to make with just 3 ingredients – you can whip them up in no time with the kids. They are such a fun way to celebrate Halloween!
I love nothing more than an easy food craft that comes out with amazing results! Last year I tried to make these very ornate, very complicated, very perfect decorated cookies for Halloween… And we ended up with a stressed out mom, unhappy kids and quite sub-par cookies ?
This year I decided on the smart route and made my life as simple as possible. In return, our Halloween treats turned out so much better and we had so much fun making them!
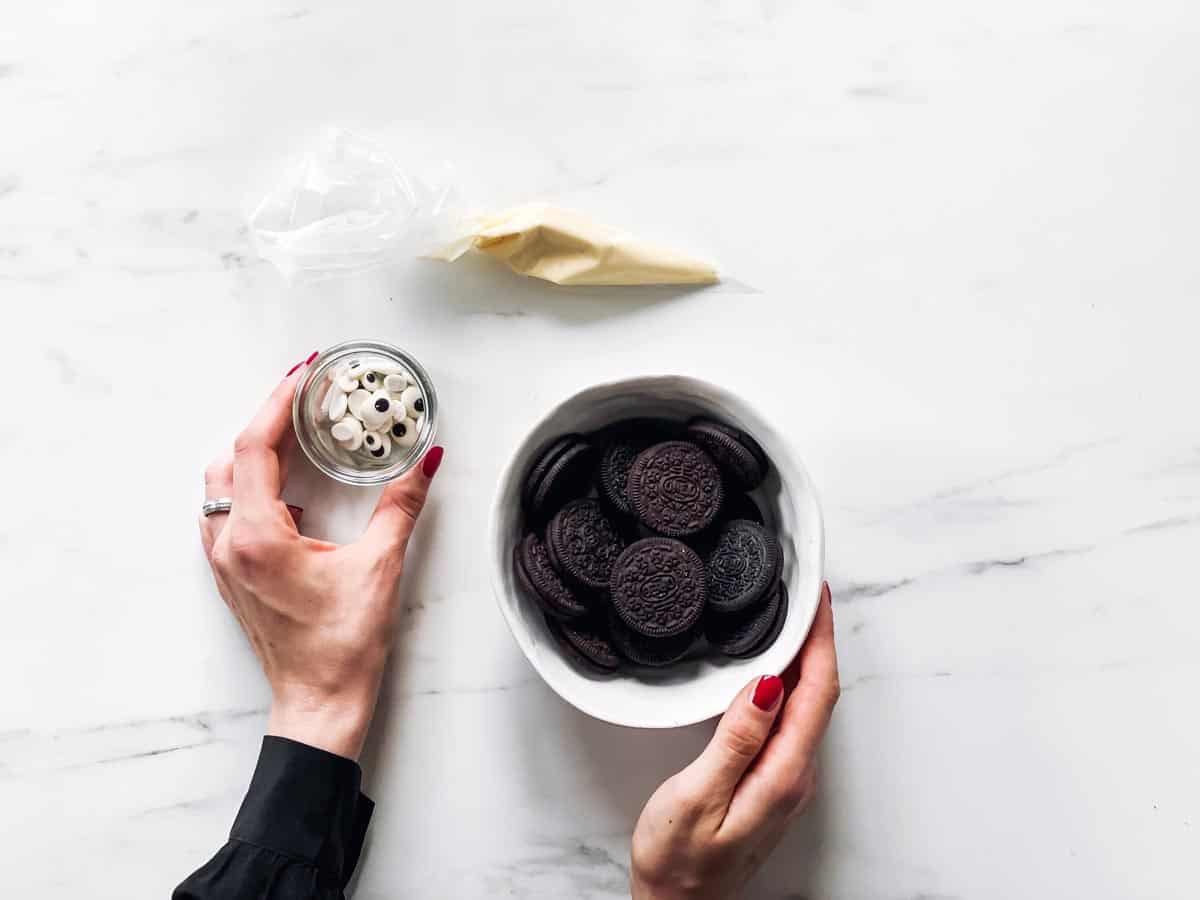
Ingredients you’ll need
Here is a visual overview of the ingredients in the recipe. Scroll down to the printable recipe card at the bottom of this post for quantities!
Ingredient notes
- Cookies: These really look best with dark colored Oreo cookies, but feel free to use a different variety if you prefer. Double stuf or regular both work.
- White chocolate: I went with white chocolate here because that’s what I had on hand, but you could also go with white candy melts.
- Candy eyes: I went with two different sizes for a fun look, you could also do more scary candy eyes – we went for a little creepy but mostly cute.
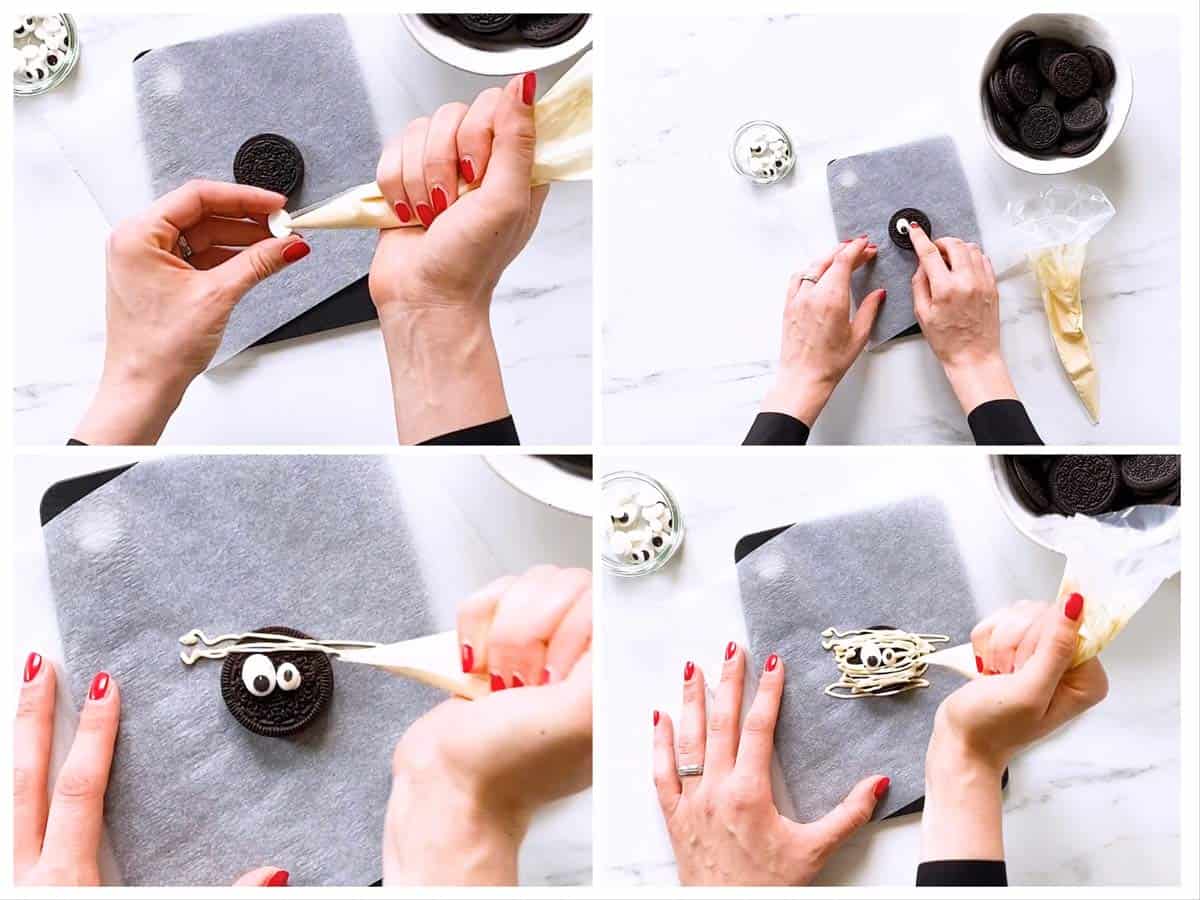
Step by step photos
Recipe tips
- Make sure to let the melted chocolate or candy melts cool for 10-15 minutes after melting them. It should still be easy to pipe, but have the texture of thick glue. If you pipe it right away when it’s still hot and very runny, you’ll just flood the cookie vs make lines.
- I always decorate these on a few sheets of clean parchment paper – makes them easy to move and easy to peel off. I also recommend moving them to a clean parchment twice after decorating them: Once about 15 minutes after drizzling on the candy melts, and once again about 30 minutes later. This will remove any drips on the side and give you a cleaner edge.
- Let the cookies dry completely before touching them, at least a couple of hours and up to overnight.
- I like to go over and under the eyes with the candy melts in a slightly rounded movement a few times, to make the eyes look more like they’re peeking out from the fabric.
Storage tips
Store the decorated and fully dried cookies in single layers in cookie tins. They keep for up to a week at room temperature, though in hotter climates I recommend storing them in the fridge.
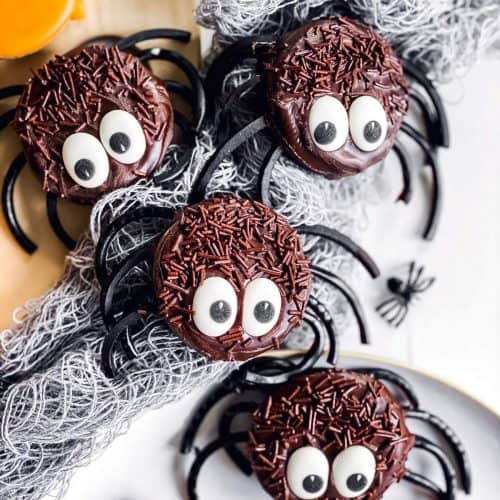
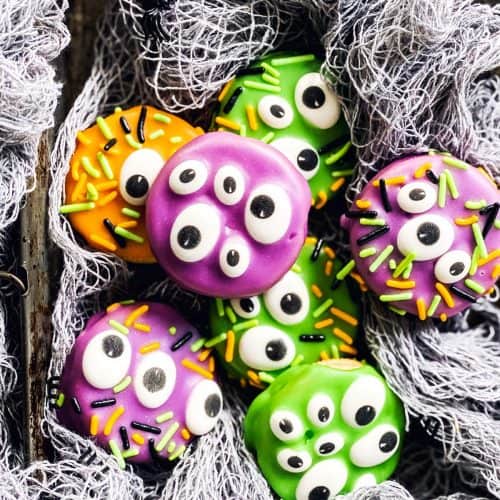
More Halloween treats

PS If you try this recipe, please leave a review in the comment section and add a star rating in the recipe card – I appreciate your feedback! Follow along on Pinterest, Facebook or Instagram.
Mummy Oreos
Recipe details
Ingredients
- 1 package Oreo cookies 14oz regular or 15oz double stuf both work
- 8 oz white chocolate for melting OR white candy melts; melted according to package instructions and slightly cooled
- 60 edible candy eyes
Instructions
- Place the melted white chocolate in a piping bag fitted with a very thin tip.
- Place an Oreo cookie on a clean sheet of baking parchment. Stick two eyes on it with a small dot of the melted white chocolate
- Drizzle thin strands of white chocolate over the cookie to mimic the mummy’s fabric wrapping. Let dry.
- Carefully transfer decorated cookies to a clean sheet of baking parchemnt about 15 minutes after decorating them, then once again 30 minutes later. This will give you the sharpest, cleanest edges around the base! Do not touch with your fingers until they’re fully dried, a few hours or better overnight.
- For the best look, add a second layer of white chocolate drizzle once the first layer has dried.


Comments
No Comments