

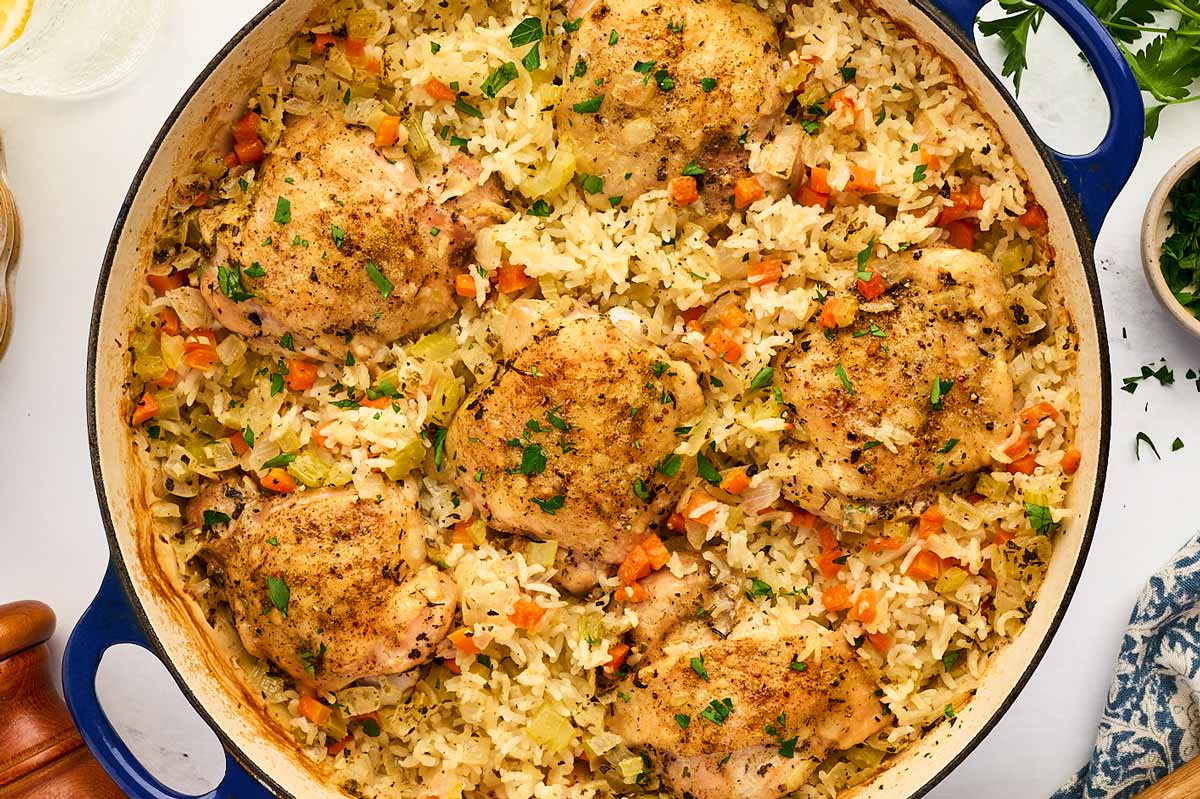
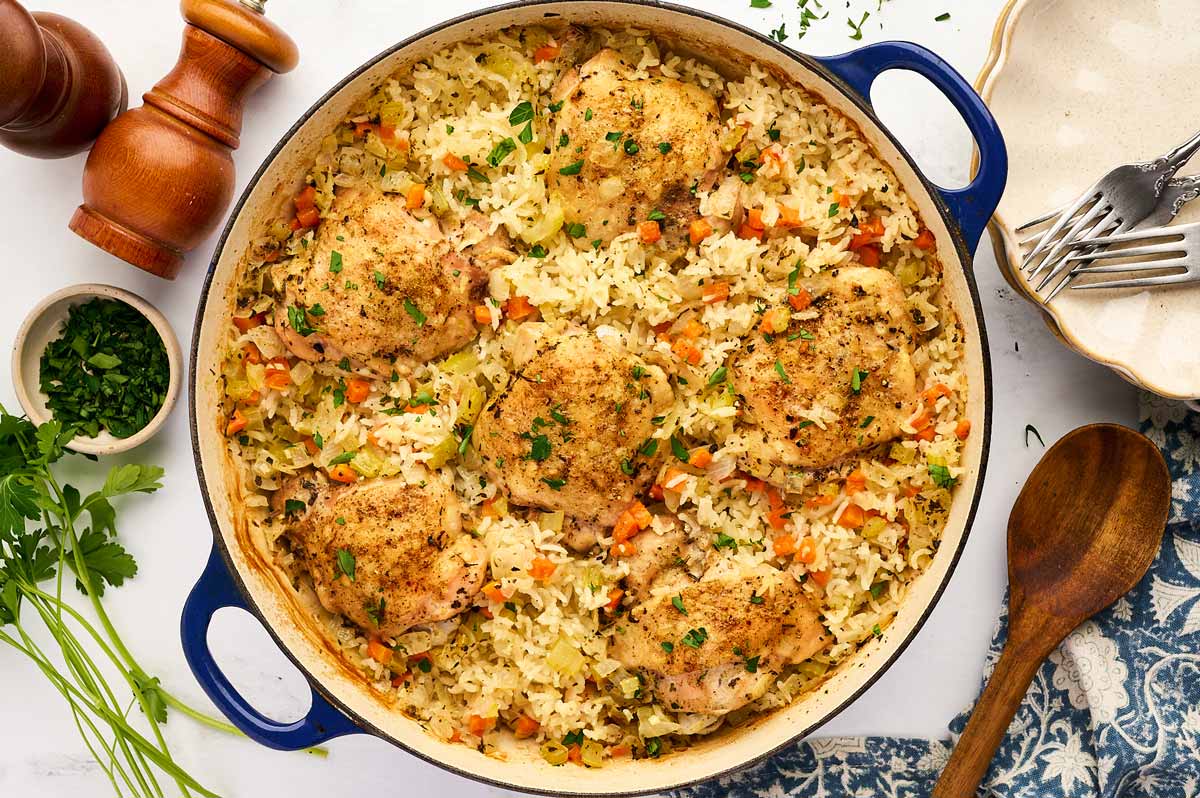
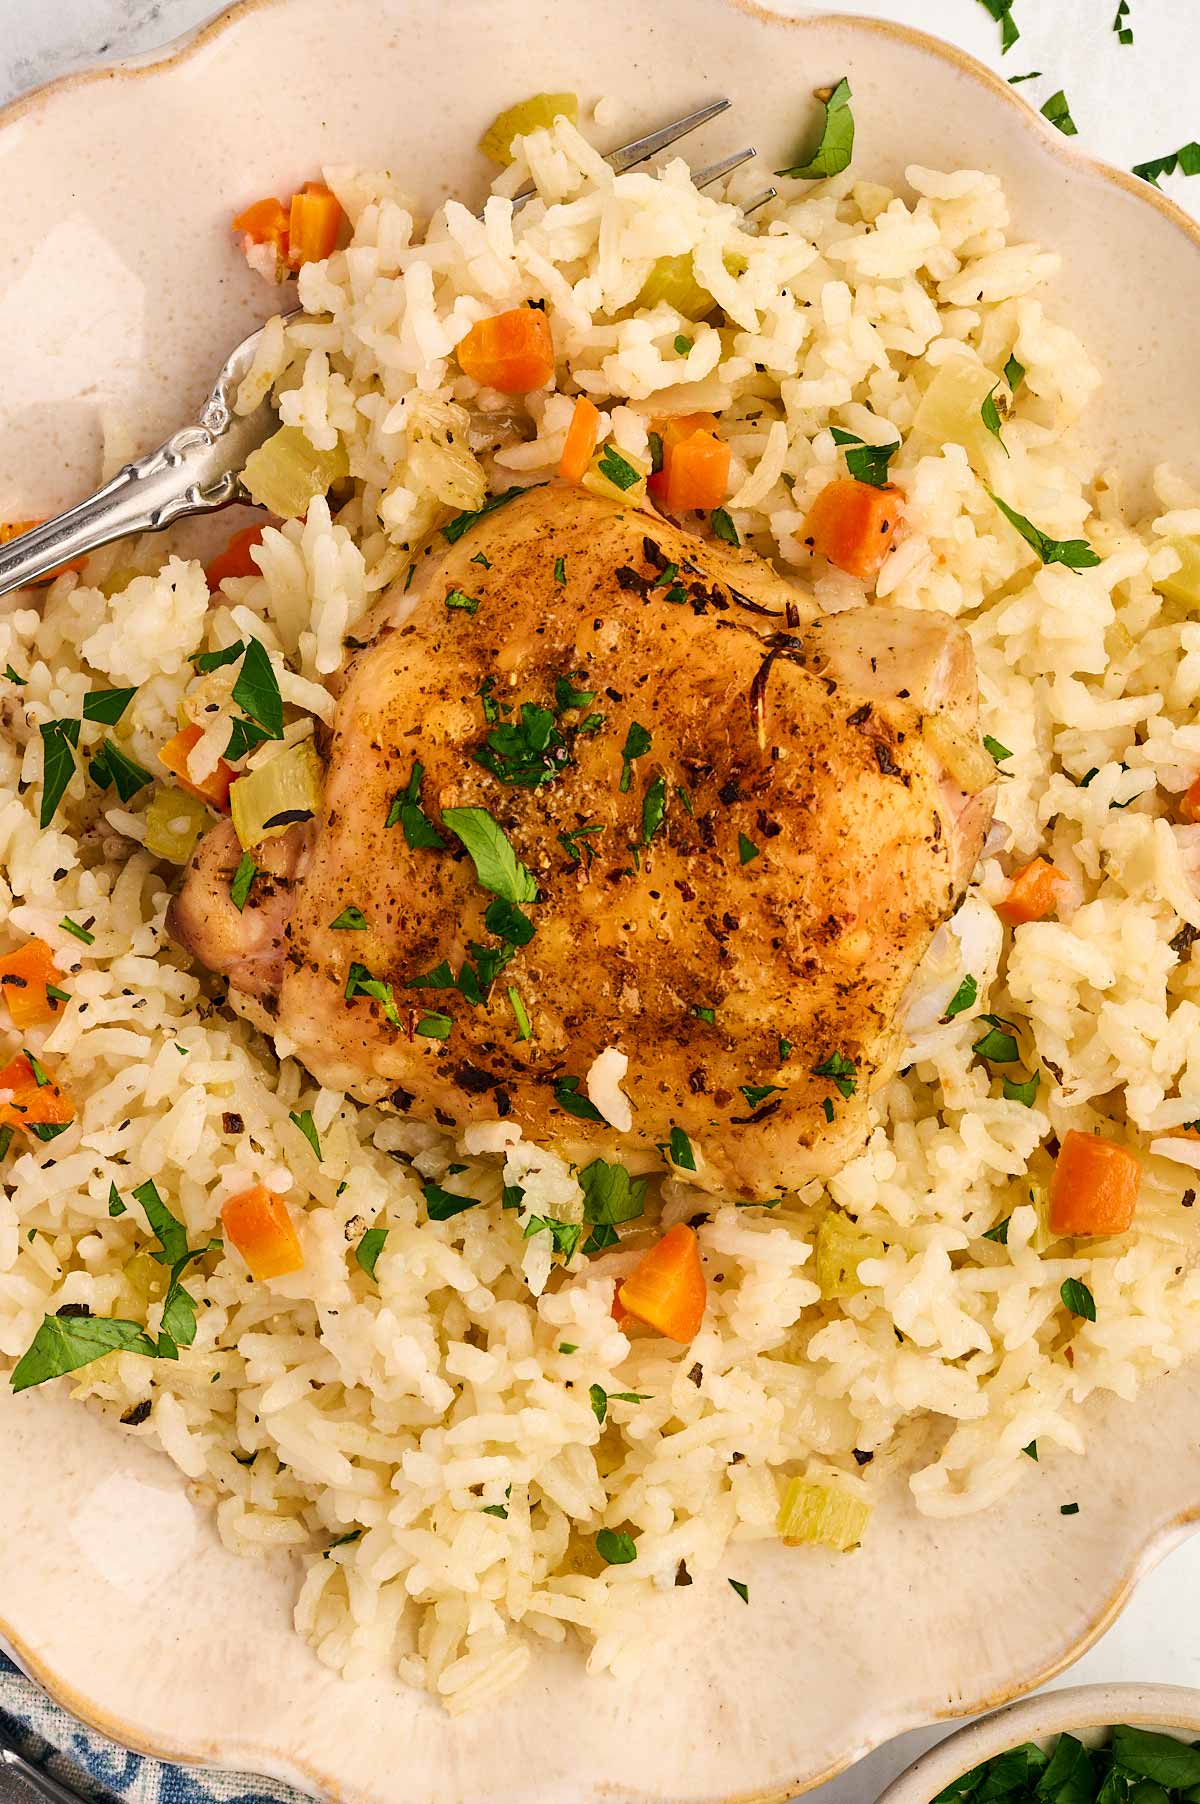
This One-Pan Chicken and Rice Bake is a busy mom’s dream! Using frozen mirepoix and a simple two-stage baking method, you get juicy chicken and fluffy rice with almost no cleanup.
What makes this recipe great
If you’re anything like me, the “What’s for dinner?” dread usually hits right around 4:00 PM when the kids are asking for snacks and the kitchen is already a disaster. This One-Pot Chicken and Rice is my absolute secret weapon. It’s a “set it and forget it” meal that actually tastes like you spent an hour over the stove, but most of the magic happens while you’re helping with homework or (let’s be real) hiding in the pantry for a quiet minute.
- The Mirepoix Cheat Code. I buy the pre-chopped mirepoix (onion, carrots, and celery) from the freezer or produce section. No chopping, no watery eyes, and it gives the rice that “Sunday dinner” flavor instantly!
- Toasted Rice is Better Rice. We spend exactly sixty seconds toasting the rice in butter before adding the liquid. It adds a nutty depth that makes a huge difference without much effort!
- The Temperature Swap. We start low and slow to keep the chicken juicy, then crank the heat at the end. It’s so the rice doesn’t turn into mush while the chicken gets that perfect golden finish.
Let’s see how we make this:
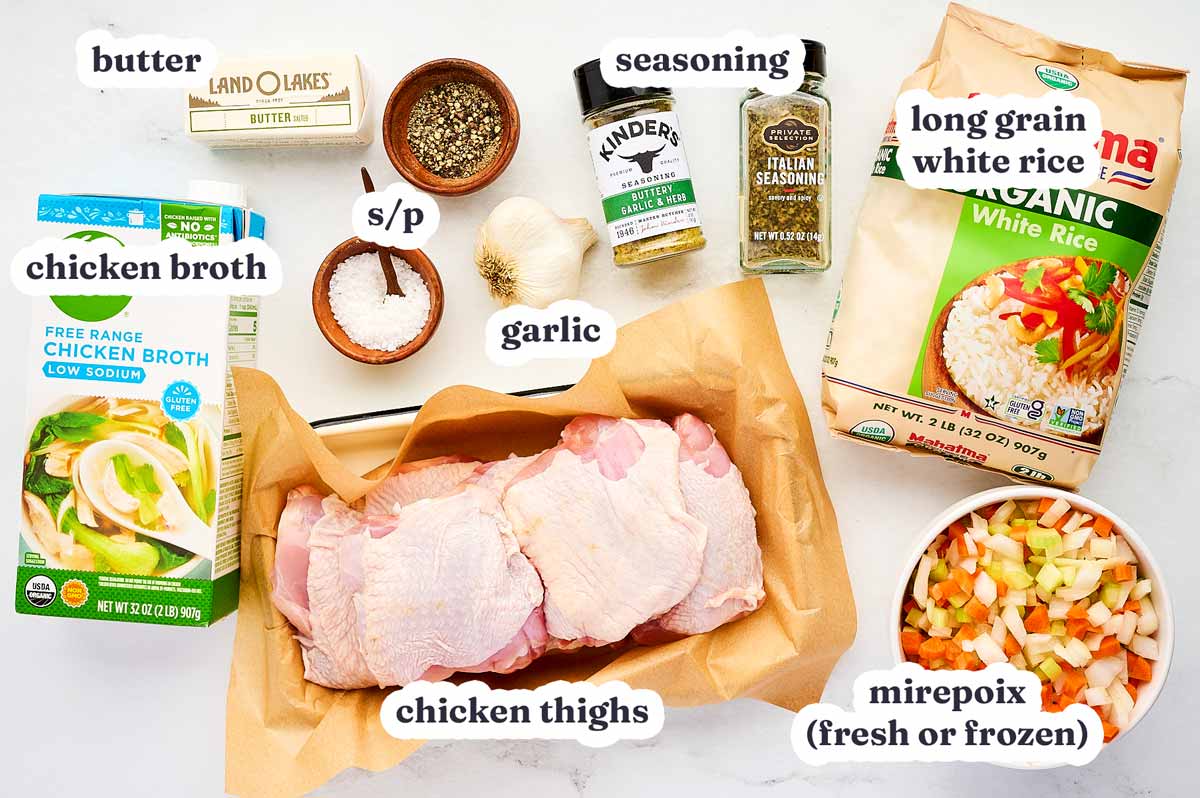
Ingredients we’re going to use
This is about swaps and notes – jump to the ingredient list for the measurements etc.
The Mirepoix: Seriously, look for the frozen bags. They are usually under two dollars and save ten minutes of prep. Or if you have fresh carrots and celery that are looking a little sad in the crisper drawer, this is the perfect place to use them up.
Bone-in or Boneless Chicken? Doesn’t matter. This recipe is forgiving. Use whatever you grabbed on sale this week; the rice just soaks up all those delicious chicken juices either way.
The Rice: Stick with long-grain white rice here. Don’t use the “minute” or parboiled stuff, or it will be overcooked before the chicken is ready to eat.
Low Sodium Broth: I always use low sodium so I can control the salt myself. If you use regular broth, just be careful about adding extra salt in Step 4.
Recipe walkthrough
This is about tips and hints, and the process photos if you need a visual guide. Jump to the instructions for the precise steps.
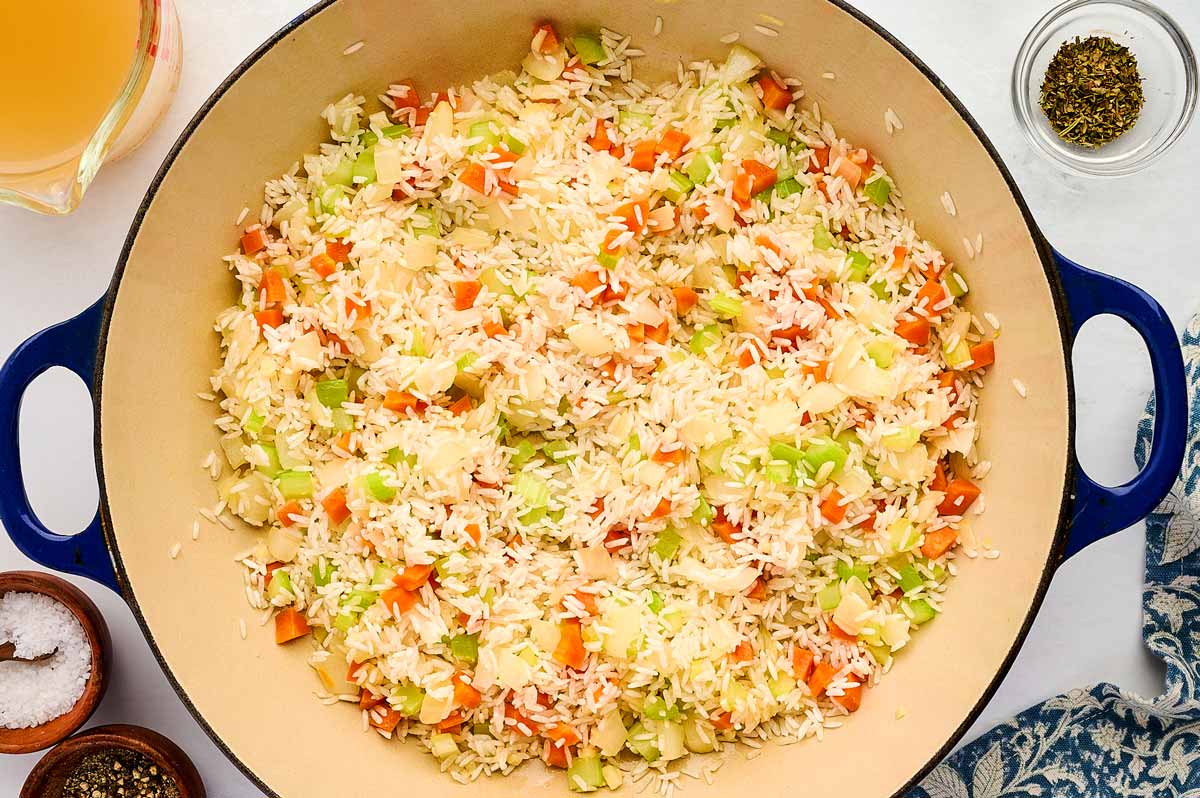
1: The flavor base.
Sauté that mirepoix in the butter until it smells amazing. Adding the garlic at the very end keeps it from getting bitter. When you stir in the rice, you just want it to look “shiny” from the butter — that’s the toasting part done!
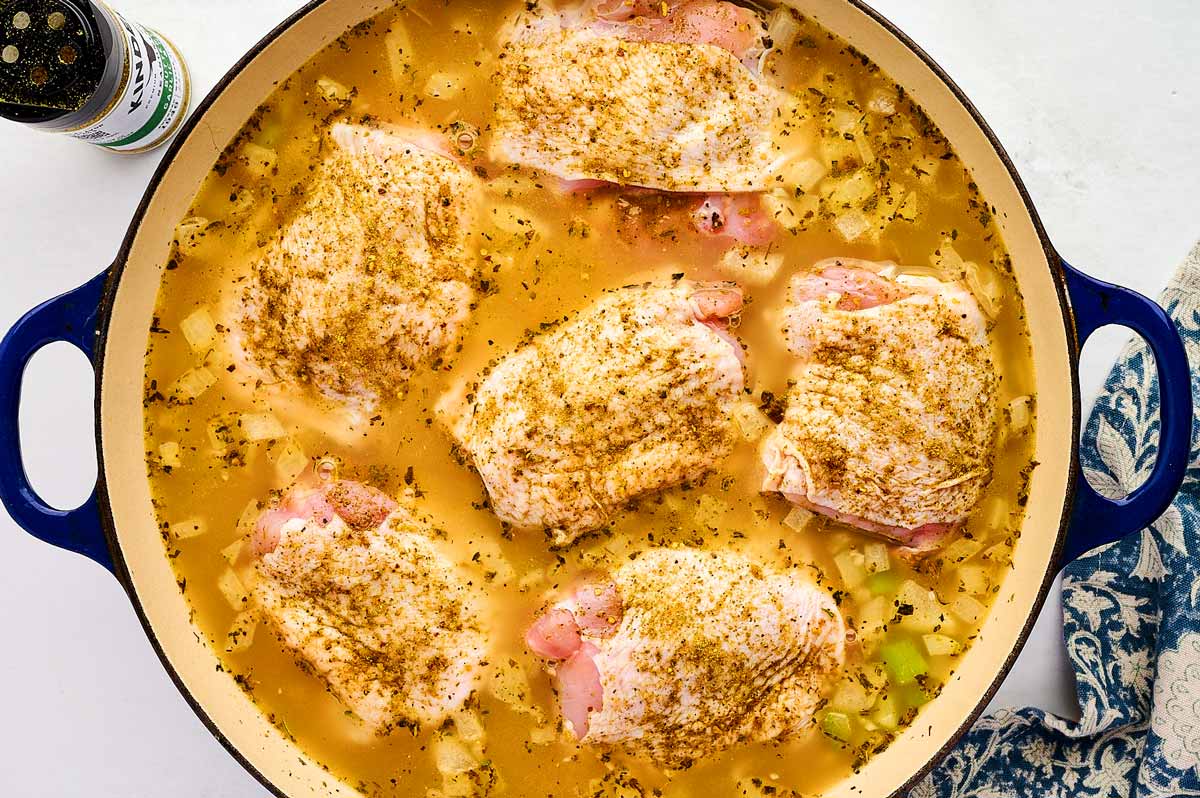
2: Nestle the chicken into the rice.
When you add the chicken after adding the broth, don’t just drop it on top. “Nestle” it down into the rice and broth. This lets the chicken fat render directly into the rice, which — let’s be honest — is the best part of the whole meal.
We start at 350°F to get everything moving. When you turn the dial up to 400°F, don’t open the door! Keep that steam trapped inside; it’s what makes the rice fluffy instead of crunchy.
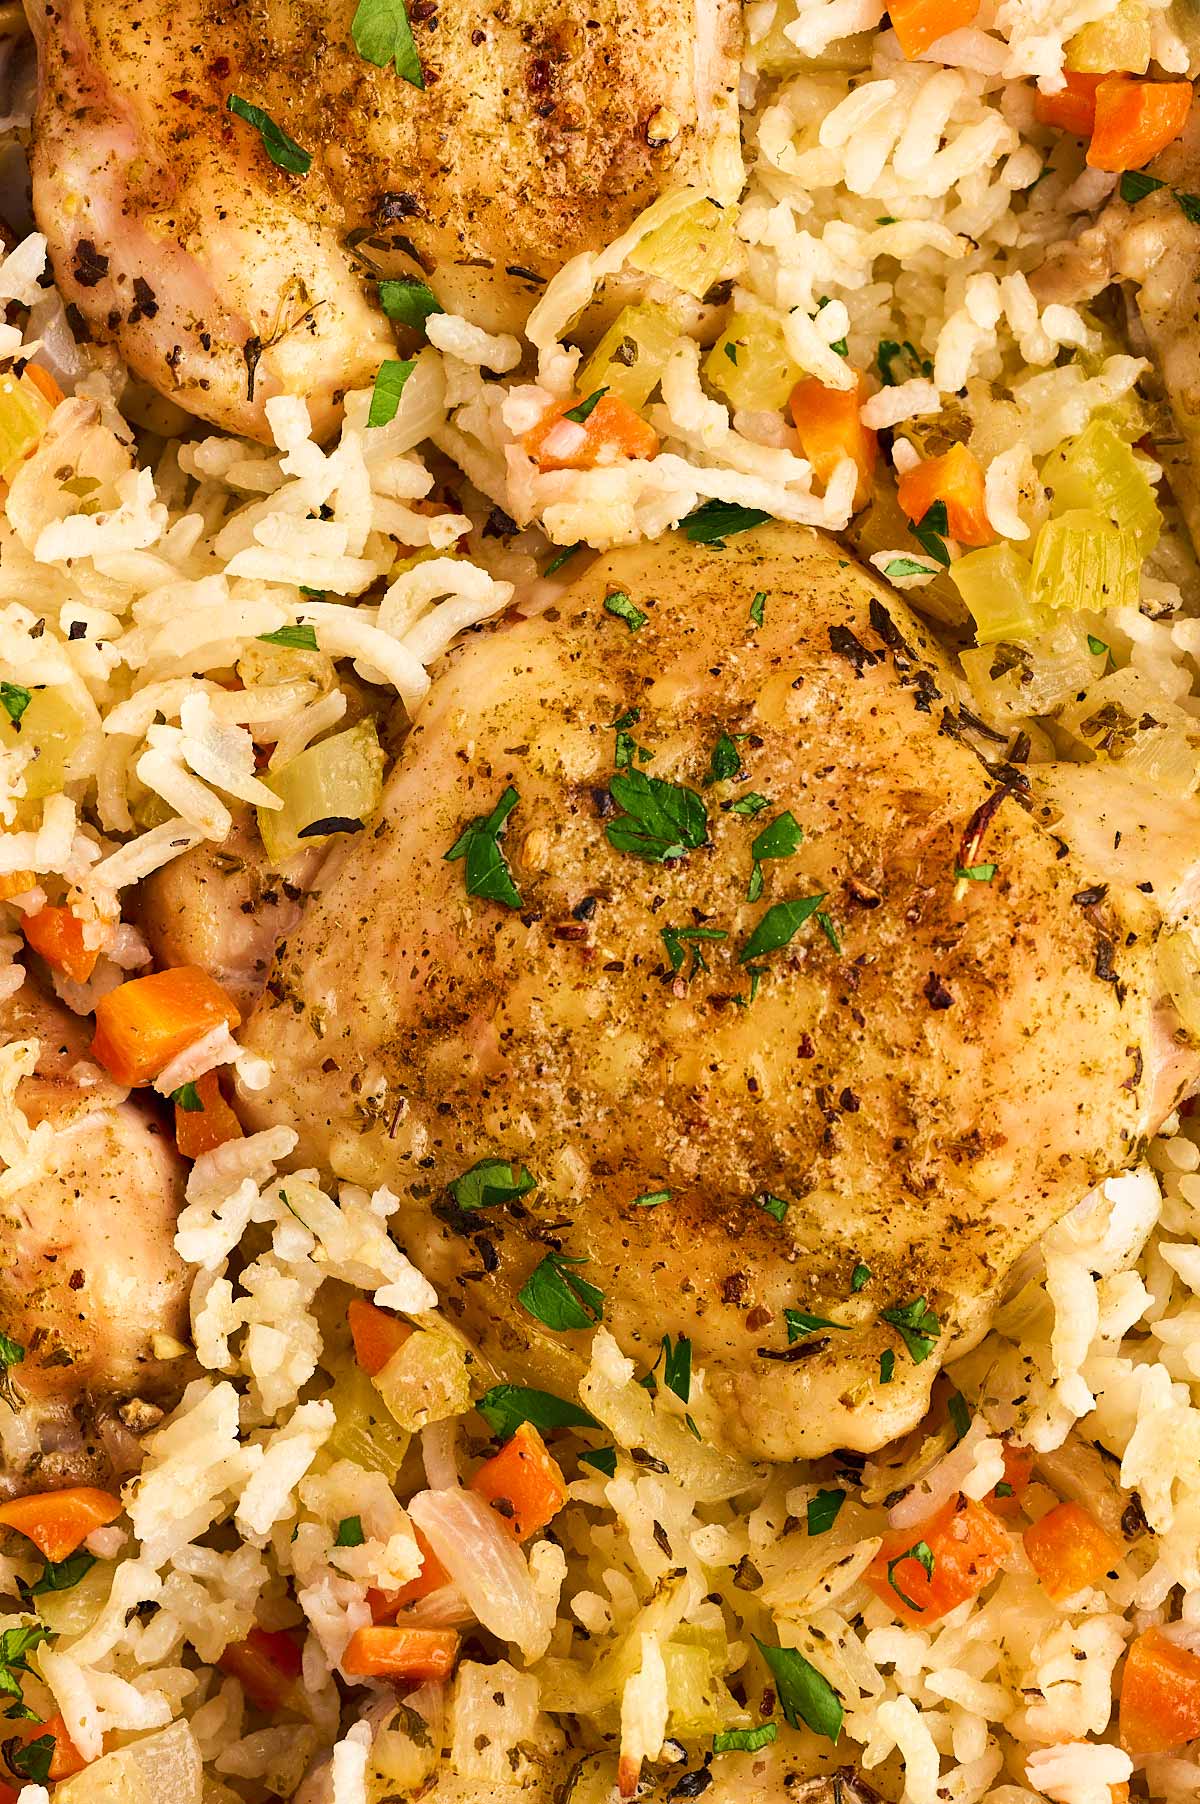
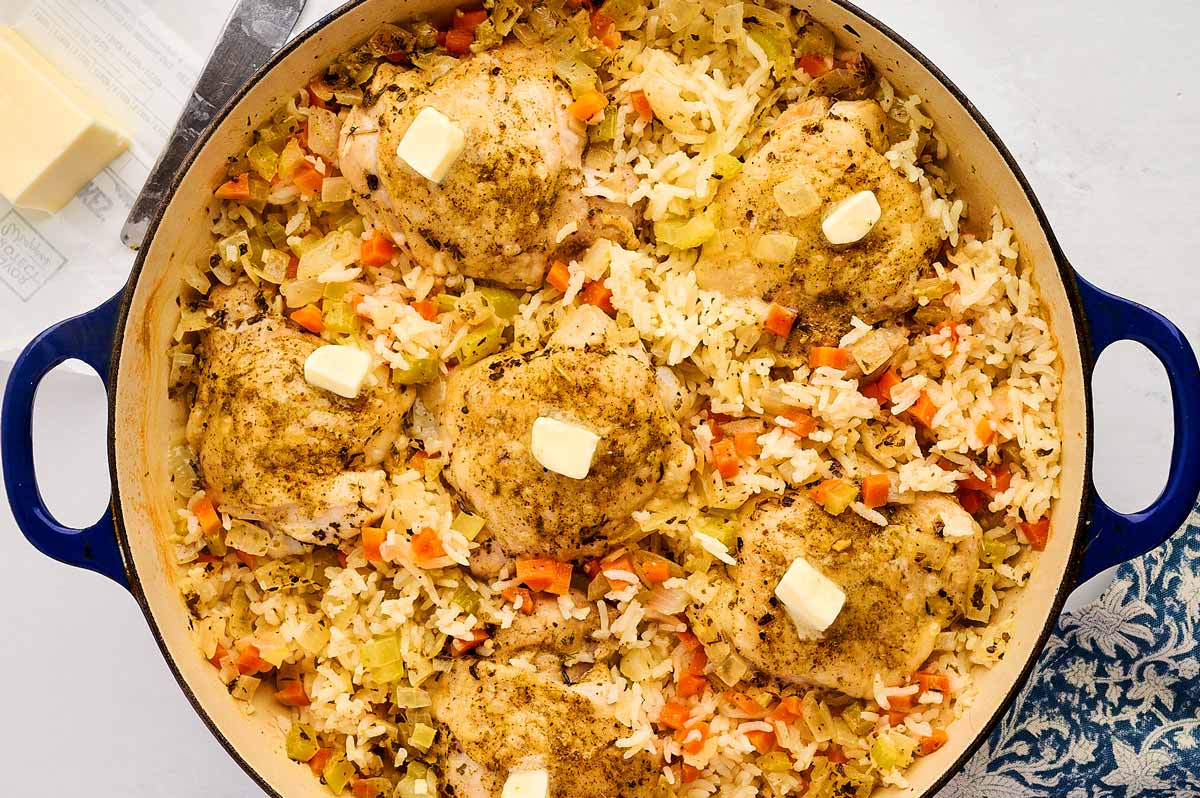
3: The butter dotting.
Before the final few minutes of baking, uncover the pan and dot the rice and chicken with that last tablespoon of butter. It melts down and gives the whole dish a glossy, rich finish that makes it feel like restaurant quality.
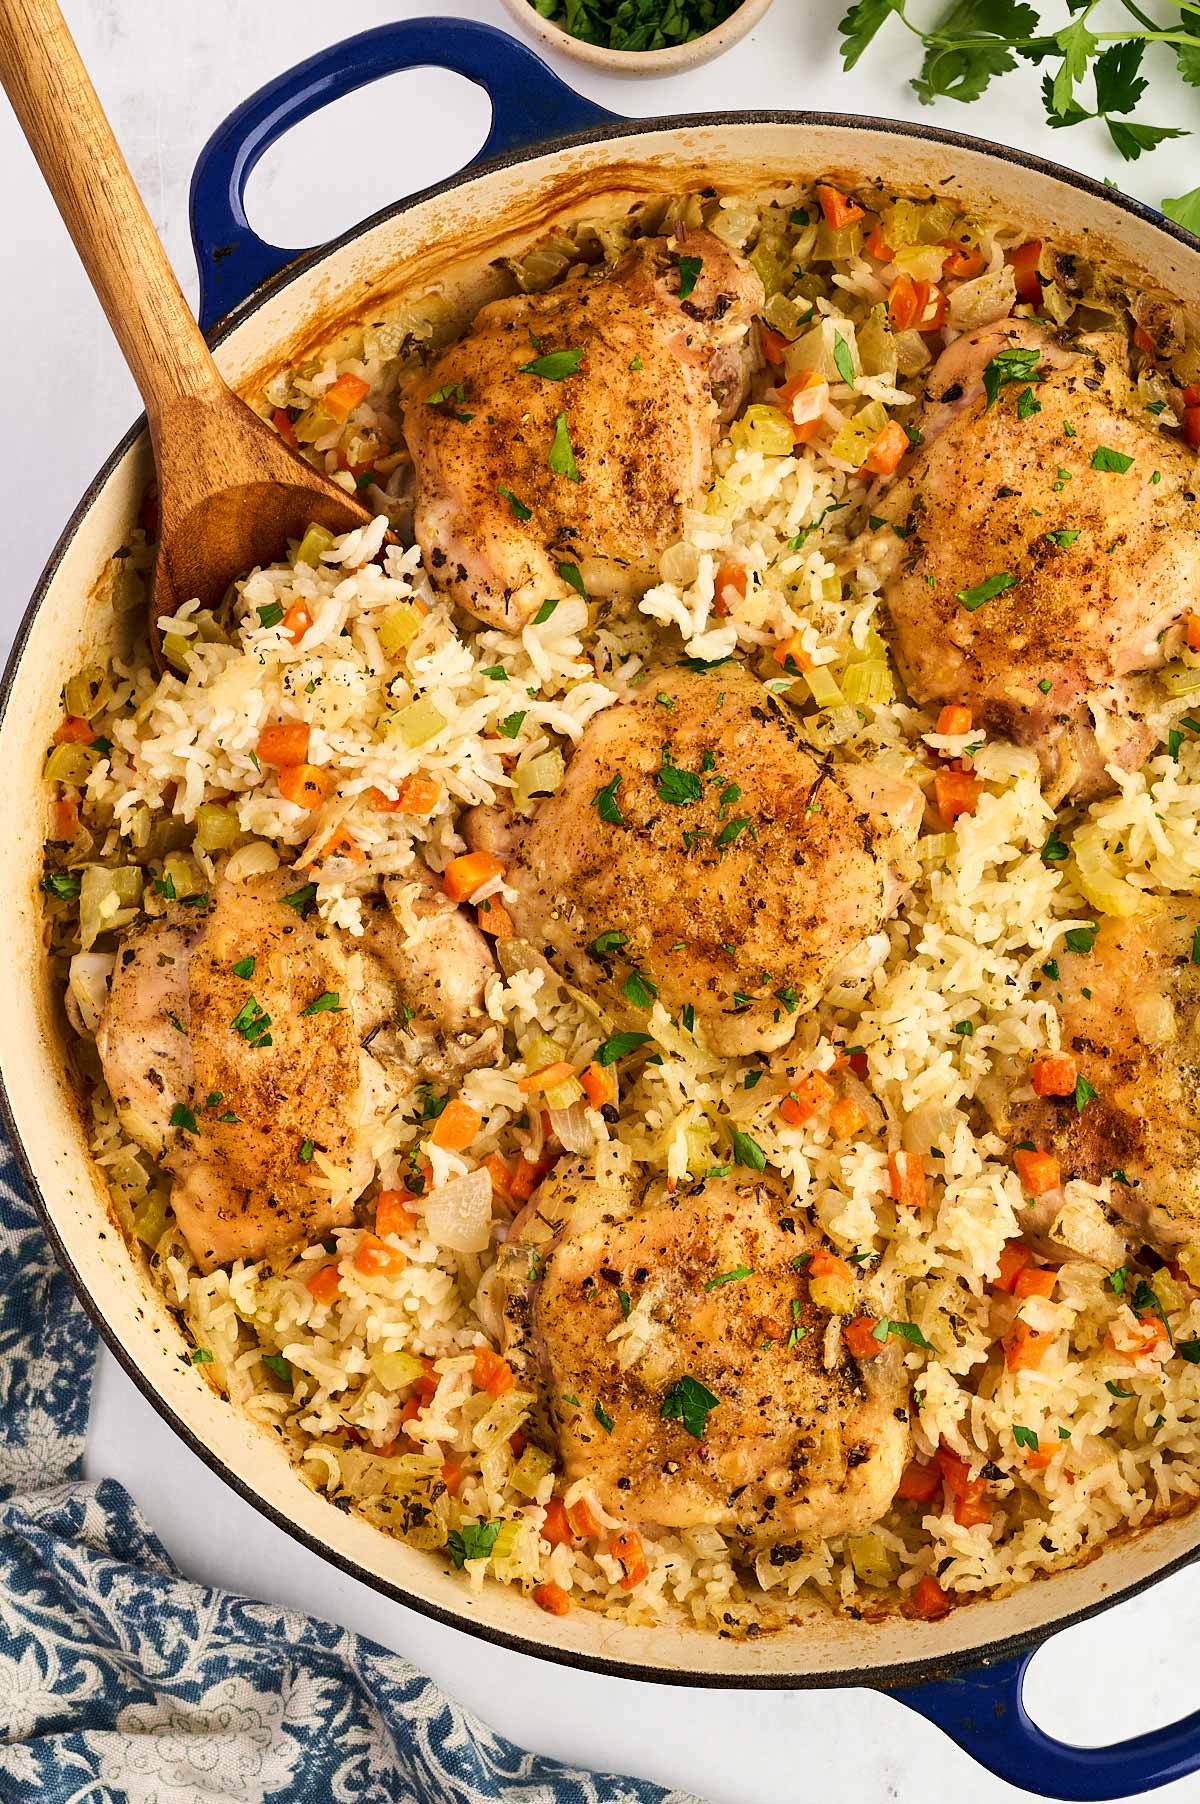
4: Serving!
This is a full meal in a pan, but a side of steamed green beans or some crusty bread to soak up any extra butter is never a bad idea. If you used boneless thighs, you can even shred the chicken right into the rice before serving.
Tl; dr: All the important stuff at a glance
If you read nothing else in this post, this is what you need to know:
- Toast the rice: One minute in the pan makes a notable flavor difference.
- Don’t peek: Keep the lid on during the temperature change to keep the steam in.
- Season the broth: Rice is a salt-sponge; if the liquid is bland, the whole dish will be.
- Finish uncovered: Those last 5-8 minutes at high heat are what give the chicken its color.
- Quick recipe rundown: Sauté mirepoix. Toast rice. Add liquid. Nestle chicken on top. Cover and bake. Increase heat for 10 minutes. Uncover, dot with butter and finish baking uncovered, until the chicken gets some color!
FAQs
Can I use chicken breasts instead?
You can, but breasts dry out faster than thighs. If you use breasts, make sure they are similar in size and check the internal temp right at the 35 minutes mark so they don’t get rubbery. Remove to a plate if needed and allow the rice to finish cooking on its own.
My rice is still crunchy, what happened?
Usually, this means the lid wasn’t tight enough and the steam escaped. If this happens, stir in a tiny splash of extra broth, put the lid back on, and give it 5 more minutes.
What if I’m using frozen chicken thighs?
We’ve all been there — realizing at 4:30 PM that the chicken is still a brick. You can technically bake from frozen, but I don’t recommend it for this specific recipe. The chicken will release too much water as it thaws in the oven and take too long to be done, which will turn your fluffy rice into a watery, mushy soup.
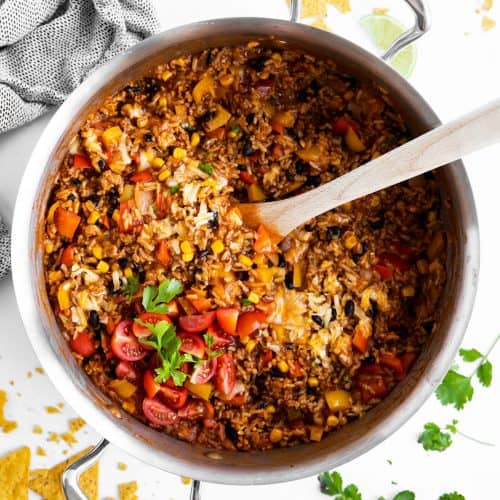
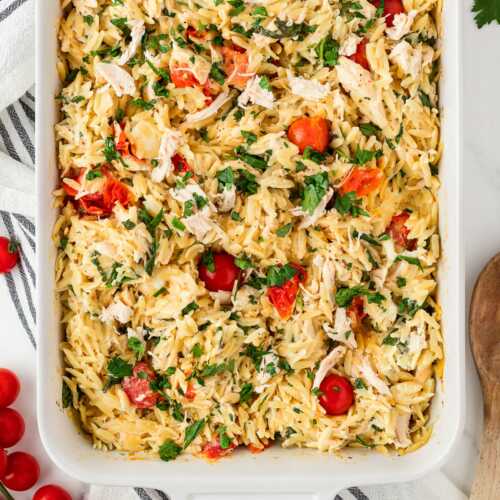
Looking for more easy chicken and rice recipes? Try my One Pot Chicken and Rice, my Chicken Broccoli Rice Skillet or my Mexican Chicken and Rice Skillet!

One Pan Chicken and Rice Bake
Ingredients
- 2 tablespoons butter (divided use)
- 1½ cups (packed) mirepoix (frozen or fresh)
- 2 teaspoons minced garlic
- 1½ cups long grain white rice (NOT parboiled)
- 3 cups low sodium chicken broth
- 1 teaspoon Italian seasoning
- salt & pepper (to taste)
- 2 pounds chicken thighs (bone-in or boneless, either is fine)
- 2 teaspoons seasoning of choice (garlic herb or buttery steakhouse are delicious here)
Instructions
- Prep: Heat oven to 350 degrees F. This recipe works best in a ~3.5 quart oven safe pan or braiser with a lid.
- Cook mirepoix: Place your pan over medium heat. Once hot, add 1 tablespoon butter to melt, then cook the mirepoix and minced garlic for 4-5 minutes until softened.1 tablespoons butter, 1½ cups (packed) mirepoix, 2 teaspoons minced garlic
- Add rice: Stir in the rice and cook for one minute.1½ cups long grain white rice
- Add broth and seasoning: Stir in the chicken broth and Italian seasoning. Add salt and pepper to taste (be sure to use enough salt, or the rice will be bland – I use about ⅔ teaspoon.) Take off the heat.3 cups low sodium chicken broth, 1 teaspoon Italian seasoning, salt & pepper
- Add chicken: Rub the chicken thighs with seasoning and nestle on top of the rice.2 pounds chicken thighs, 2 teaspoons seasoning of choice
- Bake: Cover and bake on the middle rack for 30 minutes. Without opening, increase oven temperature to 400F and bake for 10 more minutes.
- Finish: Uncover and gently fluff/stir the rice around the chicken thighs. The rice should be almost or just about done at this point.Dot chicken and rice with the remaining 1 tablespoon of butter. Continue baking on the upper middle rack at 400F for 5-8 minutes, uncovered, until rice is tender and chicken thighs reach an internal temperature of at least 165 degrees F at the thickest part and are slightly browned.1 tablespoons butter
- Serve: Serve immediately.


Katelyn N says
Made this tonight and it turned out so yummy! perfect blend of flavors, and rice was nicely cooked. I added a few more veggies for added color and flavor. Will make again.
Janice says
This worked exactly as written, thanks!