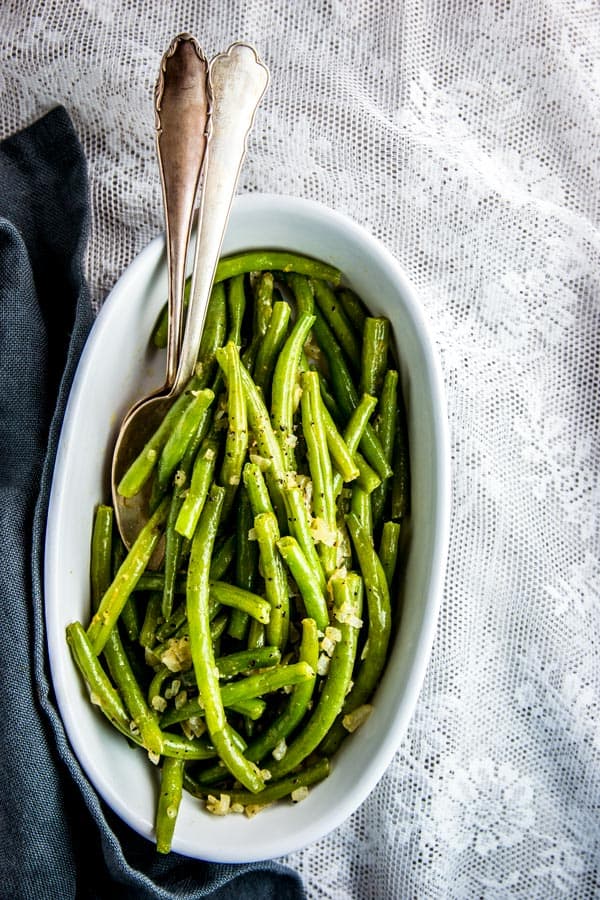
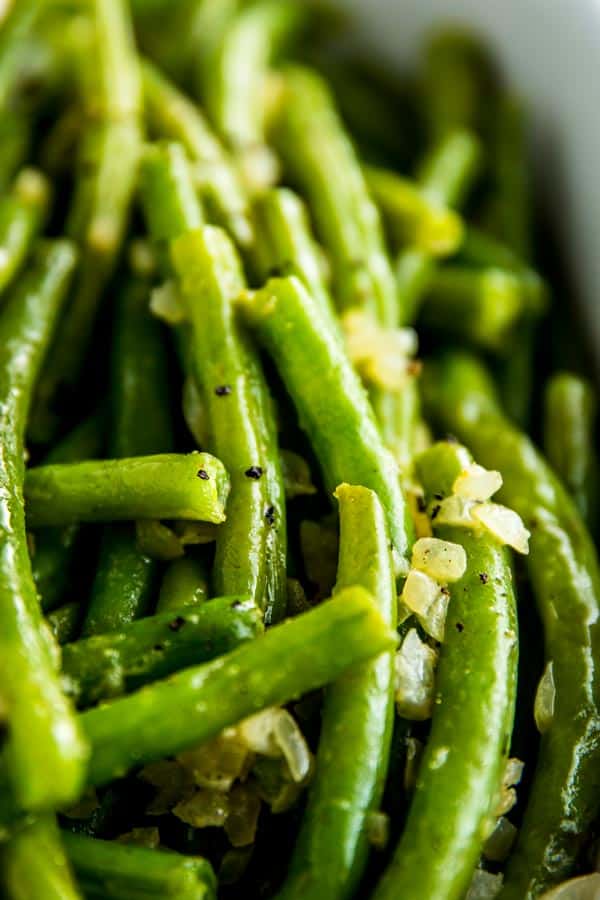
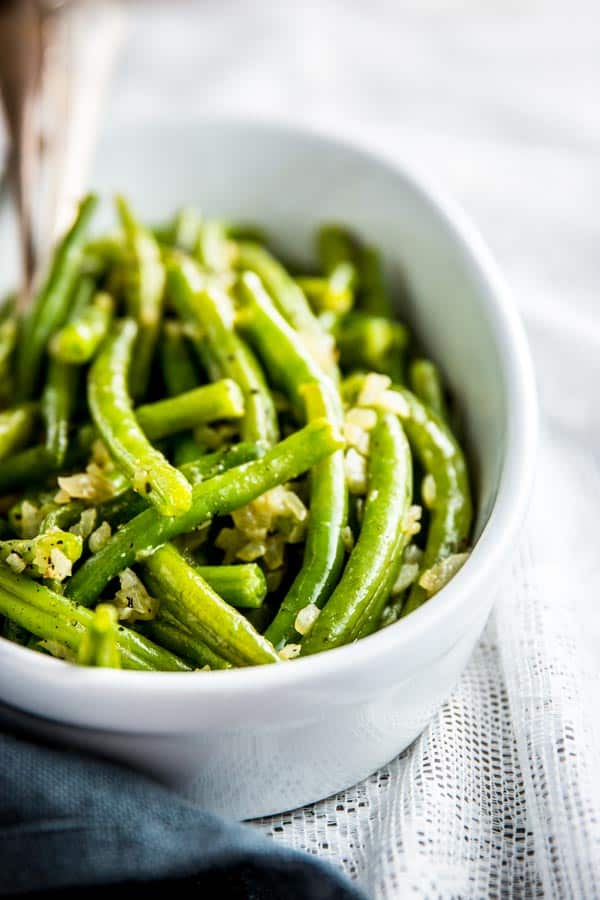
Wondering how to cook fresh green beans so they actually taste nice? Try these tips and tricks for the perfect side dish every time!
If you would have asked me a few years ago what I think of green beans, I would probably have answered with a shrug of my shoulders. You mean those tasteless frozen things that always seem to turn out either stringy and squeaky OR limp and brown? Meh.

We actually grew green beans in the garden this summer (ADORE being connected to my food, but it is a labor of love!) and over the many batches I roasted and cooked, I figured out the best formula to make them taste nice (I mean, without drowning them in condensed soup of something – WHO DOES THAT to lovely green beans??!!)
How To Cook Fresh Green Beans

Cook them while fresh
There is nothing worse than old green beans. If they’re already limp when you take them out of the fridge, you already lost the game.
When you buy green beans, plan to use them soon-ish. They should be firm, brightly green and without brown flecks.
Clean them right
You need to trim the beans – unless you like eating the stems, that is.
BUT. Be careful when trimming:
- Trim as little as you can, otherwise the beans will soak up too much water during cooking
- Forget the knife! Use kitchen shears for quick and precise cutting.
- Decide if you want to trim just the stems or both sides – they actually look quite pretty with their little tail attached!
Cook the beans until just done
You want to cook the beans in plenty of seasoned boiling water just until they’re done.
How do you know they’re done? Well, depending on the size and thickness of your beans, it will take anywhere from 5-10 minutes for them to cook.
Start checking after 5 minutes – the second they stop feeling squeaky between your teeth (yes – it’s a thing!), are tender yet still crisp: Drain them and rinse them under cold water. That way you’ll stop the cooking process ASAP.
ALTERNATIVELY, steam them in a steamer basket for 4-5 minutes and then come over to kick my butt – because I have one of those baskets. Still in its original package. Oops.
Sauté with aromatics
Then you’ll want to add some of the nice stuff to the pan – a bit of olive oil, some chopped onion and garlic are always nice.
If you’re feeling adventurous, some chopped ginger (LOVE!), chili or even a spoonful of curry paste are pretty nice twists.
Sauté your aromatics until tender, then add the green beans. Sauté just until they’re heated.
Stir in some fun stuff
Now you can check for seasoning and finish them with a special touch. Some of my faves:
- Browned butter and slivered almonds
- Mustard (both whole grain or regular Dijon are nice) and freshly cracked black pepper
- Harissa and pomegranate
- Sriracha and roasted chopped peanuts
TL;DR:
- Use fresh and firm green beans
- Trim them just enough so they don’t soak up a ton of water
- Boil or steam until the beans no longer squeak between your teeth
- Drain and rinse under cold water
- Very quickly sauté in a bunch of aromatics
- Stir in a tastemaker (like mustard!) and check for seasoning

Printable recipe
How To Cook Fresh Green Beans
Recipe details
Ingredients
- 1 pound fresh green beans trimmed (see post for tips)
- salt
- oil olive or coconut are my favorite choices
- 1-2 aromatics see below for inspiration
- 1-2 tastemakers see below for inspiration
Instructions
- Cook the beans: Bring a large pot of water to a boil. Season well with salt. Cook the beans for 5 minutes, then start checking them for done-ness. They should be tender but still crisp, without squeaking between your teeth when you chew them.
- Drain and chill: Drain the beans, then immediately rinse under cold water to stop the cooking process.
- Sauté with aromatics: Place the oil in the pot and heat over medium heat. Add your aromatics and sauté until fragrant and softened. Add the green beans and sauté just until heated.
- Add some extra taste: Stir in tastemakers like browned butter and mustard, sprinkle on toppings like chopped nuts. Serve right away for maxed out taste!
Notes
- Oil: olive // aromatics: sliced shallot // tastemakers: browned butter and slivered almonds
- Oil: olive // aromatics: chopped onion and garlic // tastemakers: mustard (both whole grain or regular Dijon are nice)
- Oil: olive // aromatics: chopped onion and garlic // tastemakers: Harissa, pomegranate and Feta cheese
- Oil: coconut // aromatics: chopped garlic and ginger // tastemakers: Sriracha and roasted chopped peanuts
- Oil: coconut // aromatics: red curry paste and chopped onion // tastemakers: fresh cilantro and sliced chili


Diana L Mullins says
made it with Ginger and garlic and onion also mustard, 🤤 family loved it. thank you so much!!!
Lisa Rowland says
Perfect! Followed instructions exactly. Just the right bite in the beans & seasoning was delicious. I used the mustard suggestion. We loved them. Thank you.
elyse says
I’m sure these will be fab- but I just gotta thank you for the “tl;dr” here at the end. What a great summary for my neurodiverse brain!
Nora says
Fellow neurodiverse brain over here! It took me a long time to understand why I find it so hard to process written recipes, but now I try to make my recipes accessible to those who need some kind of summary or overview in order to quickly get what they need to do.
Michelle says
Great recipe and worked perfectly! Boiled 5 minutes in water with kosher salt. They are delicious! How long can I keep them in the refrigerator blanched?
Nora says
I’m so glad, Michelle! I keep cooked vegetables for 3-4 days in the fridge.
Patricia Ann Bethke says
Love green beans right out of the garden. Appreciate your directions and suggestions, but I want my food hot when I eat it, dunking them in ice water after cooking means the beans will be cold when served.
Nora says
Patricia, that’s just for blanching them – you would usually quickly heat them before eating (for example: my husband blanches green beans, dunks them in ice water, then sautées them quickly with some chopped onions in olive oil in a frying pan. serves them topped with toasted almond slivers – delicious!).
Monica Thompson-Fusco says
Nice, easy tips! And blanching them is a great idea as well; help keeps them from getting limp and preserves it’s bright green color!
Monica Thompson-Fusco says
*placing them in cold water*…not blanching.
Nora says
Absolutely agree about the color, Monica!