

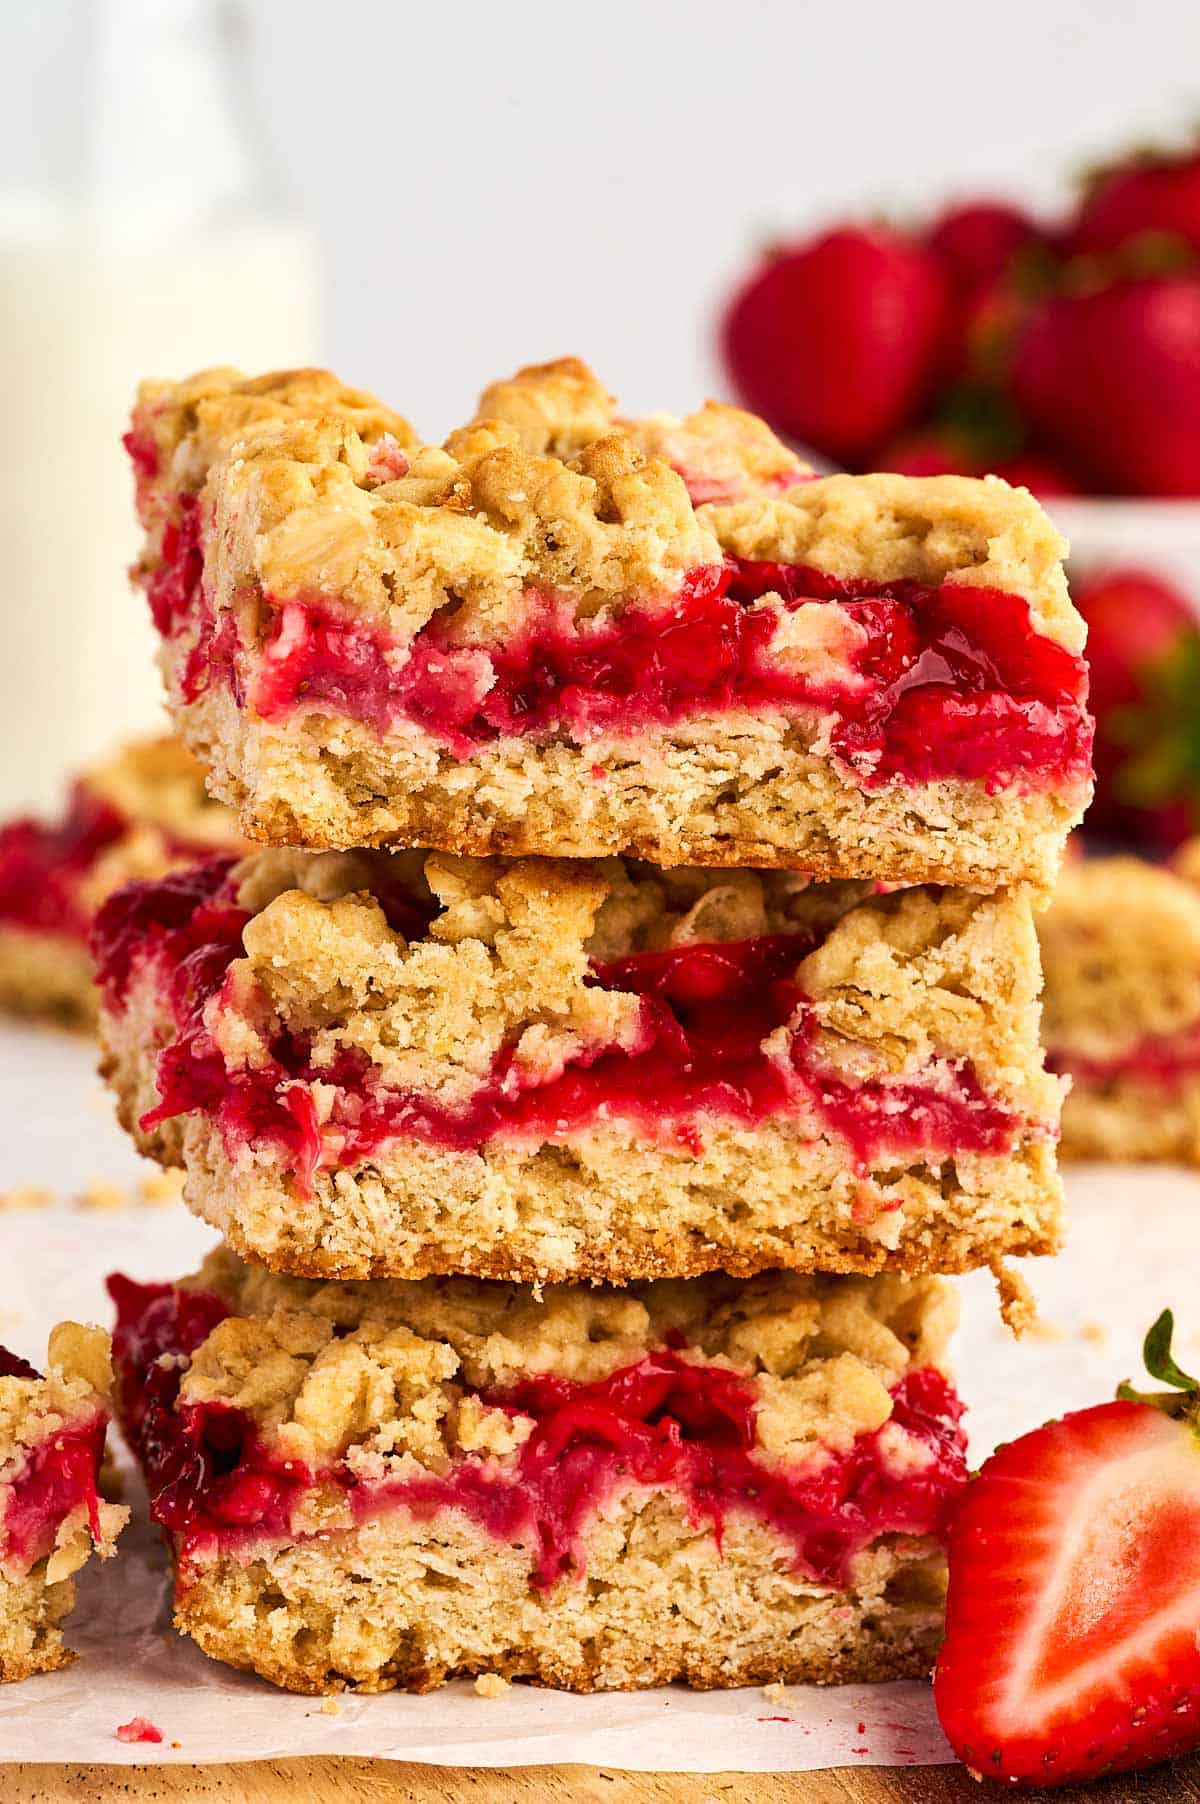
This Easy Strawberry Oatmeal Bars recipe is a sweet, jammy dessert made with fresh fruit and a buttery oat crust. Unlike store-bought breakfast bars that are packed with preservatives, this homemade version uses real strawberries, brown sugar, and rolled oats for a comforting, bakery-style treat!
📸 Recipe Snapshot
- Prep Time: 30 Minutes
- Cook Time: 30 Minutes
- Servings: 9-12 bars
- Key Tool: 8×8 inch baking pan and parchment paper
⚠️ Crucial: You must let these bars cool in the pan for at least 30 minutes before slicing, or they will crumble into a hot mess.
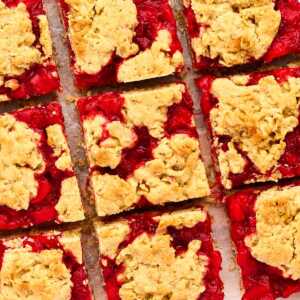
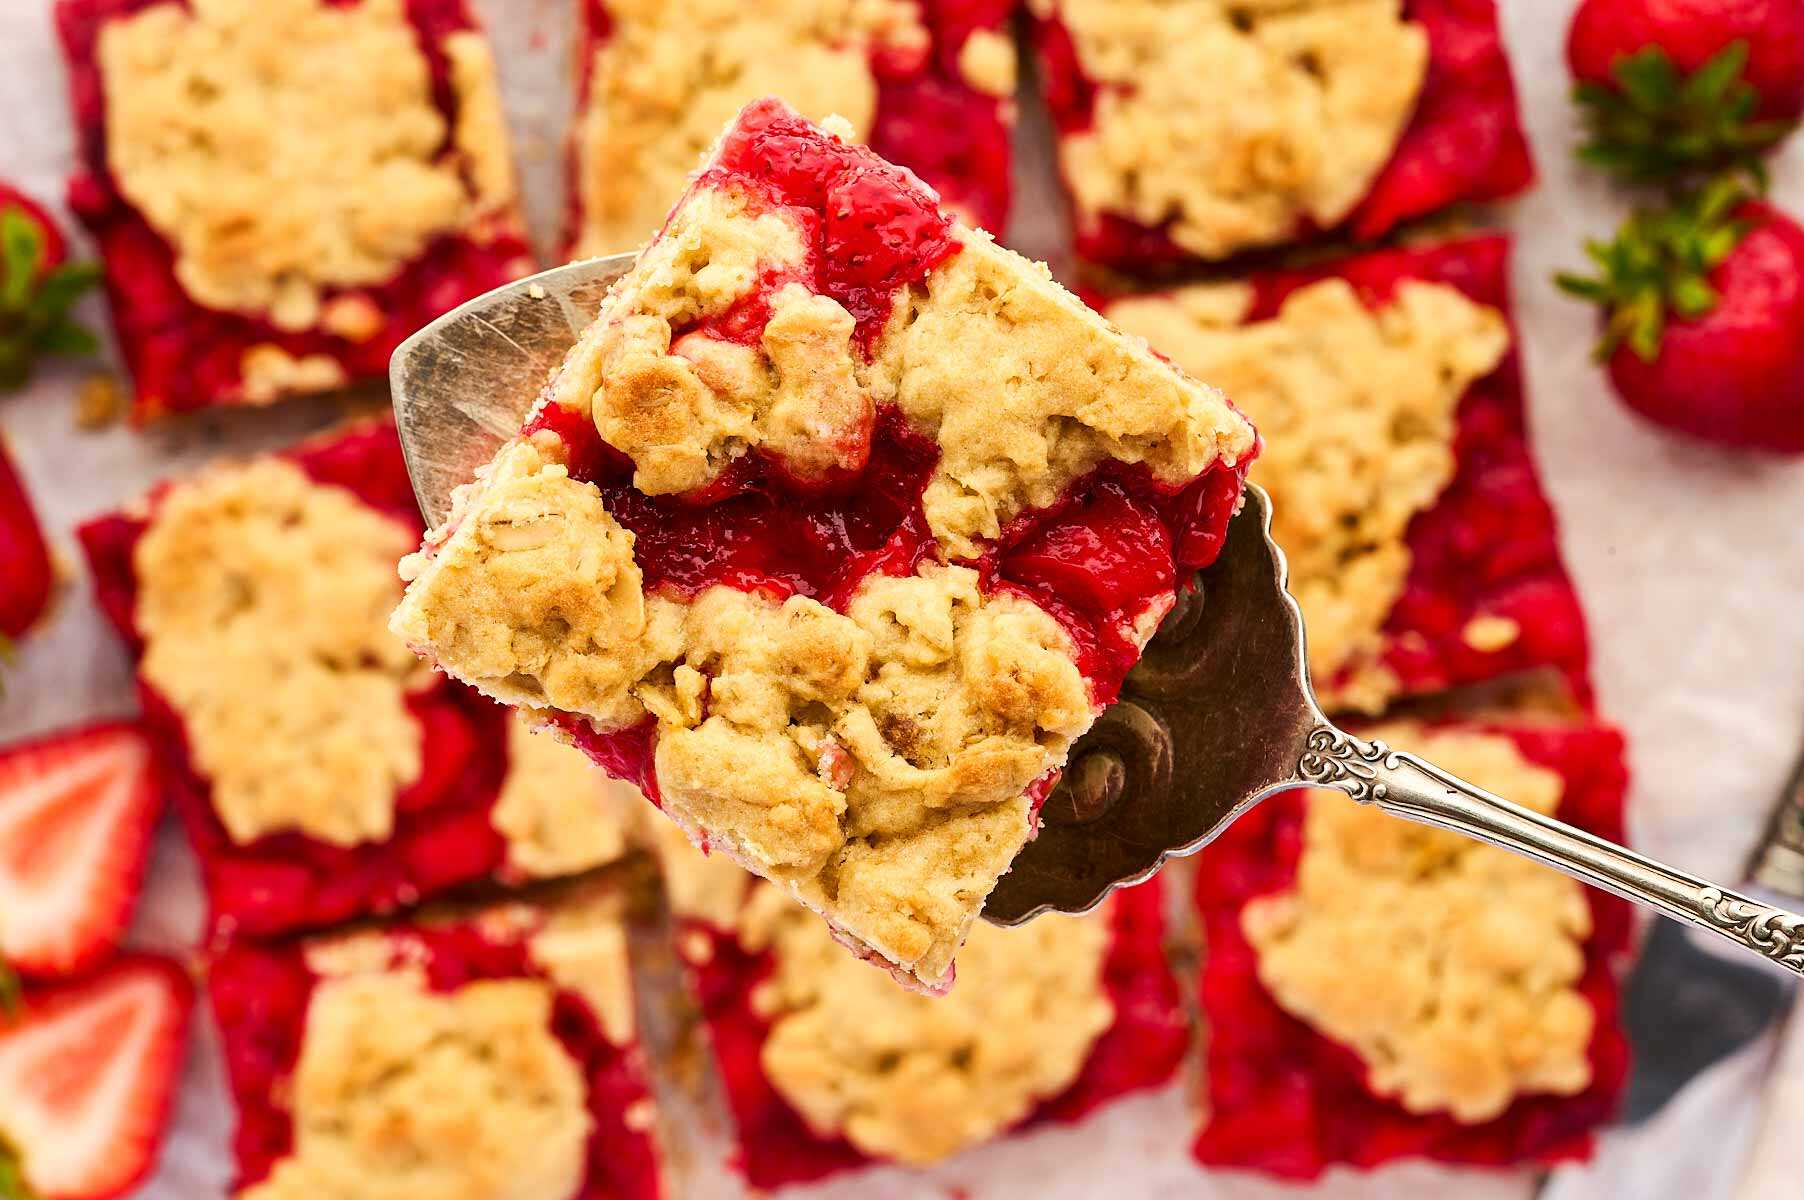
Strawberry Oatmeal Bars
Ingredients
For the filling
- 10 oz chopped strawberries
- 2 tablespoons sugar
- 2 teaspoons cornstarch
- 1 tablespoon lemon juice
For the Oatmeal Cookie Dough:
- 1 stick softened butter ((½ cup or 8 tablespoons))
- ¼ cup light brown sugar
- ¼ cup white sugar
- 1 large egg
- 2 teaspoons vanilla extract
- 1 ½ cups flour
- 1 cup old fashioned rolled oats
- ¾ teaspoon baking powder
- ¼ teaspoon salt
Instructions
Make batter and filling:
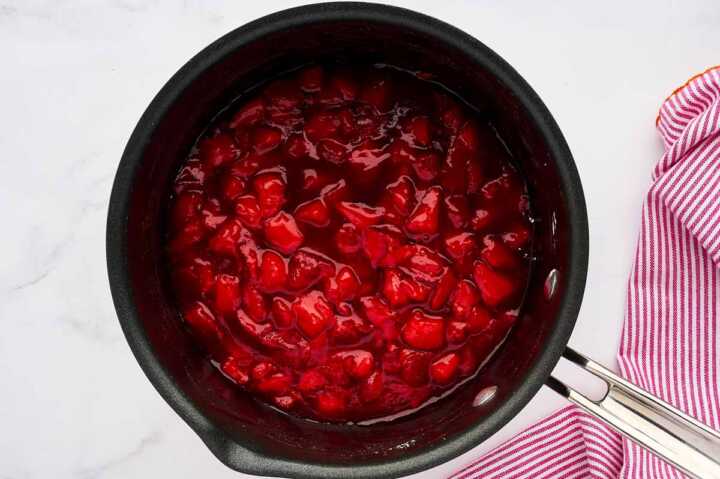
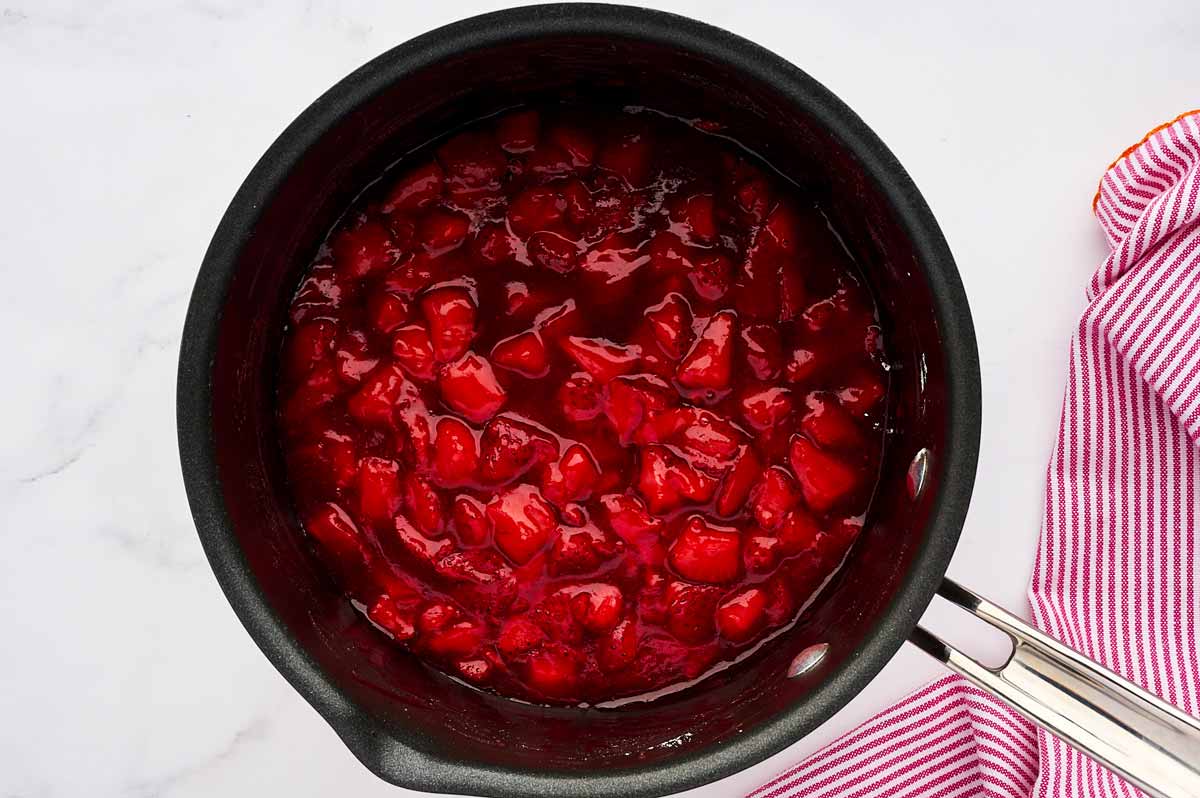
- Prepare filling:Place all ingredients for filling in a medium saucepan over medium heat. Bring to a boil while stirring constantly until berries release their juices, then set aside to cool as you continue with recipe.10 oz chopped strawberries, 2 tablespoons sugar, 2 teaspoons cornstarch, 1 tablespoon lemon juice

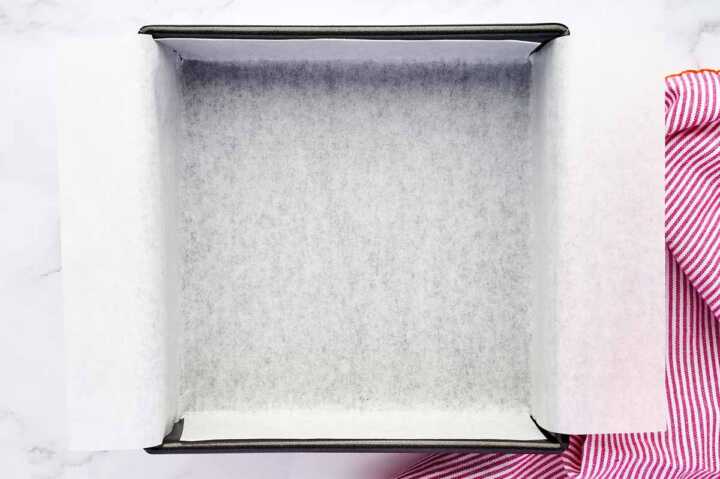
- Prep:Preheat oven to 350°F and line an 8×8 inch pan with baking parchment, leaving an overhang.
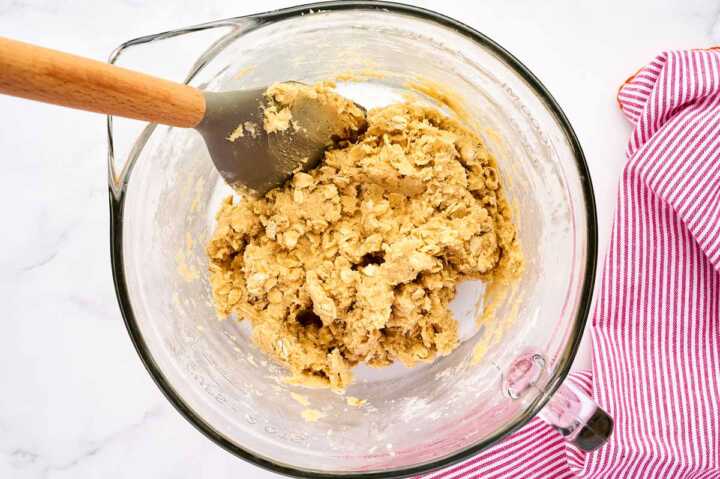
- Make oatmeal batter:Beat softened butter with both sugars in a large mixing bowl until creamy. Add egg and vanilla and beat just until fully incorporated (do not overmix.)Evenly sprinkle flour, oats, baking powder and salt over creamed ingredients and fold in with a wooden spoon or rubber spatula until stiff batter forms.1 stick softened butter, ¼ cup light brown sugar, ¼ cup white sugar, 1 large egg, 2 teaspoons vanilla extract
Assemble bars:
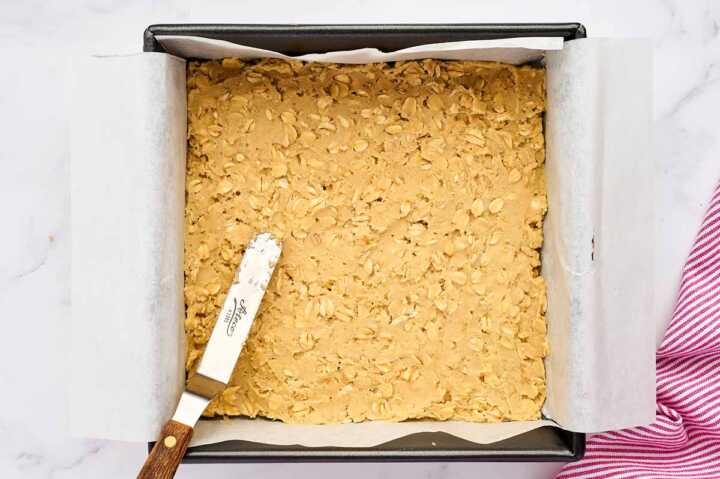
- Bottom layer:Spread ⅔ of batter in bottom of prepared pan.
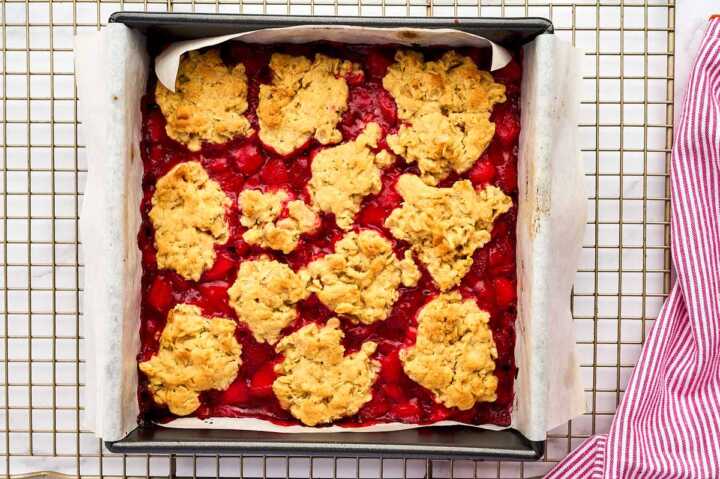
- Top layer:Spread with strawberry filling. Scatter remaining cookie dough in blobs on top.

Bake:
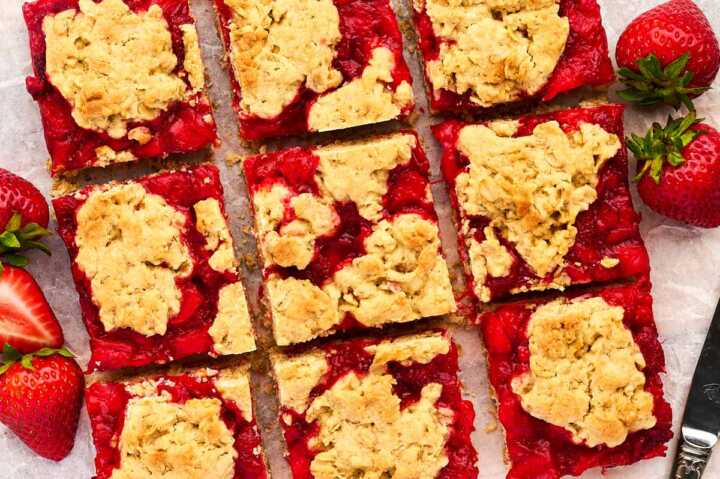
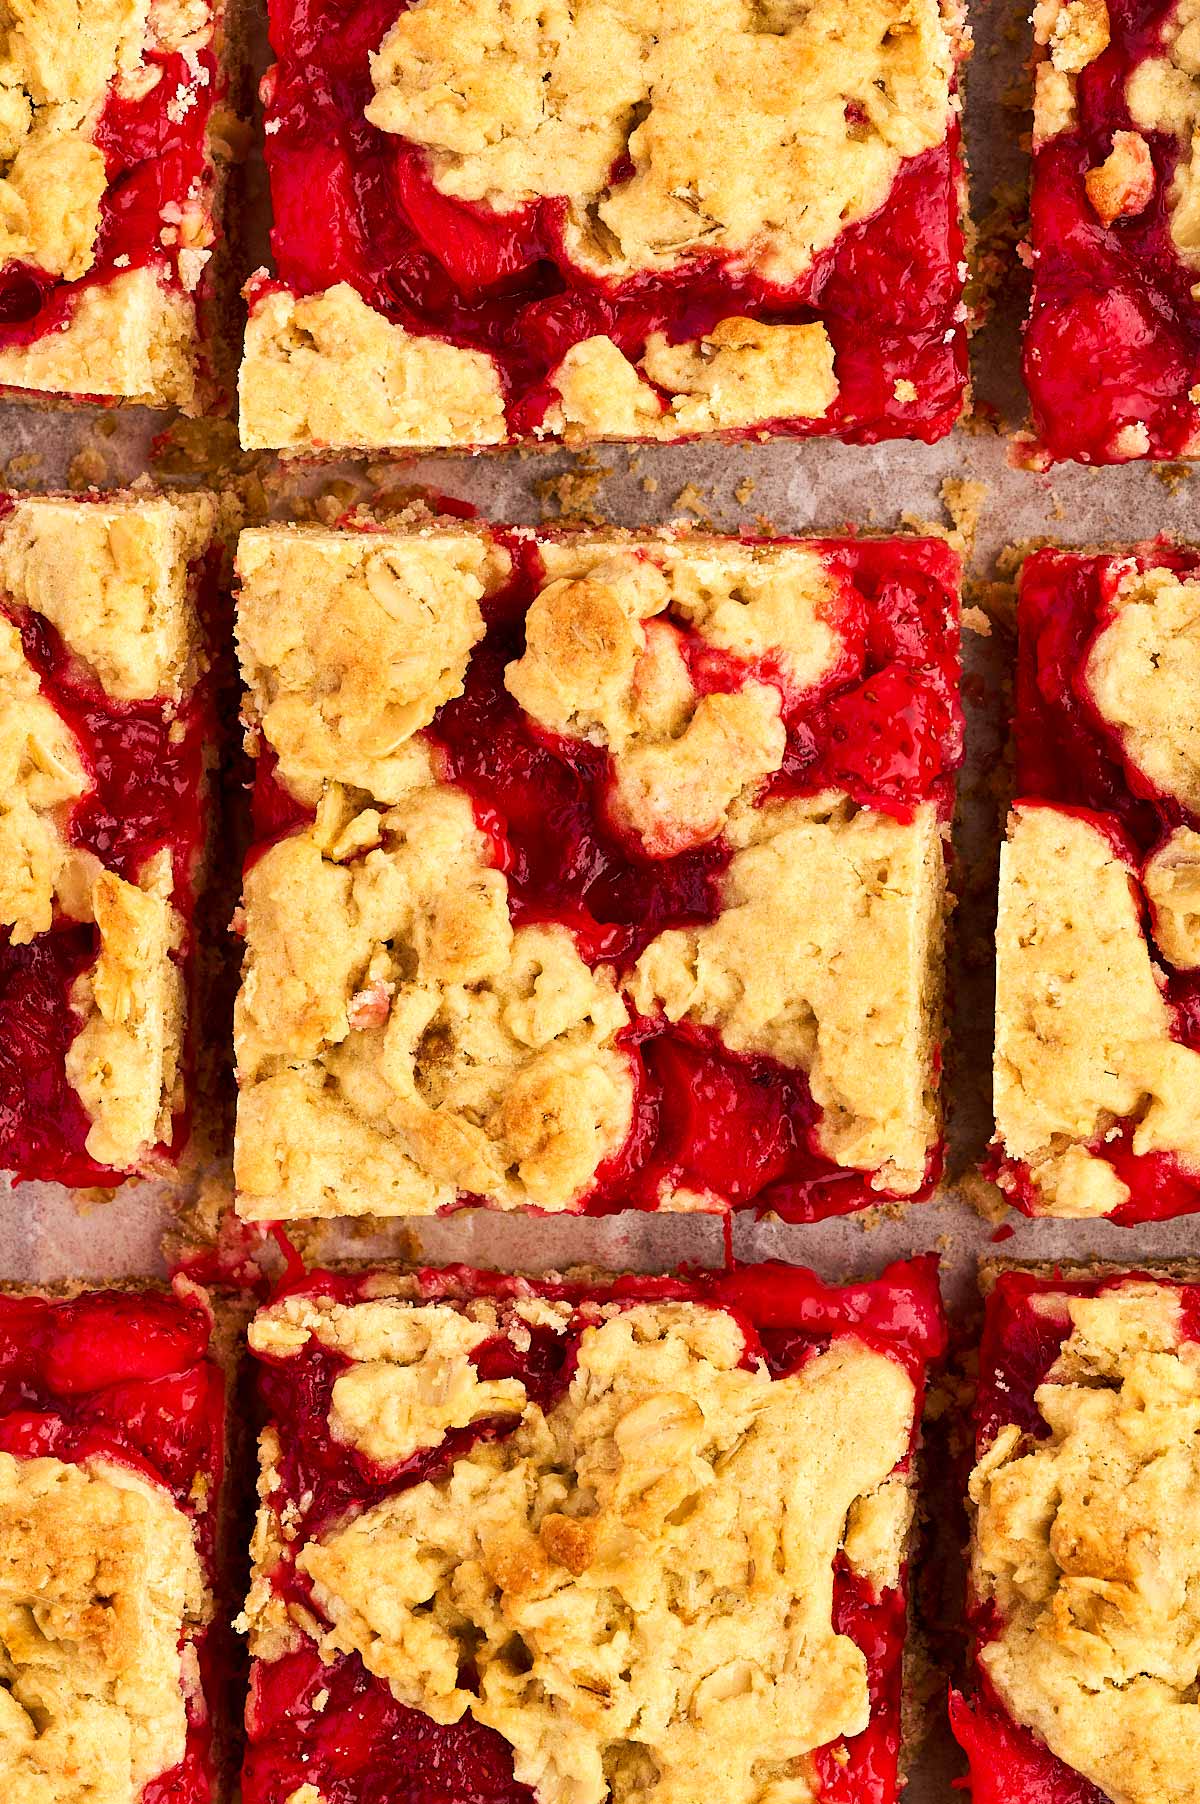
- Bake bars:Bake for around 25-35 minutes, or until bars are set and top is golden brown. Bars will still feel soft when done.Cool bars in pan on a wire rack on counter for at least 30 minutes before lifting out to slice.
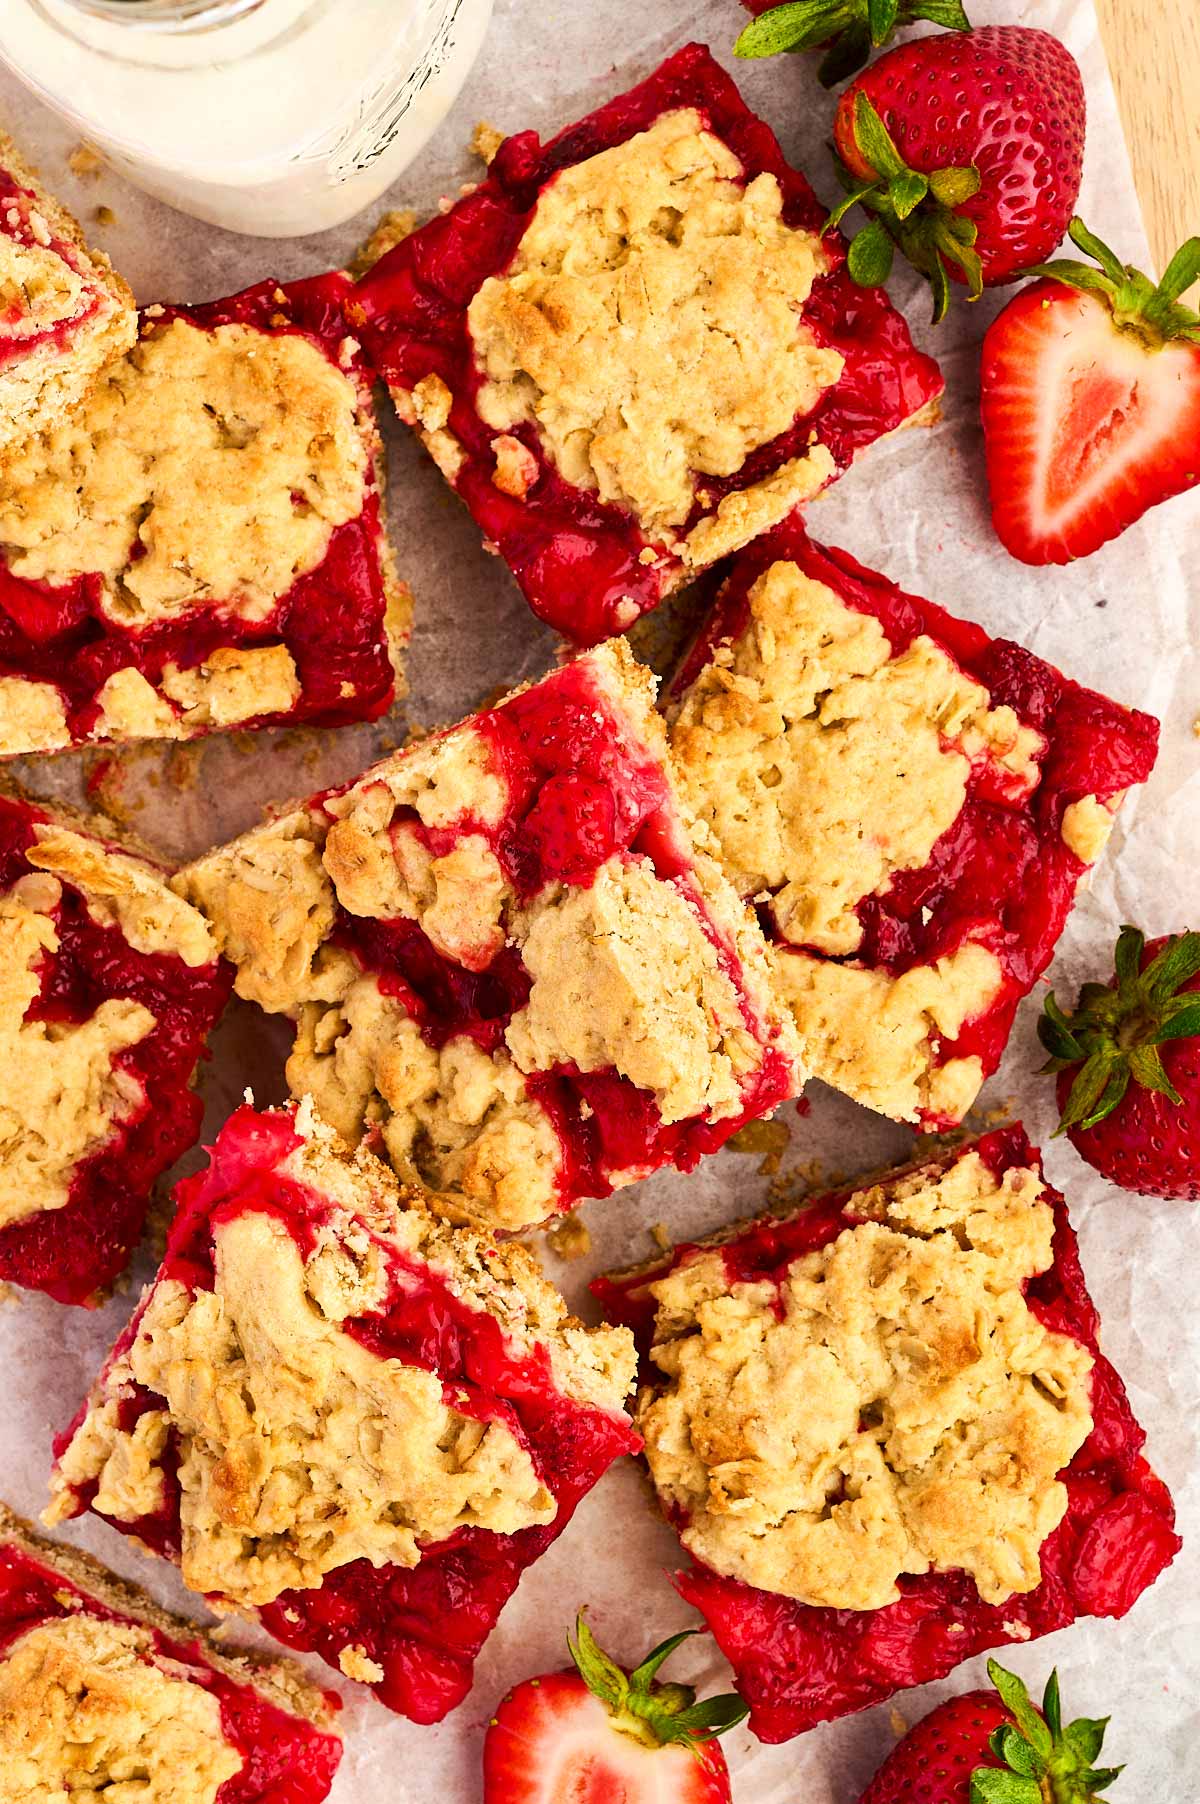
- Serve:Slice the cooled bars into squares. Serve warm or at room temperature (they are firmer when fully cooled, use forks for warm bars.)
Notes

🍓 Substitution & Ingredient Notes
Can I use frozen strawberries?
Yes. Just let them thaw a bit first so they are easier to chop up before hitting the saucepan.
Can I make these healthier?
Yes. Swap the white flour for whole wheat flour, and cut the sugar in the oat crust in half if you want to serve them for breakfast.
What kind of oats work best?
Stick to old-fashioned rolled oats. Quick oats absorb moisture differently and can make your crust dry or chalky.
The Magic Behind the Jam: Why We Cook the Berries First
The secret to getting that perfect gooey layer without making the bottom crust soggy is cooking your filling on the stovetop first. Fresh strawberries hold a ton of water that releases the second they hit a hot oven.
Why you shouldn’t skip the stove:
Do not skip cooking the filling! It only takes a few extra minutes, but the bars come out so much better.
The biggest advantage here is that you can fix your fruit before it ever touches the dough. If you have super juicy berries (or are using frozen ones), you can easily stir in a little extra cornstarch to thicken things up.
The same goes for the sugar — if your berries are on the tart side, you can taste the cooked filling right there in the pot and add another spoonful of sugar until it tastes just right.
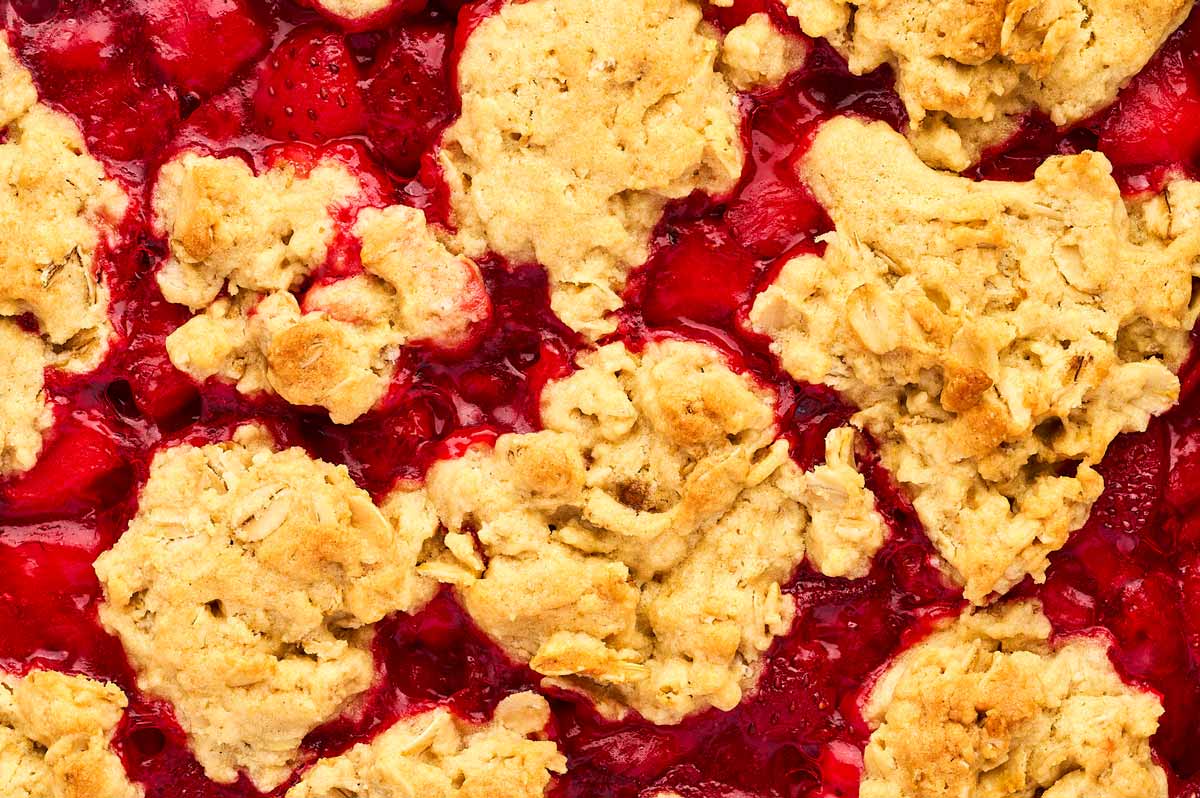
The “Blob” Baking Secret:
When assembling your bars, save about a third of your oat dough to scatter in messy blobs right on top of the fruit layer.
Make sure to add enough blobs of dough along the edges of the pan, especially in the corners.
As the bars bake, those corner blobs melt together to form a sturdy wall. This locks the jam in place, helping the bars come out looking much neater and making them a whole lot easier to slice cleanly.
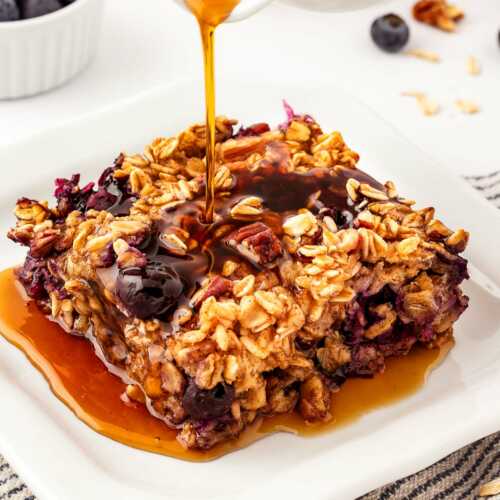
This simple stovetop-to-oven fruit layering trick works great for all kinds of seasonal baking, just like in my Blueberry Cobbler or this Cherry Cobbler.
How to Serve Your Strawberry Oatmeal Bars
To turn these simple fruit bars into a treat your family will beg for, try these easy serving styles:
- The Sunday Church Social: Slice them into neat squares and serve them cold or at room temperature right on a platter. They hold up great on a buffet table!
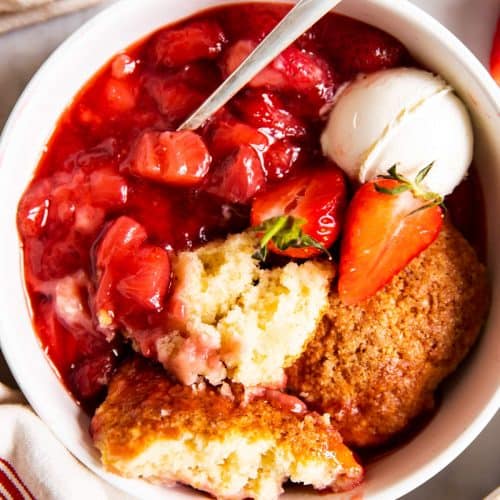
- The After-School Special: Pop a square in the microwave for 10 seconds, then top it with a big scoop of Blue Bell vanilla ice cream – we like this just as much as Strawberry Rhubarb Crisp!
- The Quick Breakfast: Pair a bar with a hot cup of coffee or a cold glass of milk for a grab-and-go morning treat that beats any boxed pastry.
- The Switch-Up: Swap the strawberries for diced apples in the fall or fresh blackberries in the summer using the exact same stovetop cooking method for the filling!
💡FAQs
Keep them in an airtight container on your counter for up to 3 days. If your kitchen gets warm, pop them in the fridge to keep the fruit layer nice and firm.
Make sure to allow the bars adequate time for cooling down! They are still very soft when hot and will fall apart easily if you rush them.
You need to let them sit in the pan on a cooling rack on your counter for at least 30 minutes. Honestly, I actually prefer leaving them out to cool completely overnight before I even think about touching them with a knife.
Yes, don’t skip it! A tablespoon of fresh lemon juice doesn’t make the bars sour. Instead, it balances out the sweetness of the sugar and brightens up the natural flavor of the strawberries.


Jocellyn says
These are sooo good! I’ve made them 2x in the last 10 days and they’ve been a hit with myself and my husband. The first time we did strawberry and tonight I did strawberry & (frozen) raspberries. We use gluten-free flour and it works just fine, as well as gluten free oats–in case any gf people are curious 😉 We also did the suggestion of cutting the sugar that goes into the dry ingredients in half and it works well. Last thing, the second time I did this I didn’t have enough butter, but I had shortening and I couldn’t tell the different. This is definitely a new favorite of ours! Tastes great and allows for flexibility depending on what you have on hand <3
Nora says
I’m so glad, Jocellyn! Thanks for sharing your gluten free suggestions as well. And I agree – it’s a very forgiving recipe, I’ve made it all sorts of ways for my family. It’s delicious with an apple filling in the fall!
Margo says
Hello Nora and fellow bakers! First time making these, used a 10.5×16 Pyrex and tripled the recipe. I used frozen strawberries and arrowroot powder for the thickener. I saved the strawberry juice and used it in the pot. I did need a couple TBL of water to get the dough mixed properly.
Overall, 4 stars! I actually think these will be best cold out of the fridge. A little vanilla drizzle on top would be lovely also. ?
Nora says
I’m so glad, Margo! Thanks for sharing your process and tweaks, appreciate it.
LP says
Old fashioned oats and rolled oats are the same thing. Just letting people know they likely have the ones they need already.
Nora says
Thank you, you are absolutely right. That is a mistake on my part – it’s supposed to be old fashioned rolled oats and quick oats. I’ll correct the recipe – thanks for noticing!
Hope says
How do I store these? In the refrigerator?
Nora says
Hope, they do keep wrapped on the counter for 2 days, but you can keep them in a closed container in the fridge for up to 4 days.