
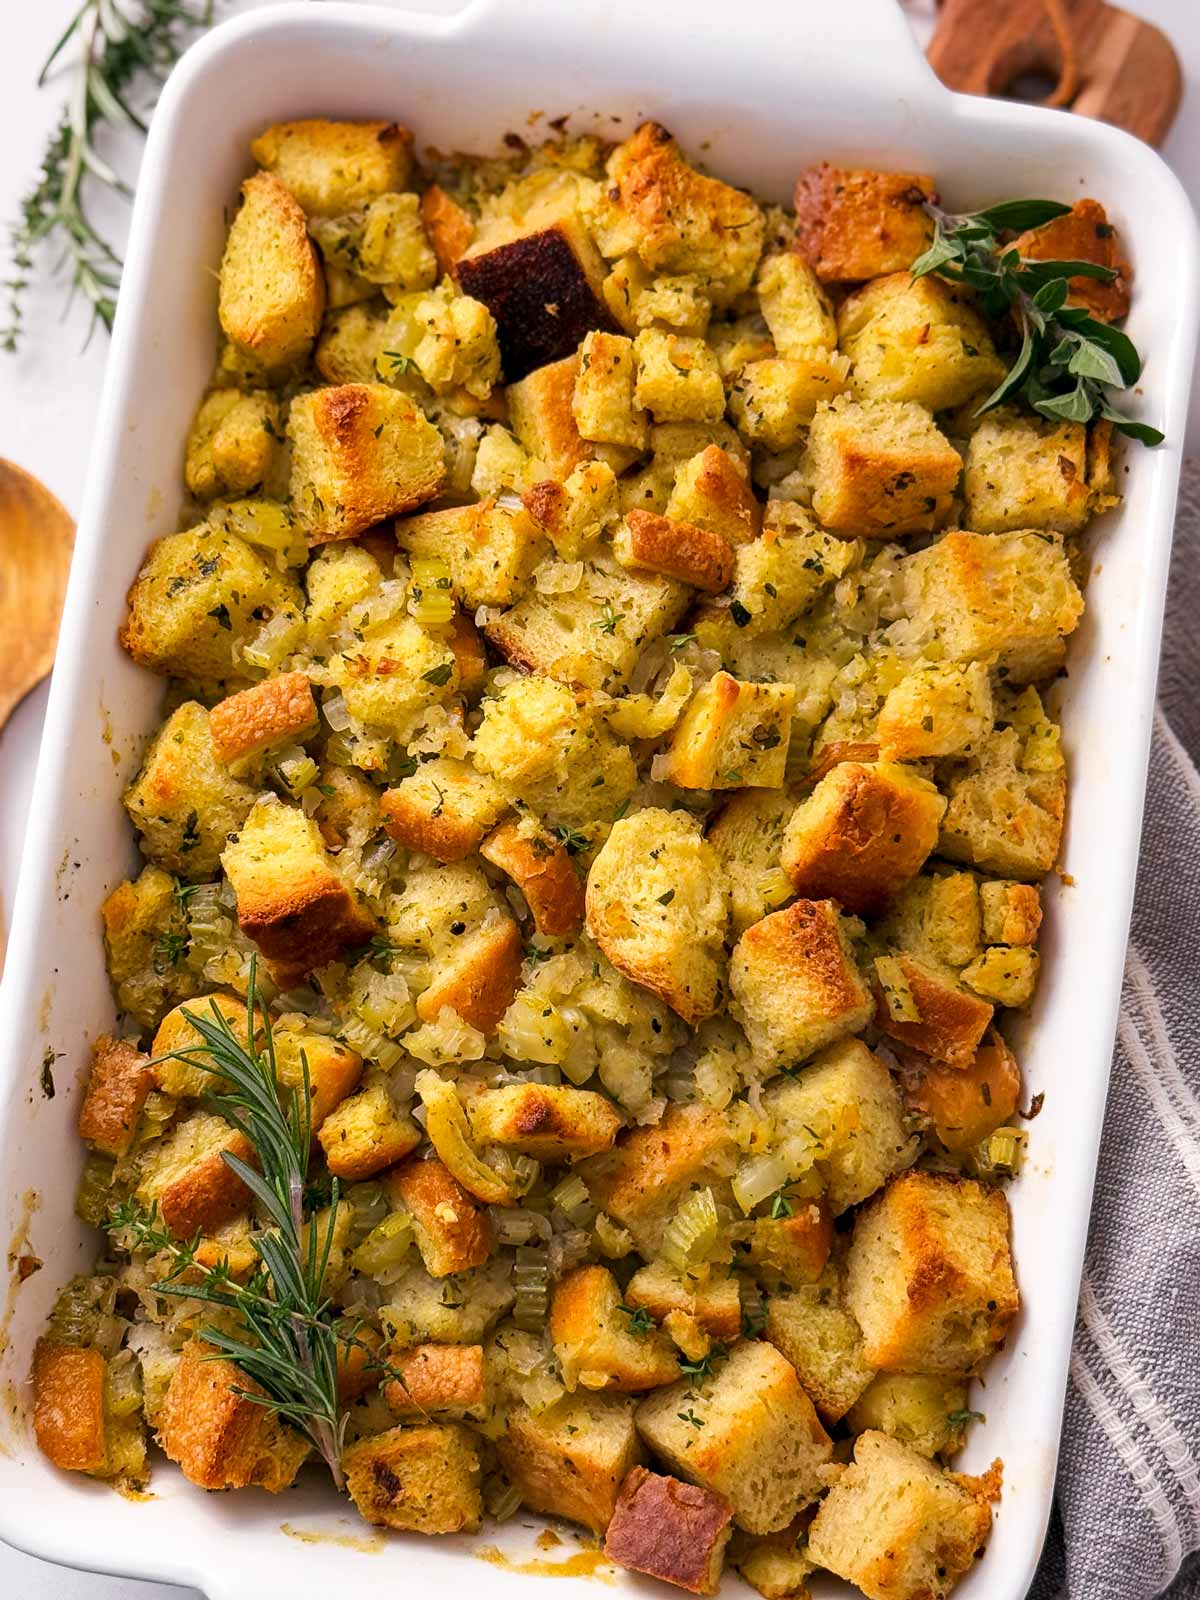
Nothing says comfort like a warm, hearty stuffing fresh out of the oven. With savory herbs, tender bread cubes, and just the right amount of seasoning, this classic dish is the perfect partner for any holiday meal.
No matter if you’re serving turkey, chicken, or even a cozy ham, this stuffing is sure to bring everyone back for seconds!
Why you‘ll love this recipe
- Perfect Texture: My stuffing recipe strikes the ideal balance between soft and crispy, with golden edges and a fluffy interior that’s hard to resist.
- Make-ahead: Nothing is better than a holiday dinner dish you can make the day before! This reduces the stress of cooking the day of, and you’ll get more time to enjoy with your loved ones.
- Versatile & easy: Whether you prefer a simple and classic herb stuffing or want to be adventurous with flavor additions, this recipe easily adapts to your family‘s taste and any added ingredients you love. Plus, it’s super easy to put together – definitely a win when it comes to a stressful day of holiday cooking!
Ingredients you’ll need
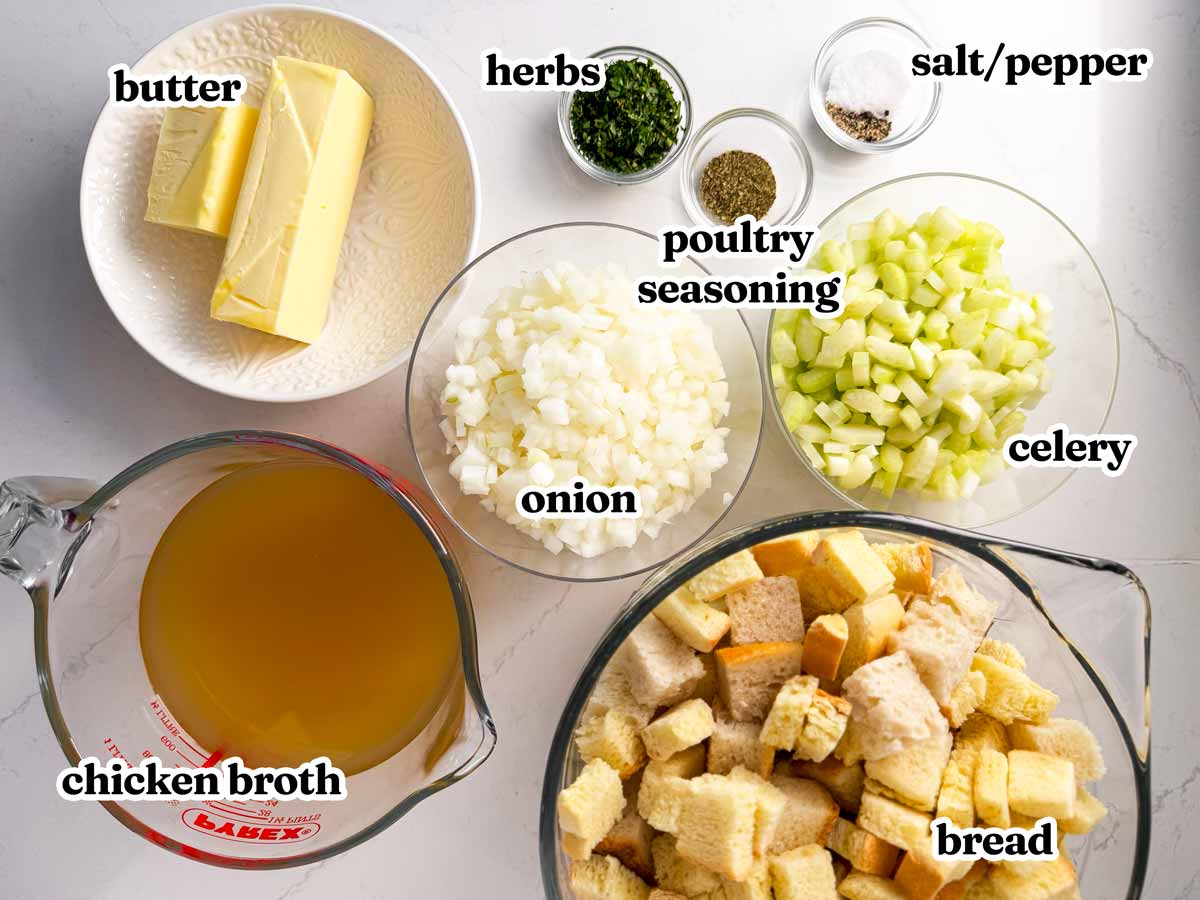
Ingredients notes
- Butter: For a richer flavor, you can use half butter and half olive oil. For a dairy-free option, substitute with a dairy-free butter alternative suited for cooking and baking.
- Onions: Yellow or white onions work well, but for a sweeter flavor, try using shallots or adding a bit of diced apple.
- Celery: If you prefer a different vegetable, diced leeks or fennel can add a subtle twist to the stuffing.
- Fresh Herbs: Sage, thyme, and rosemary are traditional, but parsley or marjoram can add a unique touch. If fresh herbs aren’t available, substitute with 1 teaspoon dried herbs.
- Poultry Seasoning: If you don’t have poultry seasoning, use a blend of dried sage, thyme, and a pinch of rosemary.
- Bread Cubes: Any dry bread can be used, including sourdough, whole wheat, or a mix for added texture. Gluten-free bread works as well for a gluten-free version, as long as you make sure all of your other ingredients are gluten-free as well!
- Chicken Stock: Substitute with vegetable stock for a vegetarian option. Adjust the amount based on desired stuffing moisture.
How to make stuffing
So, let’s dive into making this delicious, classic herb stuffing together! Start by preheating your oven to 350°F. We want to make sure it’s hot by the time we’re ready to bake.
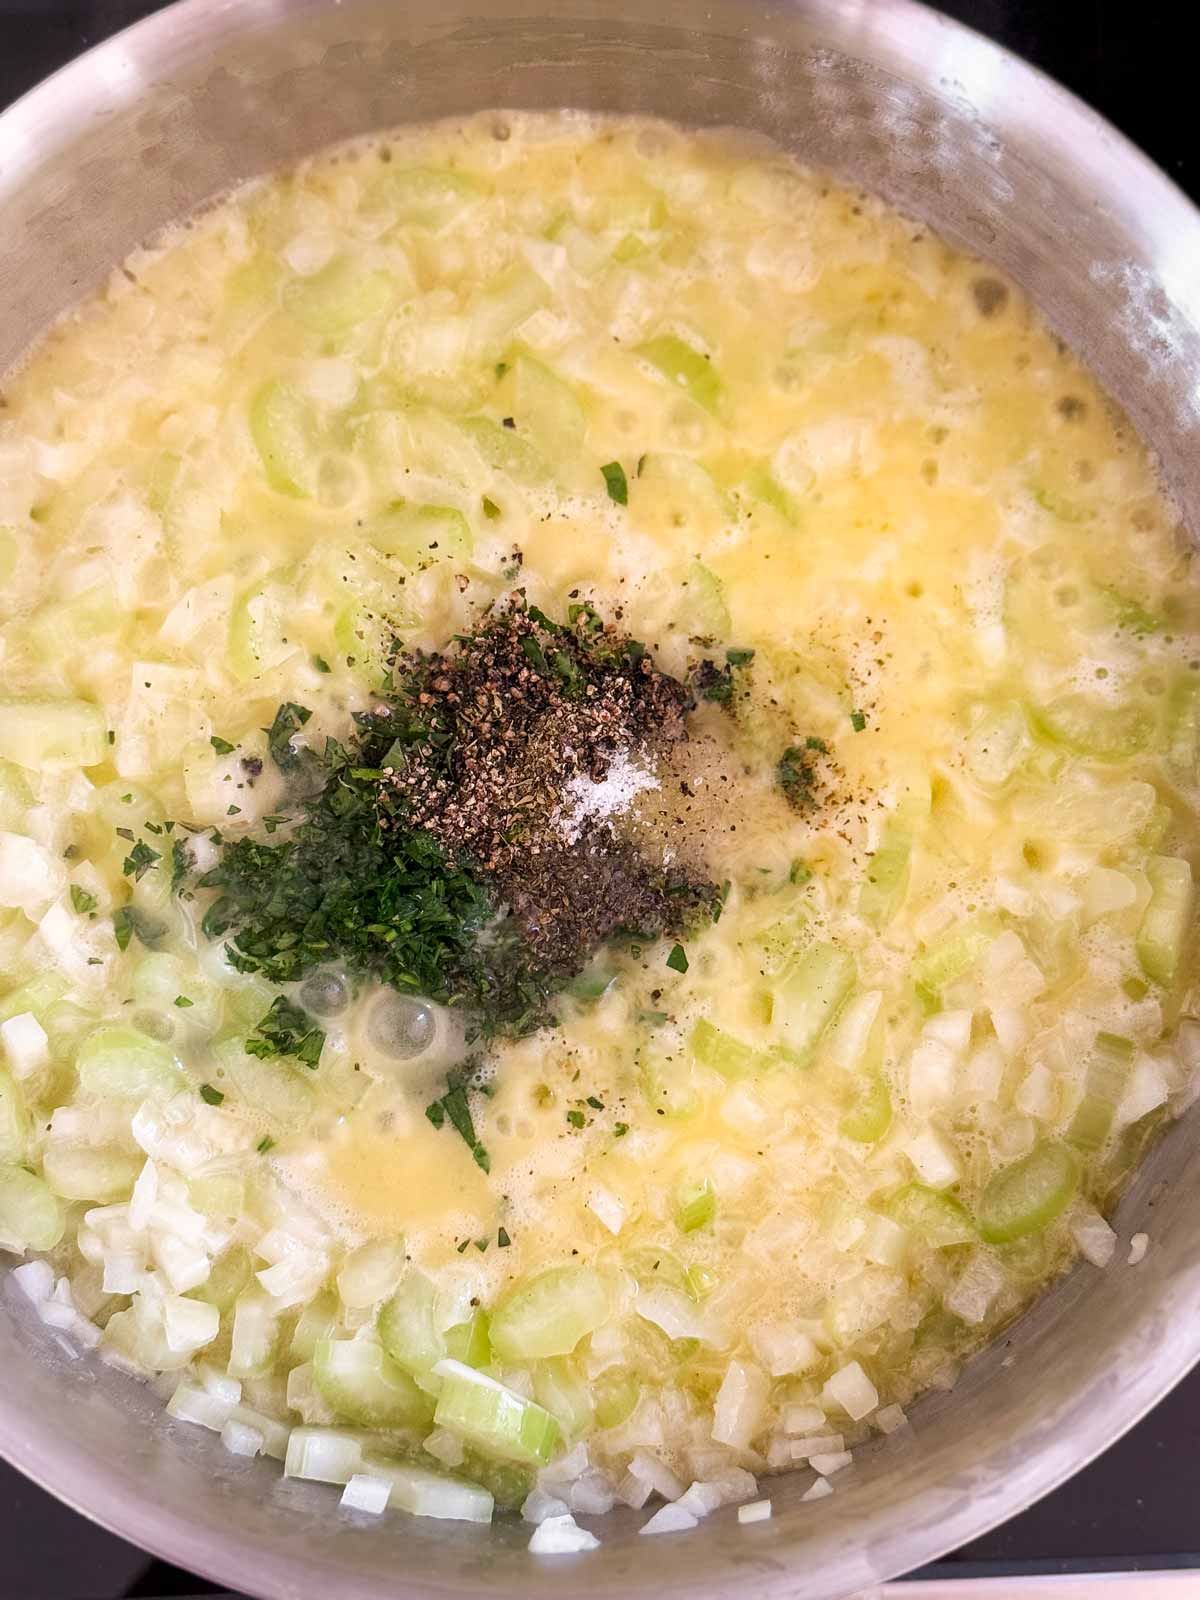
Cook the vegetables: Now, grab a large skillet and place it over medium heat. Add the butter – about ¾ cup, or 1.5 sticks – and let it melt slowly. Once it’s fully melted and starting to bubble slightly, it’s time to add the veggies.
Toss in the diced onions and celery. If you’ve already prepped them, you should have around 2.5 cups of onions and 2 cups of celery. These give our stuffing that classic savory flavor and add a bit of a bite.
Add the tablespoon of chopped fresh herbs as well—sage, thyme, and rosemary are great here, but feel free to use what you have on hand. Sprinkle in 1.5 teaspoons of poultry seasoning, 0.5 teaspoon of salt, and a few good twists of black pepper. Give it all a nice stir to coat the veggies evenly in the buttery goodness.
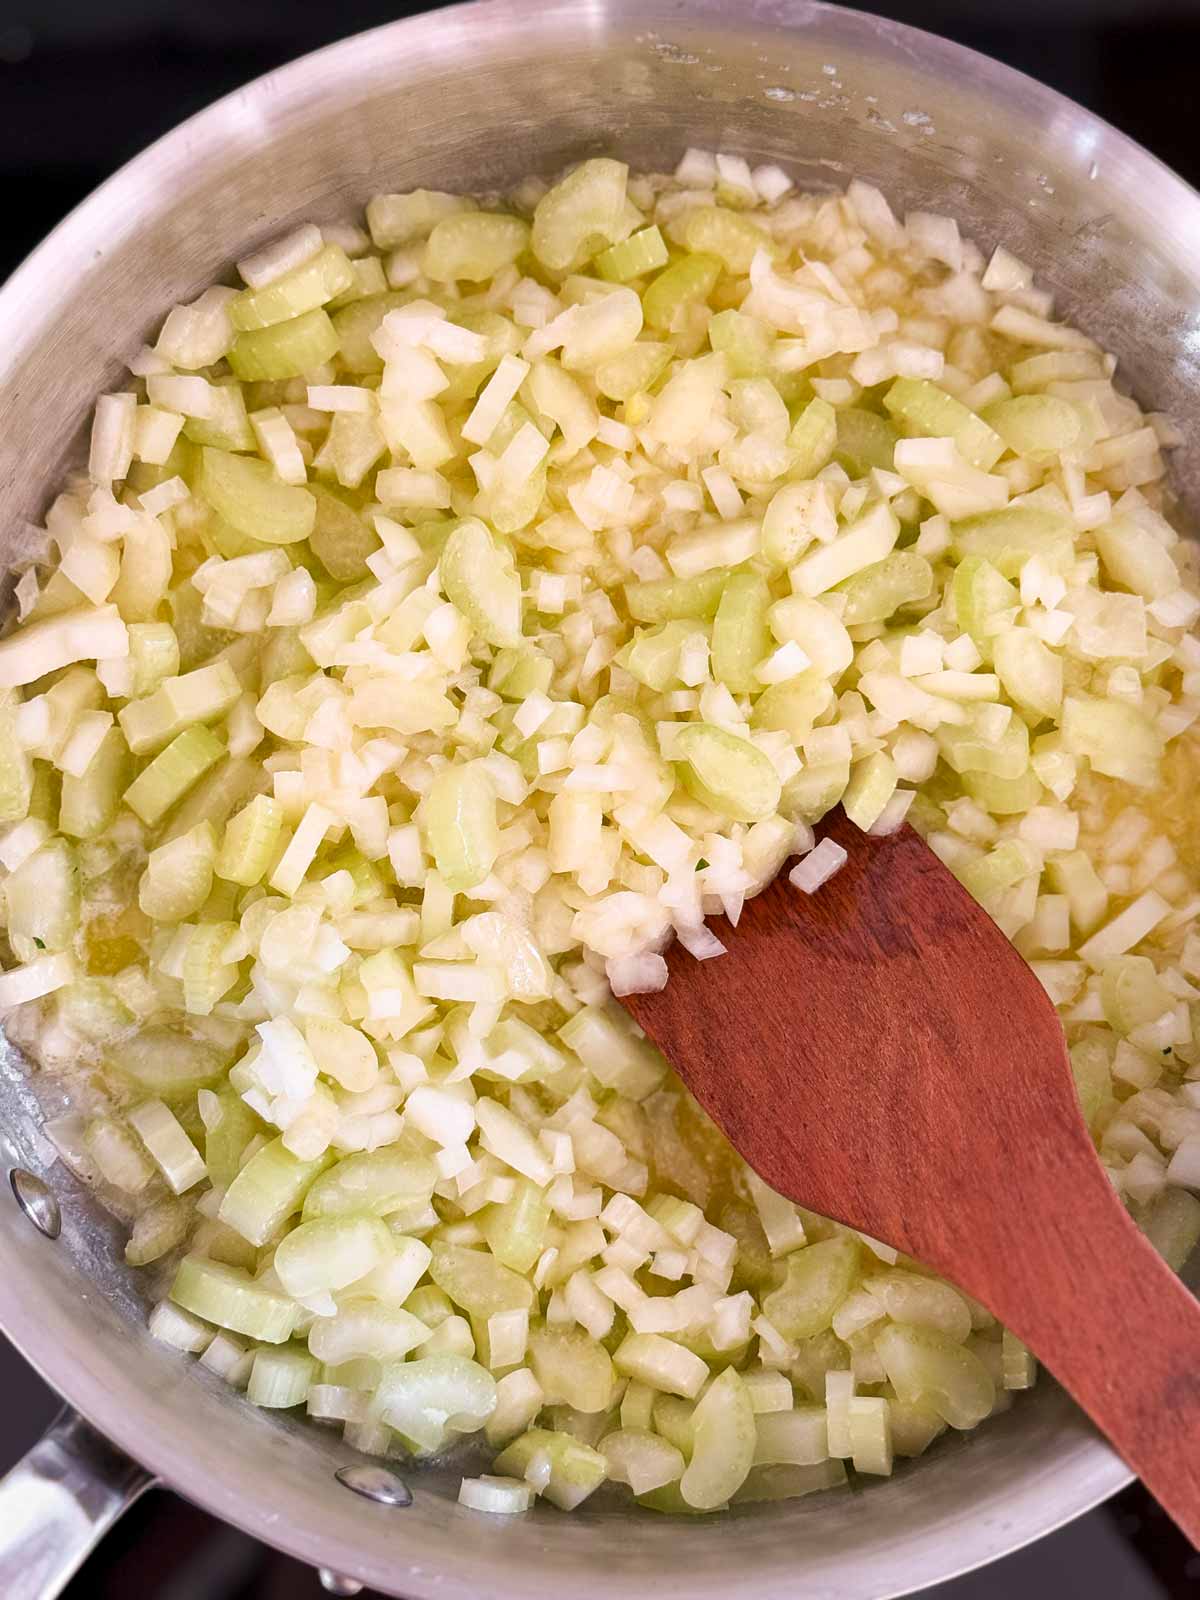
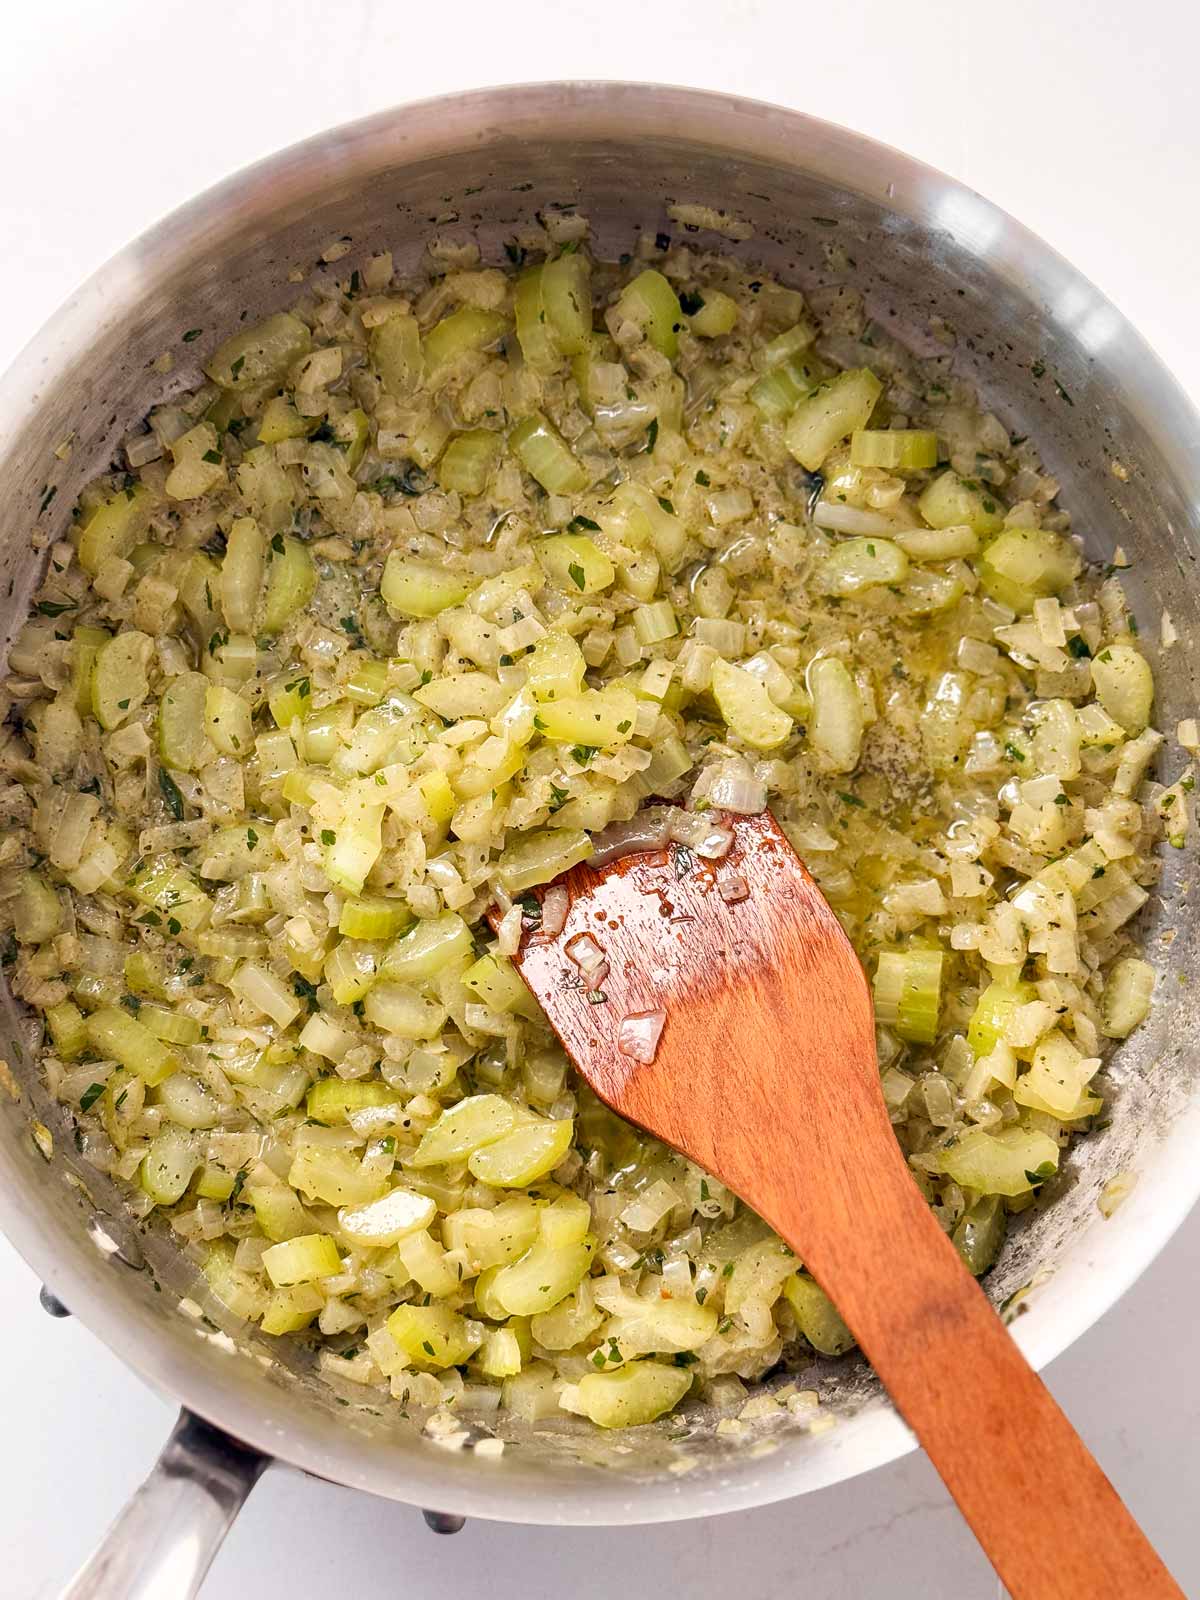
Now let the vegetables cook down, stirring occasionally to make sure nothing sticks. This will take about 10–12 minutes.
You’re looking for them to become soft and translucent, but not browned. They should be tender and fragrant, with the herbs releasing their lovely aromas into the butter. Trust me, your kitchen is going to smell amazing at this point!
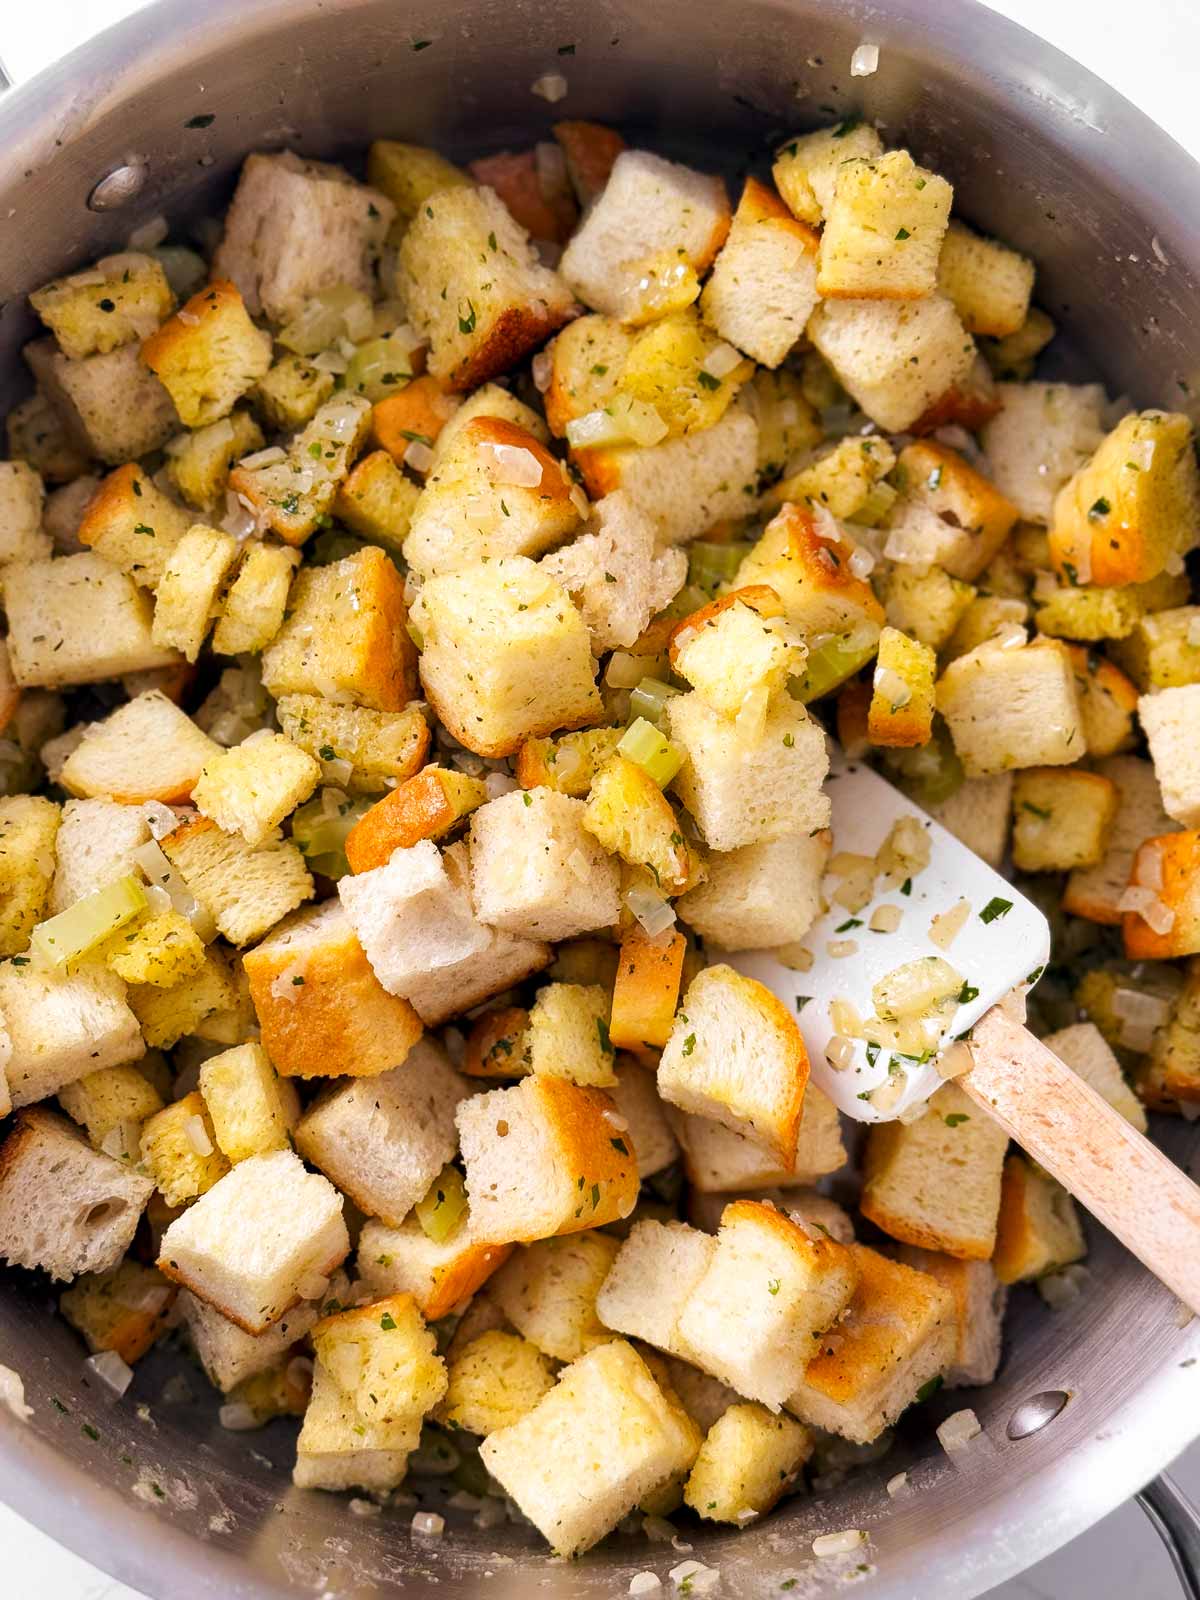
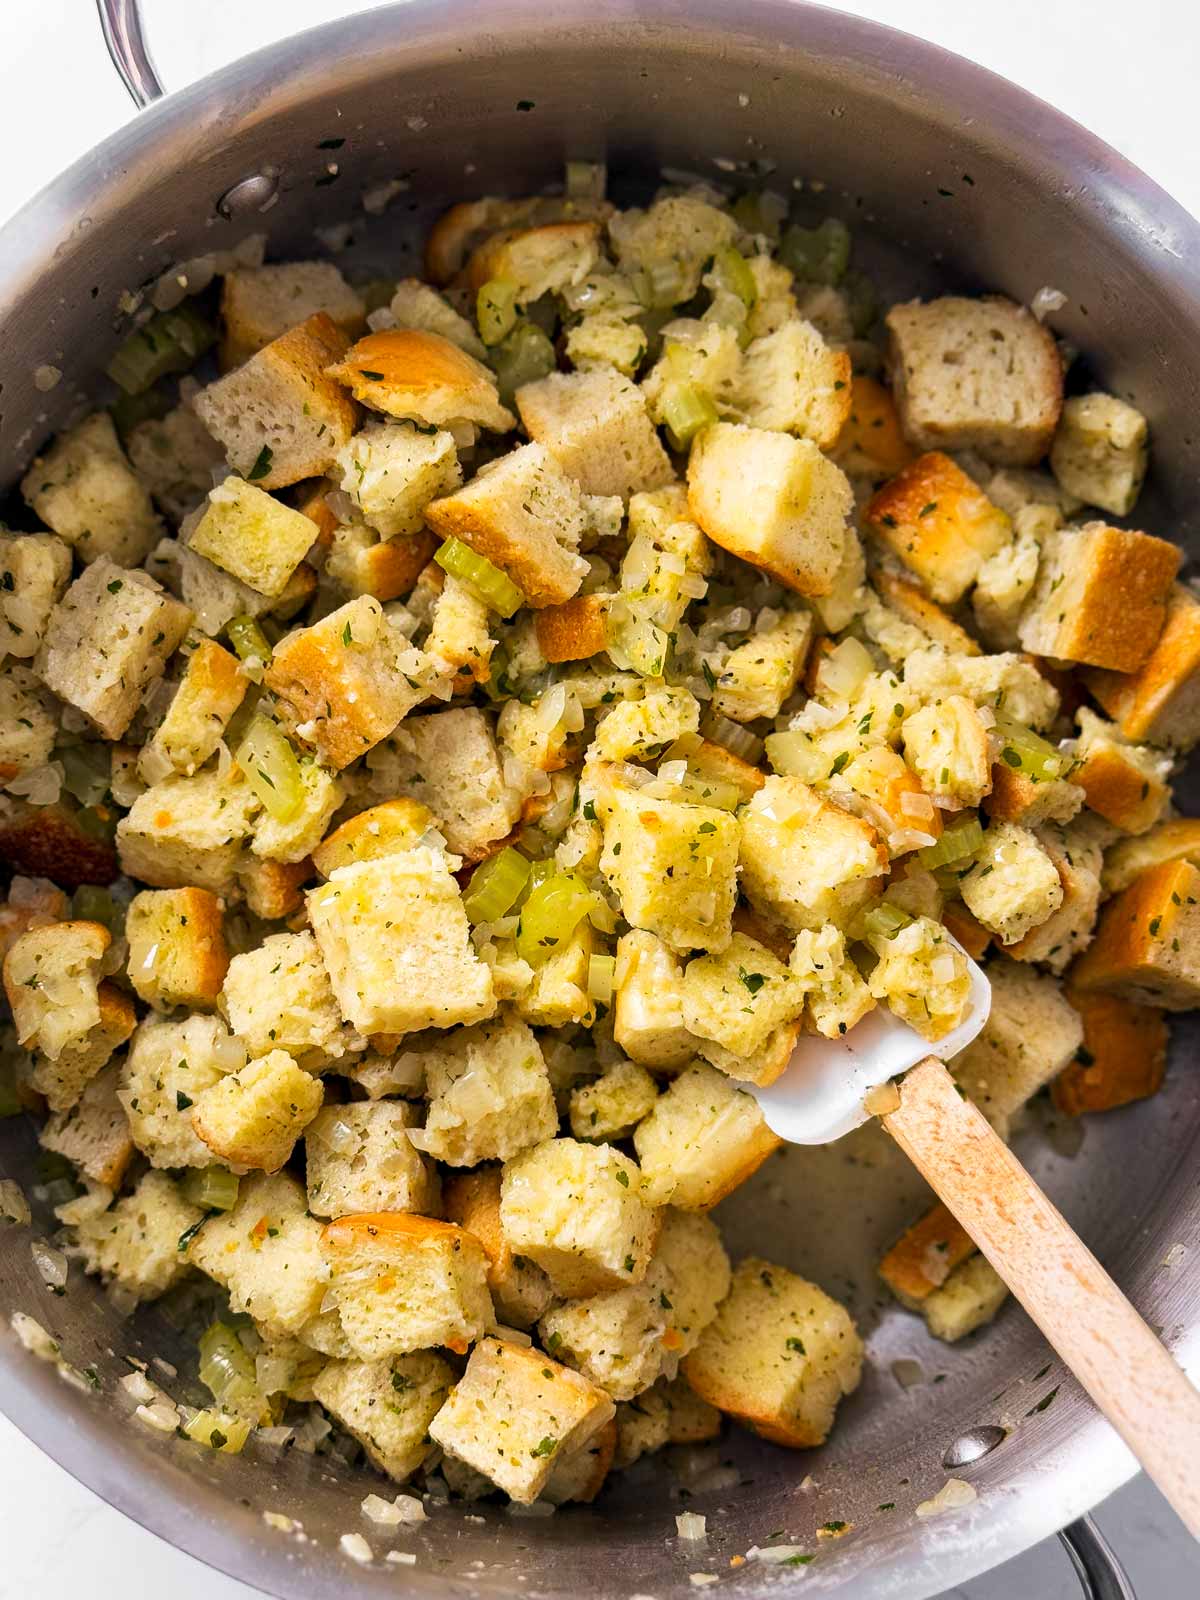
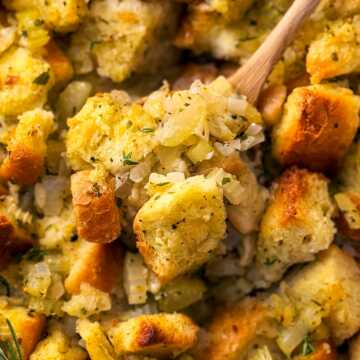
Combine with bread: When the veggies are perfectly softened, remove the skillet from the heat and carefully transfer everything into a large mixing bowl.
Next, add the 12 cups of dry bread cubes to the bowl. This can be any kind of bread you like—sourdough, whole wheat, or even a mix. If the bread cubes seem large, you can break them up a bit more with your hands to ensure everything mixes evenly.
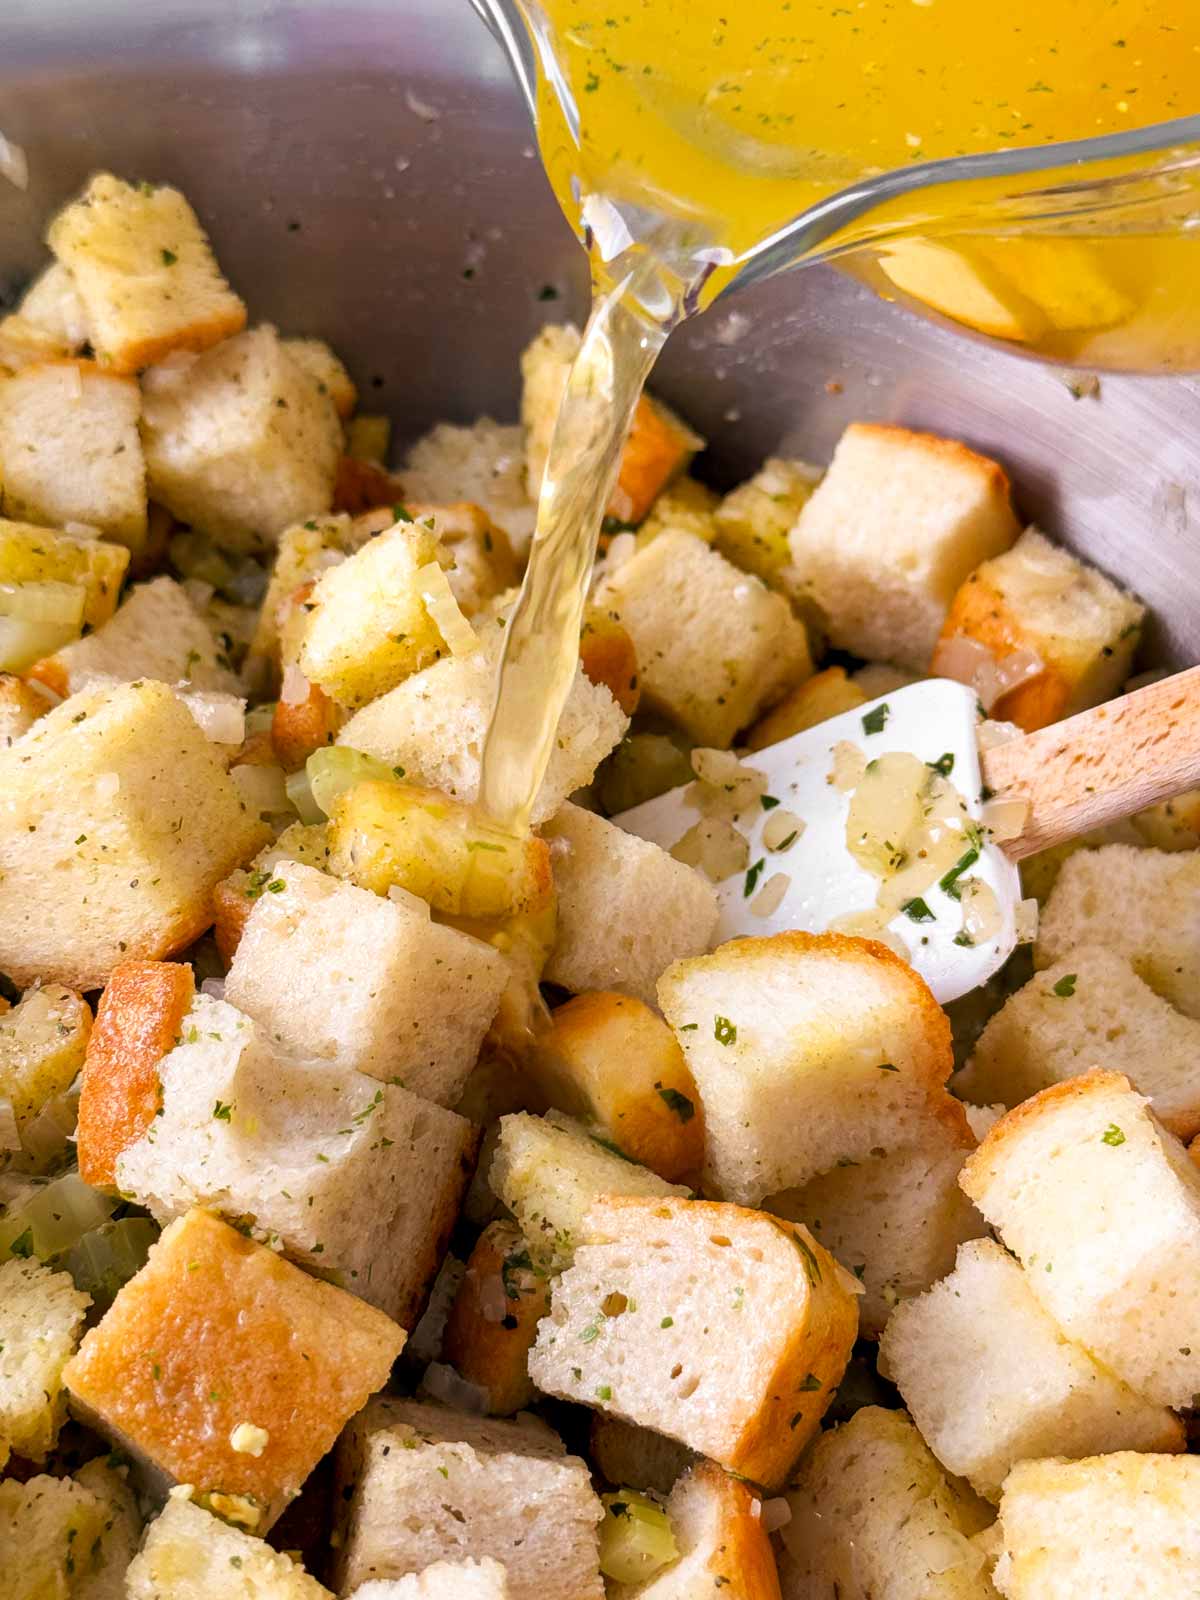
Now, it’s time to bring it all together. Slowly pour in the chicken stock, starting with about 2 cups. Use a spoon or your hands to gently mix the bread cubes and vegetables together, making sure the stock is evenly distributed.
Add more stock as needed until the bread is just moistened. You want the bread cubes to be soft but not mushy—the stuffing will firm up a bit as it bakes.
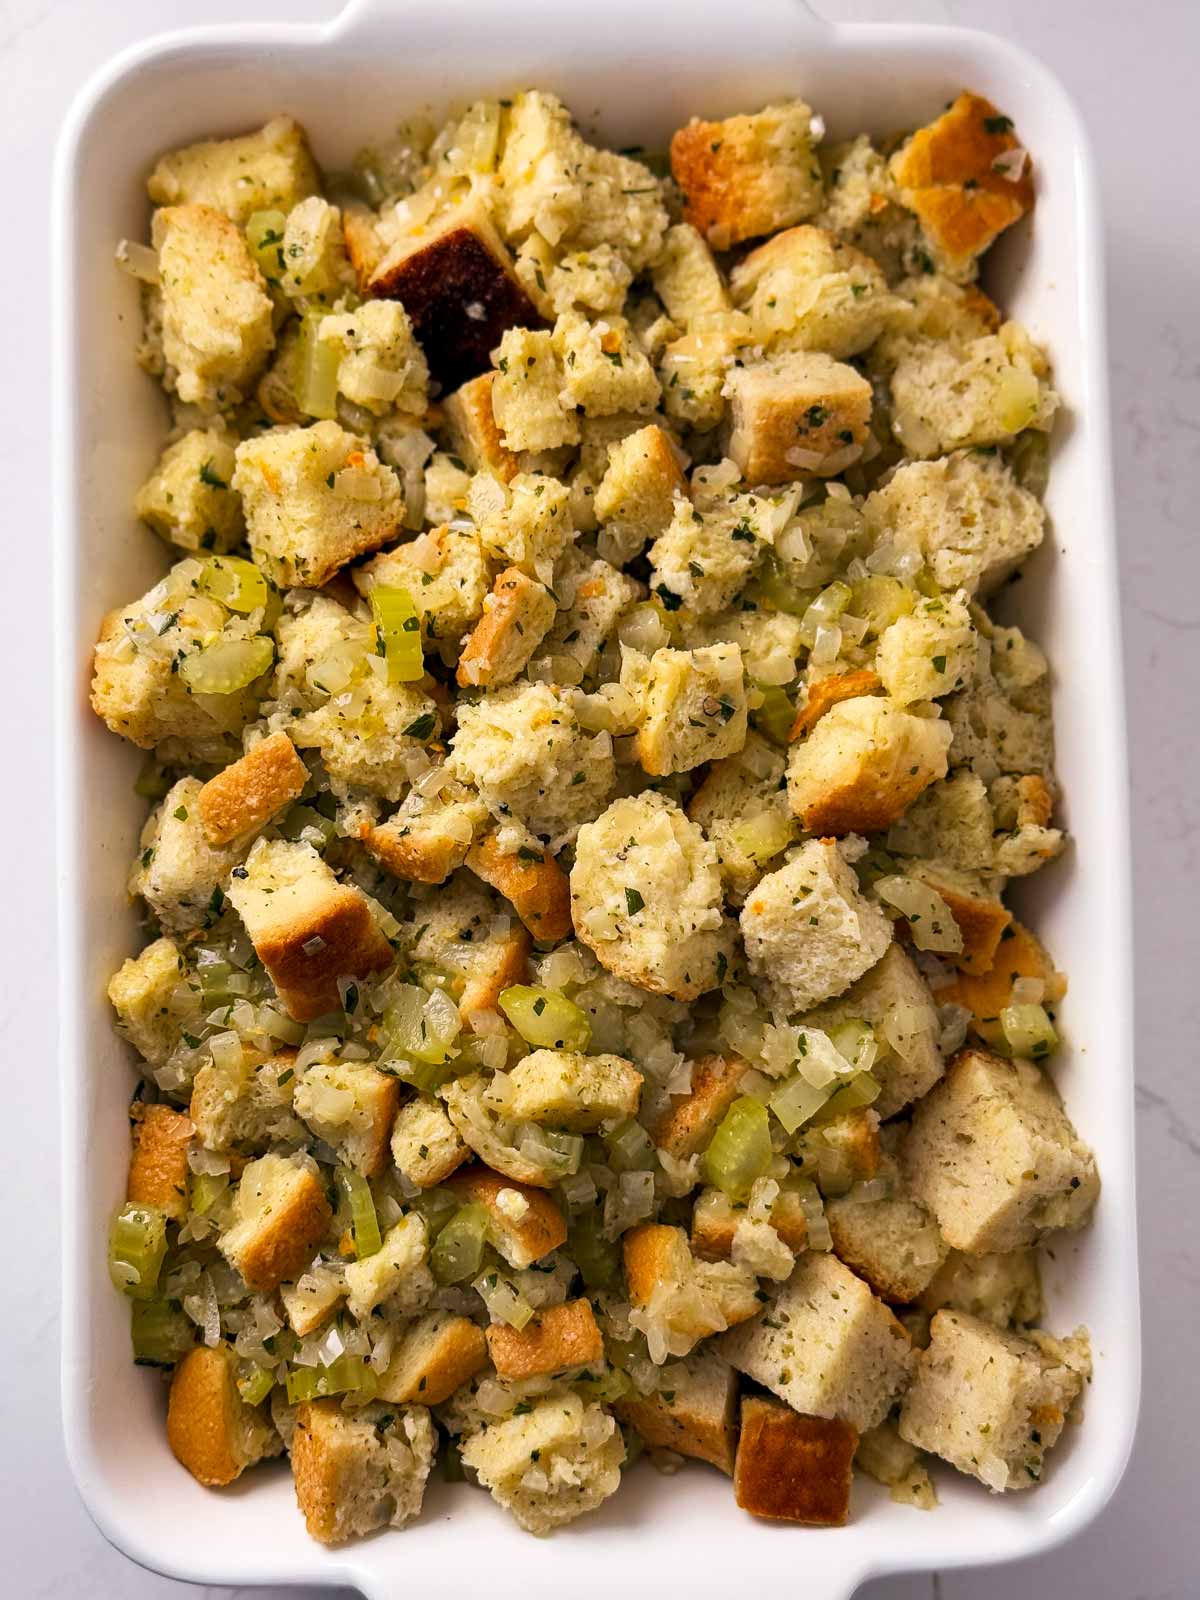
Once everything is combined, pour the stuffing mixture into a baking dish and spread it out evenly. Cover the dish with foil to keep it from drying out too quickly, and pop it in the oven. Set your timer for 35 minutes.
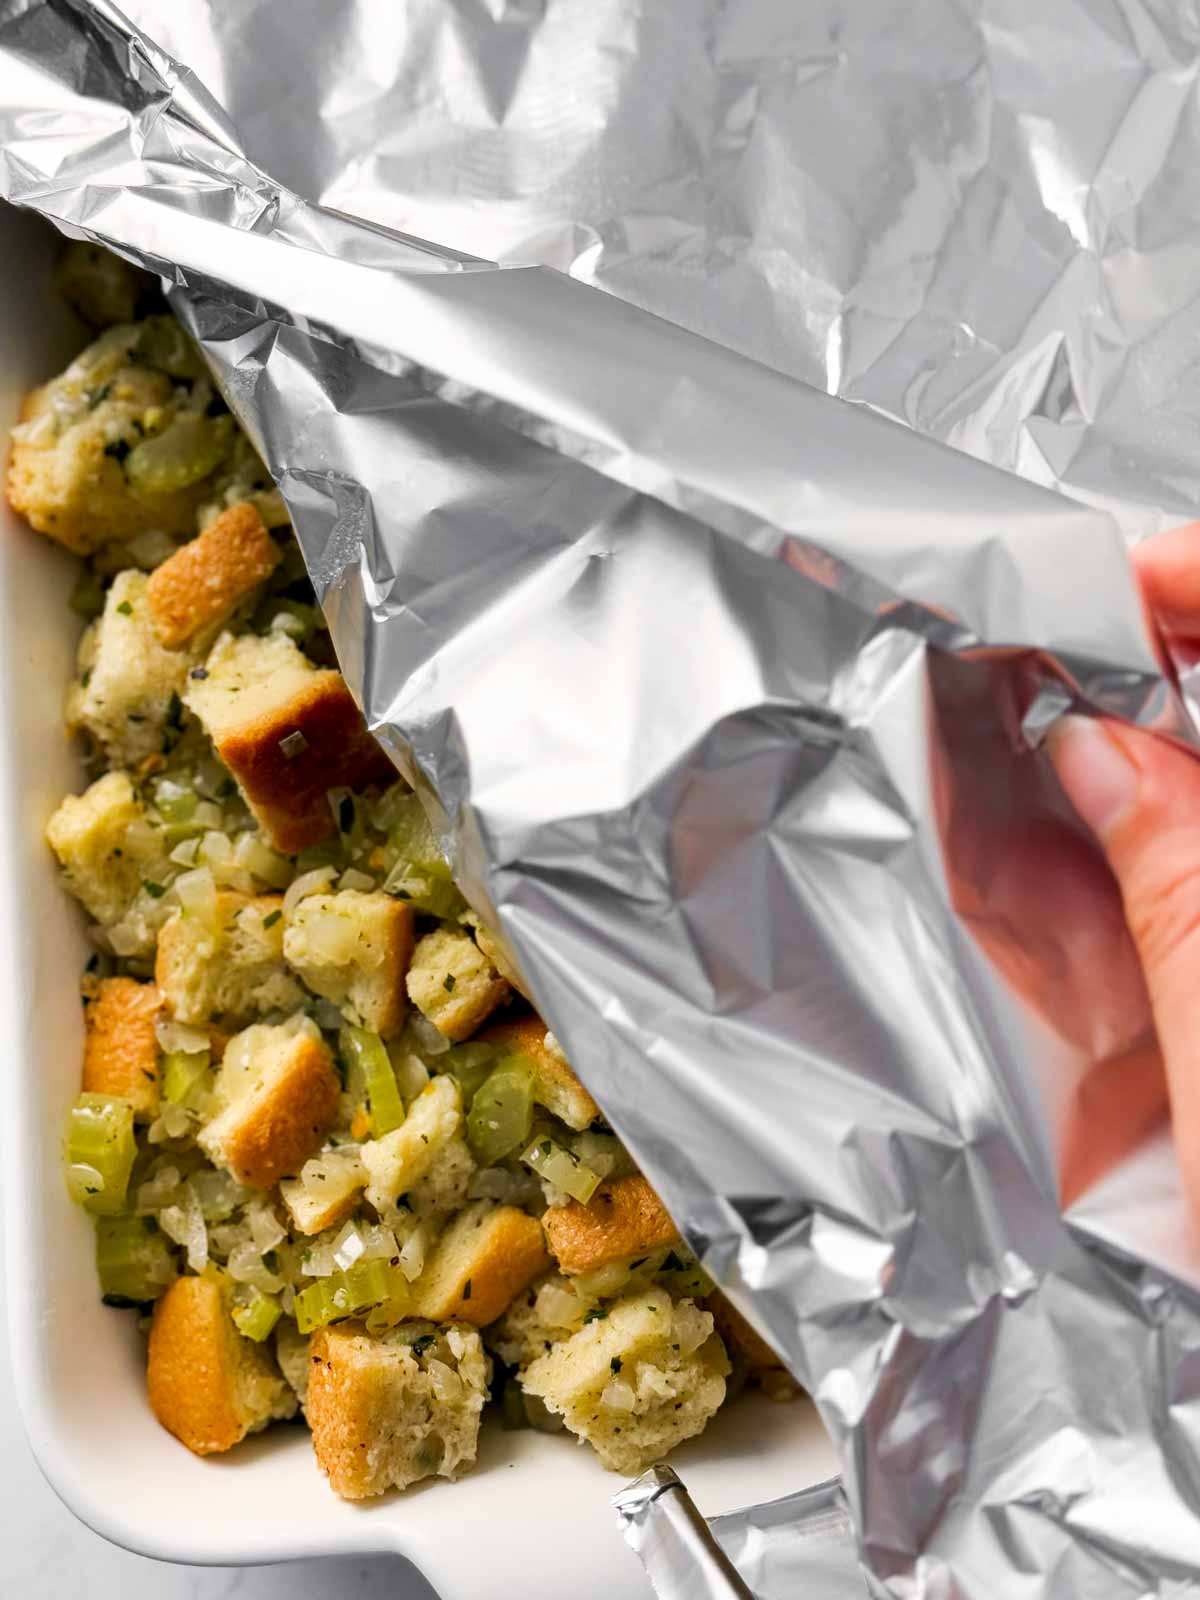
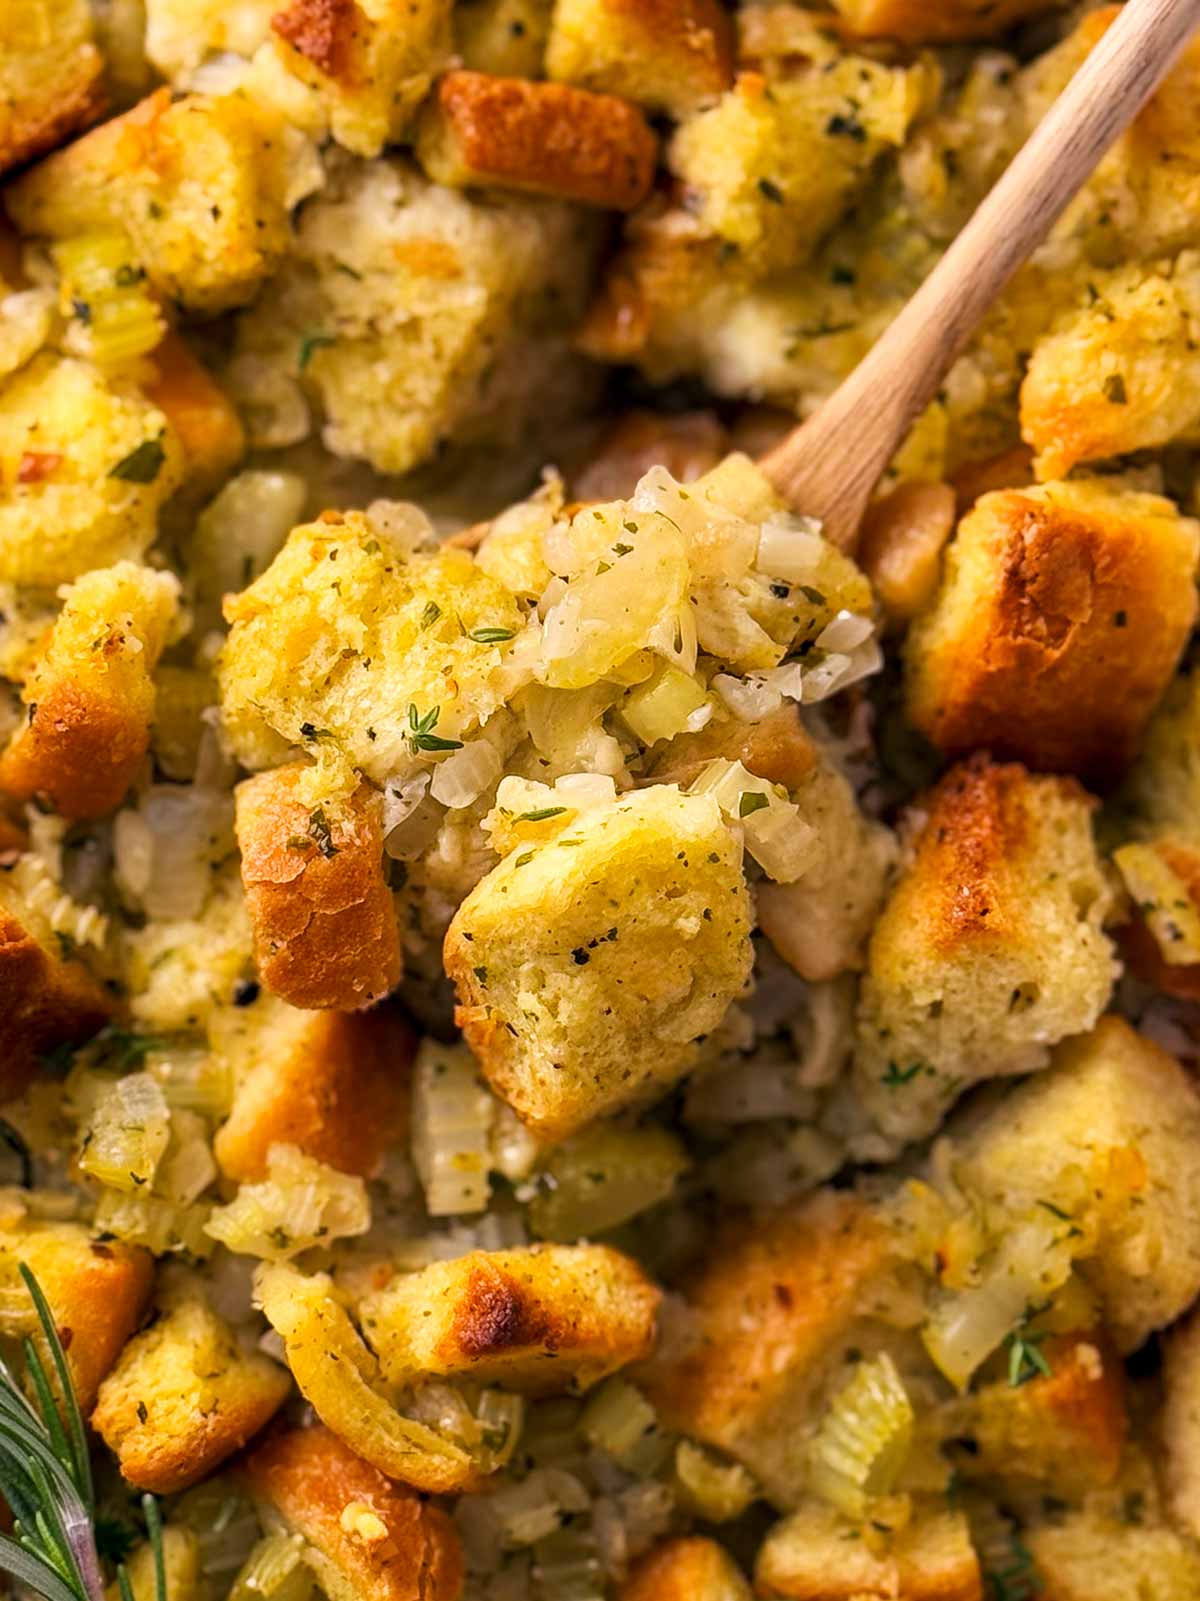
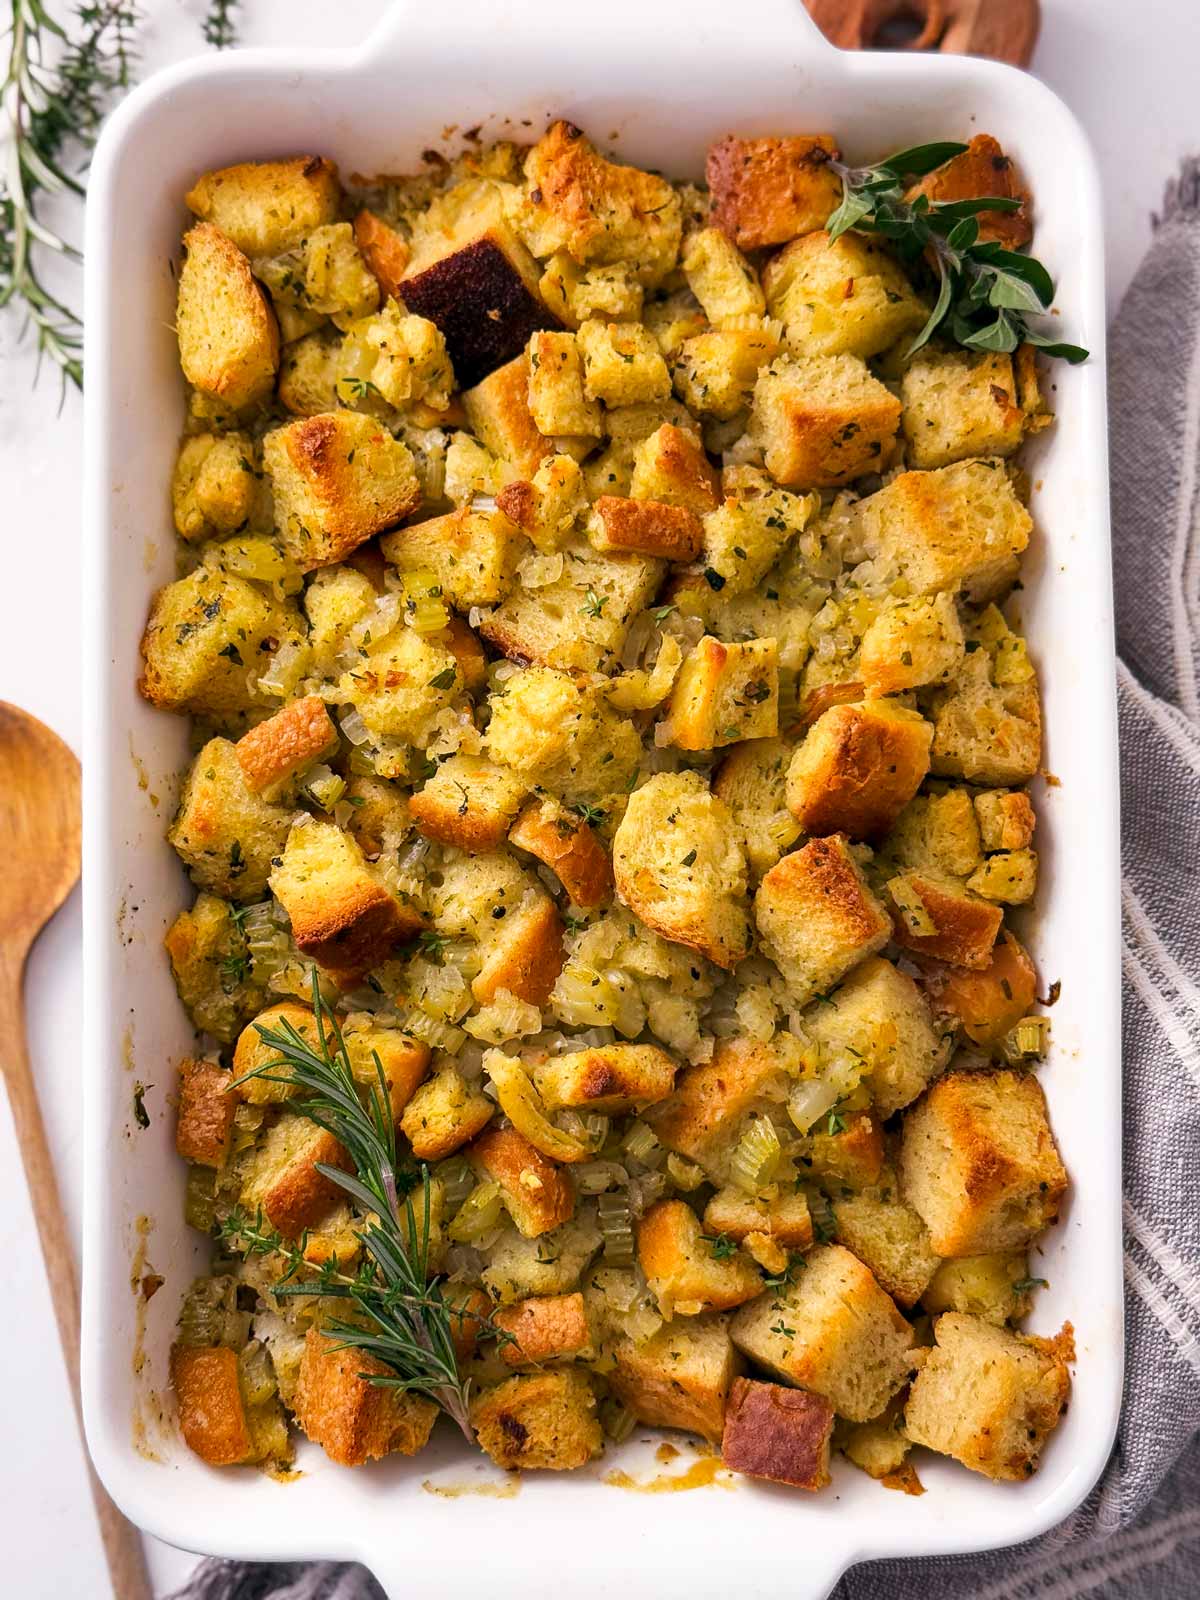
After 35 minutes, carefully remove the foil. The stuffing should look and smell fantastic already! Now, bake it uncovered for another 10–15 minutes. This will let the top get golden brown and a bit crispy, which adds a wonderful texture to each bite.
When it’s perfectly browned and the edges are crisp, pull the stuffing out of the oven. Let it sit for a few minutes to cool just slightly, and then serve it up with your favorite main dish. Enjoy every savory, buttery bite!
Top tips
- Use day-old bread: For the best texture, make sure your bread cubes are dry or a little stale; fresh bread can turn mushy in the stuffing.
- Cook veggies slowly: Take your time to let the onions and celery soften without browning. This gentle cooking brings out their natural sweetness and adds depth to the stuffing.
- Moisten, don’t soak: Add chicken stock a little at a time until the bread is evenly moistened. You want soft bread cubes, not soggy ones!
- Bake covered, then uncovered: Covering first keeps it moist; uncovering at the end lets the top get golden and crispy for the perfect texture.
- Taste and adjust seasoning: Before baking, give the mixture a little taste and add more salt or pepper if needed—this is the key to a flavorful stuffing!
Helpful recipe hints
Recipe Variations
- Sausage Stuffing: Brown ½ pound of crumbled sausage in the skillet before adding the vegetables. The savory sausage flavor pairs beautifully with the herbs.
- Mushroom and Herb Stuffing: Add 1 cup of sliced mushrooms along with the onions and celery for an earthy, rich addition. Mushrooms add great texture and depth.
- Apple and Pecan Stuffing: Stir in 1 cup of diced apples and ½ cup of chopped pecans for a hint of sweetness and crunch. This adds a lovely fall-inspired twist.
- Cranberry and Walnut Stuffing: Mix in ½ cup dried cranberries and ½ cup chopped walnuts for a sweet-tart and nutty combination. Perfect for a holiday touch!
- Gluten-Free Stuffing: Substitute gluten-free bread cubes and check that your poultry seasoning is gluten-free. Just as delicious with a bit of texture from the bread!
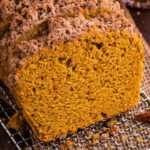
- Cornbread Stuffing: Use half cornbread and half regular bread cubes for a Southern-inspired take that’s slightly sweet and hearty.
Storage tips
Make-ahead options:
You can prepare the stuffing up to the baking step a day in advance. Simply cover the unbaked stuffing tightly and store it in the fridge.
When you’re ready to bake, let it sit at room temperature for about 15–20 minutes, then bake as directed.
Freezer instructions:
Stuffing freezes well! After baking, let it cool completely, then transfer it to an airtight container or freezer-safe bag. It can stay in the freezer for up to 2 months.
To reheat, thaw overnight in the fridge, then warm in a covered baking dish at 350°F for about 20–25 minutes, uncovering for the last 5 minutes to get the top crispy.
Storage & reheating leftovers:
Leftovers can be refrigerated in an airtight container for up to 4 days.
To reheat, place in a baking dish covered with foil and warm in the oven at 350°F until heated through, about 15–20 minutes. For individual servings, the microwave works too—just heat in short intervals to keep it moist!
Serving ideas
This classic herb stuffing is a star on any holiday table, but it also pairs beautifully with weeknight dinners! Serve it alongside turkey breast, roasted chicken, or even a pork tenderloin or baked chicken breast for a cozy meal.
For a lighter option, pair it with a simple roasted vegetable medley or a fresh green salad to balance the rich flavors. Try my lemon vinaigrette dressing! It’s also fantastic with a drizzle of homemade gravy or a spoonful of cranberry sauce on top.
And if you’re feeling creative, try using leftover stuffing to make stuffing muffins – it’s a fun way to enjoy it all over again.
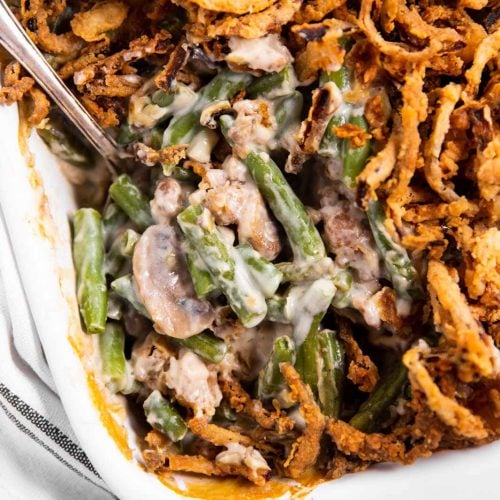
More holiday sides to try


PS If you try this recipe, please leave a review in the comment section and add a star rating in the recipe card – I appreciate your feedback! Follow along on Pinterest, Facebook or Instagram.
Classic Stuffing
Recipe details
Ingredients
- ¾ cup butter (1.5 sticks)
- 2 medium onions diced (about 2.5 cups)
- 4 ribs celery diced (about 2 cups)
- 1 tablespoon fresh herbs chopped (such as sage, thyme, or rosemary)
- 1.5 teaspoons poultry seasoning
- 0.5 teaspoon salt
- ground black pepper to taste
- 12 cups dry bread cubes
- 2 cups chicken broth or up to 2 cups more as needed!
Instructions
- Prep: Preheat oven to 350°F. Grease a 9×13 inch baking dish.
- Cook vegetables: Melt butter in a large skillet over medium heat. Add diced onions, celery, fresh herbs, poultry seasoning, salt, and pepper. Sauté until vegetables are softened, about 10–12 minutes.
- Combine with bread: Transfer vegetable mixture to a large mixing bowl and add bread cubes, tossing to combine.
- Add chicken broth: Gradually pour in enough chicken broth to moisten the bread evenly, stirring gently. Bread should be moistened, but not soggy!
- Bake: Transfer stuffing to prepared casserole dish, cover with aluminum foil, and bake for 35 minutes. Uncover and bake for an additional 10–15 minutes, until the top is golden and crispy.
Notes
Ingredient notes
- Use day-old or dry bread for the best texture. If not available, dry bread cubes for 10 minutes in oven at 350°F
- Substitute vegetable stock for chicken stock for a vegetarian version
- Fresh or dried herbs work—1 tsp dried = 1 tbsp fresh
- Cook veggies slowly for deeper flavor – no rushing this step!
- Add stock gradually to avoid soggy stuffing
- Bake covered first, then uncover to crisp the top
- Refrigerate leftovers up to 4 days
- Freeze baked stuffing for up to 2 months; thaw and reheat at 350°F
- Prep ahead: Assemble unbaked stuffing, refrigerate, and bake the next day


HR Quilter says
My family loved this recipe! It’s now replacing my late mother-in-law’s recipe. I used dried herbs instead of fresh – sage, thyme, garlic, and rosemary.