
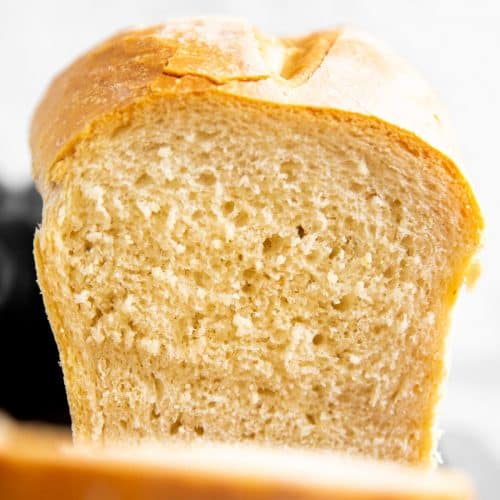
The foolproof way to make yeast dough – easy, with lots of variations and a delicious outcome every time!
For a very long time I was intimidated by yeast doughs. They wouldn’t rise, they would taste awful and it was all just a very humbling experience. But then I found the Holy Grail of Yeast – my grandma. And today I’ll share her magic with you!
? Step by step
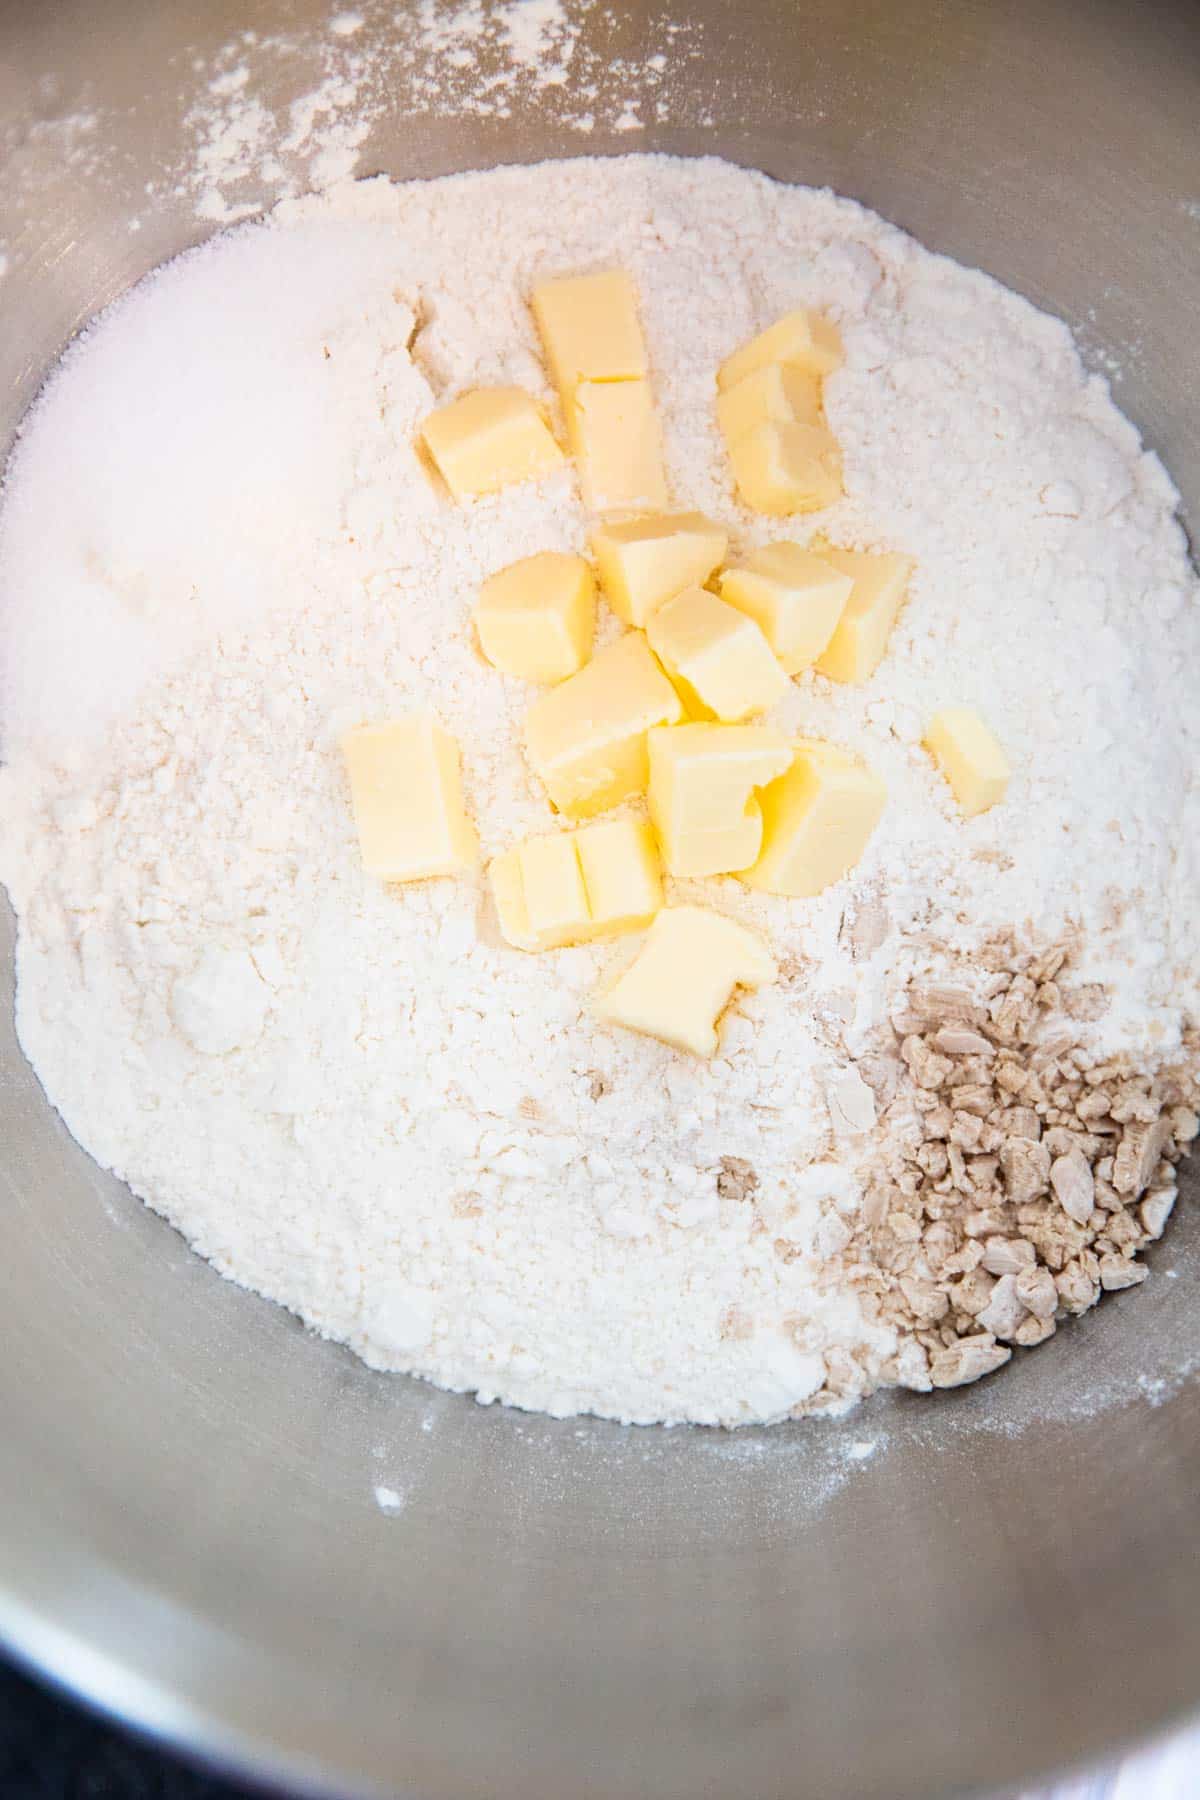
1 Add flour, yeast and salt to the bowl of your stand mixer. If your recipe calls for softened butter, add it now.
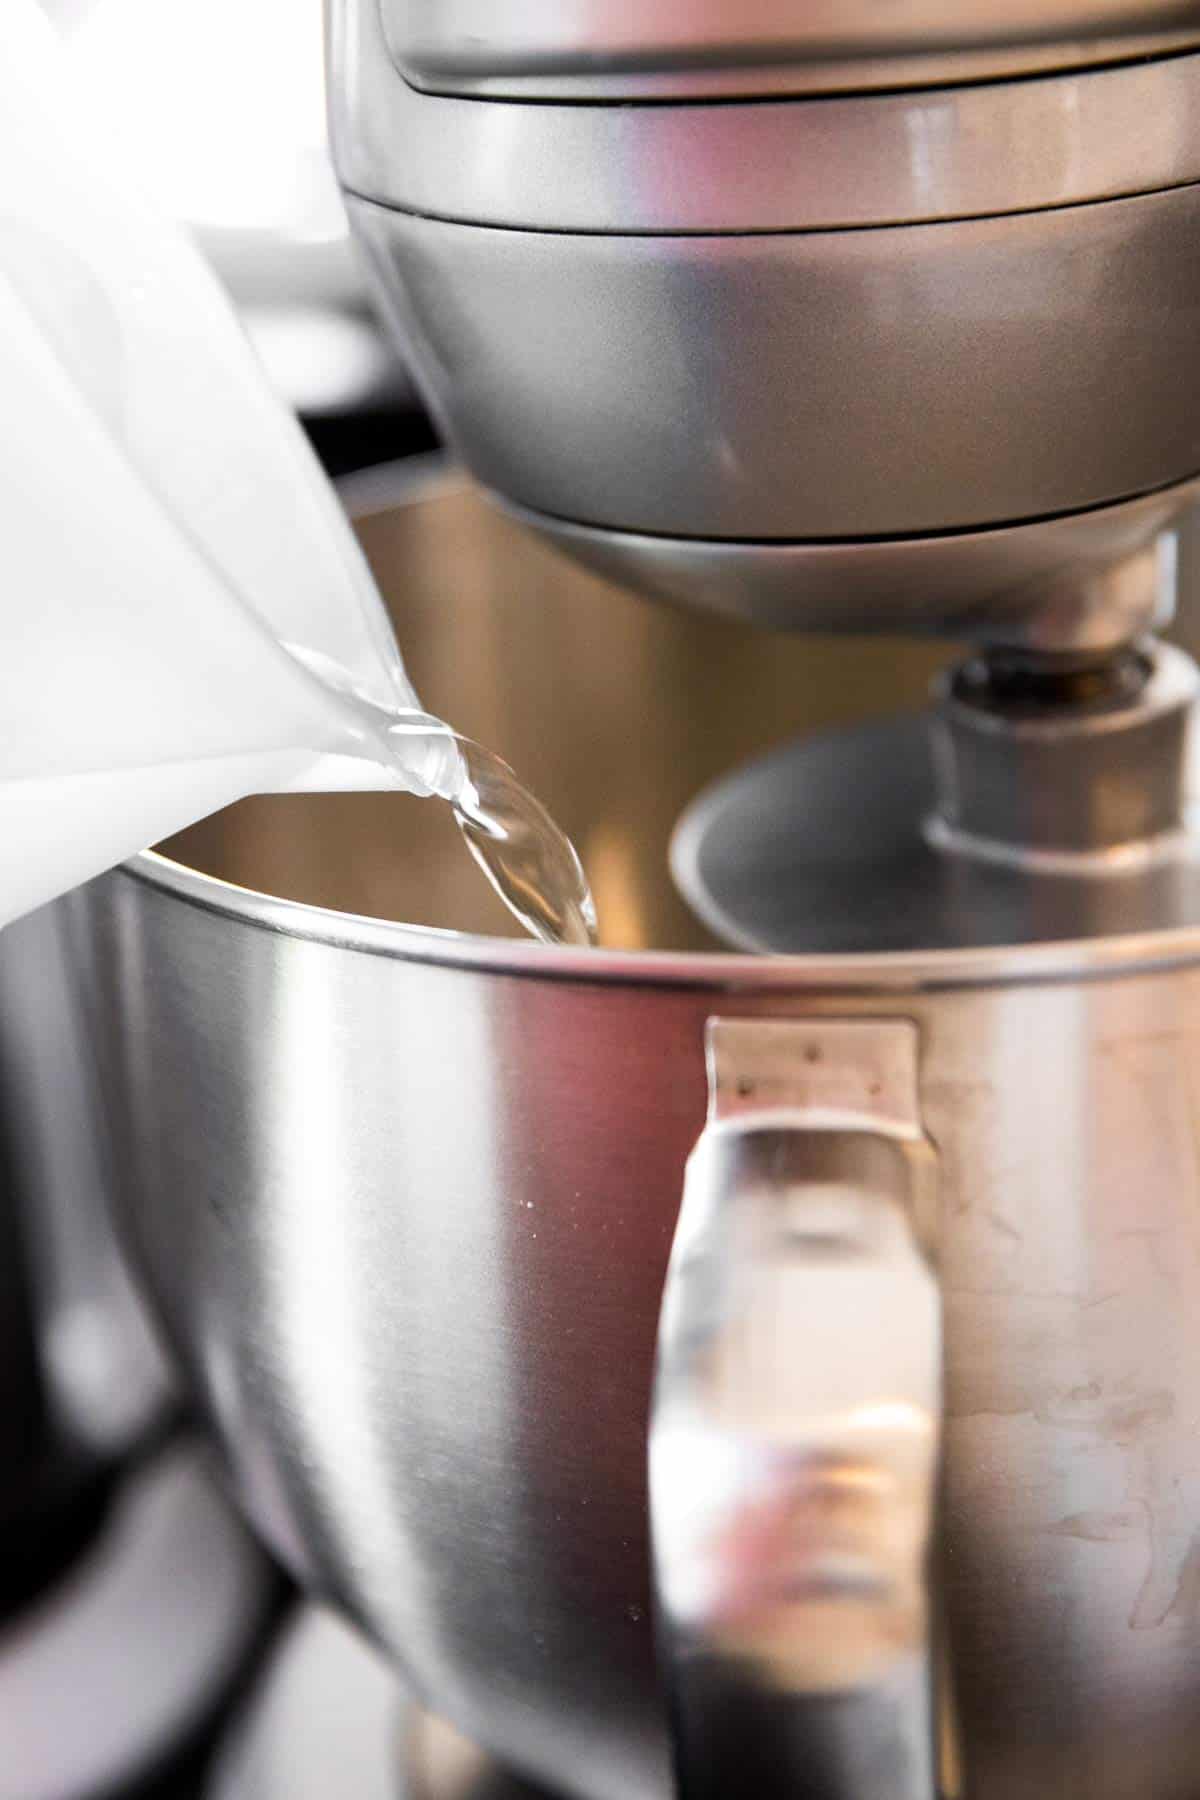
2 Start the mixer, then slowly pour the liquid into the bowl as the mixer is running. If your recipe calls for melted butter, egg yolks or sugar – I like it best to whisk them into the liquid before pouring it into the flour mix.
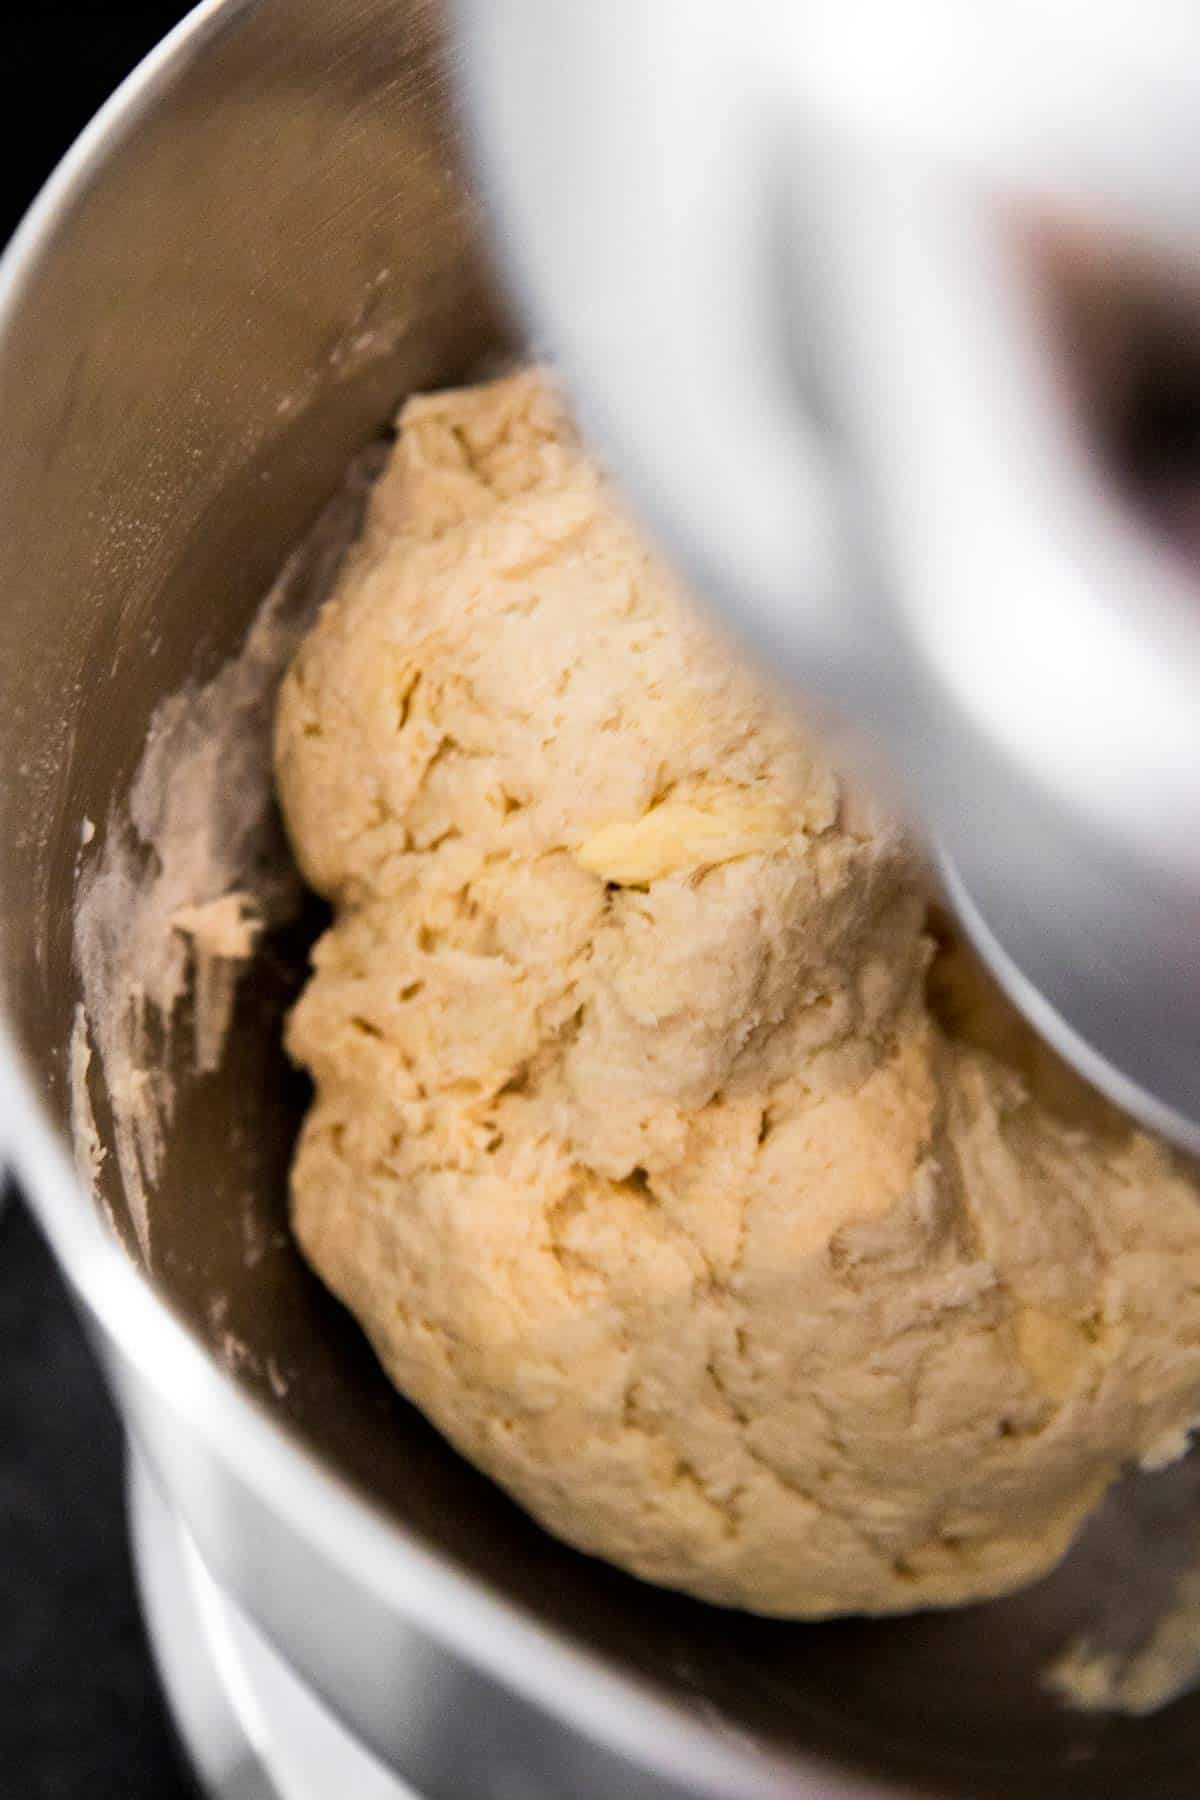
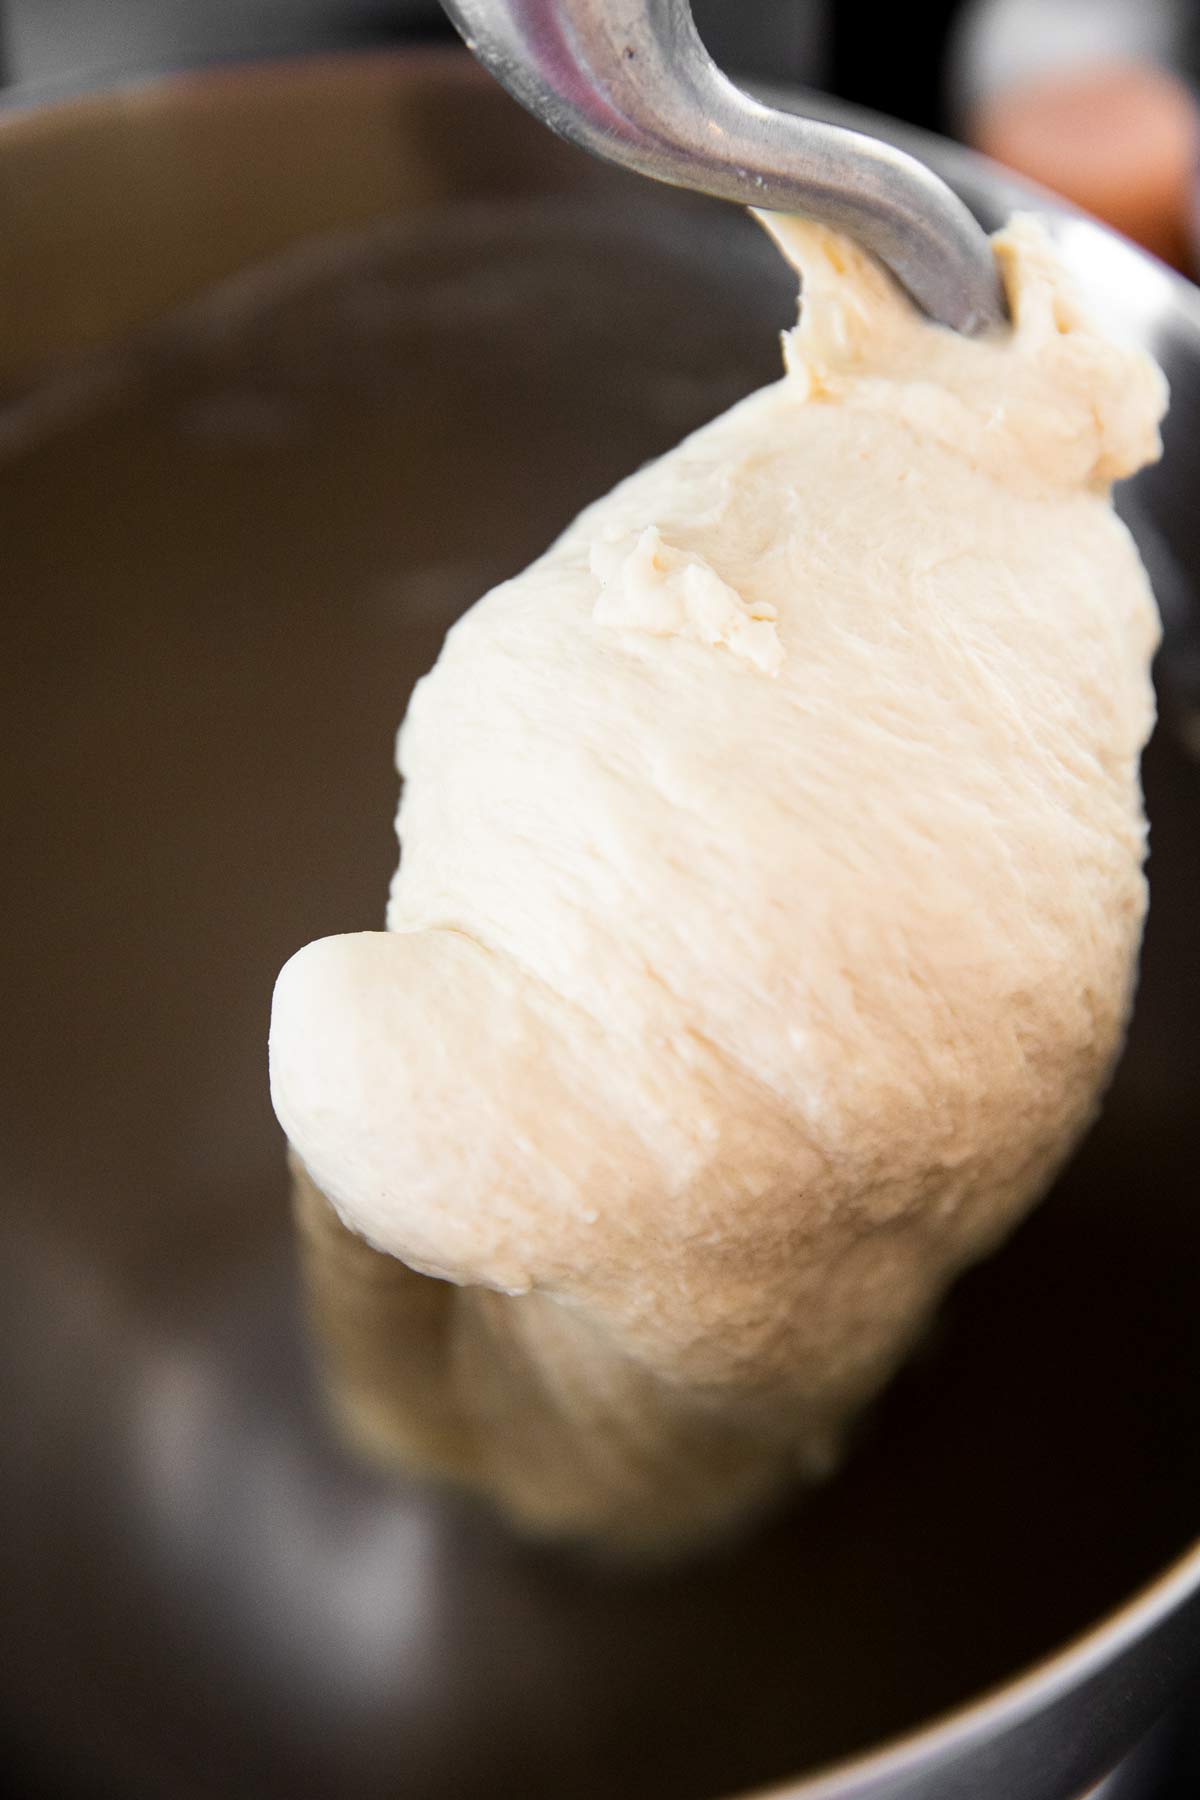
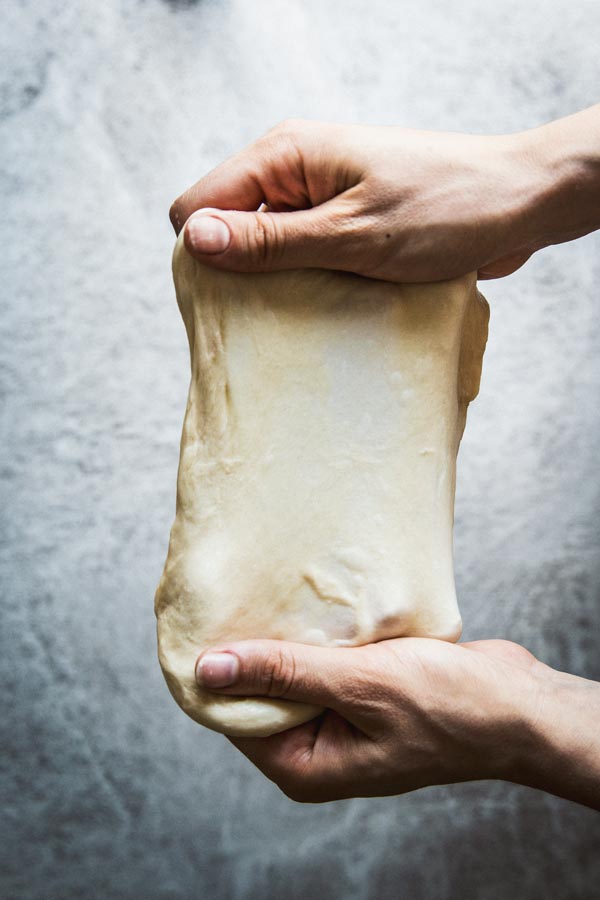
3 Knead the dough for about 5 minutes. At first it will look scraggly, but keep going until it is soft and pliable. You should be able to do a “window pane test” – stretch a small piece of dough thin enough so you can see through it. If the dough breaks easily, it needs more kneading to activate the gluten.
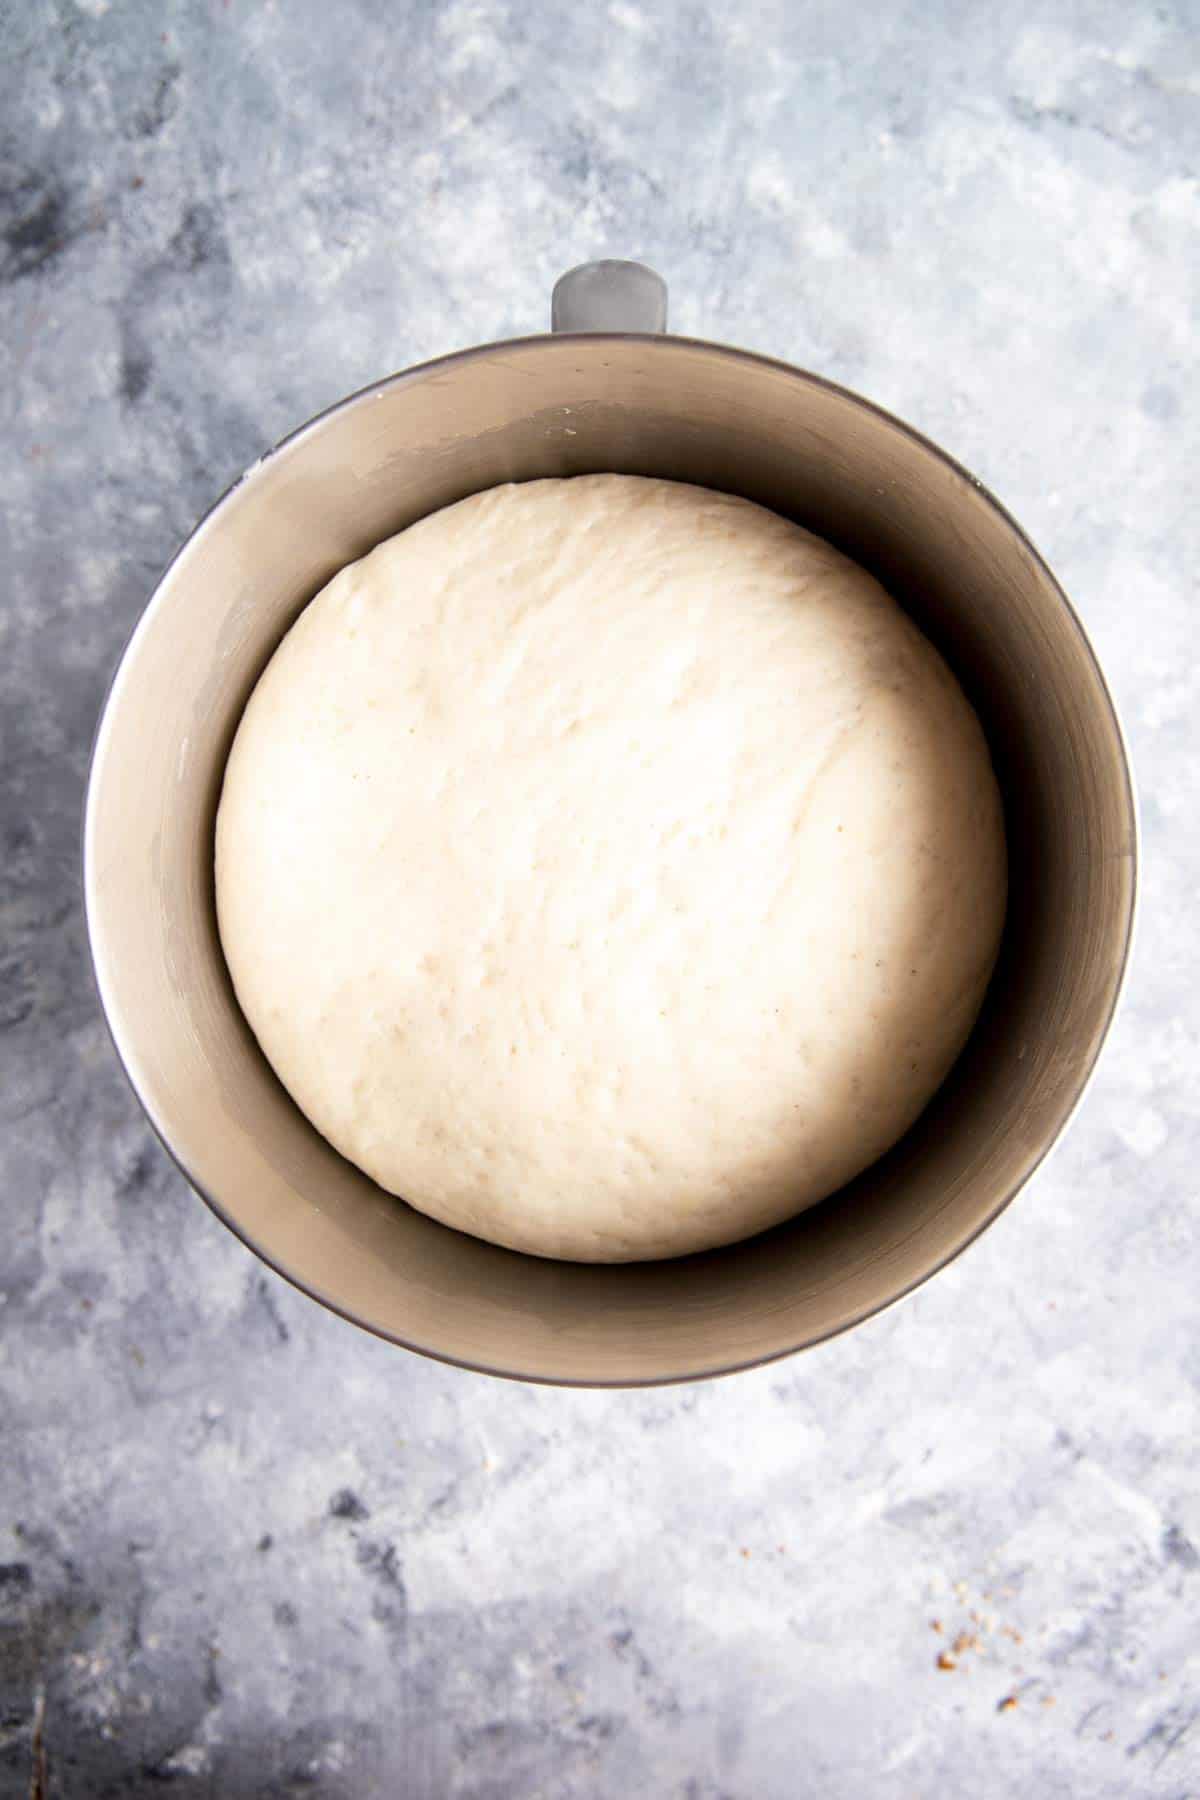
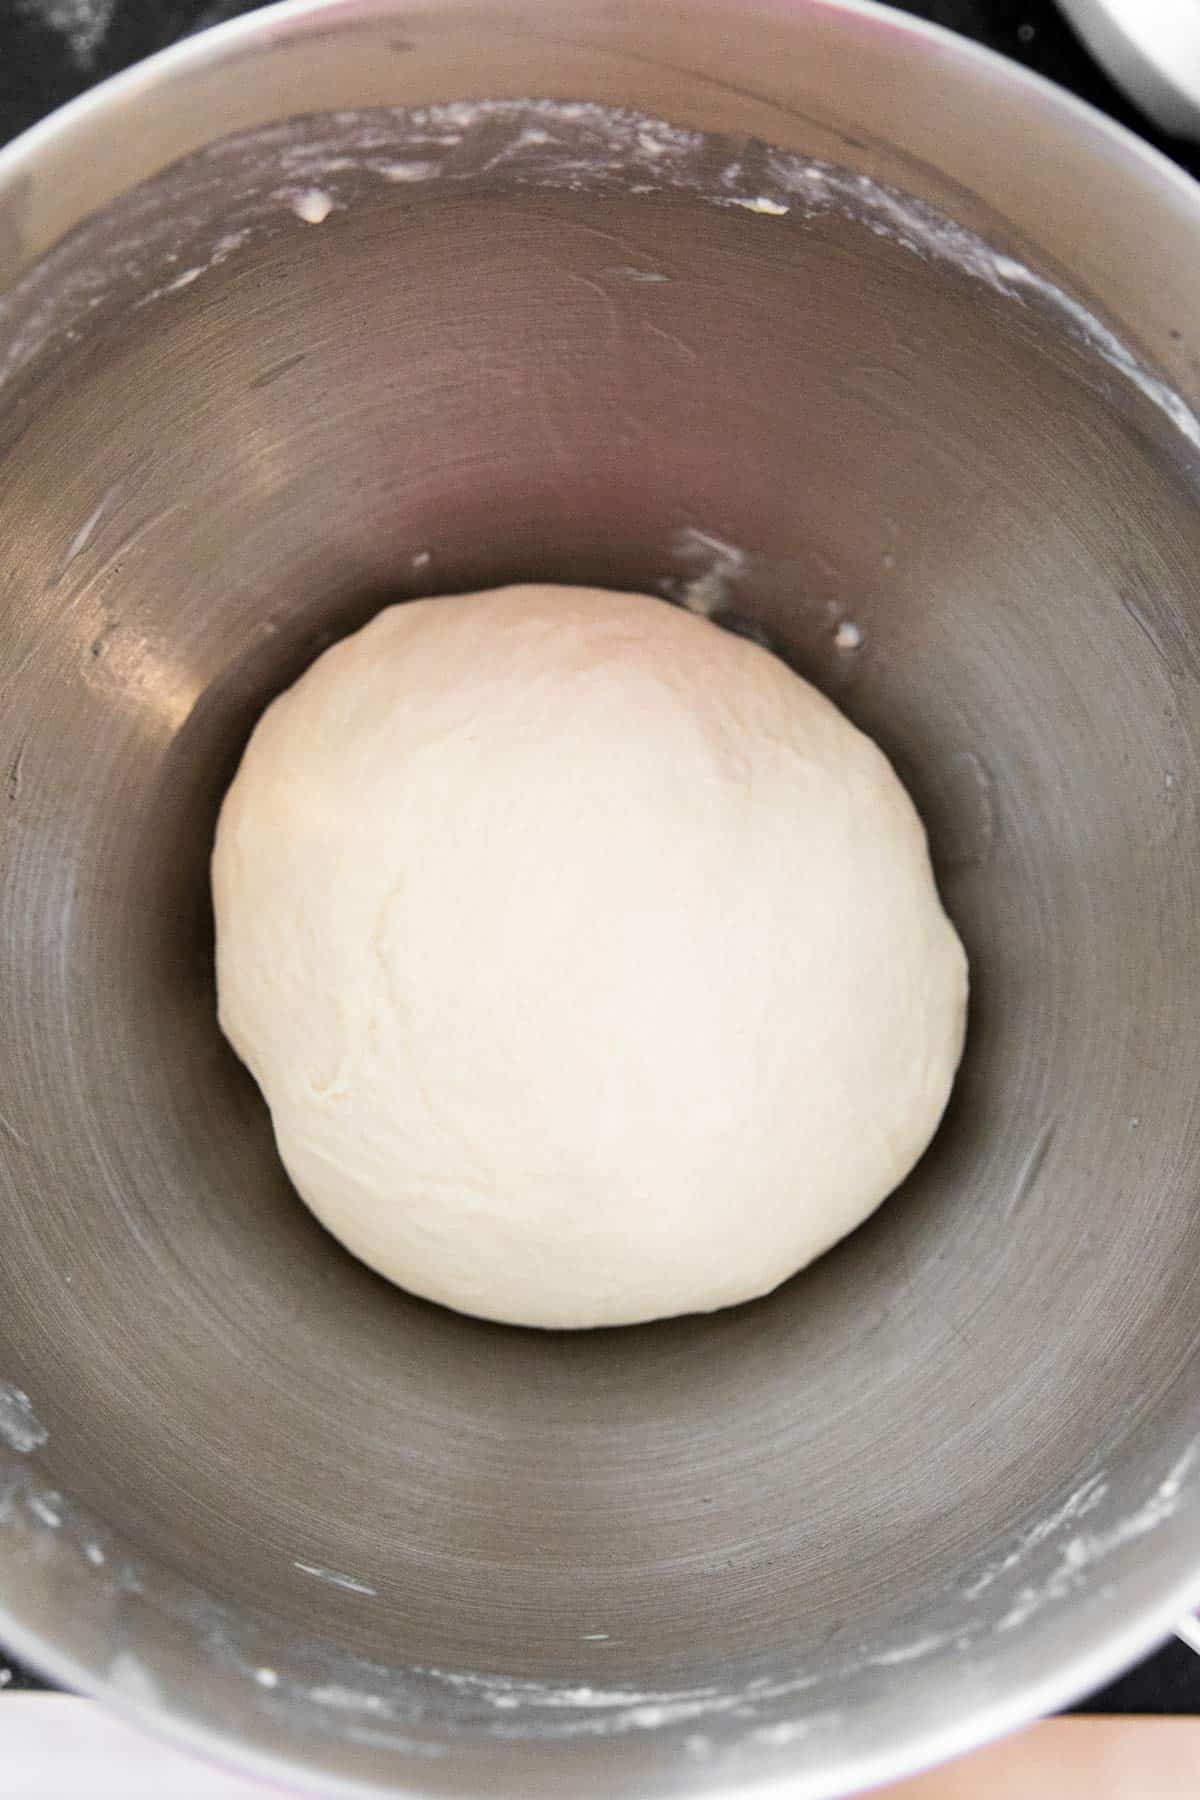
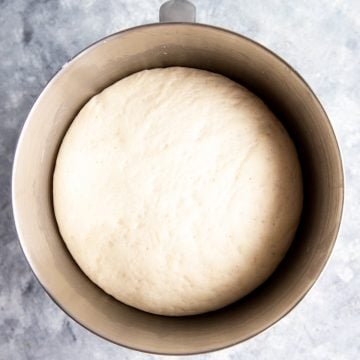
4 Shape the dough into a ball, place in a clean bowl and cover with a clean tea towel. Let sit at room temperature until puffy and doubled in size.
And that’s it! Your dough is ready to use in any recipe you’d like!
Tips
Temperature for yeast:
Heat kills yeast, so never let it get in contact with ingredients or temperatures hotter than 120°F, as they will damage the yeast. Temperatures above 140°F will completely destroy it and need to be avoided until baking.
The optimal temperature for yeast is between 80-100°F. Normal room temperature is perfectly adequate to proof your dough; you don’t need to place it in a warm oven or anything similar.
Different environments yielding different results:
- High altitude: High altitude requires less yeast. If you’re at altitude and feel your baked goods “explode”, try using half the yeast a recipe calls for.
- Dry climates: Dry climates (eg the desert) may need another 2-4 tablespoons of liquid to make the dough smooth enough to rise properly.
- Cold climates: If you’re living in a colder climate and don’t yank up the heat in your house, your dough will definitely be slower to rise.
If the dough doesn’t seem to rise:
You may need to give it a little bit of extra time. If you’re on sea level, in a cold climate, used expired yeast or organic yeast; you may need closer to 2-3 hours of proofing time.
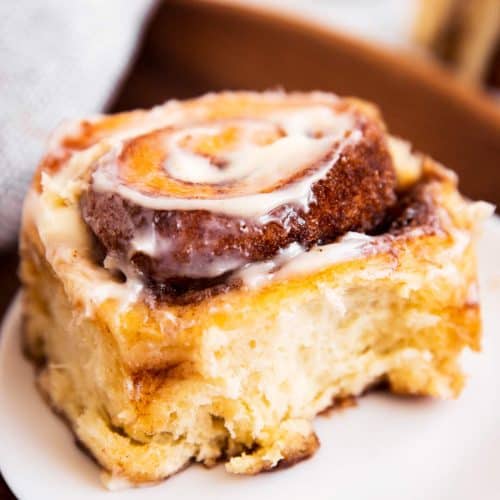
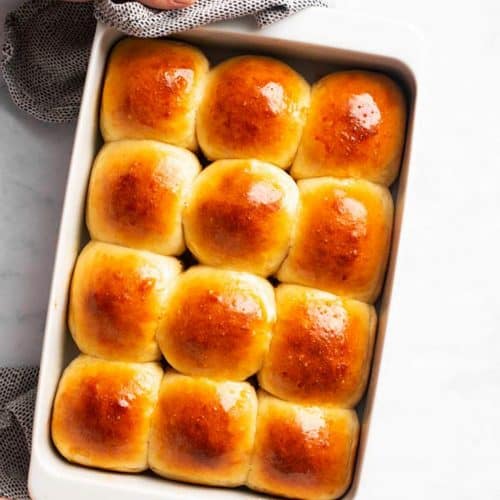
Recipes to use your dough

PS If you try this recipe, please leave a review in the comment section and add a star rating in the recipe card – I appreciate your feedback! Follow along on Pinterest, Facebook or Instagram.
Easy Yeast Dough
Recipe details
Ingredients
Basic dough ingredients
- 4 cups flour
- 1 tablespoon active dried yeast
- 1 teaspoon sugar
- 1 ½ teaspoons salt
- 1 ¼ cups lukewarm liquid
Optional ingredients
- 3.5 oz fat oil or butter; butter can be melted but NOT hot; this is the maximum amount of fat I add for foolproof doughs
- 2 egg yolks this is the maximum amount of egg yolks I add for foolproof doughs
- ½ cup sugar this is the maximum amount of sugar I add for foolproof doughs
Instructions
- Add flour, yeast, sugar and salt to the bowl of your stand mixer fitted with the dough hook attachment. Alternatively, add it to a large bowl to knead by hand. (If your recipe calls for softened butter, add it to the bowl now as well. Oil, melted butter, egg yolks and sugar all get whisked into the lukewarm liquid first.)
- Start the mixer, then slowly drizzle in your liquid of choice. Let the dough knead on medium speed for 5-8 minutes, until soft and pliable. You should be able to stretch a piece without it ripping apart. (To knead by hand, slowly add the water while stirring the dough. Once all the water is added, knead a few times until it comes together. Tip on a clean work surface and knead for around 10 minutes).
- Once the dough is ready, shape it into a ball and place it in a large, clean bowl. Cover with a clean tea towel and let sit at room temperature until doubled in size. Exact timing will depend on elevation, humidity, temperature, age of yeast, or kind of yeast. Usually, the dough has doubled in size in about 1 hour; though in extreme conditions it can be anywhere from 30 minutes to 2 hours.
- Now the dough is ready to be used for your recipe. Carefully punch it down, then shape as required. If your recipe calls for a second proof, this means you'll cover the shaped baked good with a clean tea towel again and let it sit until it's puffed up. The second rise is much shorter and will usually only need around 20 minutes. Then, follow your recipe's instructions for baking!


Comments
No Comments