

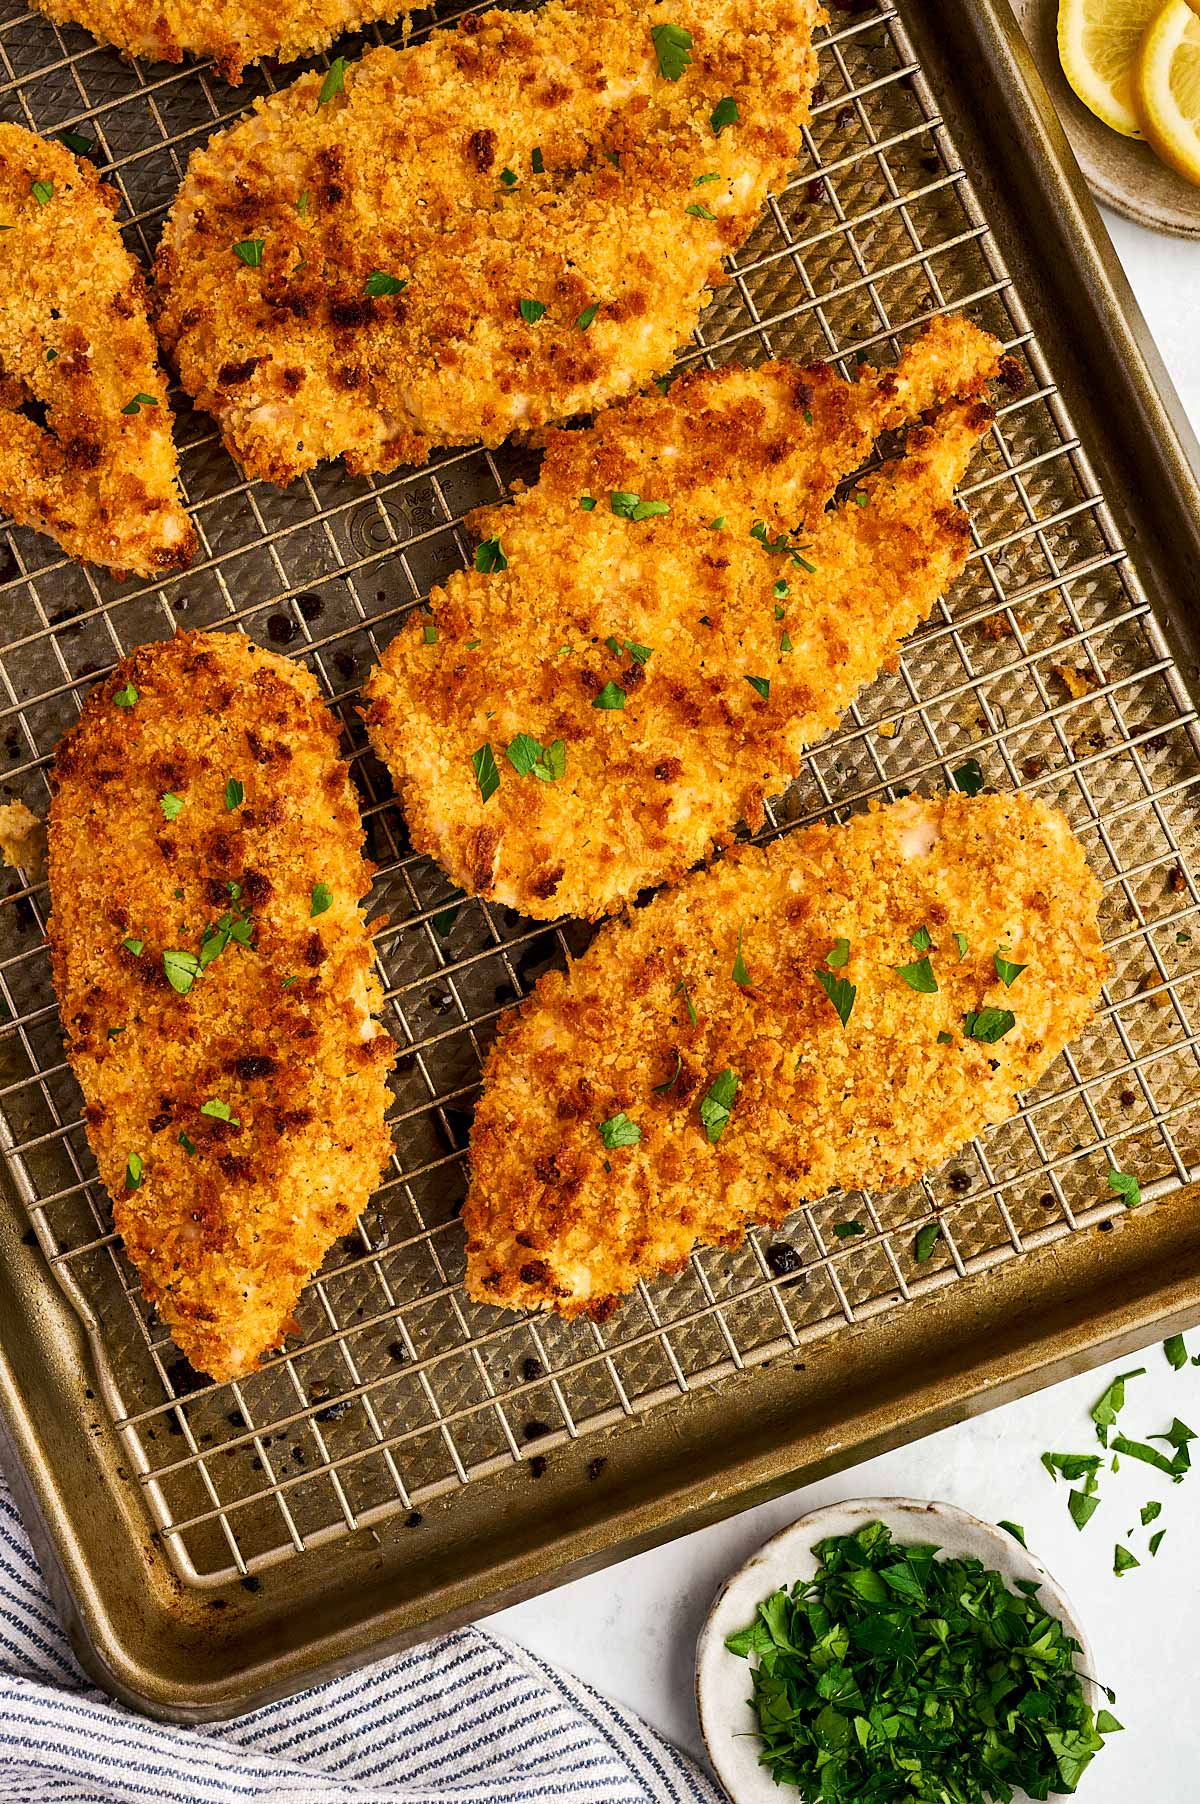
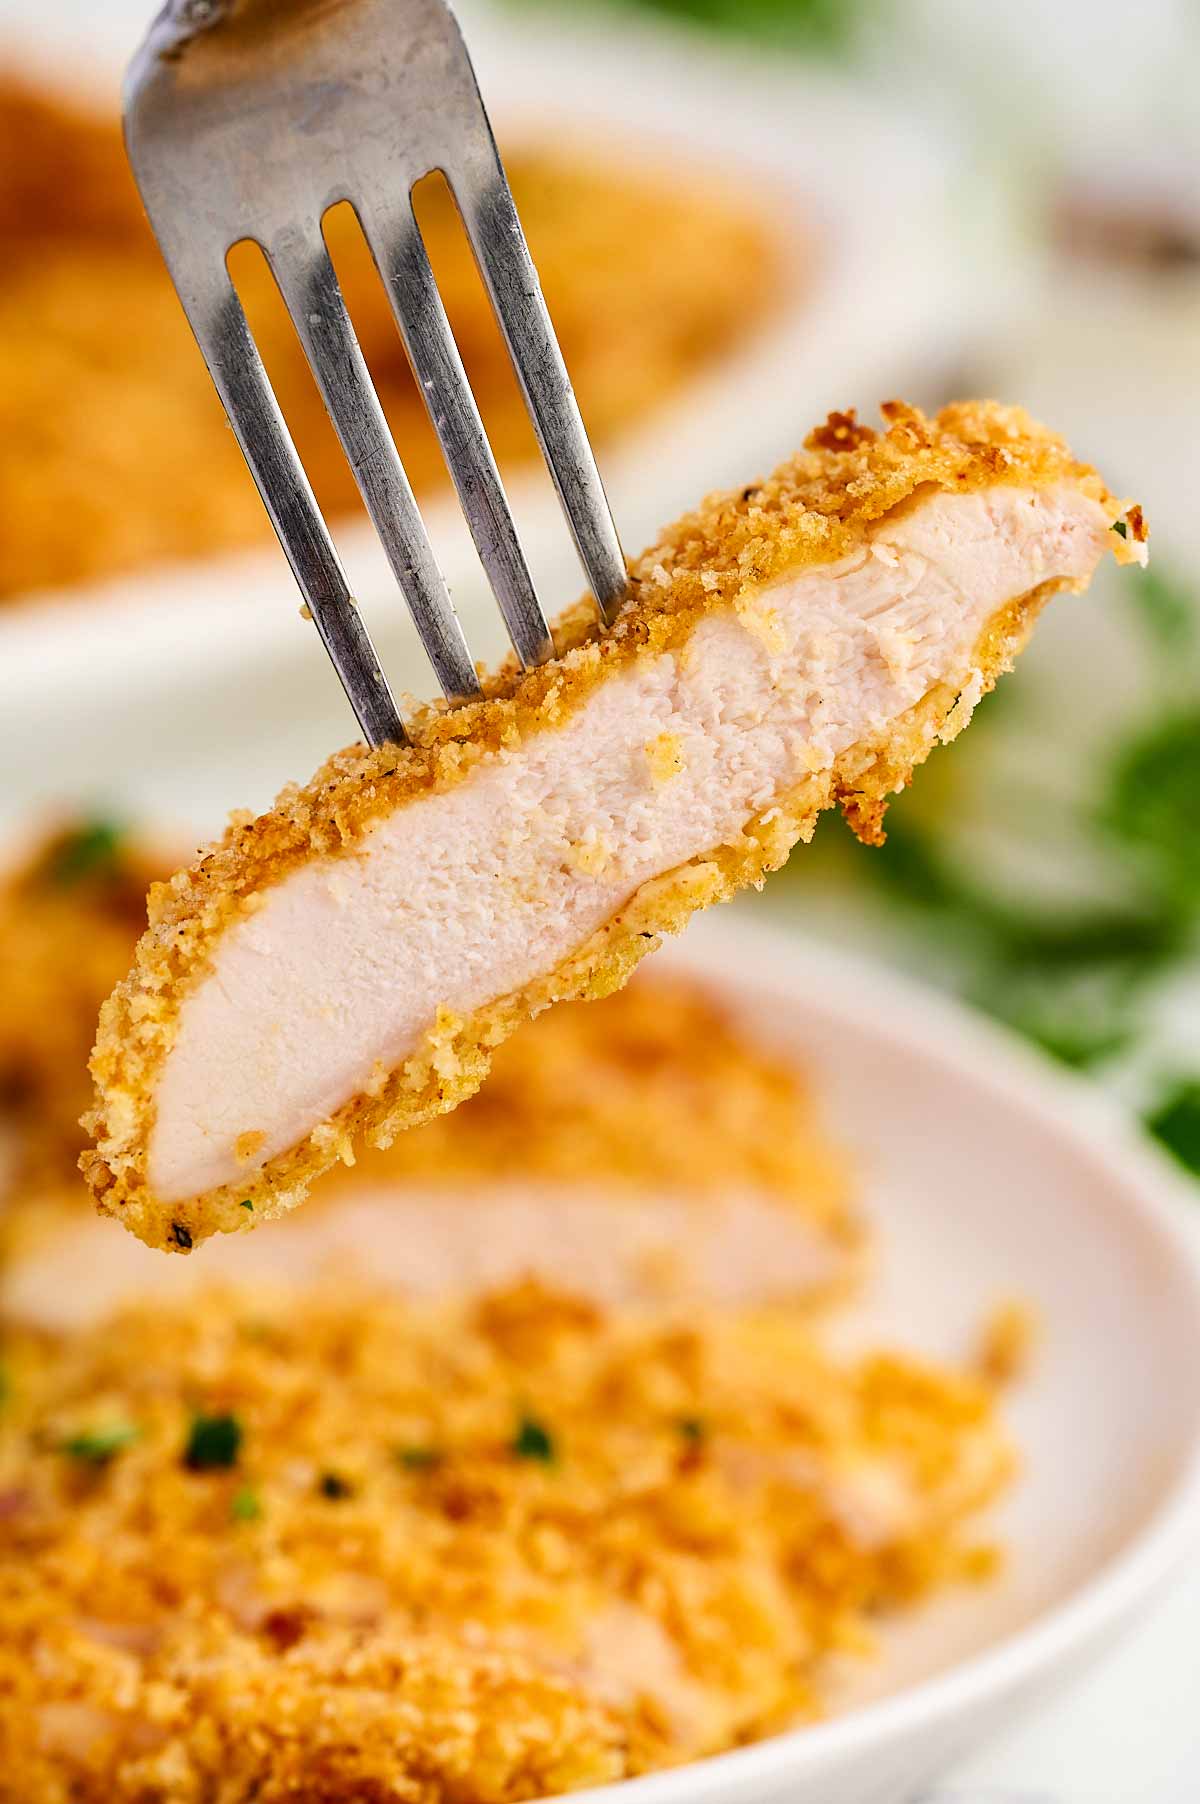
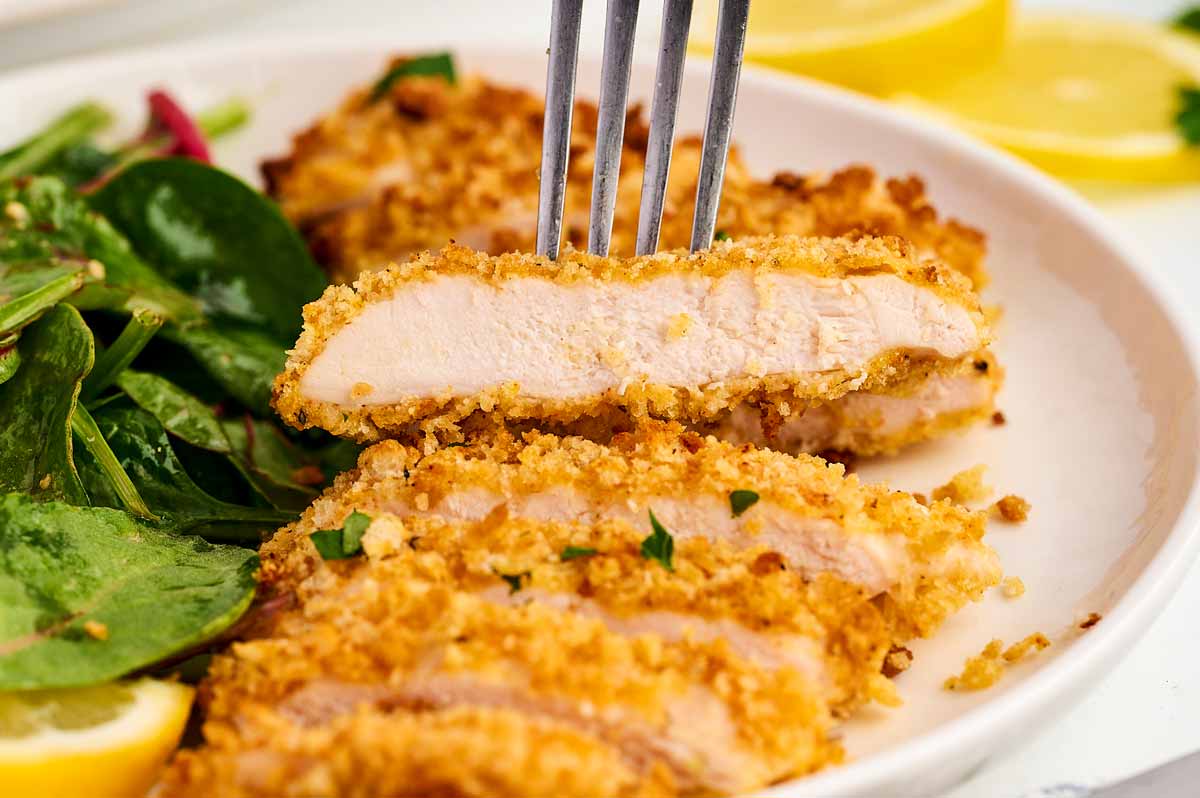
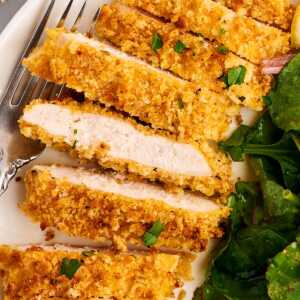
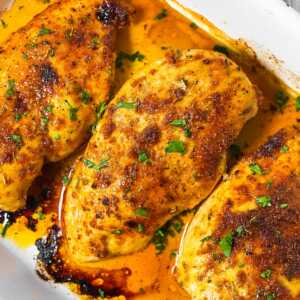
Extra-crunchy chicken cutlets with a crisp panko breading, made as mess-free as possible in the oven. Serve with your favorite side dishes for an easy comfort food dinner!

Jump to
Brace yourself, this post is a little long because we’re going into detail about halving chicken breast evenly, and how to get breading to stick. If you want to skip any or all of that, just use the links right here to navigate the post.
What makes this recipe great
I’ve been making oven fried chicken for more than a decade, but for a while now I’ve been appreciating thinner cut chicken in general, so I’ve been making baked chicken cutlets instead. I do a few things a certain way because I’ve found the recipe works best like this.
- Cornstarch, not flour: I have always done a classic 3-step breading for all things with a panade. The first step is usually flour, which creates a thicker coating and almost gives the breading a batter-like feel. But here we’re using cornstarch with a little bit of baking soda. It’s perfect to just lightly coat the chicken as we’re looking for a light and crisp coating, not a heavy batter. The baking soda helps to keep the chicken tender, and it also helps to create an extra-browned and crispy coating.
- Don’t just bread, press: The most important part of breading pretty much anything is getting the coating to stick. That’s why I’ve always been a big believer in pressing the final layer of panko or breadcrumbs firmly onto the chicken. I use a ½ cup measuring cup that lost its handle, but even a tablespoon will do to press/pound the breading onto your chicken.
- Bake on a rack: I know, the air fryer is a great appliance. However, if you try to make 6 chicken cutlets? You’re going to be serving dinner in shifts. To be able to make the entire batch at once, we are baking the chicken on a rack set over a sheet pan (preferably a dark one because better heat retention). This paired with just a light spray of oil creates the perfect crunchy chicken cutlets, and you don’t even need to flip them – I tested this recipe both ways, and flipping is completely unnecessary, so we just skip that.
Ingredients we’re going to use
This is about swaps and notes – jump to the ingredient list for the measurements etc.
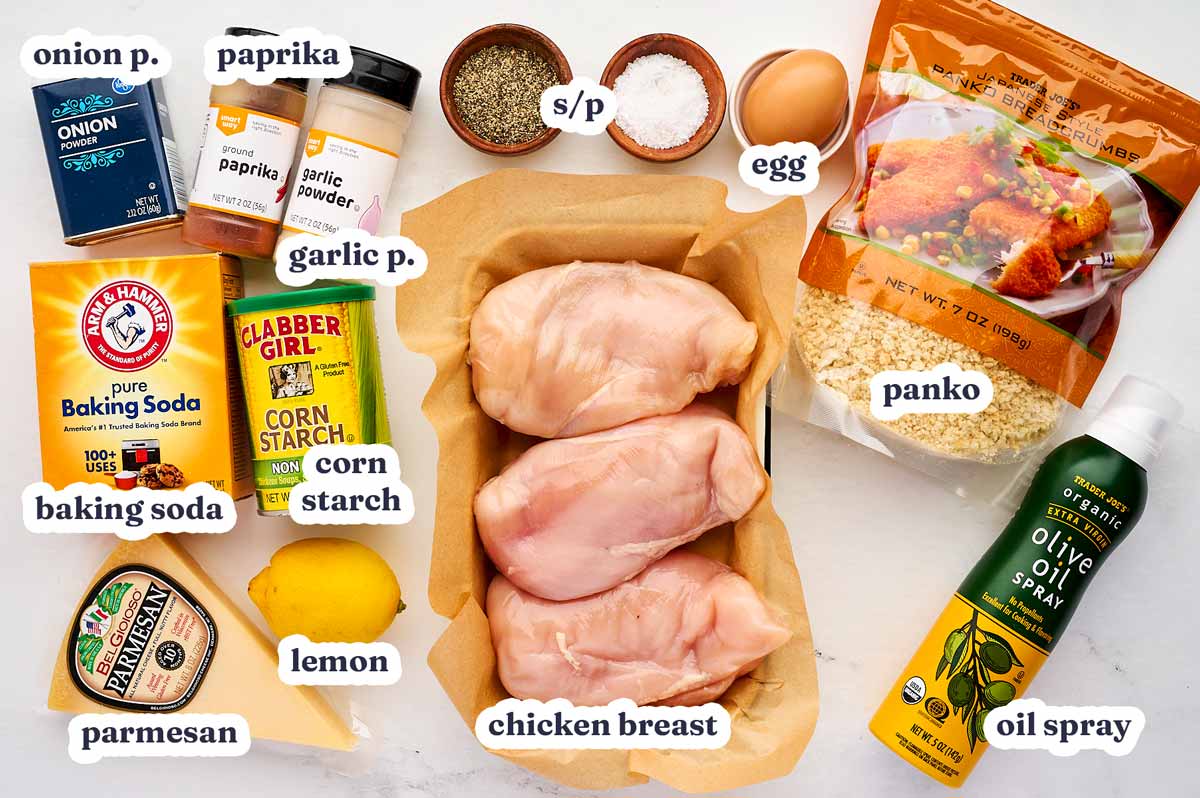
There is nothing really revolutionary here. Depending on the size of your chicken and your egg, you may need a second egg. You may also need an extra ½ cup of panko.
I don’t want to call for the extra ingredients by default, because it would be wasteful to crack two eggs when really, you only needed one.
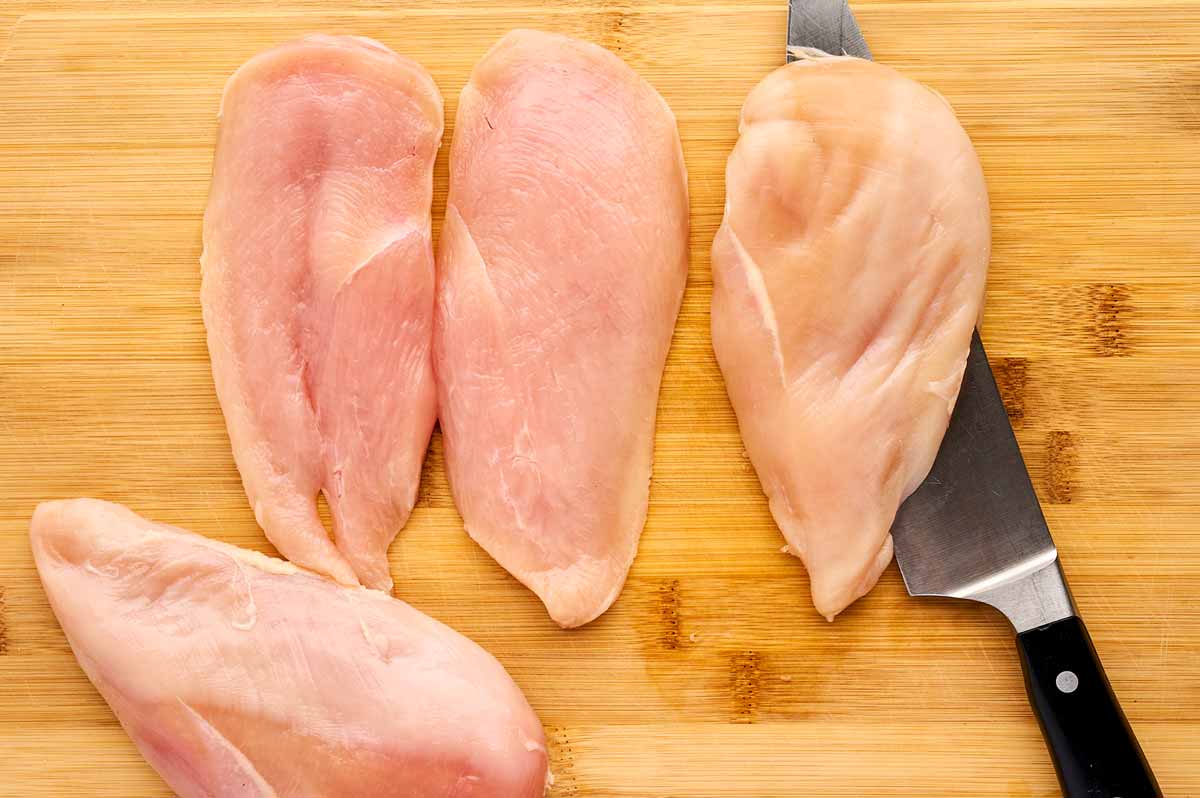
How I cut chicken breast in half
It can be a little tricky to cut chicken breast in half as equally as possible, but it’s easier if you:
- use a knife that’s longer than the chicken breast
- cut from the thicker side
- with the upside of the chicken breast facing you
- hold down the chicken with your other hand while cutting
Once you have butterflied your chicken breast (this is when you have cut it apart enough so you can open it like a book), open it and cleanly slice it apart.
Ok, let’s see how we make this:
This is about tips and hints, and the process photos if you need a visual guide. Jump to the instructions for the precise steps.
Before you begin, remember to preheat your oven to 425°F once your chicken is breaded and resting. Place a rack over a sheet pan, and place it in the oven to preheat as well.
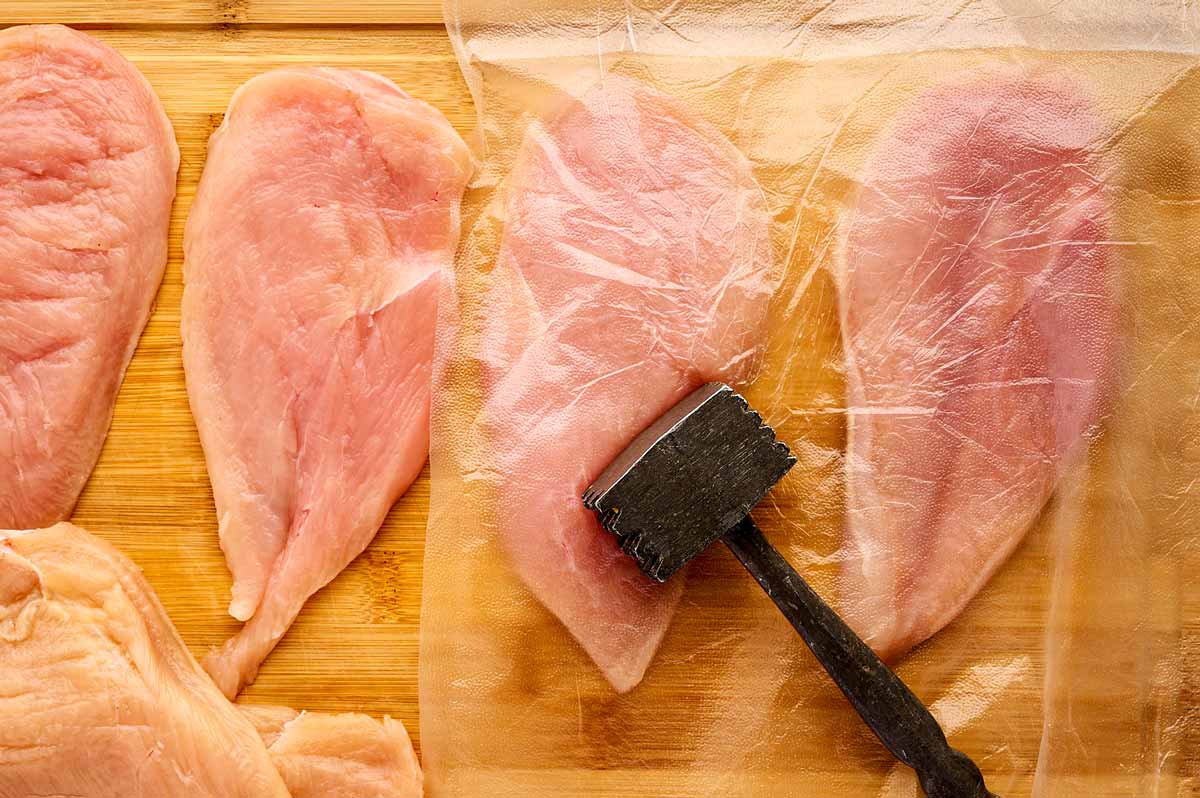
Step 1
Flatten your chicken.
After halving your chicken breasts, you want to flatten them so they are even. Pound the thicker parts until they are at or almost at the same thickness as the thin end part.
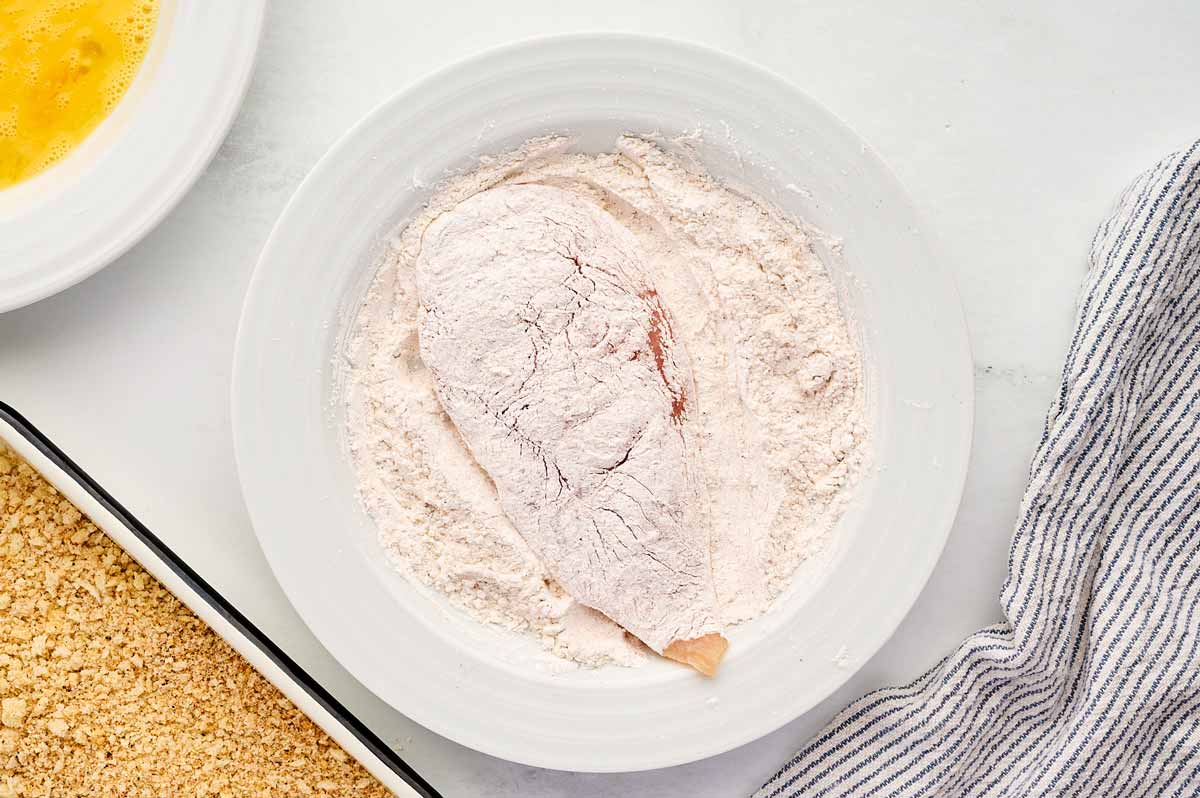
Step 2
Cornstarch.
Once you have assembled your breading stations, work one piece of chicken at a time. First, dip in cornstarch until coated and shake off any excess.
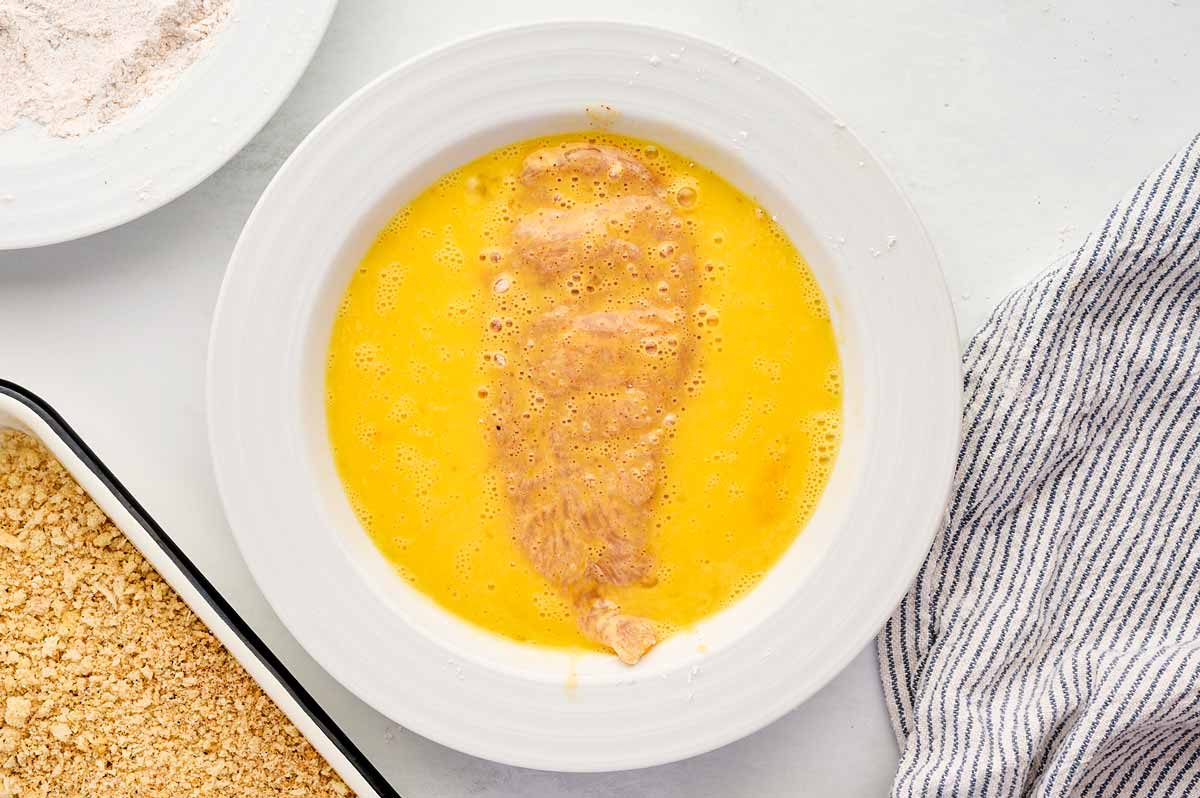
Step 3
Egg wash.
Dredge the chicken in the egg next. Again, just a thin layer – but make sure there are no dry spots left.
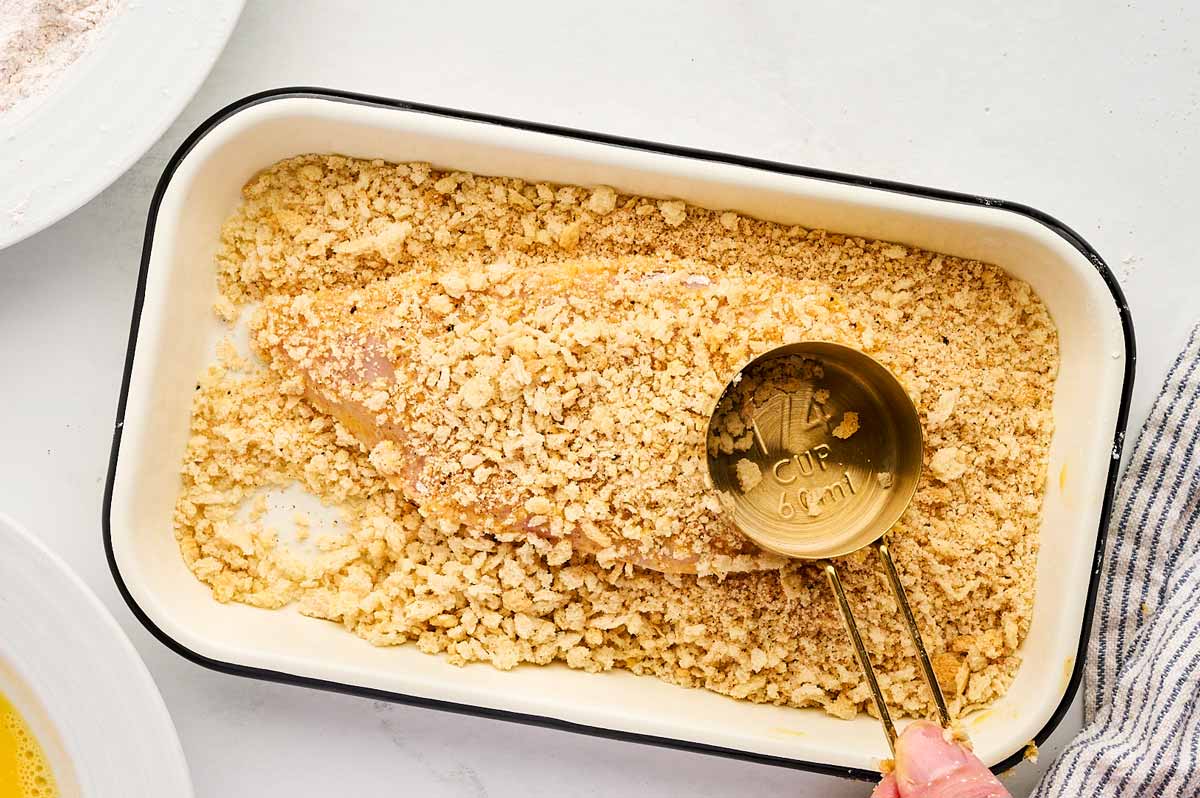
Step 4
Cover in the panko bowl.
Now comes my special, close-to-no-messy-hands final breading step.
You want to lay the chicken on the panko (wipe or rinse your hand now so you don’t end up with breading sticking to it), and then use a spoon or small measuring cup to also scoop panko all over the chicken, until it’s fully covered.
Use a spoon or small measuring cup to press/pound the panko breading onto your chicken cutlet from both sides.
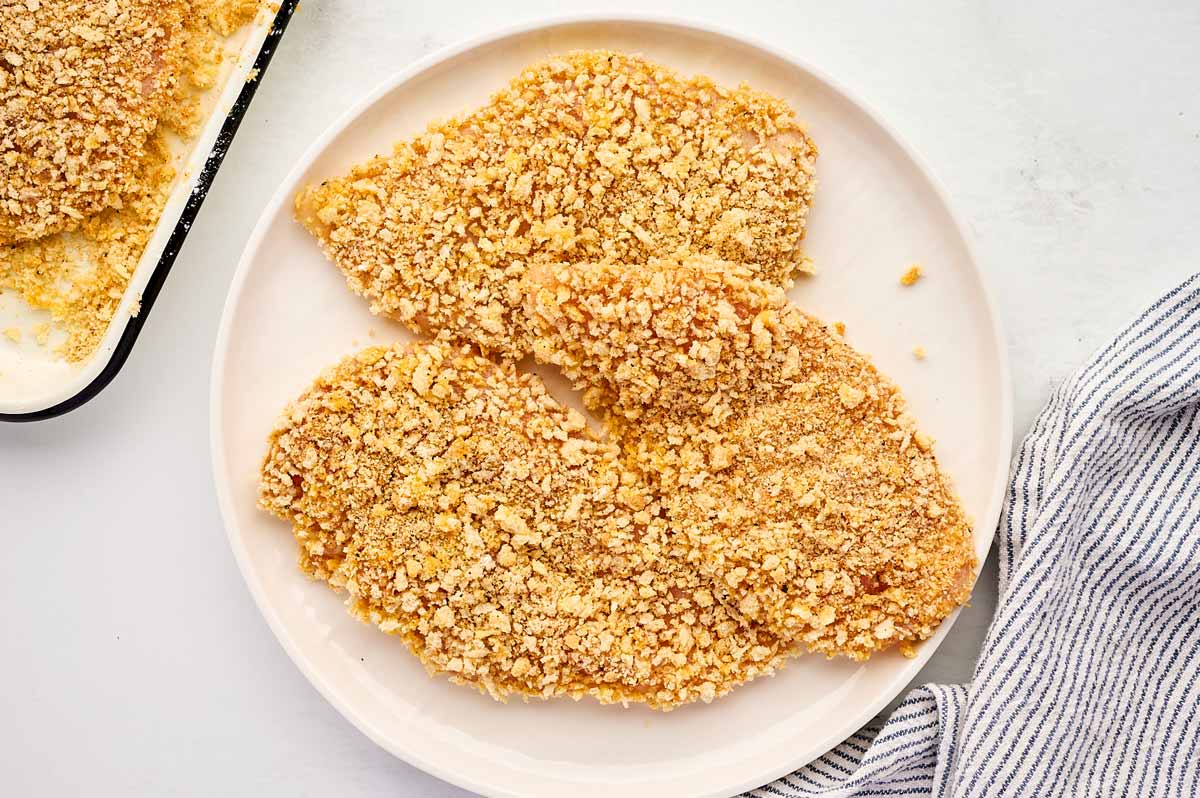
Step 5
Rest.
Anything that crumbles off at this point will not stick easily during and after baking, so be thorough. Once the chicken is firmly covered, set it aside on a plate and leave to rest for 5-10 minutes.
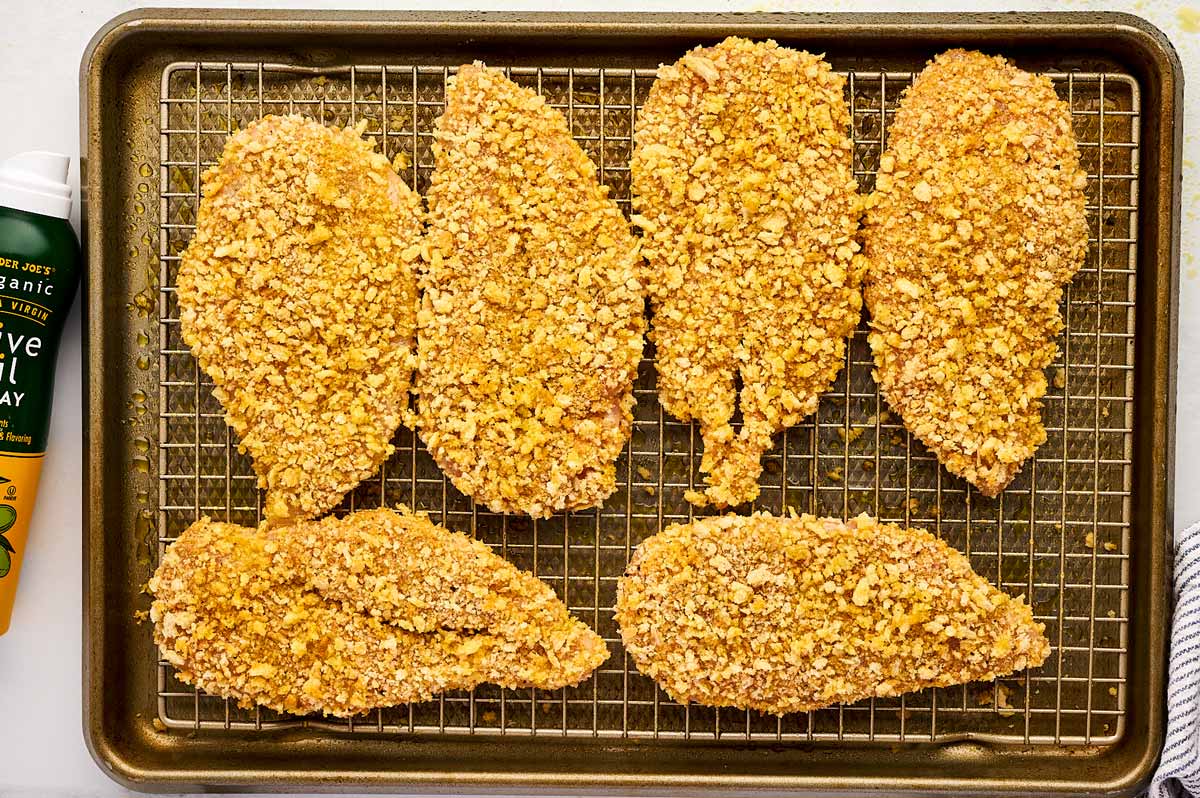
Step 6
Arrange on the rack.
Carefully remove the preheated sheet pan/rack from the oven. Spray it with cooking spray, and then spray your chicken and place it on the rack.
The way I do this to keep it easy, spray the top of your chicken cutlet with cooking spray, place it sprayed-side down on the rack, then spray the top.
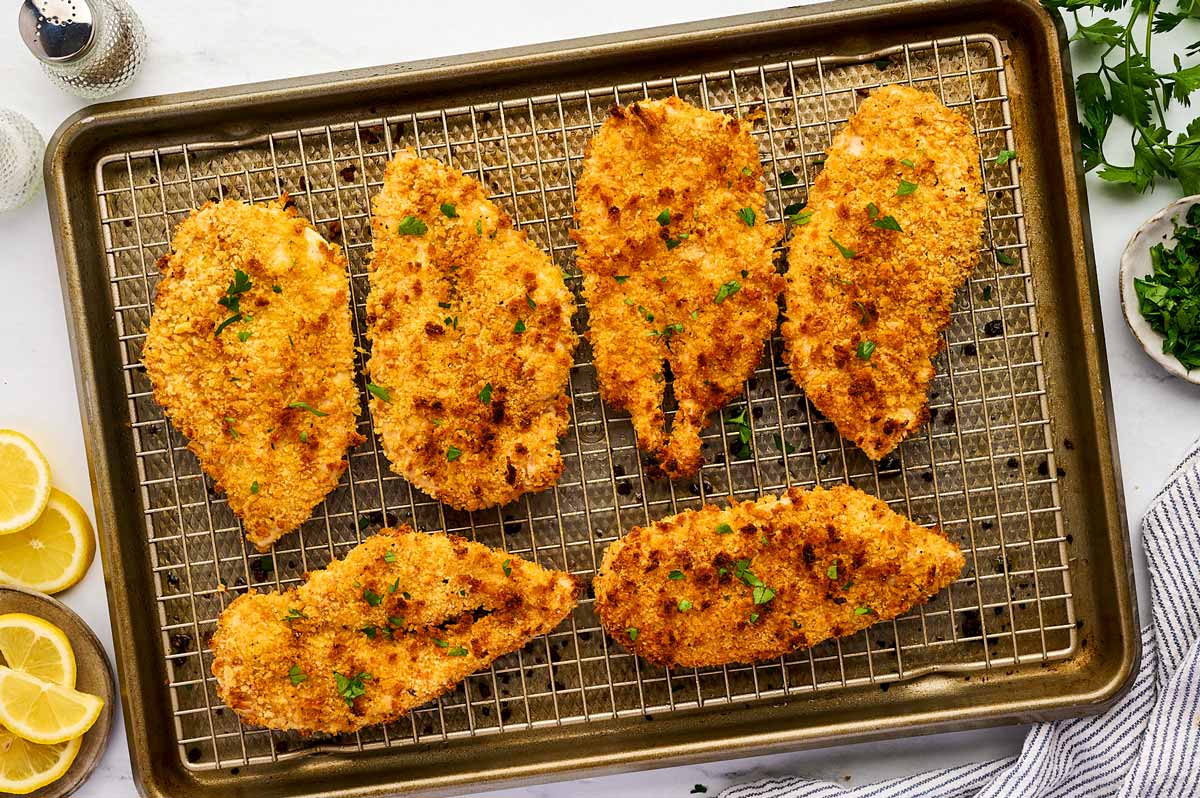
Step 7
Bake until golden and crisp.
Bake the chicken until it’s done – it will take 10-15 minutes. Don’t overbake or it will be dry, it’s thin! Broil for 1-2 minutes at the end for the perfect golden finish.
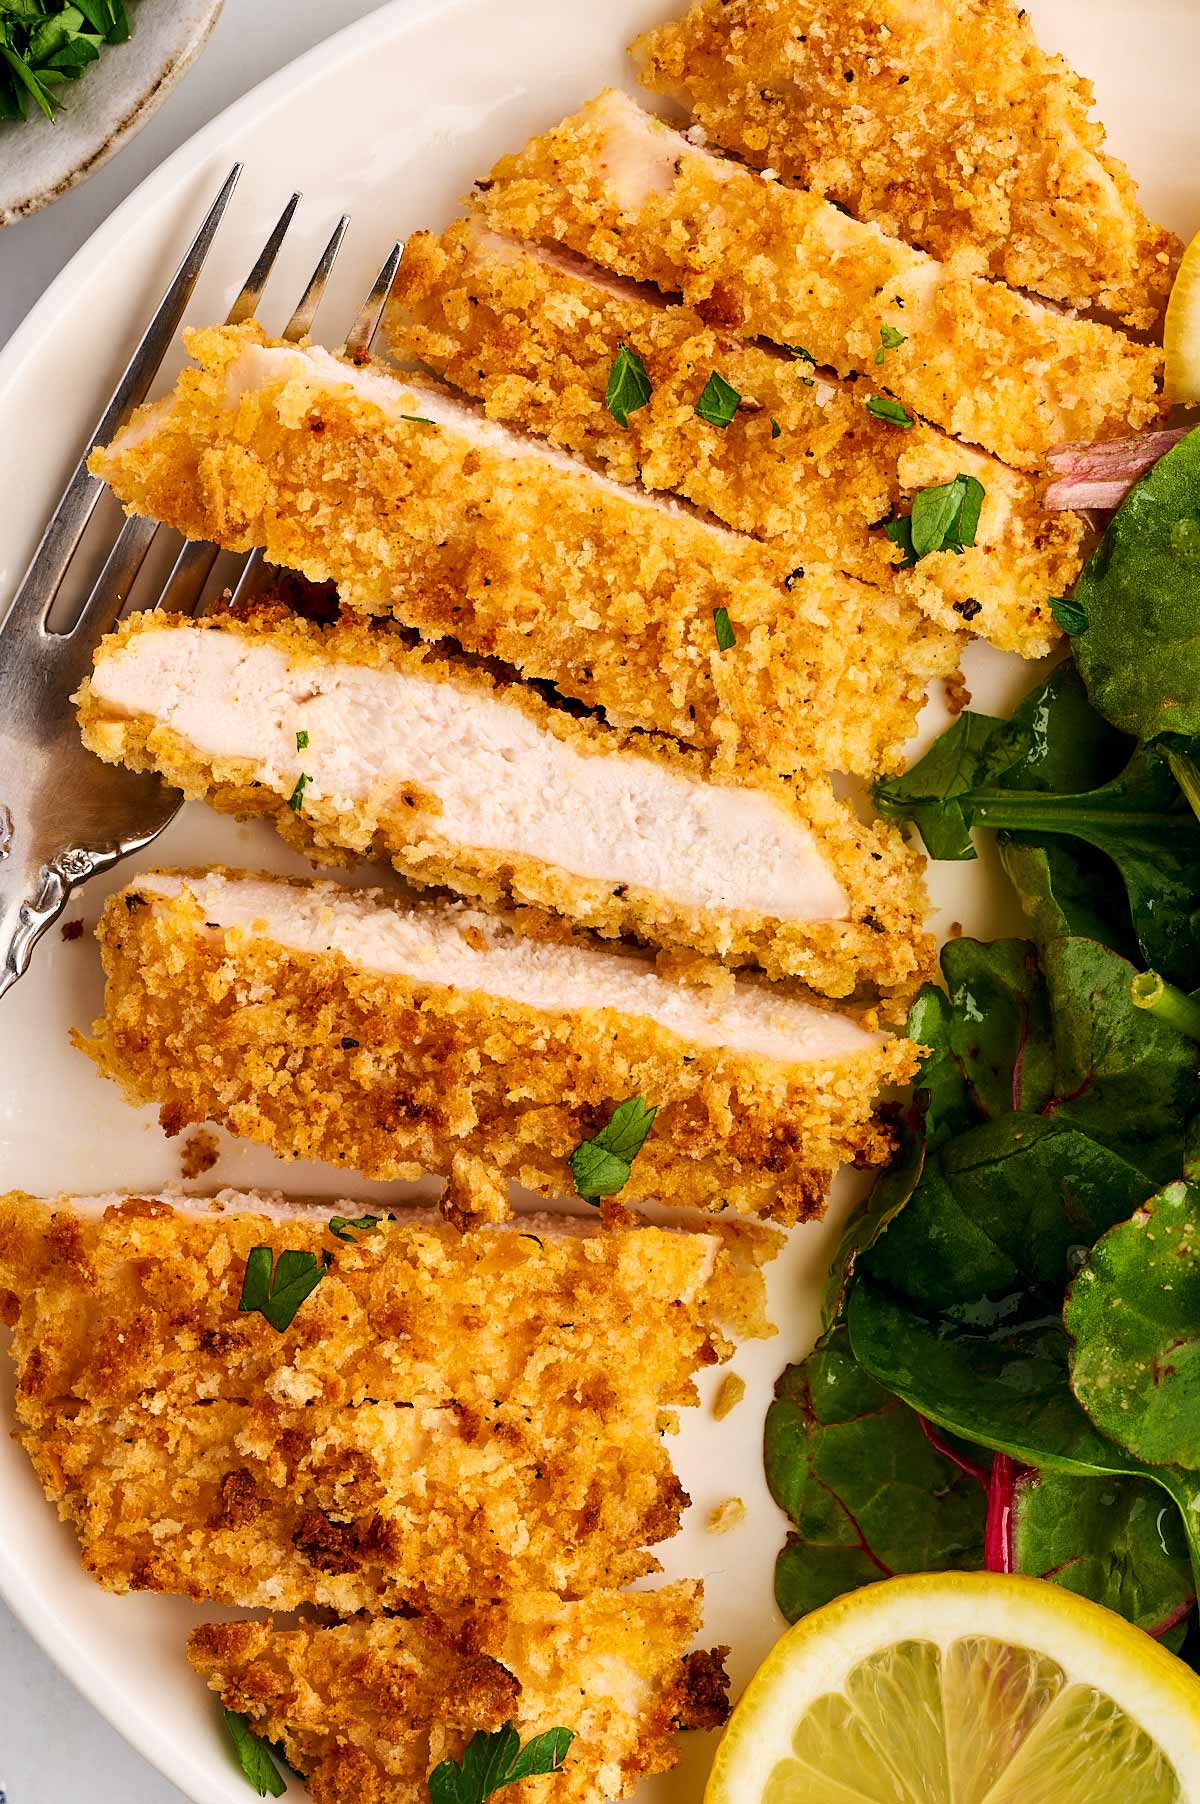
Time to serve!
Lemon wedges are classic, and a delicious addition!
99% of the time, I make a salad with homemade ranch dressing. Mashed potatoes or roasted baby potatoes (or roasted sweet potatoes) are also delicious as a side! Just keep the chicken away from the salad dressing so it doesn’t soften the crunch.
Tl; dr: All the important stuff a glance
- If you don’t have panko – regular breadcrumbs work as well, the chicken just won’t turn out quite as crispy.
- Don’t skip the rest before baking – it helps the layers of the breading to meld together until they are firm. Kind of like letting glue dry! It helps the breading to stay on instead of falling off.
- Handle gently – Don’t flip the chicken during baking (it’s not necessary) and handle it gently. Despite really good breading, it’s still somewhat delicate. Make sure to oil your rack well, and loosen the chicken with a thin offset spatula before removing it once done, or else the breading may stick to the rack and tear away.
- Quick recipe rundown: Cut your chicken breast in half to create 6 thin cutlets. Pound to even thickness. Bread by dredging in cornstarch – egg wash – panko. Press the panko firmly onto the chicken. Spray with oil and bake on a rack set over a sheet pan until golden and crunchy.
I adore crispy chicken, and these cutlets are so good I’ve made them twice just last week. Some other favorites are buttermilk oven fried chicken, oven fried fish, air fryer fried chicken and baked crispy pork chops.
Crispy Baked Chicken Cutlets
Ingredients
Chicken
- 3 large chicken breasts
- 1 large egg (Note 1)
- 1 teaspoon lemon juice
- oil spray (as needed)
Cornstarch mix
- ¼ cup cornstarch
- 1 teaspoon sea salt
- ¼ teaspoon baking soda
- ½ teaspoon EACH ground paprika, garlic powder and onion powder
- ground black pepper (to taste)
Panko mix
- 1 ½ cups panko breadcrumbs (Note 2)
- ¼ cup grated Parmesan
- ¼ teaspoon EACH ground paprika, garlic powder and onion powder
- ½ teaspoon sea salt
- ground black pepper (to taste)
Instructions
- Prep: The baking temperature for this recipe will be 425°F. Turn on the oven once the breaded chicken is resting (unless your oven takes longer to preheat, in which case adjust your timing accordingly), and place a sheet pan with an oven-safe wire rack inside the oven as it preheats.
- Butterfly chicken: Halve chicken breasts lengthwise into cutlets. Place on a board and pound the thicker sections until the entire piece is an even thickness.3 large chicken breasts
Assemble your breading station:
- Egg: Beat the egg and lemon juice in a separate second bowl.1 large egg, 1 teaspoon lemon juice
- Cornstarch:Whisk together the ingredients for the cornstarch in a shallow bowl.¼ cup cornstarch, 1 teaspoon sea salt, ¼ teaspoon baking soda, ½ teaspoon EACH ground paprika, garlic powder and onion powder, ground black pepper
- Panko:Combine the panko mix ingredients in a third shallow bowl.1 ½ cups panko breadcrumbs, ¼ cup grated Parmesan, ¼ teaspoon EACH ground paprika, garlic powder and onion powder, ½ teaspoon sea salt, ground black pepper
- Bread chicken: Dredge each cutlet in cornstarch, shaking off any excess. Dip into beaten egg, ensuring the chicken is fully coated with no dry spots. Lay chicken in a bowl of Panko. Use a spoon or measuring cup to scoop crumbs over the top to avoid messy hands. Use the back of a spoon or cup to firmly press the breading into both sides of the meat (Note 3).
- Rest: Let the breaded cutlets rest on a plate for 10 minutes.
- Bake: Carefully remove the hot pan/rack from the oven. Spray or brush the rack with oil. Spray the top of a cutlet, place it sprayed-side down on the rack, then spray the new top side. Repeat for all pieces. Bake for 10–16 minutes until golden and done inside (exact timing depends on the thickness of your chicken and your oven.) Broil for 1–2 minutes at the very end for extra crunch, then serve immediately.oil spray
Notes
- Note 1: You may need a second egg if the egg is small, and/or if your chicken is large.
- Note 2: You may need more panko depending on the size of your chicken.
- Note 3: Any breading that falls off at this point will probably not stick during baking. Press the panko layer on as firmly as you can!


Comments
No Comments