


〈 swipe for more photos 〉
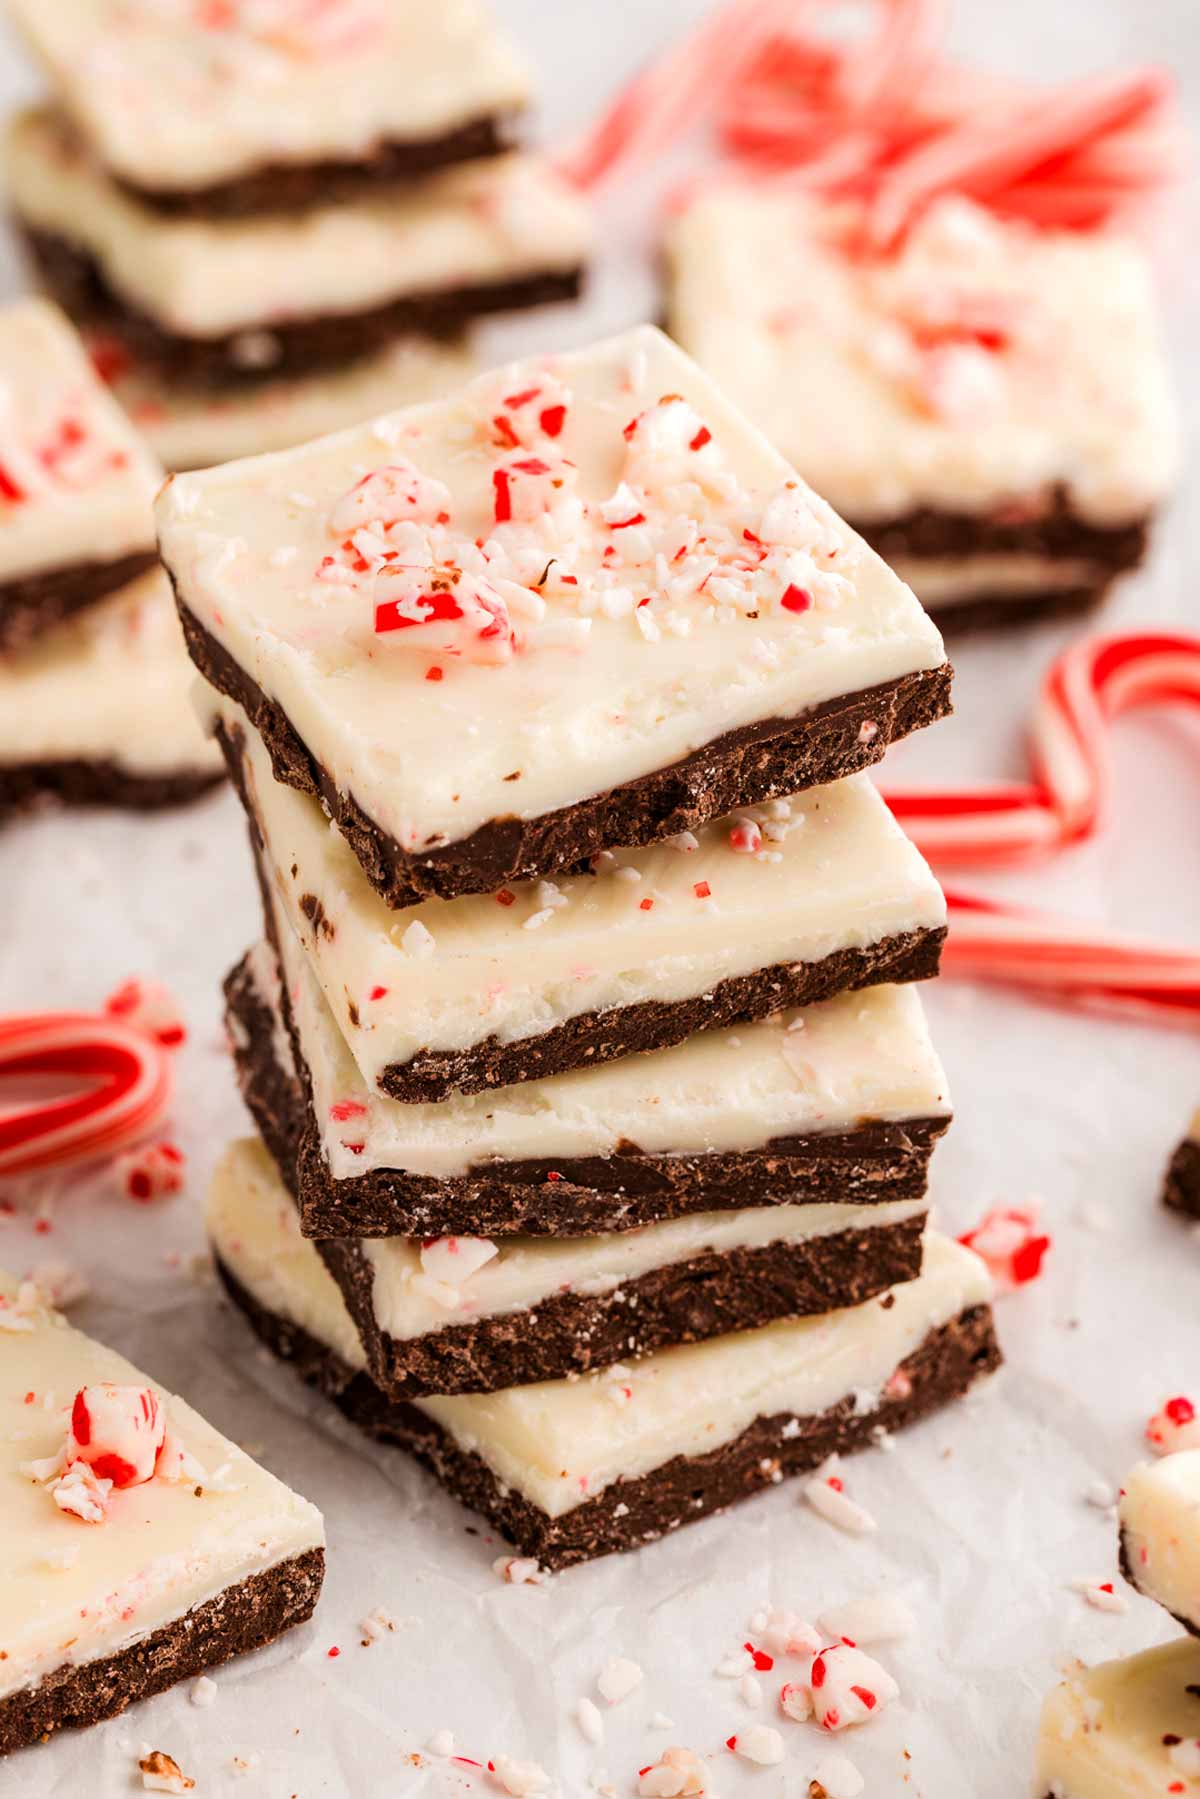
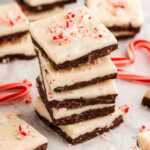
This easy Peppermint Bark recipe is a great no bake treat to make for Christmas. Great to give away as a homemade gift!
What’s to love
- Simple to make. Basically, you’re just melting chocolate and spreading it in a pan 😉 But it turns into something full of Christmas magic!
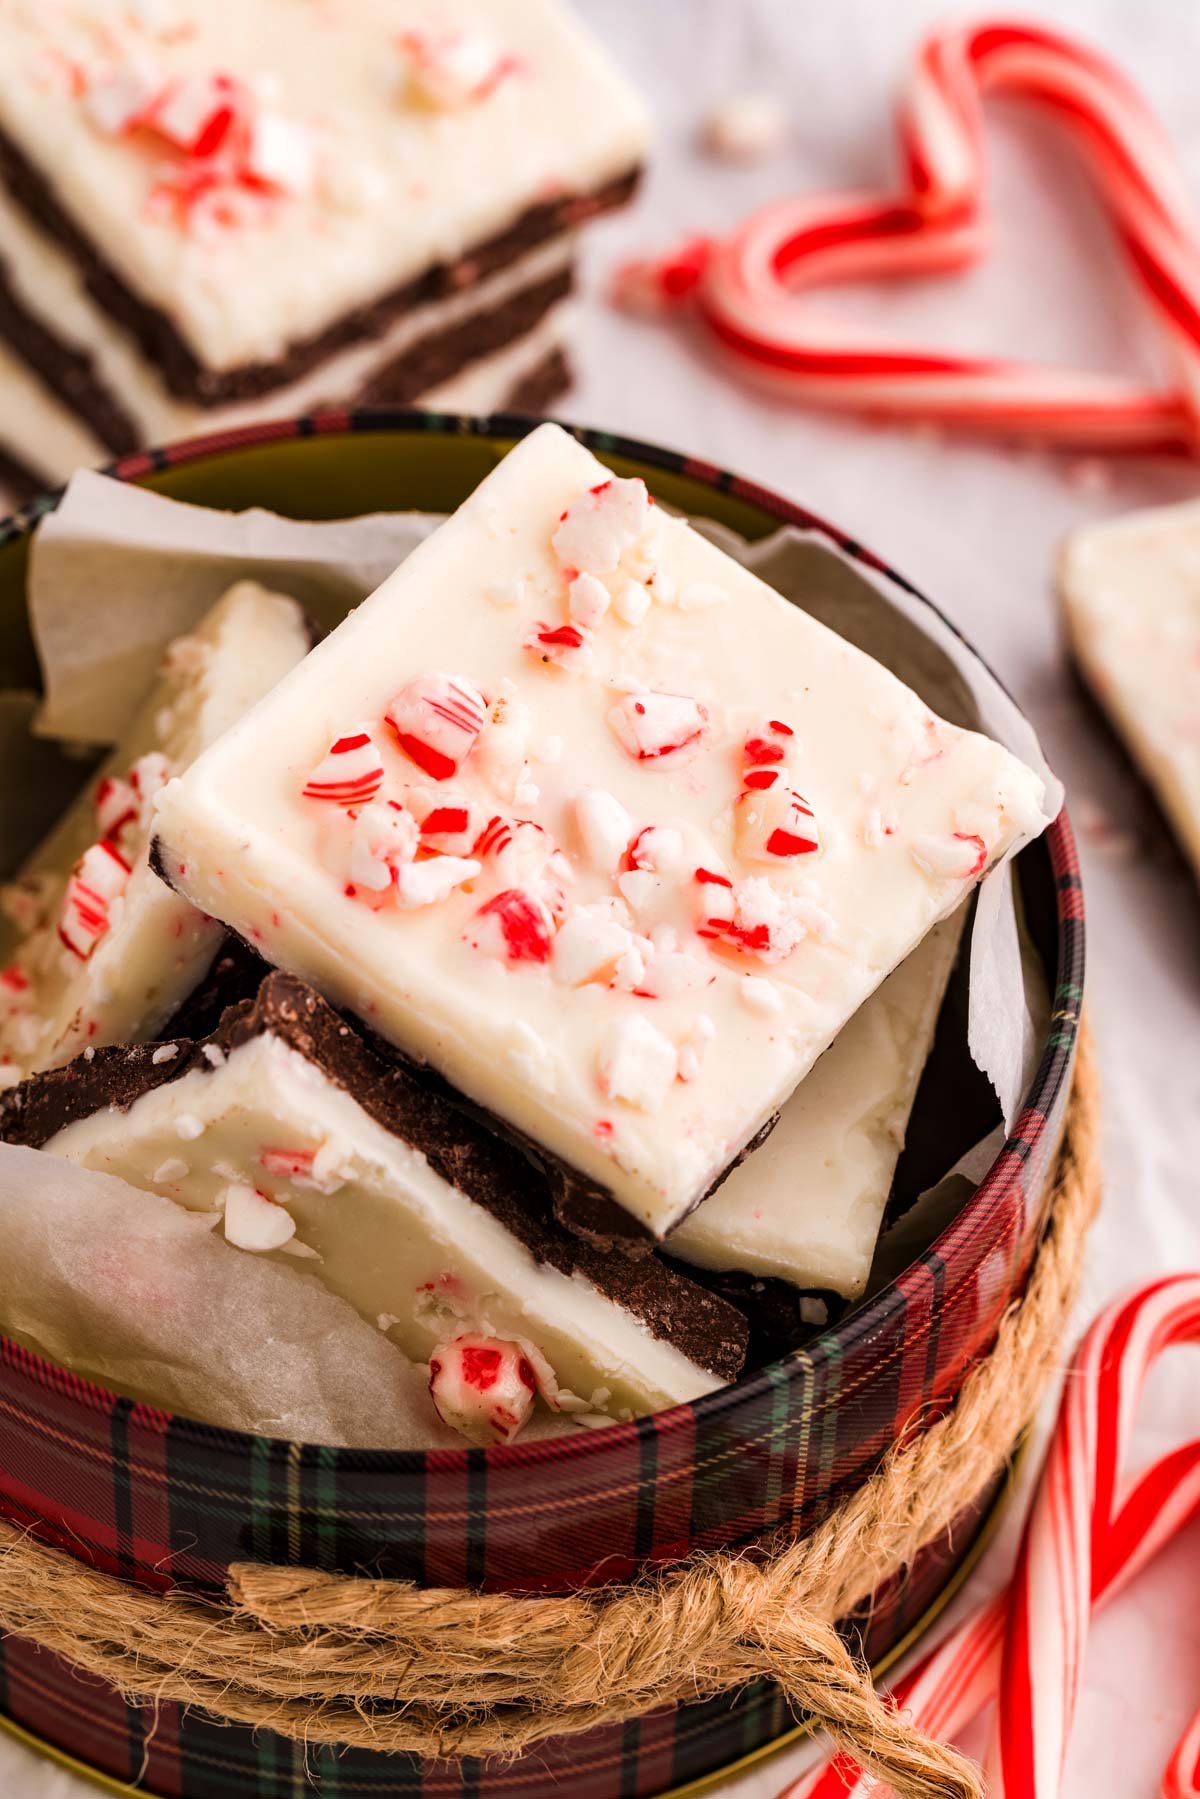
- A great gift! Giving away something homemade to friends, neighbors and family is such a sweet way to make someone feel appreciated.
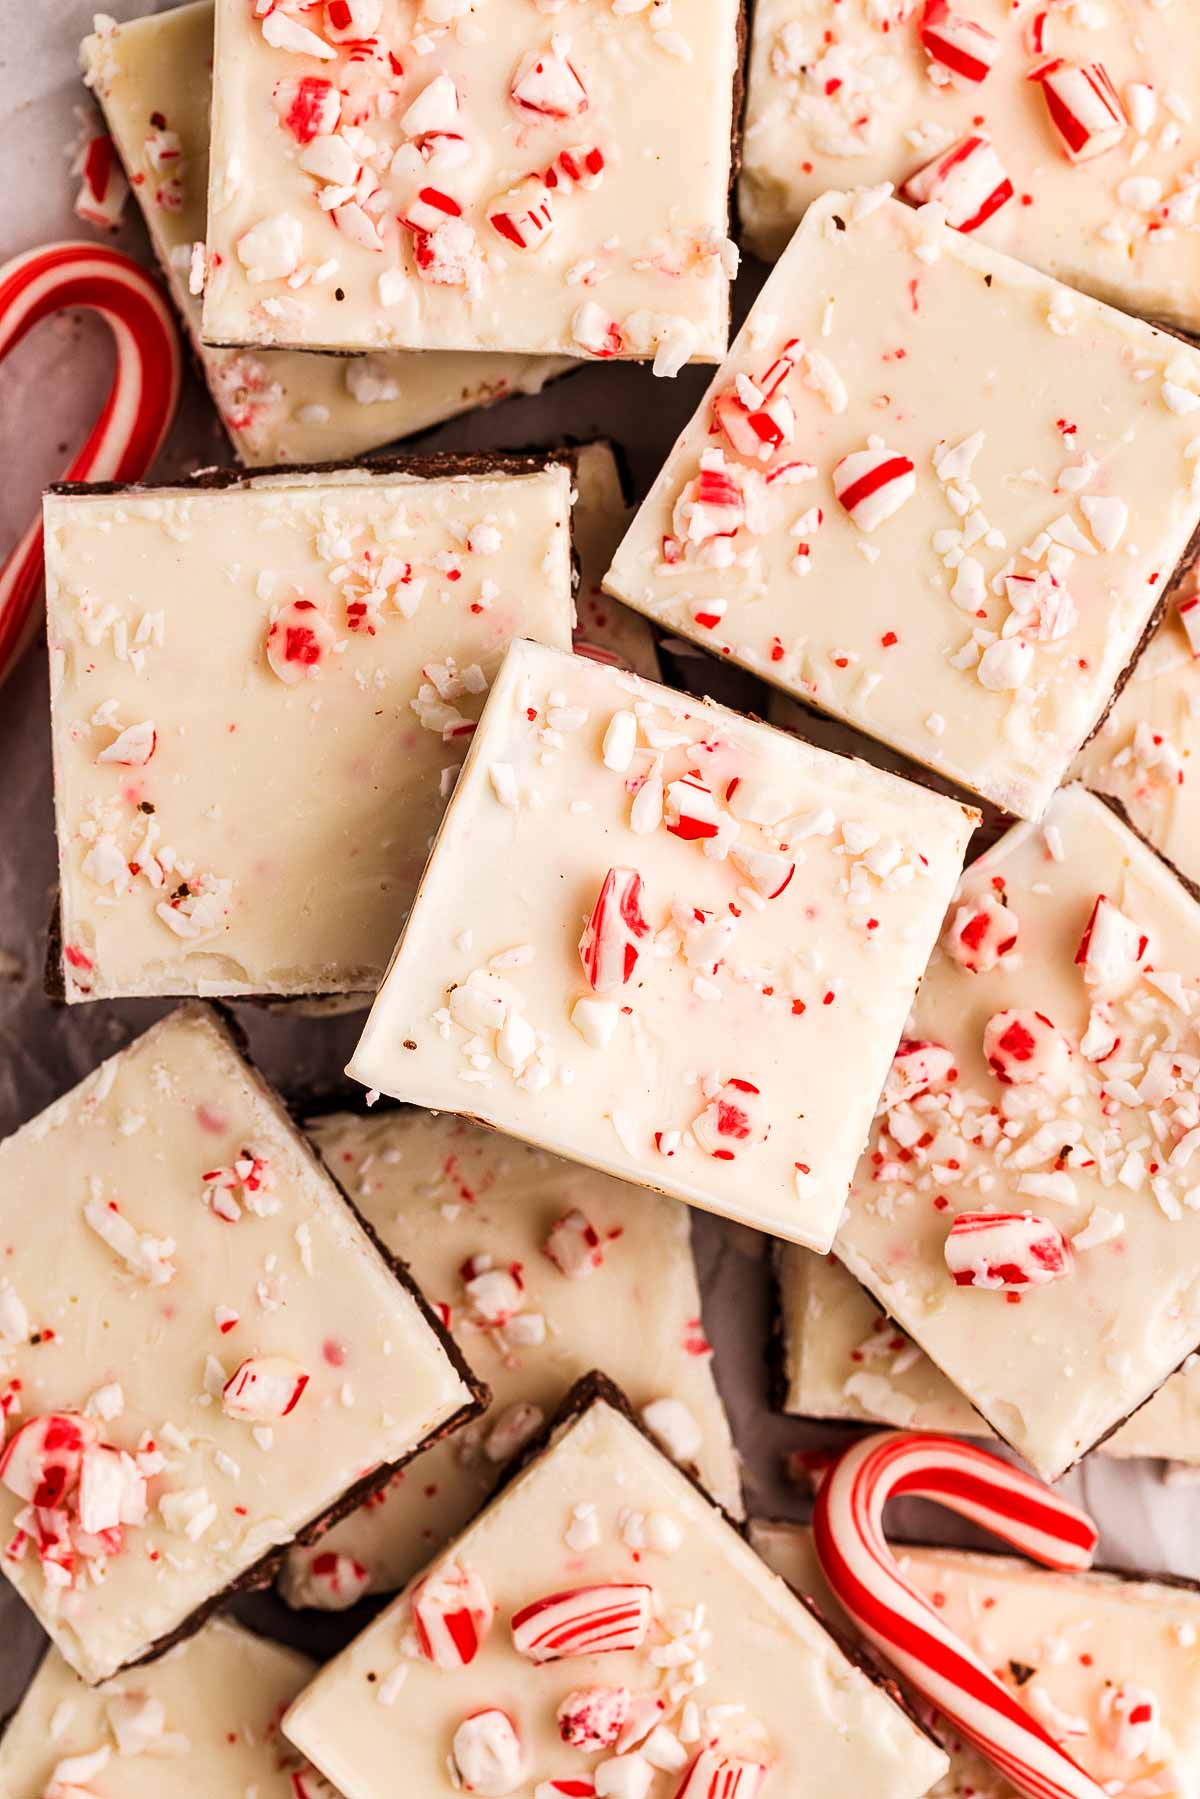
- No decorating skills needed. The great thing about peppermint bark is that it looks pretty and festive without any elaborate decorating needed!
There’s just nothing like chocolate and peppermint together for the holiday season, and a batch of homemade Peppermint Bark makes it all the sweeter!
Printable Recipe Card
Ingredients
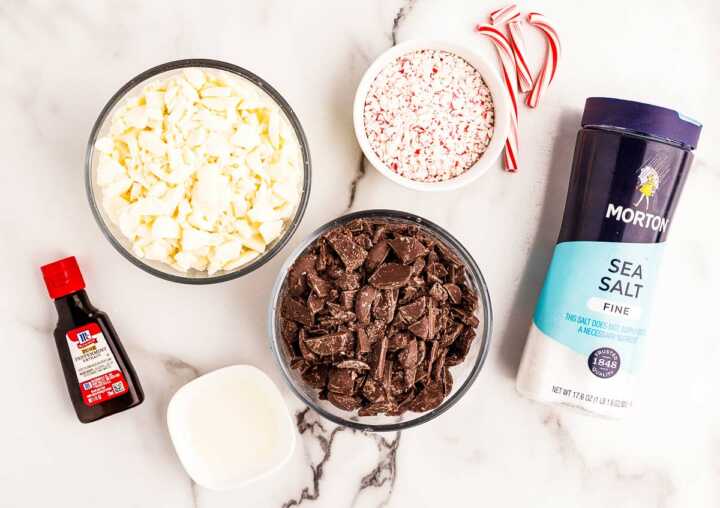
- 8 oz dark chocolate (chopped)
- 8 oz white chocolate (chopped)
- ½ teaspoon neutral oil (¼ teaspoon per layer; skip if using high-quality chocolate)
- ¼ teaspoon peppermint extract (not mint, not essential oil)
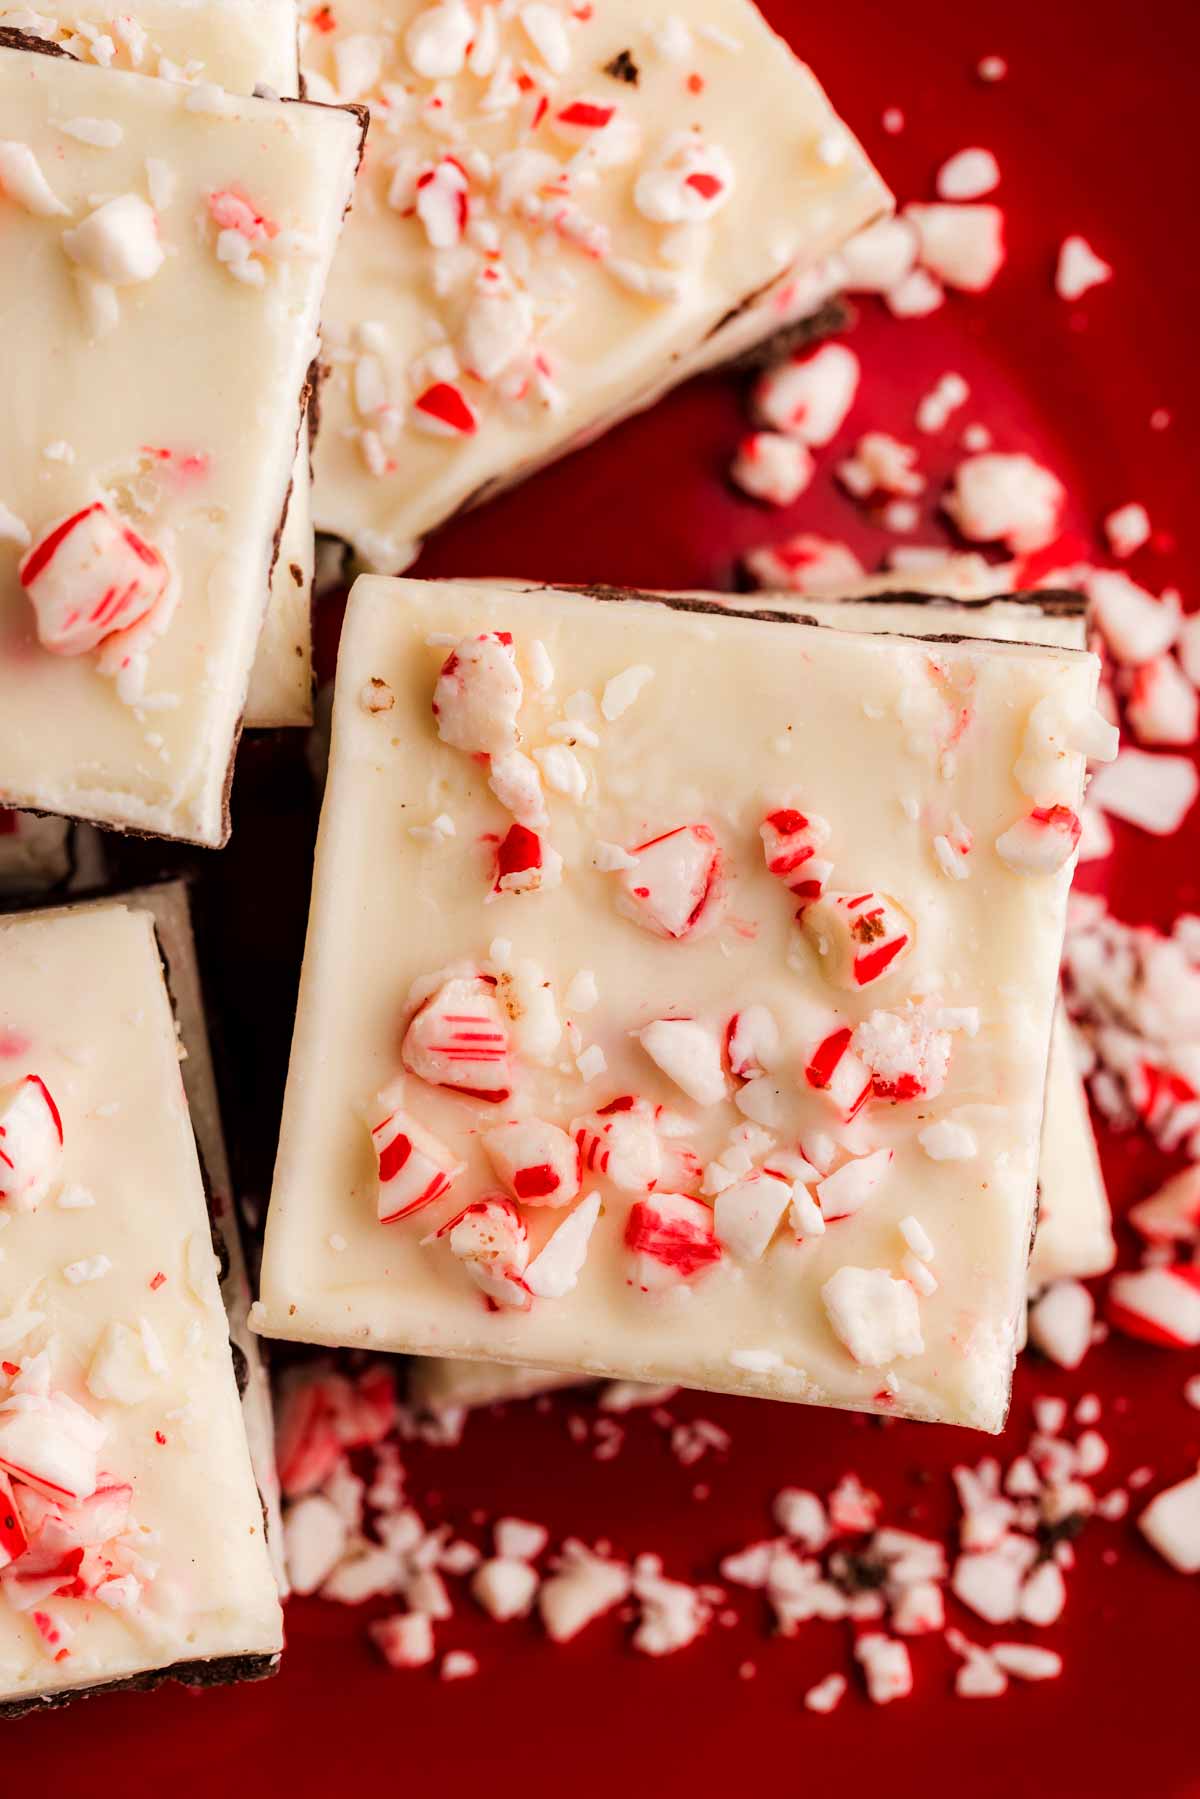
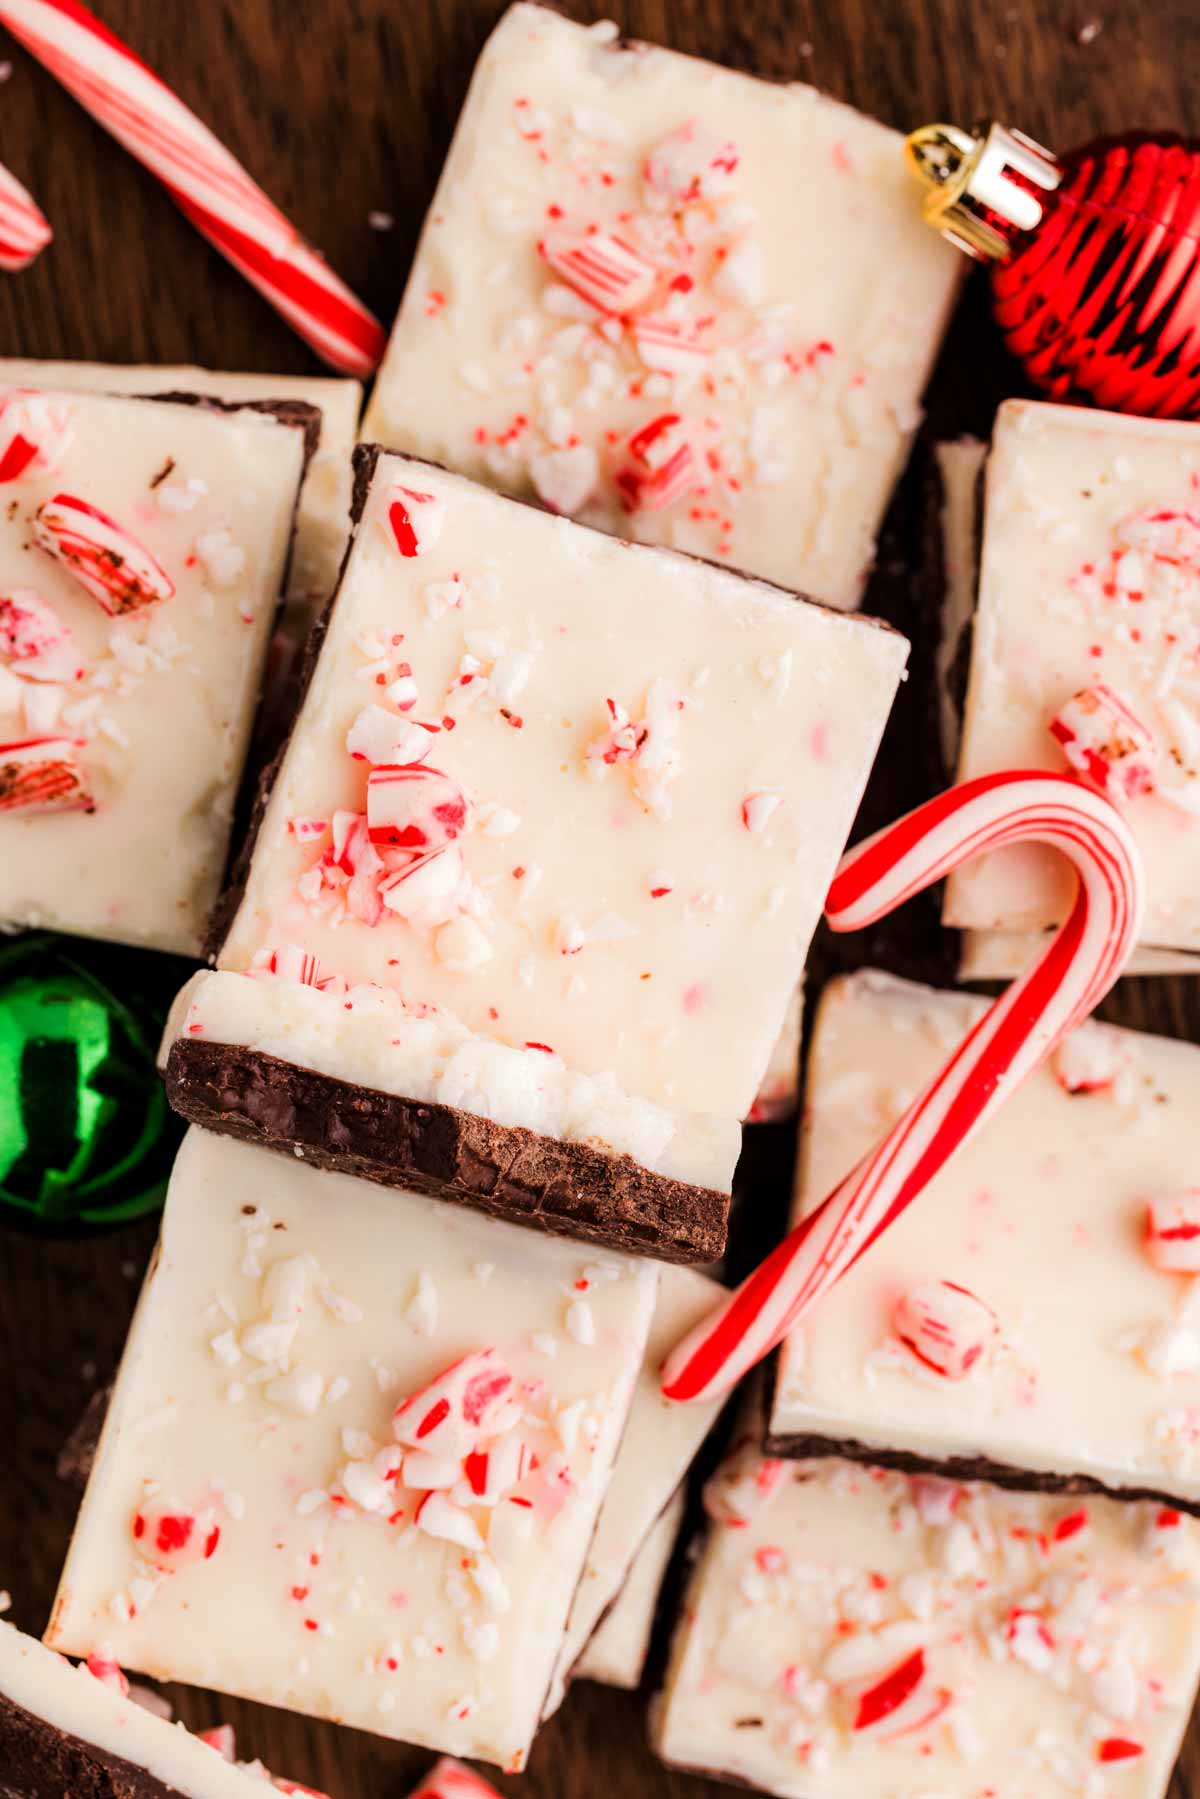
- 1 cup crushed candy canes (sifted – fine “peppermint dust” and larger pieces kept separate)
- small pinch of fine sea salt (for the dark chocolate layer)
Tips
- Microwave: Heat on low power in 15-second bursts, stirring well between each.
- Stovetop: Use a double boiler over barely simmering water; don’t let water touch the bowl or the chocolate.
Instructions
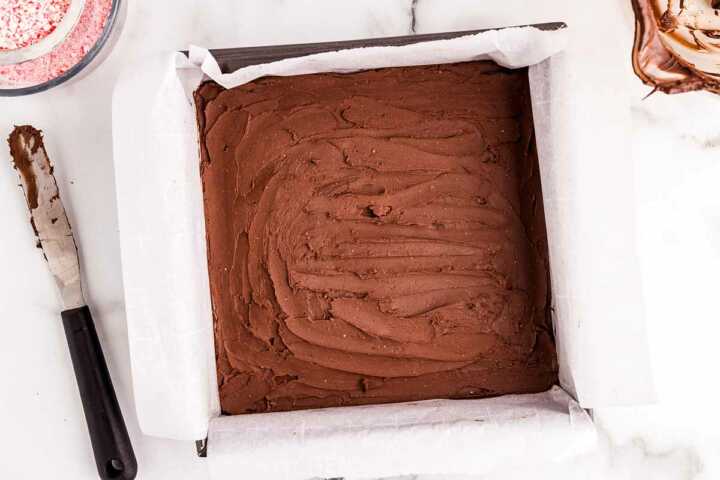
- Prep: Line an 8×8-inch baking pan with parchment paper, leaving an overhang for easy lifting later. Lightly (!) spray with nonstick cooking spray.Get your ingredients ready.

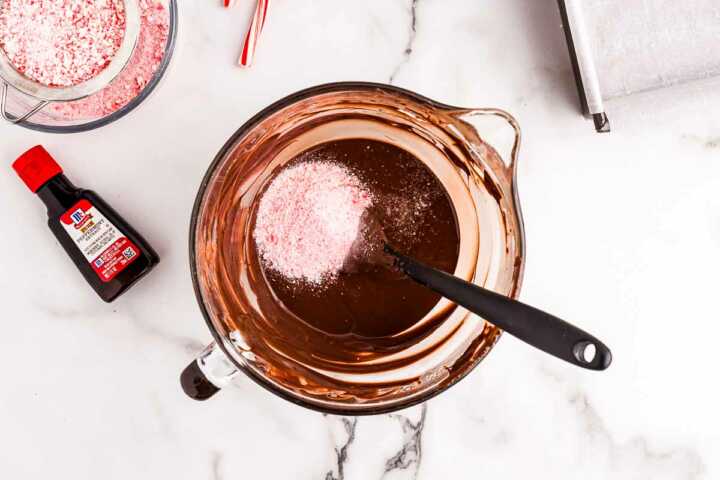
- Melt dark chocolate: Melt the dark chocolate (see notes). Stir in ¼ teaspoon oil, half of the peppermint extract (⅛ teaspoon), peppermint dust (1–2 tablespoons), and a small pinch of sea salt.8 oz dark chocolate

- Assemble dark chocolate layer:Spread the dark chocolate evenly in the prepared pan. Chill 10-15 minutes in the fridge — just until set but still slightly tacky.
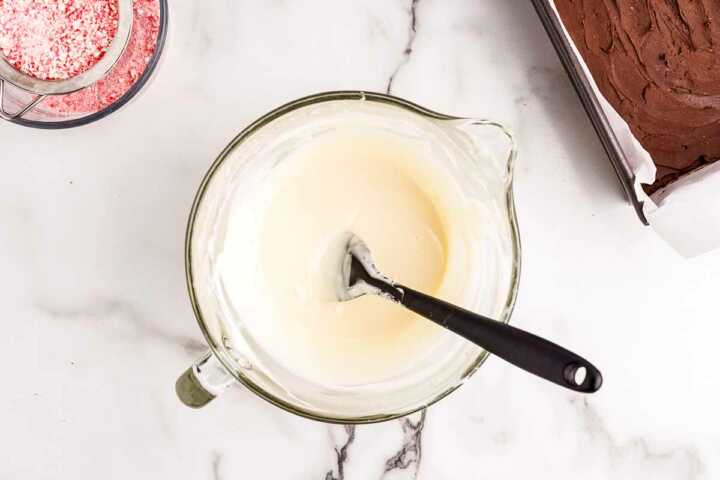
- Melt white chocolate: Melt the white chocolate and let it cool until just warm (around 85–90°F). Stir in the remaining ¼ teaspoon oil, ⅛ teaspoon extract, and, if desired, 1–2 tablespoons of medium peppermint pieces for a “confetti” look (fold the peppermint pieces in last, and do it quickly, or else your white chocolate may turn pink.)8 oz white chocolate
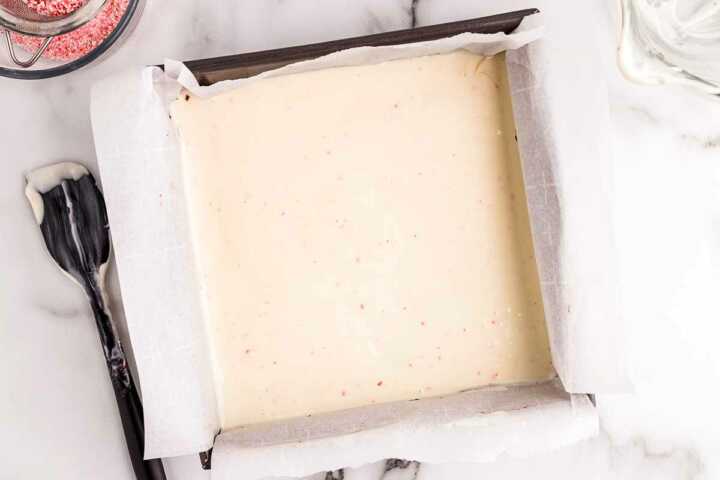
- Assemble white chocolate layer:Gently spread the white chocolate over the first layer.(If the dark layer got too cold, rest it 5 minutes at room temperature first to make sure the layers won't separate later. Spread the white chocolate quickly and try not to disturb the dark layer, or they will get mixed.)
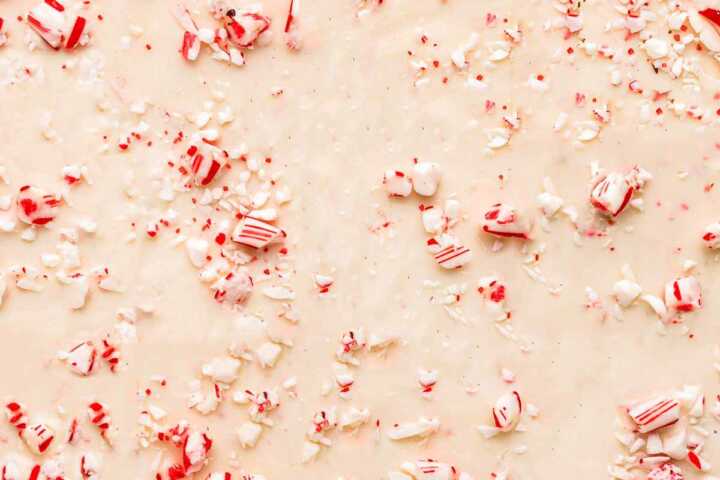
- Decorate & chill:Sprinkle the remaining larger peppermint pieces over the top and press lightly so they stick. Chill 30–60 minutes, or until firm.
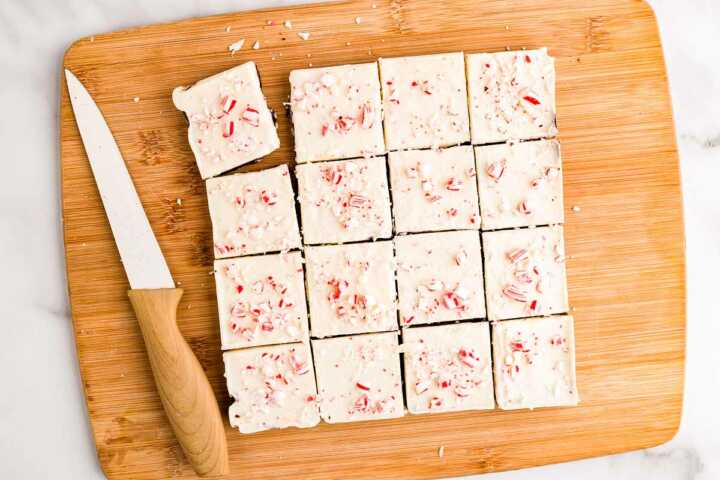
- Finish:Lift the bark from the pan. Let stand 10 minutes at room temperature, then cut into squares with a warm, dry knife (wipe after each cut for extra-clean slices.) Store in an airtight container for up to 2 weeks – best kept chilled.
Video
Easy Peppermint Bark
make your kitchen smell like home?Peppermint Bark FAQs
Use an 8×8 inch pan for a thicker bark, or a 7×11 OR 9×9 inch pan for a thinner bark. You could also use a 9×13 inch pan, but the bark gets very thin.
The bark in the photos was made in an 8×8 inch pan.
Microwave: Place the chocolate in a large microwave-safe bowl and microwave on low, 15 seconds at a time. Remove from the microwave and stir well after each increment. Make sure the chocolate at the bottom of the bowl doesn’t burn!
Stovetop: You can melt chocolate without a microwave in a double boiler on the stove. Just bring a pot of water to a boil, then reduce the heat to a low simmer. Place the chocolate in a heat-safe bowl on top of the pan (stainless steel works great, avoid untempered glass). Stir well until the chocolate is melted – make sure you do not get any water into the bowl!
If you want the bark to be as pepperminty as the store-bought bark, then yes, you have to use peppermint extract.
If you don’t care about the peppermint taste and just want to make some festive treats with what you have on hand? The recipe works just fine without the extract, the taste is just different.
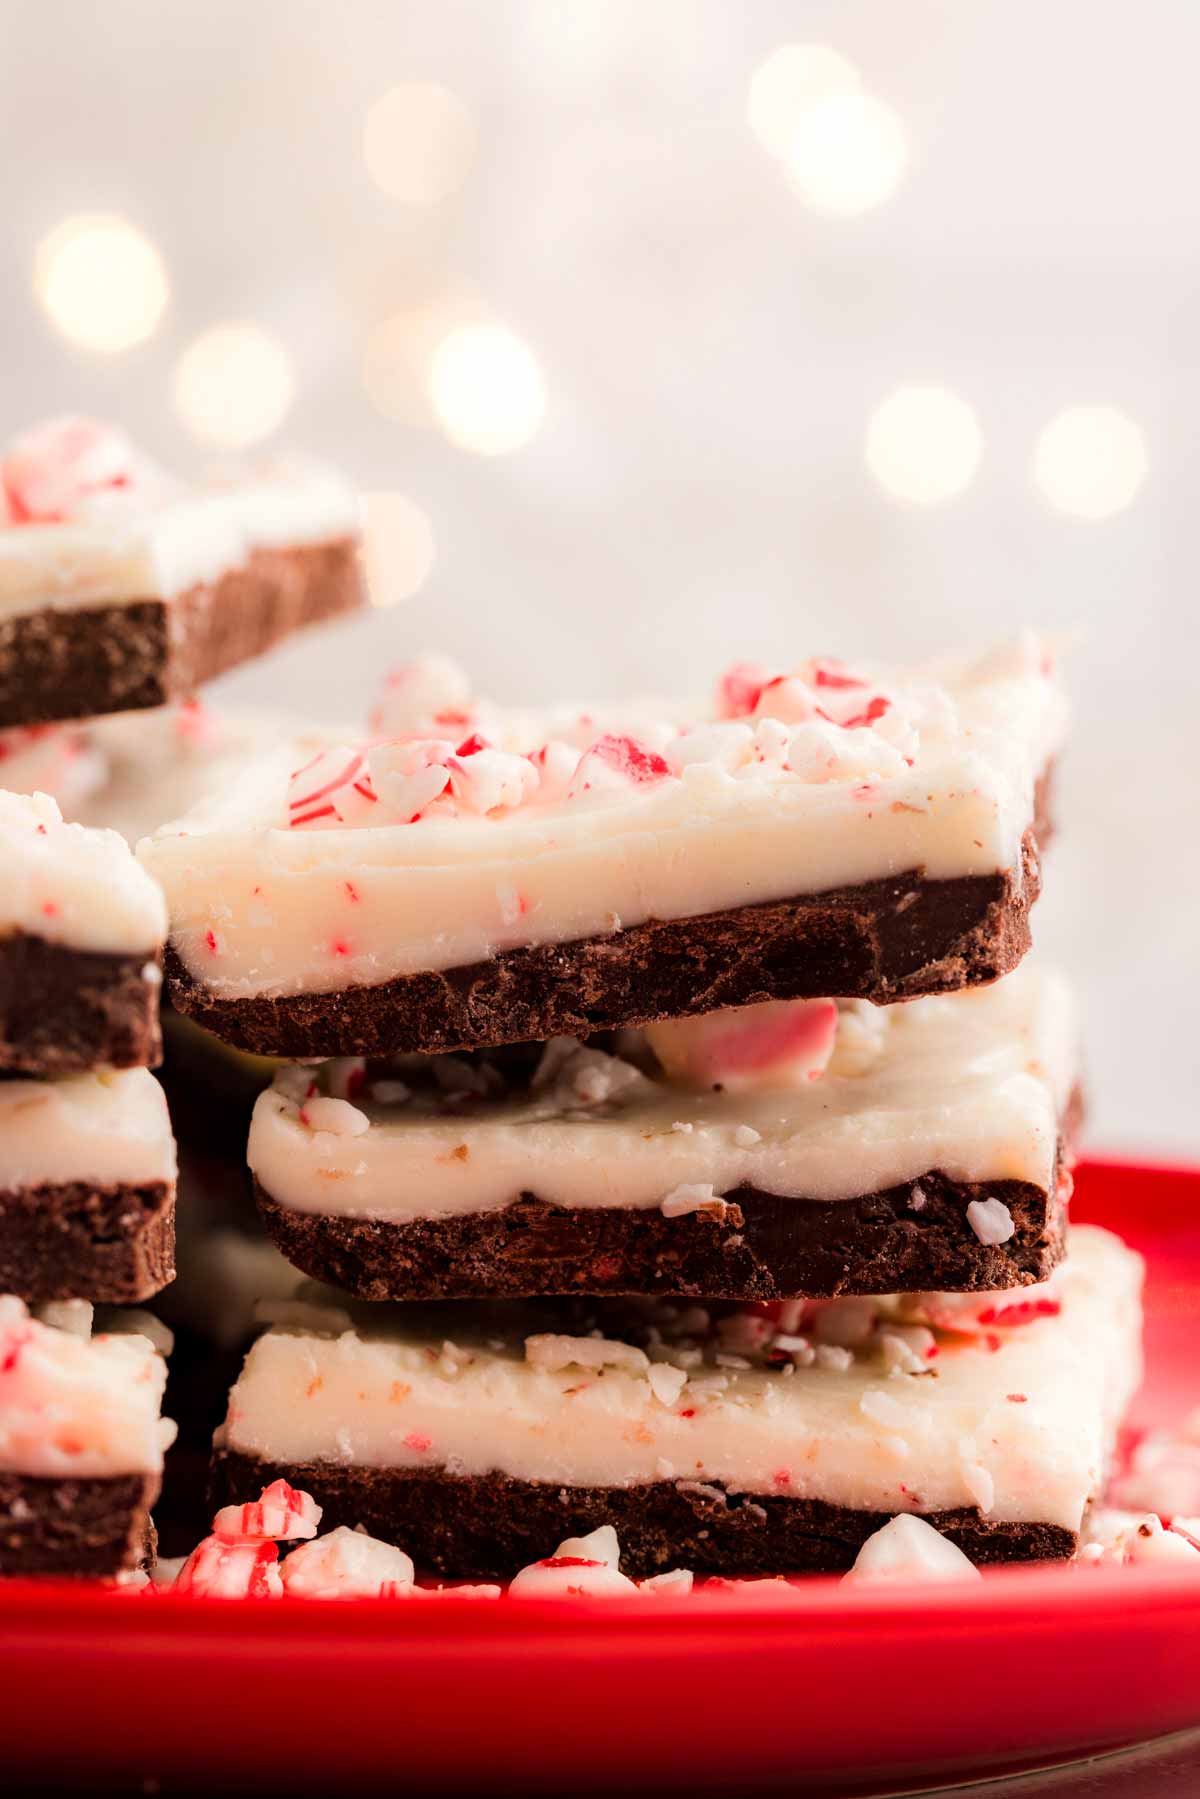
A few readers mentioned their chocolate layers separating. Here are some tips to prevent it, or to remedy a split peppermint bark:
Make sure you use the correct amount of chocolate and the correct pan size, as directed in the recipe.
Chill the chocolate bark just until it’s set, not for longer. If you happen to chill it for too long, let it sit at room temperature for 10-15 minutes before adding the white layer.
Make sure the white chocolate is nice and melted when you pour it over the dark chocolate. They mustn’t mix together, but the very top of the dark chocolate should get the chance to slightly melt after adding the white chocolate for them to stick together.
Make sure you let the bark come to room temperature for 10-20 minutes before slicing it.
Also, if the layers completely separate regardless, try slightly melting the top of the dark chocolate layer with a hair dryer (be careful, don’t hold the hair dryer too close and stay away from water sources when you do this). Then press the white layer on top and leave them to meld together.
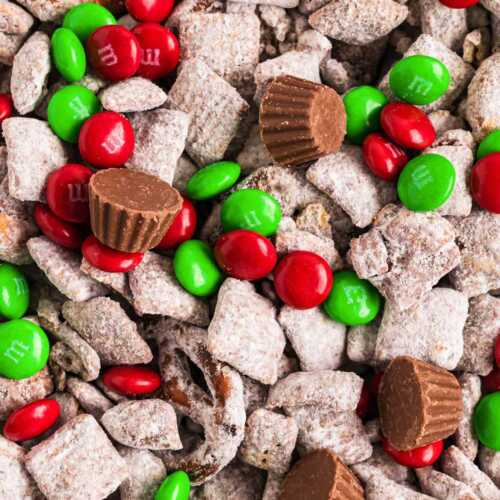
Perfect to serve with


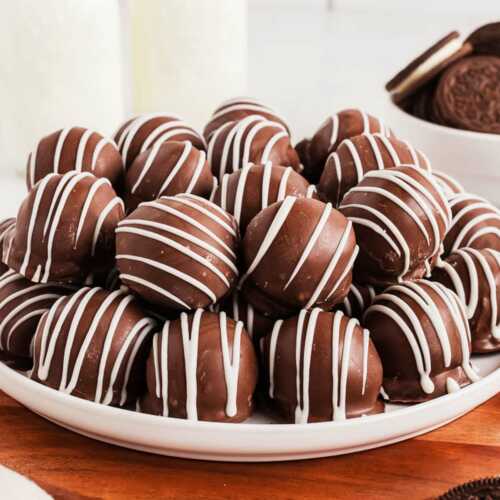
More Christmas recipes
From sweet treats to a festive Christmas dinner, these recipes have your holiday celebration covered!
Browse all Christmas recipes 〉


〈 swipe for more 〉

More recipes you may enjoy


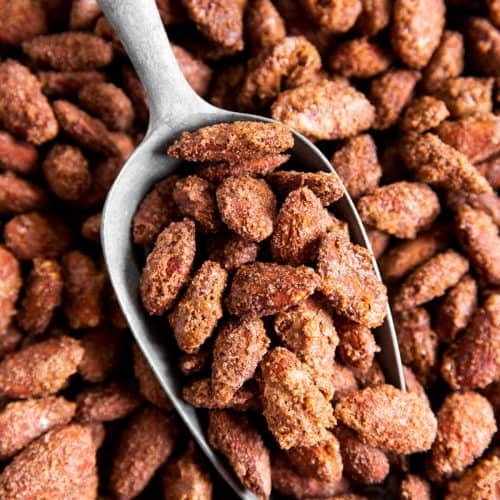
〈 swipe for more 〉


Connie says
Help! My layers of chocolate separated! What did I do wrong? I let it set the correct amount of time so not sure why the white layer didn’t adhere to the chocolate layer?
Nora says
Connie, I’m so sorry this happened! Did you melt the chocolate enough so that it was really hot and pourable? And did you immediately pour it over the first layer? It’s key that it’s hot enough to JUST melt the topmost part of the first layer. It also helps to allow the bark to rest at room temp for 10-15 minutes before slicing. Did you read the “troubleshooting” advice in the post?
Deanna says
Hi Nora hope you are well, I want to try your recipe because everytime i try one it always goes to our favorite file. Curious about the oil, it’s the first time I see that in Christmas Bark. I’ll try it just wondering why you add oil
Happy Holidays
Deanna
Natalie says
So easy and delicious! Thank you for sharing! Peppermint bark is definitely a holiday favorite!!
Carol says
I was disappointed because the chocolate separated from the white chocolate! How can that be prevented
Nora says
I’m so sorry, this has honestly never happened to me with this recipe. Make sure you use the correct amount of chocolate and the correct pan size, as directed in the recipe. Freeze the chocolate bark just until it’s solid (takes 10 minutes for me), not for hours and hours. Make sure you let the dark chocolate part sit at room temperature for 10 minutes before adding the white chocolate. Make sure the white chocolate is very hot when you pour it over the dark chocolate. They mustn’t mix together, but the dark chocolate part should get the chance to slightly melt on top after adding the white chocolate for them to combine. And absolutely make sure you let the bark come to room temperature for 10-20 minutes before slicing it. Also, if you didn’t follow the instructions and the layers completely separate, try slightly melting the top of the dark chocolate layer with a hair dryer (be careful, don’t hold the hair dryer too close and stay away from water sources when you do this). Then press on the white layer and leave them to sit. These tips are all in the post and recipe card, please follow them for the bark to come out beautifully. I will add them to a notice box in the post as well to make them even more obvious. Again, sorry the recipe didn’t work out for you the way you expected it.
Anya says
Great recipe thanks for sharing ?
Nora Rusev says
Thank YOU for making it, Anya!
Renee Goerger says
It just wouldn’t be Christmas without Christmas bark! Everyone loves it and it makes really great gifts! This is a really good recipe!
Nora says
Glad to hear it, Renee!
Tayler Ross says
I just love peppermint and chocolate together! I am going to make this recipe this weekend for the holidays!
Nora says
Me too, Tayler! I hope you’ll love the recipe!