

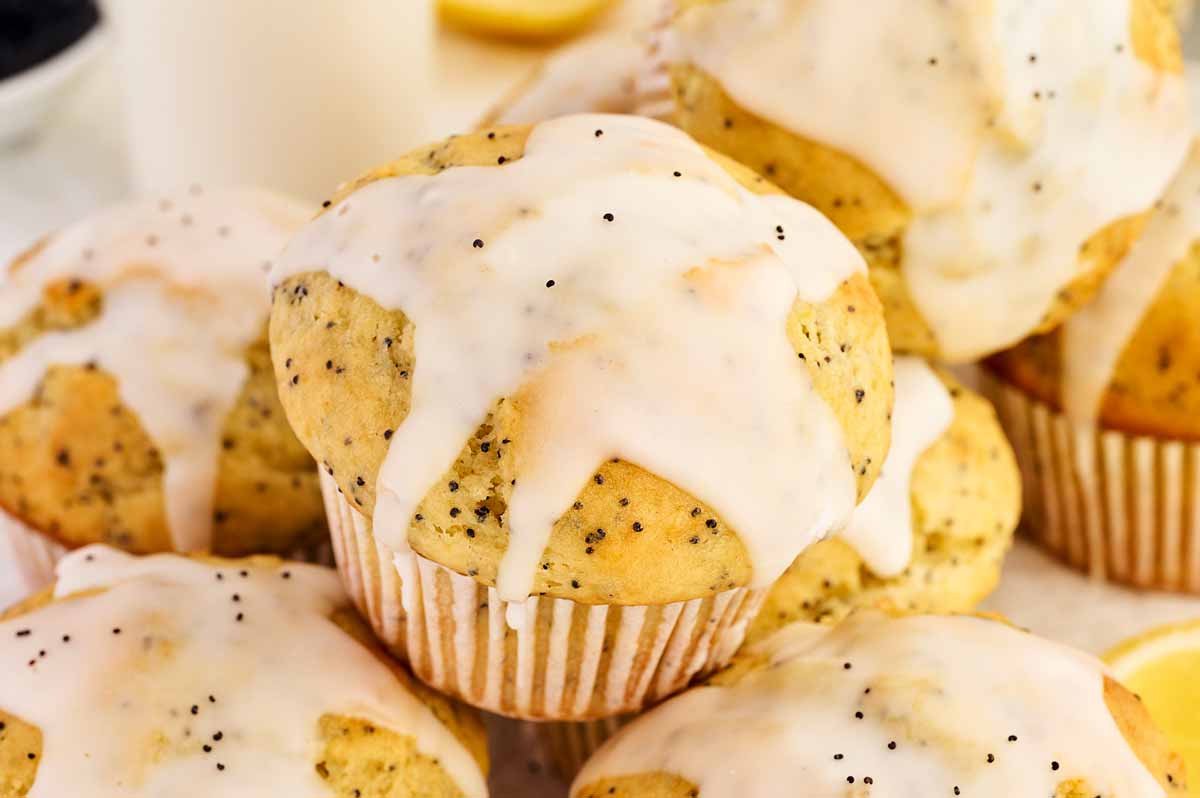
This foolproof Lemon Poppy Seed recipe uses a high-heat baking trick to get those perfect domed tops and a tangy lemon glaze!
What makes this recipe great
I don’t have time for fussy baking. These Lemon Poppy Seed Muffins are my “pantry pull” win — they use basic oil instead of waiting for butter to soften, and they actually rise high enough to look like they came from a bakery.
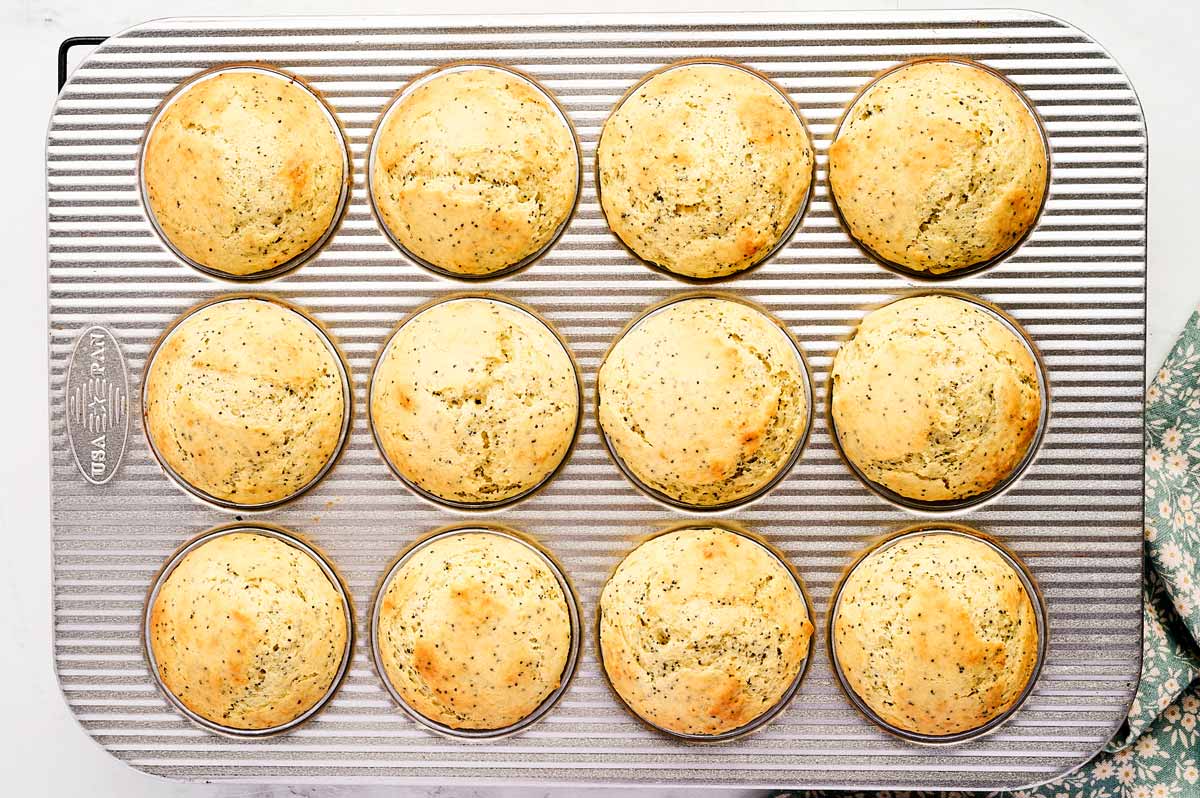
- Bakery-Style Tops: We start the oven hot and then turn it down. This “heat shock” makes the muffins burst upward so they don’t look like flat little hockey pucks.
- Lots of Lemons: We’re using the zest and the juice in the batter, then more juice for the glaze.
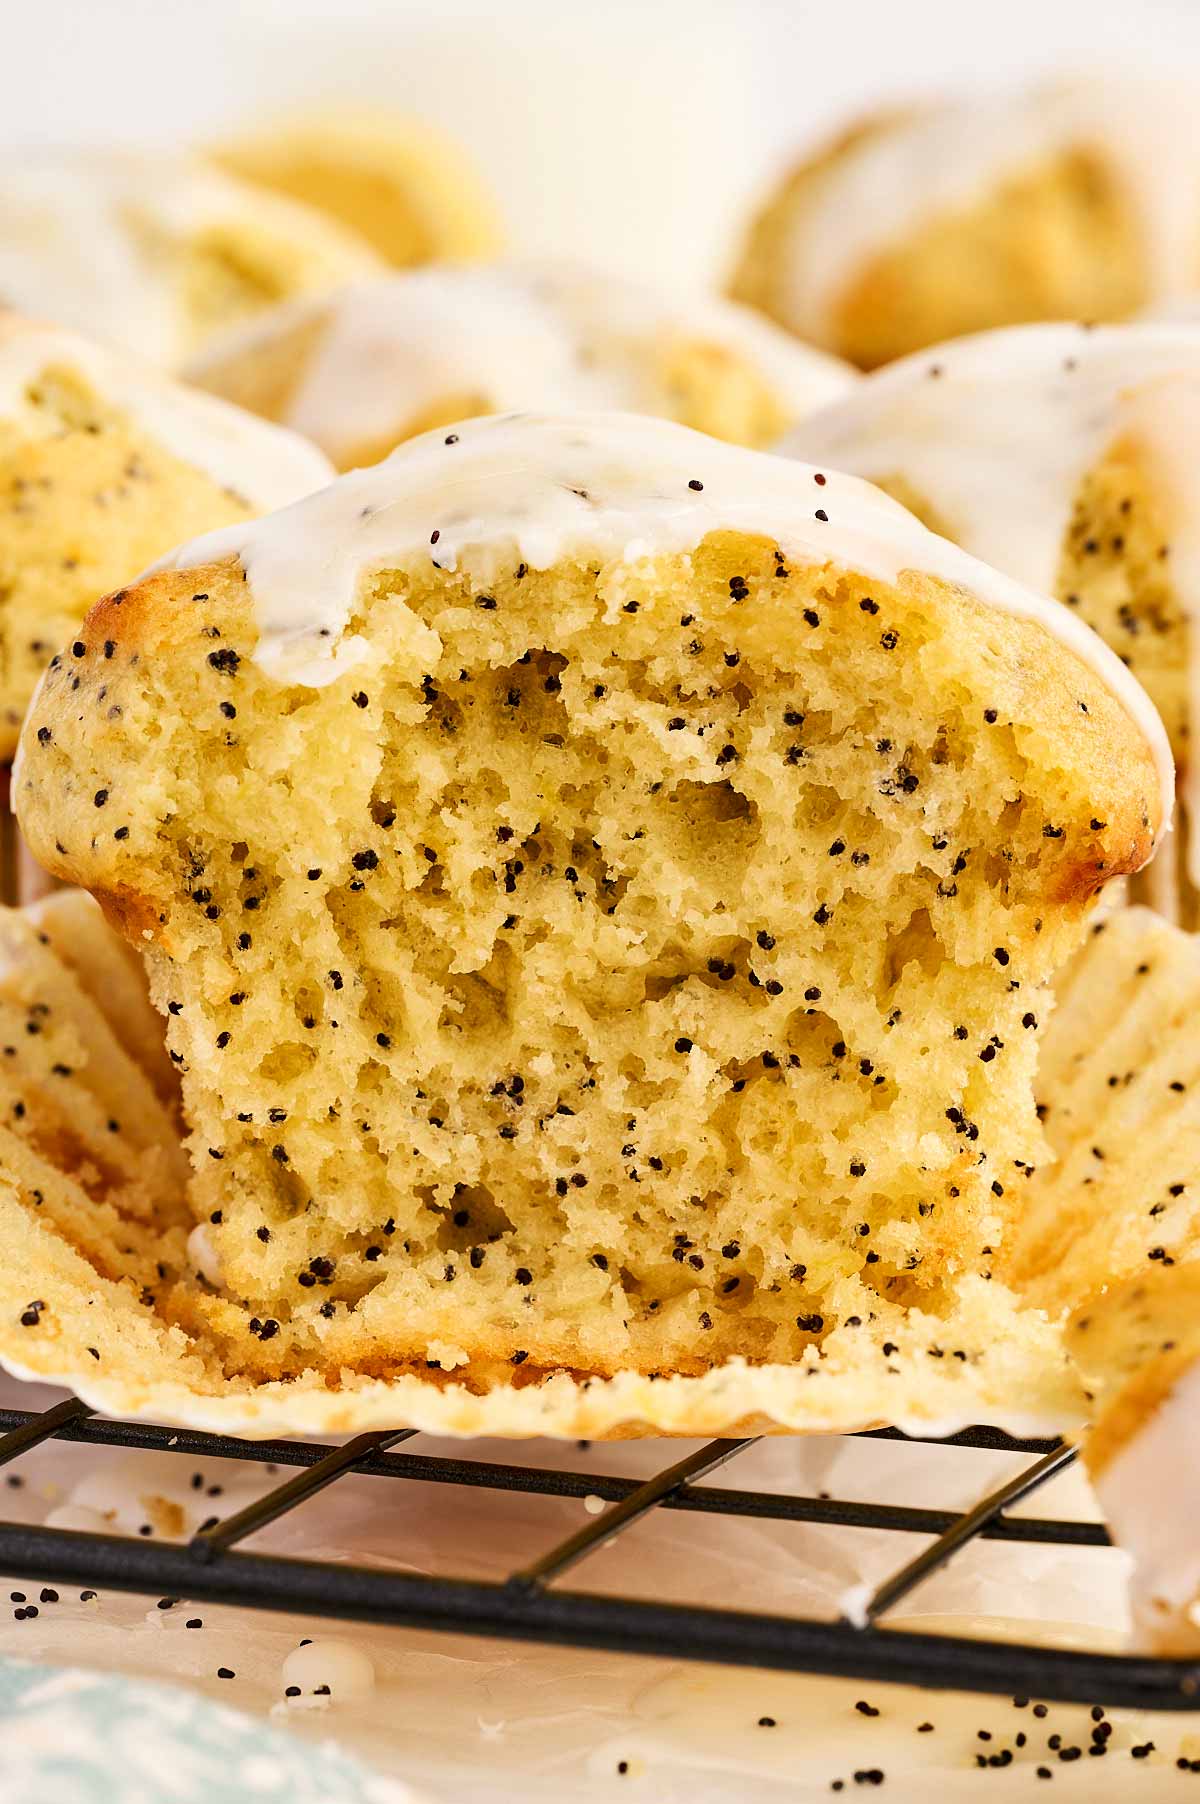
- Stays Moist for Days: Thanks to the sour cream, these aren’t those crumbly, dry muffins that turn into sawdust by Tuesday morning!

Let’s see how we make this:
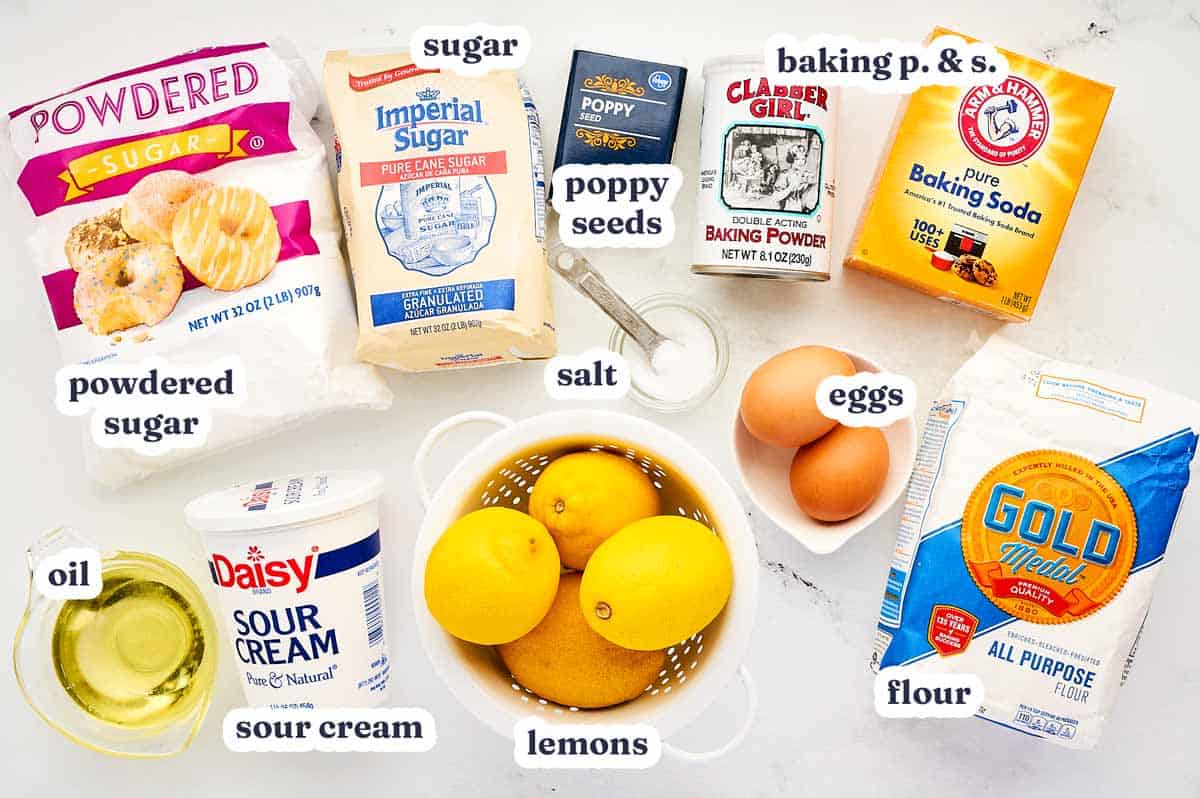
Ingredients we’re going to use
This is about swaps and notes – jump to the ingredient list for the measurements etc.
The Flour: If you’re like me and just scoop right from the bag, use 2 cups. If you’re a “spoon and level” person, you’ll need 2 ½ cups. If you have kitchen scales, go for 325g. Getting this right is the difference between a fluffy muffin and a sunken one!
Sour Cream vs. Yogurt: I usually grab whatever is on sale. Full-fat Greek yogurt works perfectly if you don’t have sour cream, just make sure it’s plain and not vanilla.
Poppy Seeds: These add that classic crunch, but if you realized you’re out halfway through mixing, don’t sweat it. Plain lemon muffins are still a win.
The Glaze: Don’t skip the fresh lemon juice here. Bottled juice works in a pinch for the batter, but for the glaze, you really want that fresh zing.
Recipe walkthrough
This is about tips and hints, and the process photos if you need a visual guide. Jump to the instructions for the precise steps.
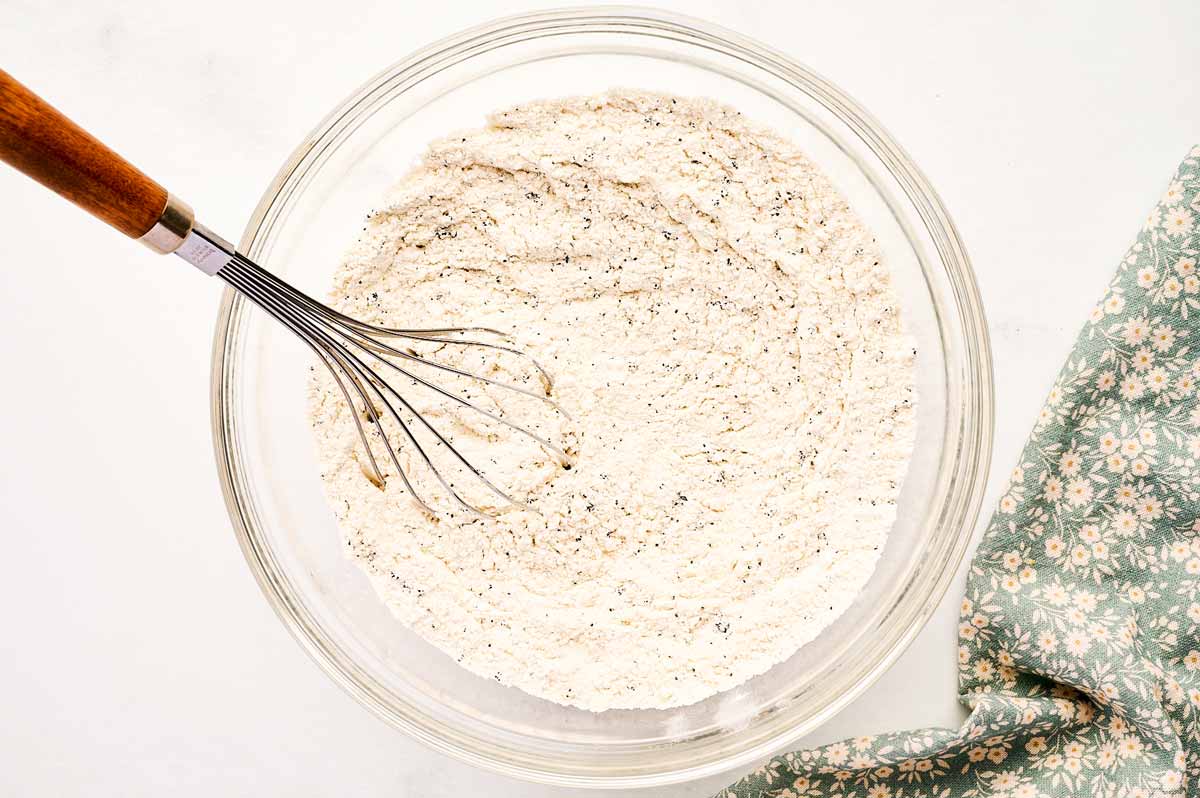
1: Mixing the dry.
I always start with the dry ingredients, because it’s easier than dirtying your whisk with the wet ingredients first, and then having to wash it before starting on the dry ingredients!
2: Mixing the wet ingredients.
Use a large glass measuring jug for this if you have one. It makes pouring the wet stuff into the dry bowl so much easier (and cleaner) than trying to pour from a bowl.

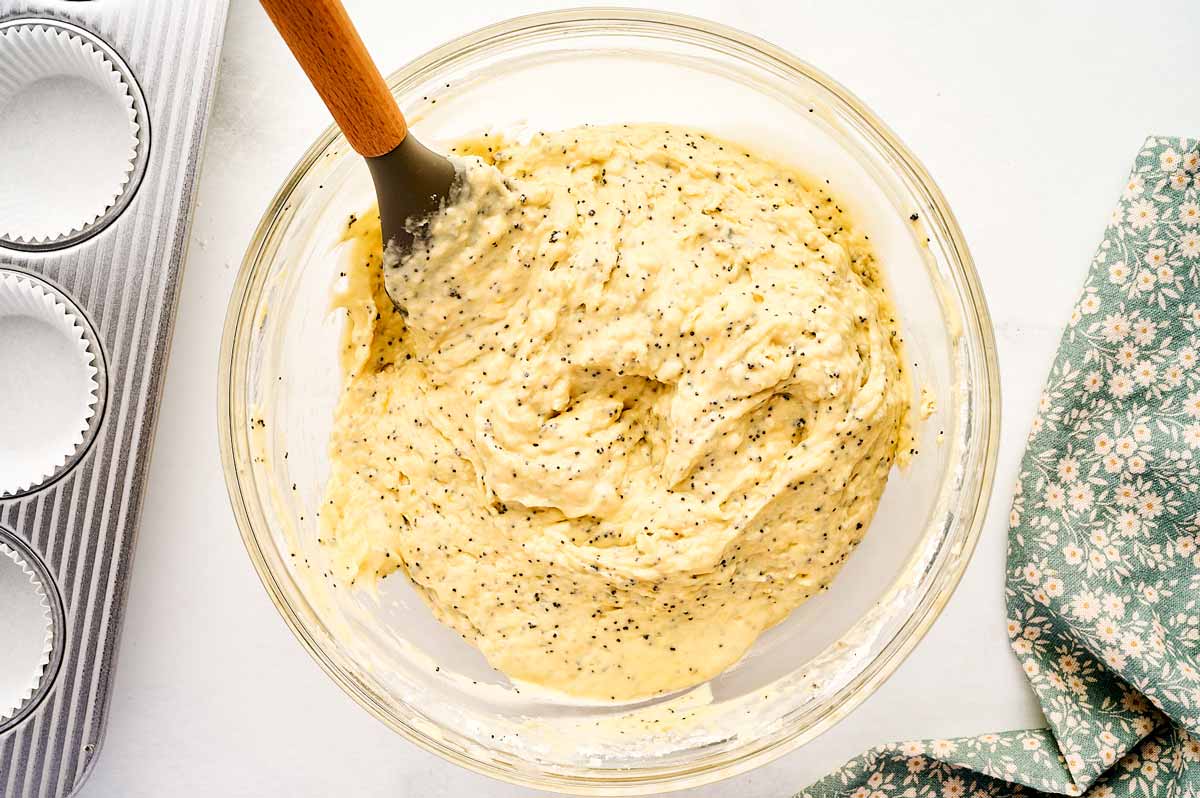
3: Making the batter.
The biggest mistake people make with muffins is overworking the batter. Once you pour the wet stuff into the flour, put down the whisk. Use a big spoon or a spatula and just fold it until you don’t see white streaks. If there are a few lumps, leave them alone! Lumpy batter makes tender muffins; smooth batter makes tough ones.
4: The assembly.
When you fill the muffin cups, don’t be scared — they will be full to the brim. That’s exactly what we want. Also, that tip about the baking sheet under the muffin pan? Do it. I’ve spent too many Sunday nights scrubbing burnt sugar off the bottom of my oven because a muffin decided to overflow.

5: The temperature switch.
This is my favorite trick. That 425°F preheat and 400°F start is like a jumpstart for the batter. When you turn it down to 350°F, set a second timer immediately so you don’t forget. And whatever you do, don’t peek! Opening the door lets the steam escape and the muffins might sink.
6: The cooling period.
Let them sit in the pan for just 5 minutes. If you leave them in there too long, the steam makes the bottoms soggy. Move them to a rack so the air can circulate.

7: The glaze finish.
Wait until they are completely cold. If they are even a little bit warm, the glaze will turn into a clear syrup and soak in. It still tastes good, but you lose that pretty white “iced” look.


Tl; dr: All the important stuff at a glance
If you read nothing else in this post, this is what you need to know:
- Measure your flour carefully: Too much flour leads to “brick” muffins.
- Don’t open the oven door: When you lower the temp, leave the door shut so you don’t lose that trapped heat.
- Glaze when cool: If the muffins are even a little warm, the glaze will just melt and disappear into the bread.
- Quick recipe rundown: Combine dry and wet ingredients separately, then combine into a batter. Divide between muffin cups and bake. Cool in the pan for a few minutes, then remove to a cooling rack to cool completely. Glaze once cooled.
FAQs
Can I freeze these?
Absolutely. I usually make a double batch, glaze half, and throw the rest in a freezer bag. Just thaw them on the counter for an hour or pop them in the microwave for 20 seconds.
Why do I start the oven at 425°F?
You preheat to 425°F and reduce the temp to 400°F just before placing the muffin pan in the oven. That initial blast of high heat activates the baking powder immediately, giving you those beautiful domed tops. Just don’t forget to turn it down after 6 minutes or you’ll have charred muffins!
My glaze is too runny, what happened?
Lemon juice is powerful! Add the juice one teaspoon at a time. If it gets too thin, just whisk in another spoonful of powdered sugar until it’s thick enough to move slowly.

If you’re on a roll with easy baking, you’ll love my Banana Bread or these 3-Ingredient Peanut Butter Cookies.

Bakery-Style Lemon Poppy Seed Muffins
Ingredients
Dry ingredients
- 2 cups flour (scooped; use 2-½ cups if you spoon and level OR weigh out 325g)
- 3 tablespoons poppy seeds
- 2 teaspoons baking powder
- ½ teaspoon baking soda
- ¼ teaspoon salt
Wet ingredients
- 1-½ cups sour cream ( OR whole milk Greek yogurt)
- 1 cup granulated sugar
- ½ cup oil
- 2 large eggs
- 1 to 2 lemons (zest and juice (~ 1-½ tablespoons (not packed) zest + 3 tablespoons juice))
Glaze
- 1 cup powdered sugar
- 2-3 tablespoons fresh lemon juice
Instructions
- Prep: Preheat oven to 425°F and line a 12-cup muffin pan with liners. Line a baking sheet with baking parchment (this is just to catch any potential spills to keep your oven clean!)
- Dry ingredients: Whisk together the dry ingredients in a medium-large mixing bowl, set aside.2 cups flour, 3 tablespoons poppy seeds, 2 teaspoons baking powder, ½ teaspoon baking soda, ¼ teaspoon salt
- Wet ingredients: Whisk together the wet ingredients in a separate large measuring jug.1-½ cups sour cream, 1 cup granulated sugar, ½ cup oil, 2 large eggs, 1 to 2 lemons
- Make batter: Add the wet to the dry ingredients and stir with a wooden spoon or rubber spatula just until combined – do not overmix. You shouldn’t see any dry flour, but a couple of lumps in the batter is fine.
- Fill muffin cups: Divide the batter between the prepared muffin cups (this is easiest with a cookie or ice cream scoop.) Cups will be FULL!
- Bake: Reduce oven temperature to 400°F. Place the muffin pan on the lined baking sheet and place them on the middle rack in your oven. Bake at 400°F for 6 minutes, then WITHOUT OPENING THE OVEN DOOR reduce the temperature to 350°F and finish baking for 15-20 minutes, until a toothpick inserted comes out without raw batter clinging to it (crumbs are fine.)
- Cool: Cool muffins in the pan for 5 minutes, then remove to a wire rack to cool completely.
- Glaze: Combine the glaze ingredients (start with 2 tablespoons lemon juice, only add more as needed – it should be spreadable and thick), spread over the cooled muffins. Allow to set before serving.1 cup powdered sugar, 2-3 tablespoons fresh lemon juice
Notes
- This batter is on the thick side, but it shouldn’t be like bread dough. If you think you accidentally added too much flour, you can thin out the batter with 1-2 tablespoons of milk.
- Don’t use a whisk when combining the wet and dry ingredients – use a rubber spatula or a wooden spoon to avoid overmixing.
- An ice cream or cookie scoop makes it pretty much mess-free to transfer the batter into the muffin cups.
- For the perfect domed muffins, stick to the oven temperature instructions in the recipe. The initial boost of heat quickly activates the baking powder and causes the muffins to rise very nicely.


Sheila Schrauben says
Hello. I am wondering if/how I need to tweak the bake temp and time for jumbo muffins.
Nora says
Sheila, I usually keep the baking temperatures the same for jumbo muffins, but they take 30-35mins in total for me to bake. Hope this helps.