
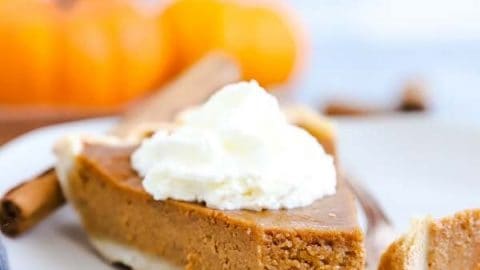
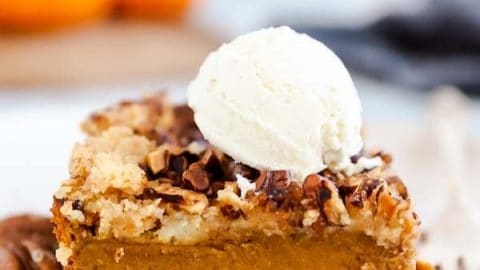
Ah, cheesecake. This is one of my favorite Thanksgiving-inspired desserts! I adore this No Bake Pumpkin Cheesecake for the holidays because it doesn’t use up any oven space, you can make it ahead – AND my recipe uses one full can of pumpkin so you don’t have any leftovers to worry about.

I always make this cheesecake with my kids – they love helping out, and it’s SO easy we manage to make it to the end without a nervous breakdown.
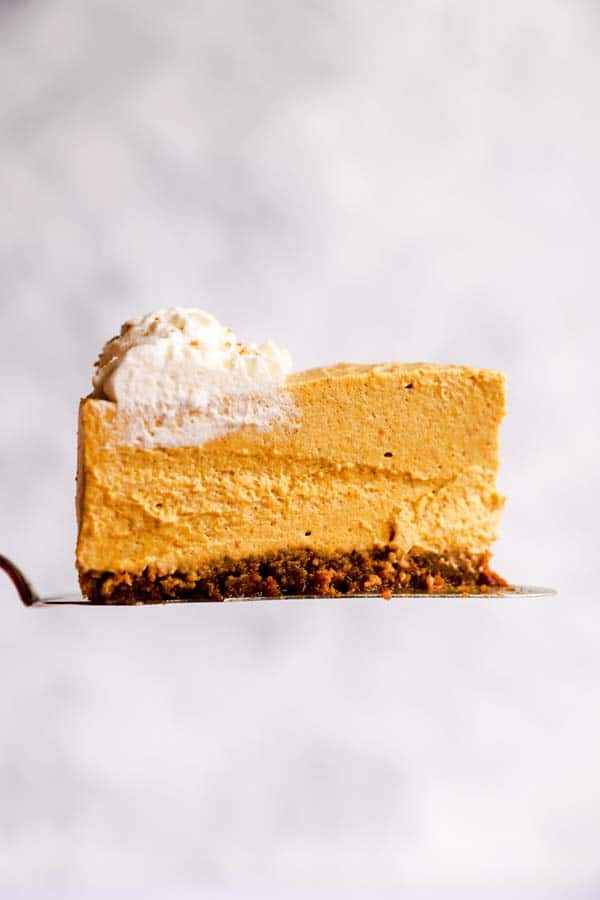
I use gingersnaps for the base and not graham crackers – because they go so well with the pumpkin spice flavors going on in the filling. I don’t bake the base, but if you want it extra-firm or plan on making the cheesecake a day ahead, it’s a good idea to bake the base for 10 minutes to help it set more firmly.
The cheesecake itself is completely no bake. I know many recipes use only half a can in their pumpkin cheesecake, but mine uses a full can. That’s because a) I absolutely despise leftovers from canned pumpkin and always forget them in the back of the fridge, and b) because we’re going for maximum pumpkin flavor here.
Also, if you’re making this for Thanksgiving… Do you really want to end up with a cup or less of pumpkin left over? Everybody knows pumpkin retires once Thanksgiving dinner is over, and peppermint and gingerbread rejoice 😉
And in case you’re wondering… No, I don’t like pumpkin cheesecake better than pumpkin pie… On the contrary, I want them both with plenty of homemade whipped cream! Enjoy!

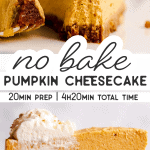
No Bake Pumpkin Cheesecake
Make this pumpkin cheesecake for your Thanksgiving dessert table this year - it's no bake, make ahead friendly and full of delicious pumpkin spice flavors.
Ingredients
- 1 ⅔ cups finely crushed gingersnaps
- 2 tablespoons granulated sugar
- 3 - 4 tablespoons melted butter
FOR THE FILLING
- 2 (8-oz) blocks cream cheese, softened
- 1 (15-oz) can pure pumpkin (NOT pumpkin pie filling!)
- 1 cup powdered sugar
- 1 teaspoon pure vanilla extract
- 2 teaspoons pumpkin pie spice (see note)
- ⅛ teaspoon salt
- 1 cup heavy whipping cream
TO GARNISH
- Whipped cream and your favorite garnish - grated nutmeg, crushed gingersnaps, Brach's pumpkins...
Instructions
- Prep: Line the bottom of an 8-inch springform pan (just the bottom, NOT the sides!)
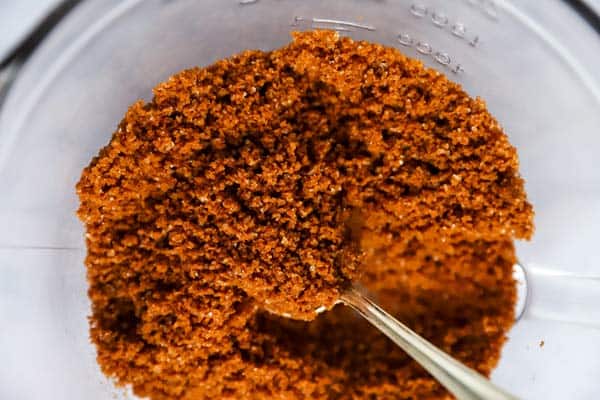
- Make the crust: Combine finely crushed gingersnaps, granulated sugar and 3 tablespoons melted butter in a medium mixing bowl. Combine well until mixture resembles wet sand - add up to 1 additional tablespoon melted butter if mix is too dry. Press evenly and firmly into the prepared pan (see notes for technique, and for tips if making the cheesecake a day ahead).
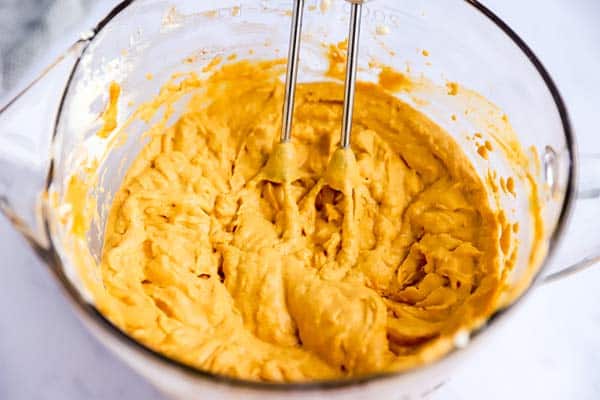
- Make the filling: Combine cream cheese, pumpkin, powdered sugar, vanilla, pumpkin pie spice and salt in a large mixing bowl. Beat with an electric mixer on medium speed until smooth.
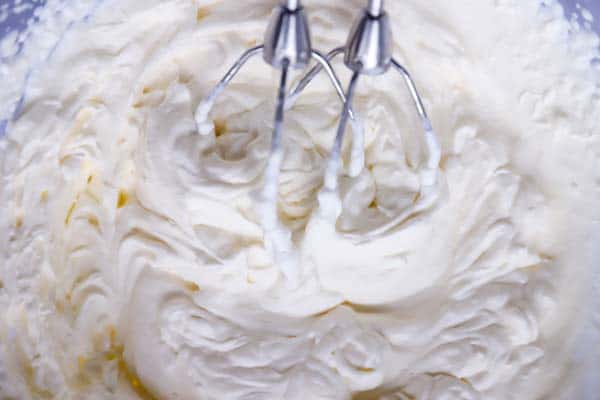
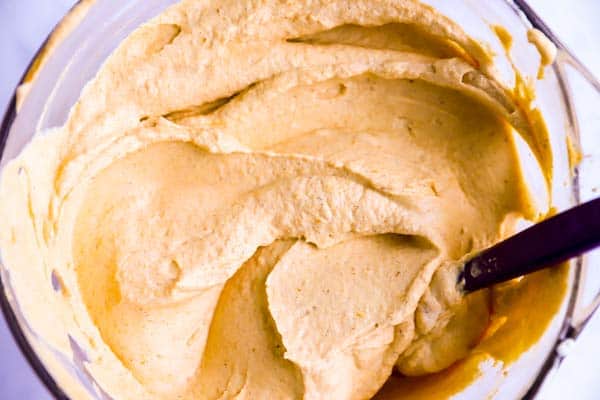
Clean the mixer's beaters, then whip the cream in a clean bowl until stiff peaks form. Gently but thoroughly fold into the cream cheese mixture until well combined. - Assemble cheesecake: Pour about 1 inch of filling over the prepared crust. Spread it well, making sure the cheesecake mix is covering the base completely. Add the remaining filling, gently shake the pan to evenly distribute, and then carefully smooth the top with a spatula.
- Chill: Cover the springform pan tightly with cling film and chill the cheesecake for at least 4 hours.
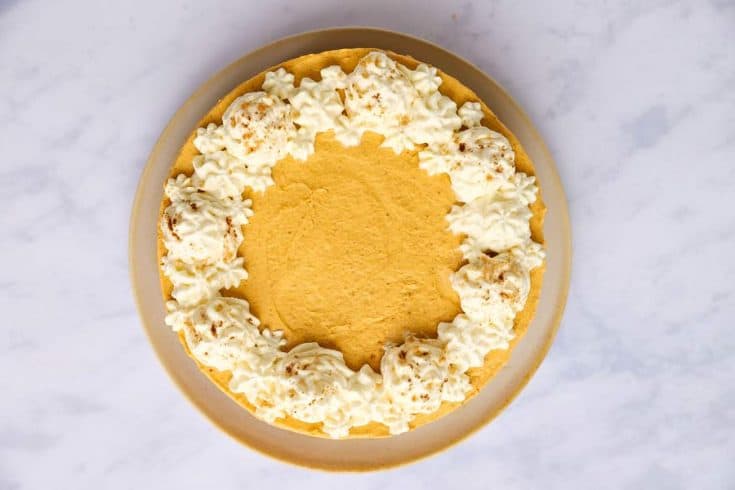
- Serve: To serve, run a hot knife (just place it under hot water and dry it off, then quickly use it) carefully along the edge of the cheesecake to losen it from the pan. Remove the outer ring of the pan, then set the cheesecake on a serving platter if desired. Garnish with whipped cream and a little bit of grated nutmeg (do not go overboard with this!), crushed gingersnaps, candy pumpkins... whatever you like! And slice to serve.
Notes
Step by Step Photos:
The mix for the crust should feel like wet sand - if it's too dry it will crumble and not hold together. If it's too wet, the cheesecake will leak butter as it chills.
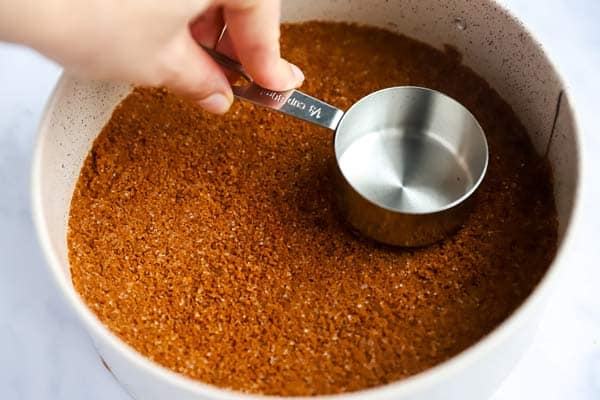
I use a measuring cup to evenly and firmly press the crust into the pan.
Use an electric mixer with the beater attachments for the smoothest filling.
Make sure to thoroughly clean and dry the beaters before whipping the cream, and to use a clean, cool bowl. Whip the cream until it's thick and forms stiff peaks - you should be able to invert the bowl without it falling out. But stop whipping as soon as you reach that stage, or you'll churn the cream into butter.
Be careful when folding the whipped cream into the filling - you want it fully combined, but you want to keep the airiness. Use a spatula and gentle movement.

Smooth the top of the cheesecake as well as you can, but don't worry if it's not perfectly even. Mine never is!

Ingredient Notes:
Gingersnaps: If you only have graham crackers, those are fine to use.
Cream cheese: Only use block-style cream cheese or the recipe will not work out.
Pumpkin: Use a high-quality canned pumpkin to make sure the purée is not too wet. I usually tell people to go for homemade pumpkin purée wherever they want, but I'd go with canned here. It's most likely smoother, it's properly canned and safer to eat raw, and it has the right thickness.
Powdered Sugar: Definitely use powdered here. Granulated sugar is not an acceptable substitute. I also advise against using homemade powdered sugar (regular sugar processed in a food processor) as a substitute if you don't have any, because it never gets as powdery as store-bought and you'll end up with a gritty cheesecake. Better go ask your neighbor to borrow some.
Pumpkin Pie Spice: I love the spiciness here, but if you're not a fan of overly pumpkin spici-ness, use 1 teaspoon spice mix and 1 teaspoon ground cinnamon instead. If you don't have pumpkin spice on hand, see my Homemade Pumpkin Spice Mix.
Heavy Whipping Cream: Make sure your cream says "heavy cream", "whipping cream" or something along those lines. Do not use half and half. Do not use pouring cream. Do not use a low fat cream substitute. You have been warned ?
That being said, frozen whipped topping (thawed) can be used as a substitute. You'll need about 2 cups.
Recipe Tips
Base: Make sure you're pressing the crust firmly down all the way. You don't want to end up with any gaps in the crust, or it will easily crumble and fall apart when you try to slice the cheesecake.
Filling: The same as for the base -- Make sure the filling reaches all the way to the crust without any gaps for the most beautifully sliceable cheesecake.
Chilling: If you need the cheesecake to set a little faster, place it in the freezer for about 30-60 minutes and then chill for a couple of hours. You can also freeze it for 30 minutes before slicing for super clean slices.
Make Ahead Instructions:
You can make the cheesecake up to 24 hours ahead and keep it in the fridge right until serving.
I recommend you bake the crust at 350°F for 5-10 minutes, or until firm and set. This will help with any sogginess. Cool it completely before adding the filling!
Only garnish it once you remove it from the fridge to serve, or the decorations may get runny.
I do not recommend making it further ahead/freezing this cheesecake, because it can make the crust soggy.
Nutrition Information:
Yield:
10Serving Size:
1Amount Per Serving: Calories: 394Total Fat: 29gSaturated Fat: 17gTrans Fat: 0gUnsaturated Fat: 9gCholesterol: 82mgSodium: 267mgCarbohydrates: 30gFiber: 1gSugar: 20gProtein: 5g
Nutrition is an estimate and provided as a courtesy.


Comments
No Comments