


If you are tired of spending $60+ at a casual dining joint just to get a juicy, flavorful burger for the family, this recipe is for you. Today, we are skipping the drive-thru and making restaurant-quality burgers right in your own kitchen.
You don’t need an expensive outdoor grill or fancy gourmet ingredients for this. Best of all? My foolproof steam-melt trick guarantees your family will get perfectly melted cheese and incredibly juicy meat every single time!
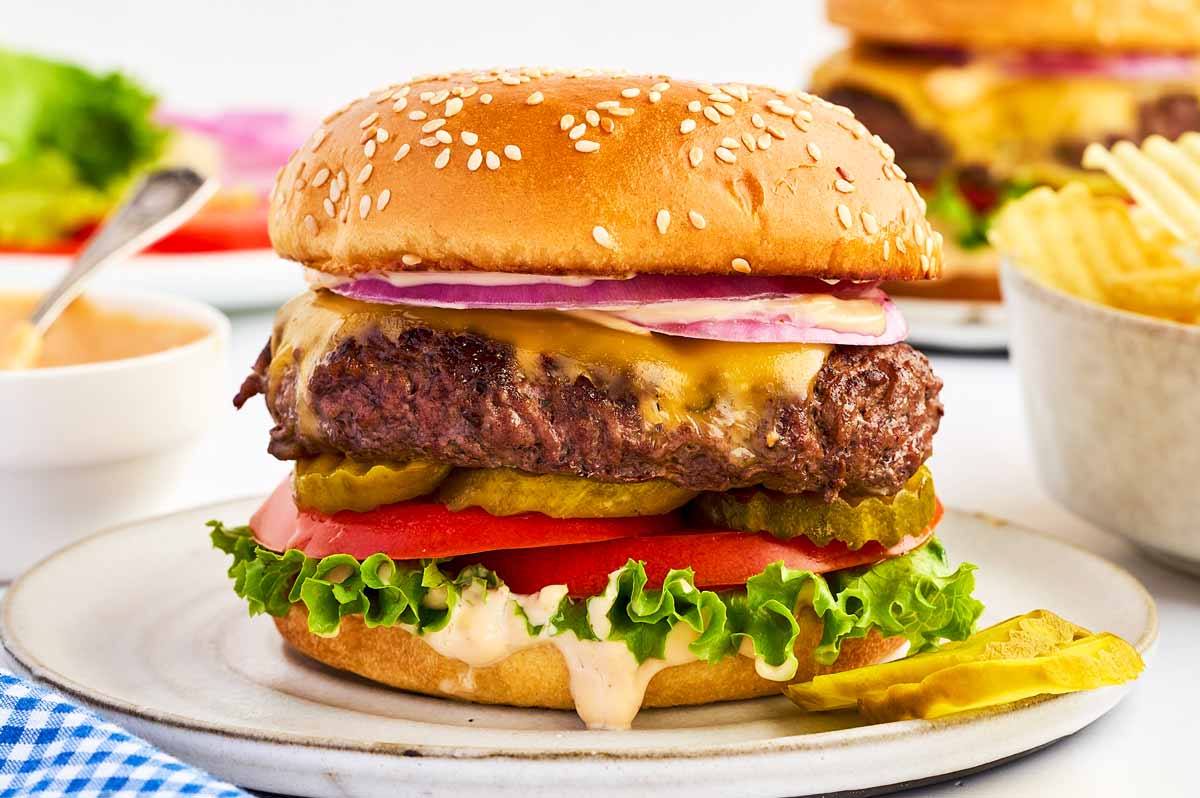
📸 Recipe Snapshot
- ⏱️ Active Prep Time: 30 Minutes
- 🔥 Cook + Rest Time: 12 Minutes
- ⏰ Total Time: About 45-55 Minutes from counter to table
- 🍔 Yield: Makes 6 juicy burgers
- 🛠️ Key Tool: Stiff spatula & a flat cooking surface
⚠️ Crucial: Your ground beef MUST be ice-cold from the fridge when shaping, and you must use a flat cooking surface (skillet, griddle, or flat-top) rather than open grill grates so the juices do not escape.
The Best Burger Recipe
Ingredients
Burger patties:
- 2 pounds 80/20 ground chuck beef (ice cold from fridge)
- kosher salt & coarsely cracked black pepper
- 1 tablespoon high-smoke-point oil (canola/avocado)
Buns & Cheese:
- 6 burger buns
- 4 tablespoons unsalted butter (softened)
- 6 thick slices American OR sharp cheddar cheese
Toppings:
- sauce of choice (see notes for our favorite burger sauce!)
- green leaf lettuce
- sliced ripe tomatoes (blotted dry)
- thin red onion rings
- dill pickle chips
Instructions
Shape and Chill
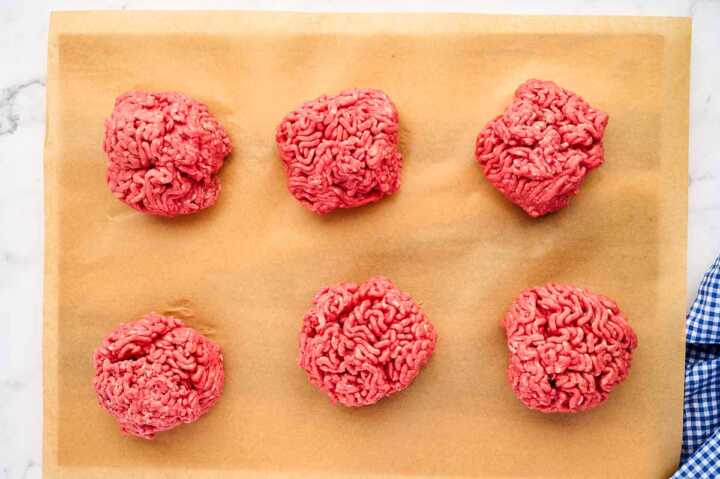
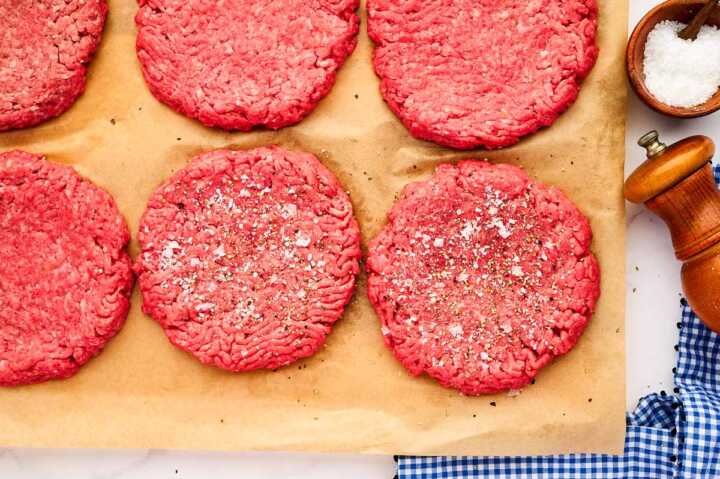
- Portion: Divide ice-cold beef into six (⅓ lb) mounds on parchment paper. Gently press to form circles. Do not over-handle or knead, this would make tough burgers.2 pounds 80/20 ground chuck beef

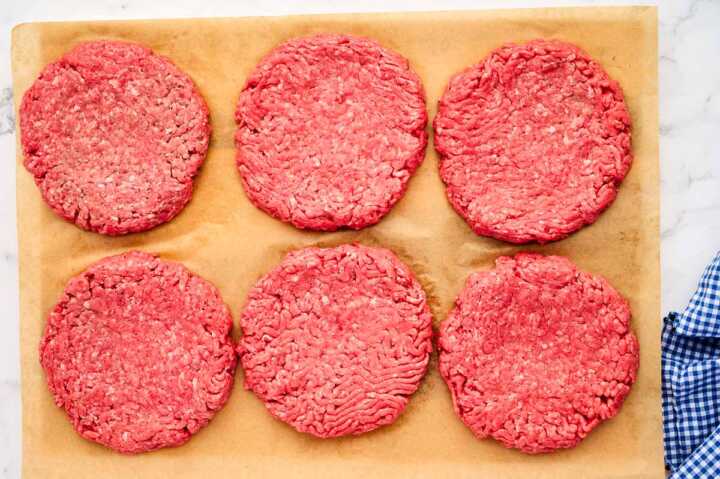
- Shape and chill: Shape patties 1 inch wider than buns to account for shrinkage. Press a wide, shallow indentation into the center of each to prevent dome-ing. Refrigerate flat for 15–20 minutes to firm up the fat.
Toast Buns
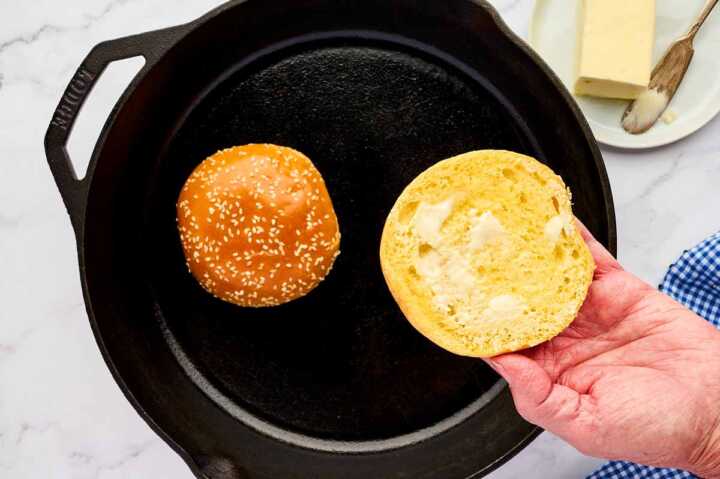
- Heat and toast: Set cooking surface to medium-high (400°F–450°F on a grill or electric griddle, or high stove heat). Butter the cut sides of the buns. Toast face-down for 1–2 minutes until deep golden brown. Set aside.(The caramelized crust acts as a barrier against sogginess).6 burger buns, 4 tablespoons unsalted butter
Season and Sear
- Season Outside: Remove patties from the fridge. Immediately before cooking, season the top side generously with salt and pepper. (Never salt hamburger patties in advance; it breaks down protein structures early).kosher salt & coarsely cracked black pepper
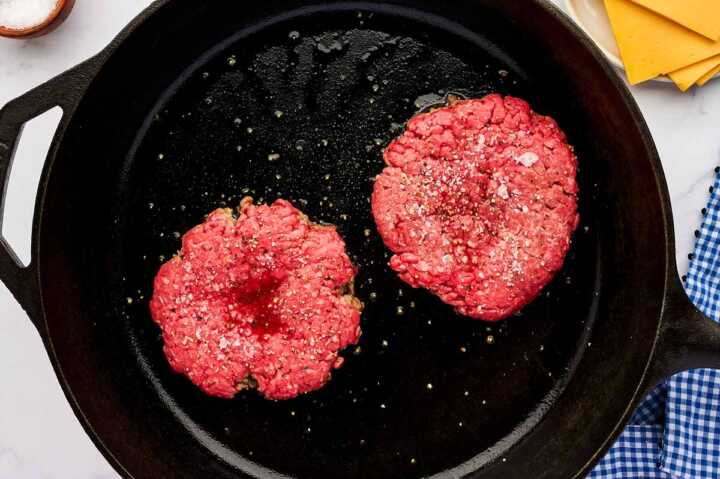
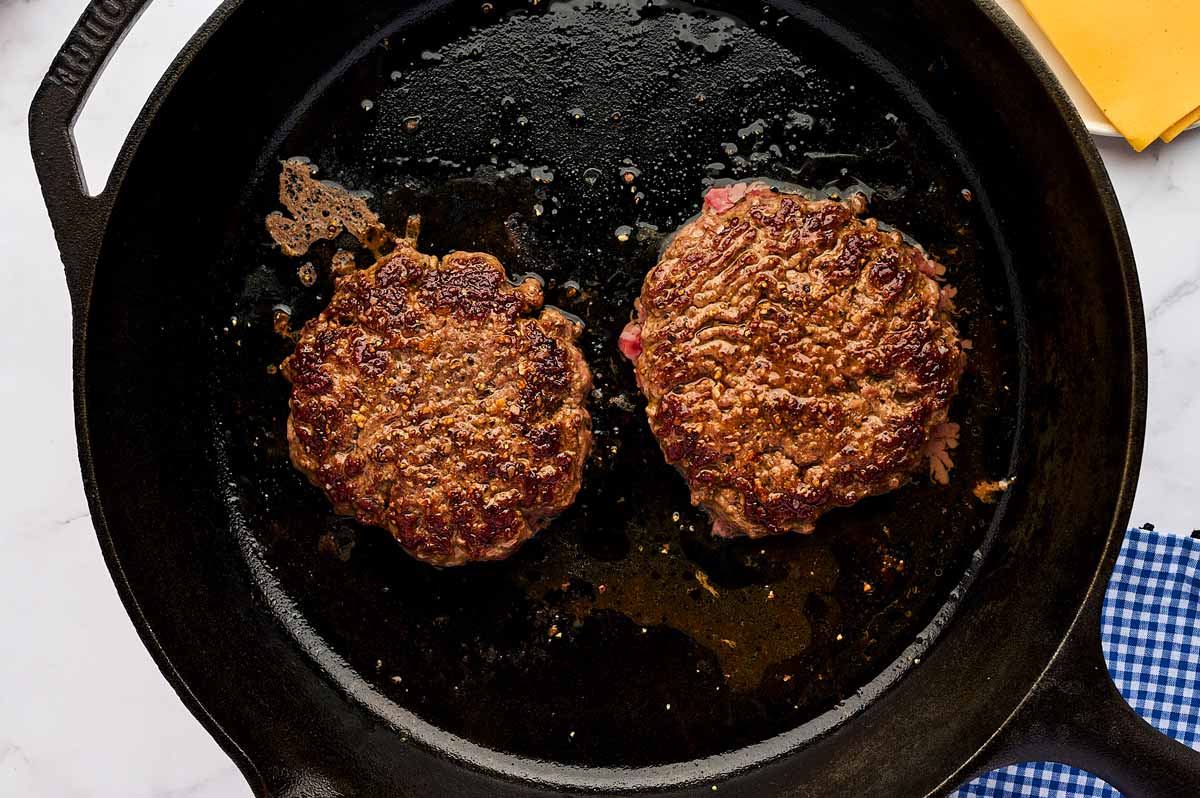
- Sear: Lightly coat the hot cooking zone with the oil. Place patties seasoned-side down on the hot, oiled surface. Season the upward-facing side immediately. Cook undisturbed for 3 minutes. Do not move, and do not press down with your spatula (forces out juices).1 tablespoon high-smoke-point oil
Flip and Steam-Melt
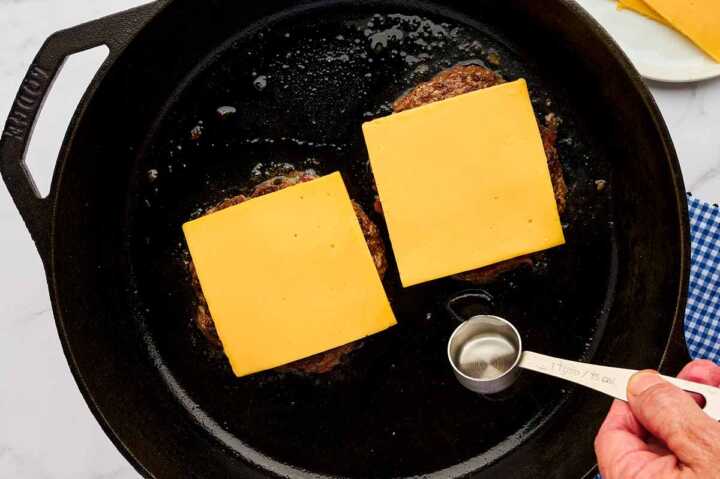
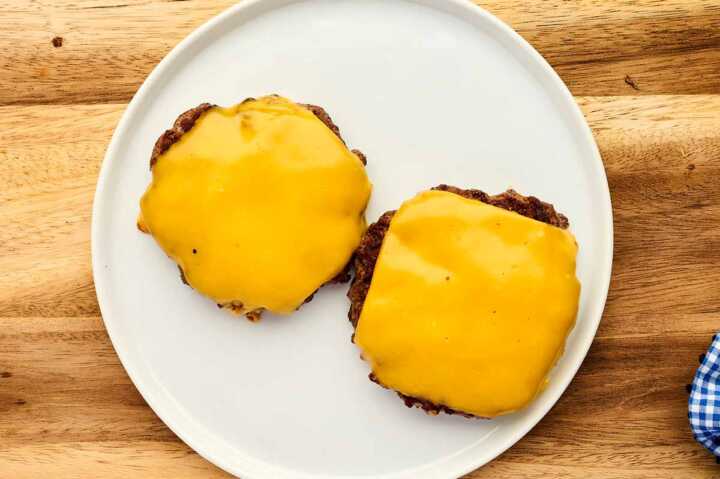
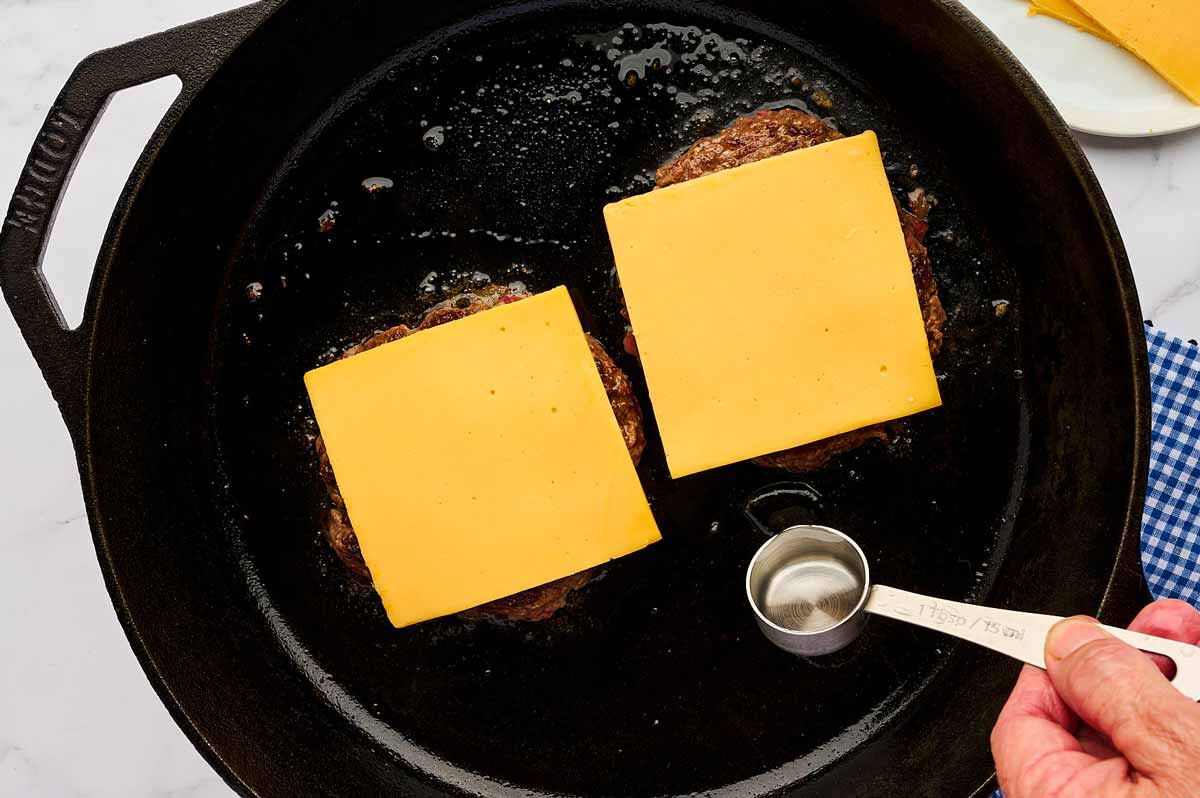
- Flip & Cheese: Flip cleanly with a stiff metal spatula to not rip off the browned crust from the meat. Top immediately with a cheese slice.6 thick slices American OR sharp cheddar cheese
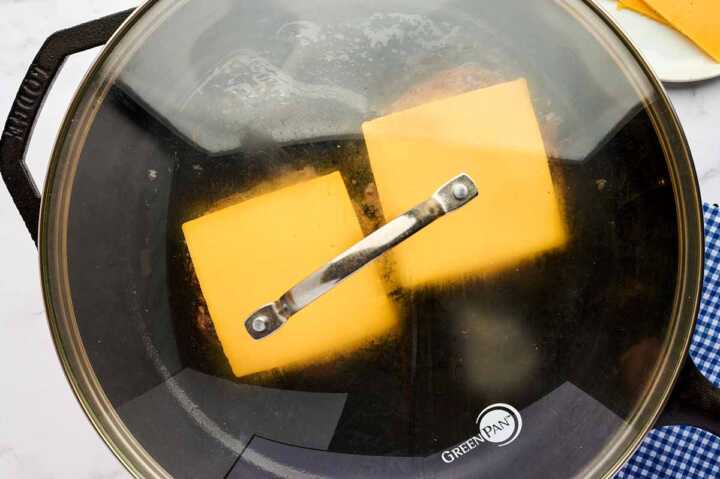
- Steam: Pour 1 tbsp water onto the surface next to each patty. Instantly cover with a lid, dome, or upside-down metal bowl. Steam for 45–60 seconds.
- Pull Target: Check center with a digital thermometer. Remove the meat from the heat once it reaches your preferred internal temperature. Rest on a warm plate for 4 minutes to redistribute juices. USDA Safe Target: For absolute food safety, cook until the internal temperature reaches 160°F (USDA standard for medium doneness and ground meats). Personal Risk Notice: Cooking to lower temperatures is a matter of personal preference but carries an increased risk of foodborne illness. 135°F cooks the burger to Medium-Rare , 145°F to Medium.
Assembly
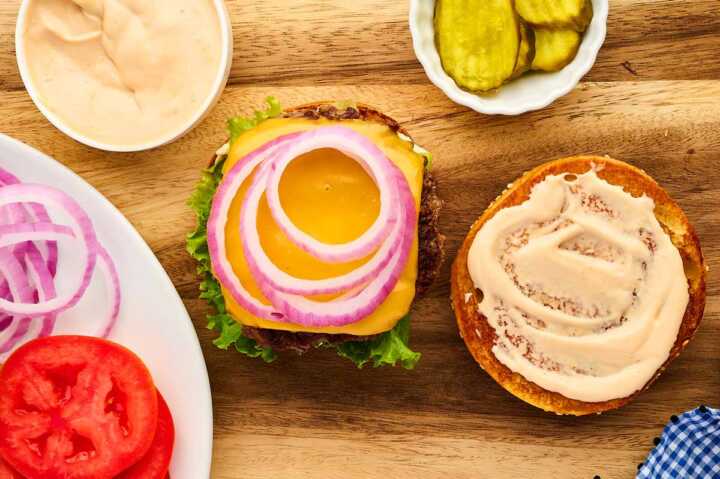
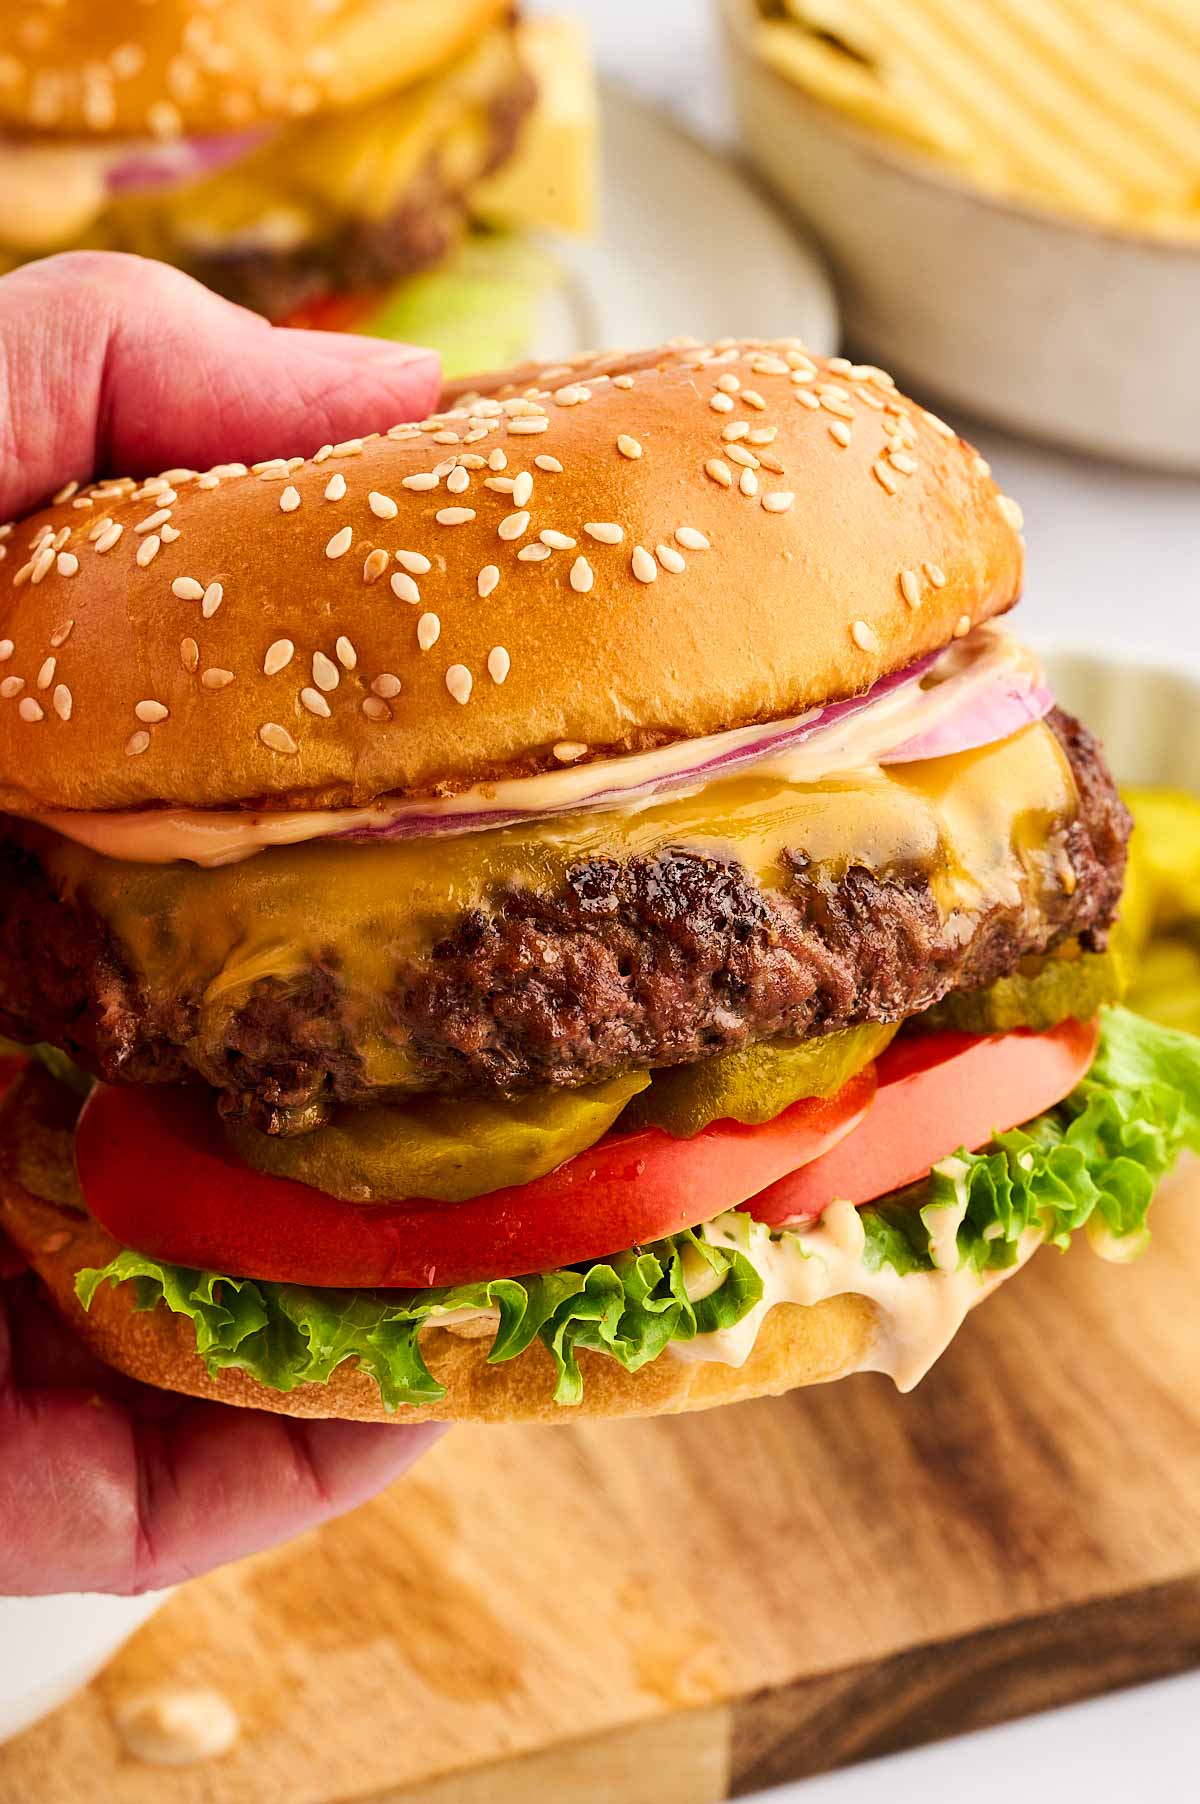
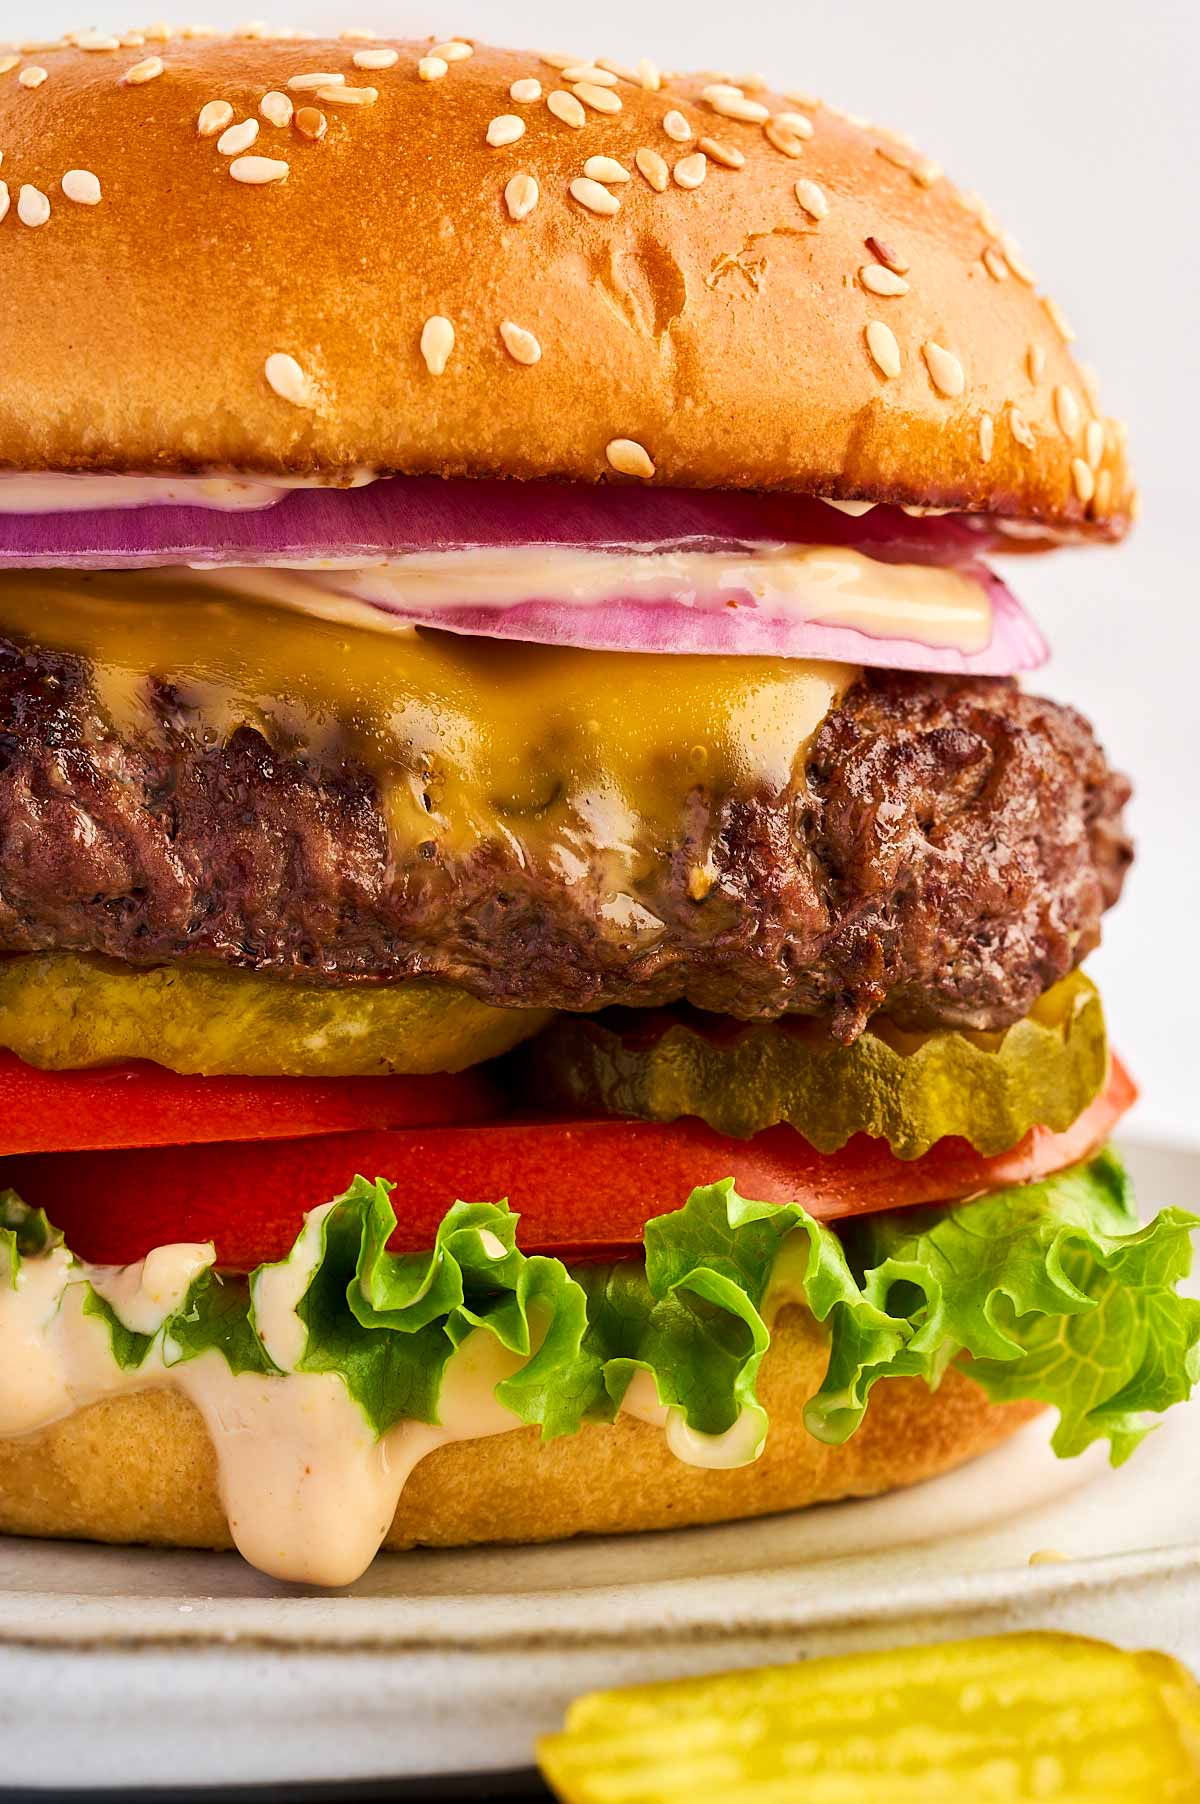
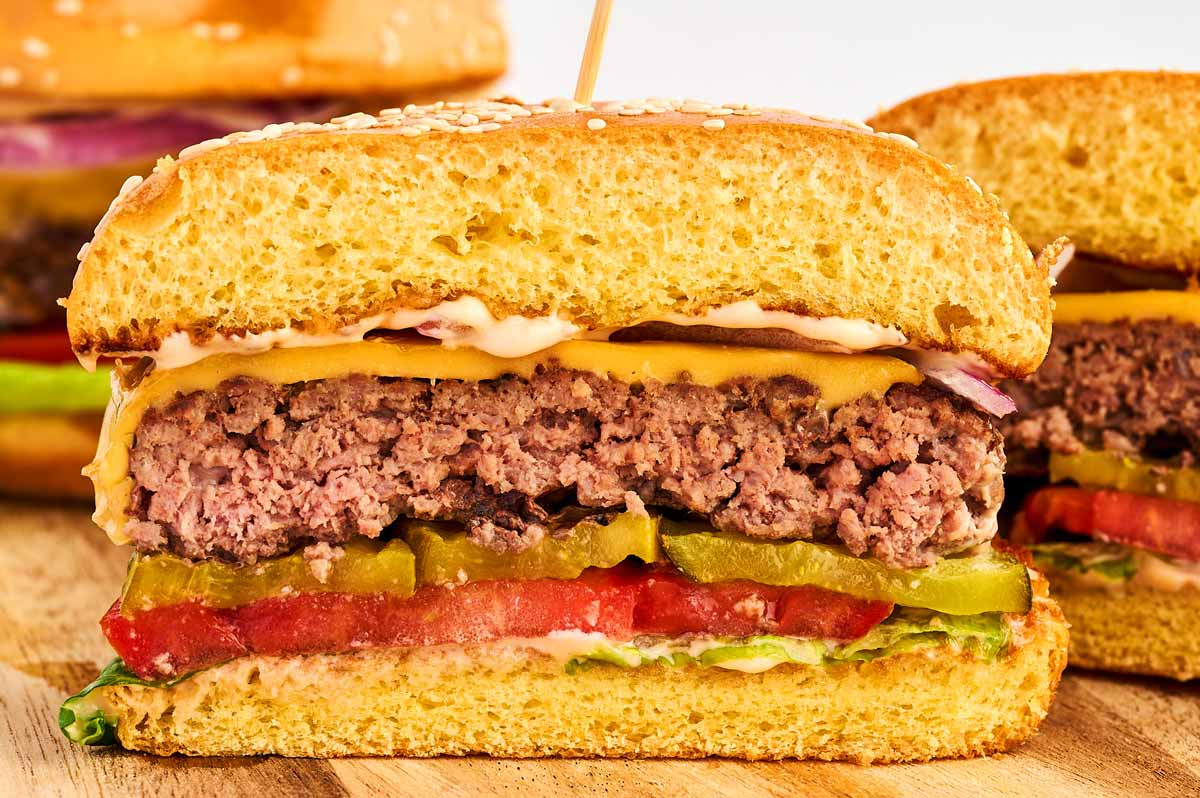
- Sauce and stacking order:Spread burger sauce on both toasted buns.Stack on the bottom bun first: lettuce ➔ blotted tomato ➔ pickles.
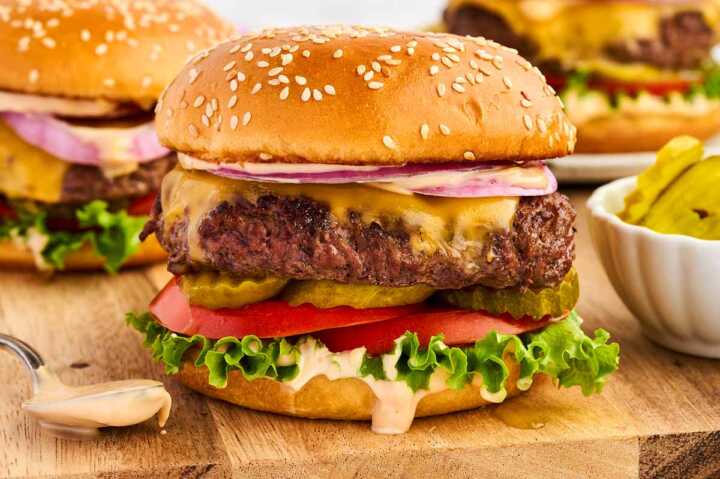
- Finish: Rest the hot, cheesy patty directly on the veggies. (The lettuce acts as a shield to keep the bottom bun crisp). Top with onion rings, cap with the top bun, and serve.
Notes
More easy sandwich recipes
🍔 Substitution & Ingredient Notes
You do not need to spend a fortune at a high-end grocery store to make this taste like a $15 restaurant burger! Here are my tips for a tight grocery budget:
- The Beef: Buy the 2-pound or 5-pound rolls of 80/20 ground chuck at Walmart. It is significantly cheaper per pound than the styrofoam trays.
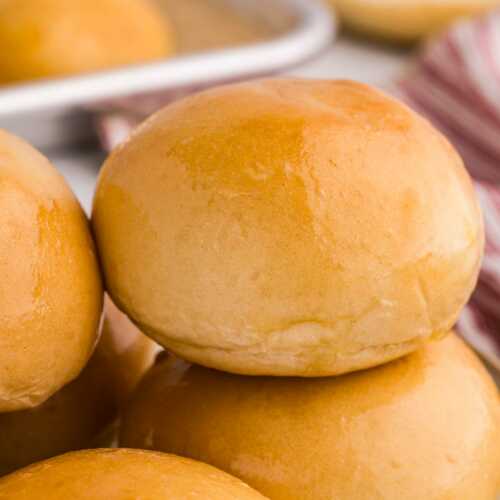
- The Buns: Skip the expensive brioche buns. Grab the Great Value “Ball Park style” enriched buns. They hold up perfectly to the grease when toasted.
- The Cheese: Pick up a pack of Kraft Singles or the Dollar General Clover Valley American slices. Real cheddar tastes great, but American cheese has emulsifiers that guarantee that gooey, plastic-free melt.
The Science of a Perfect Burger (Why This Method Works)
You do not need a culinary degree to make a great burger. Understanding these quick food-science facts will completely change how you cook meat.
Why You Must Never Knead the Beef
Ground beef contains a protein called myosin. Think of myosin like tiny, sticky hooks.
- The Mistake: Squeezing, mashing, or mixing ground beef forces these hooks to link tightly together. This turns loose, tender meat into a dense, rubbery texture.
- The Secret: Gently sectioning cold beef and patting it just enough to hold its shape keeps proteins loose. This creates tiny pockets inside the cooked patty that trap the melting fat, giving you a tender bite.
Why We Use a Flat Surface (Not a Grill Grate)
While backyard grills look great, a flat stovetop skillet or electric griddle makes a much juicier burger.
- The Science: It comes down to the Maillard reaction. This is the chemical process that creates a brown, flavorful crust on meat.
- The Secret: Grill grates only touch a tiny fraction of the meat. They let the juices drip down into the fire, causing flare-ups. A flat skillet forces 100% of the burger’s surface to touch hot metal. This sears the meat in its own juices and creates a solid crust across the entire patty.
Why Water and a Bowl Melt Cheese Faster
Putting a slice of cheese on a burger in an open pan results in overcooked meat and cold cheese.
- The Science: Dry air is a terrible conductor of heat. Steam transfers heat instantly.
- The Secret: Dropping water onto the hot pan and trapping it under a metal bowl creates a steam sauna. The moisture condenses directly onto the cheese, melting it perfectly in under 60 seconds without overcooking the center of your burger.
Why We Blot the Tomatoes Dry
Tomatoes are full of water. Slicing them opens up tiny water pockets that bleed moisture onto your bread.
The Secret: Pressing the slices between paper towels removes surface water without losing the tomato flavor. This ensures your bun stays toasted and intact.
The Science: Capillary action causes the porous burger bun to suck up loose tomato water like a sponge.
🍳 How to Choose the Right Pan from Your Kitchen
You do not need a fancy outdoor setup. Look in your cabinets for these specific pans, ranked from best to worst:
- Cast Iron Skillet (Best): Heavy iron holds heat incredibly well. When a cold burger hits it, the pan temperature does not drop. This guarantees a deep crust.
- Outdoor Flat-Top Grill (Blackstone / Camp Chef) (Best for Summer): This mimics a restaurant flat-top perfectly. Crank it to 425°F. You can cook all 6 burgers and toast all 6 buns at the exact same time without heating up your kitchen.
- Electric Griddle (Great for Crowds): Perfect for cooking all 6 burgers at the same time. Set it to 425°F to mimic a diner flat-top.
- Heavy Stainless Steel (Good): Gets very hot, but you must use enough oil to prevent the meat from sticking and tearing when you flip it.
- Thin Aluminum Non-Stick (Avoid): Thin pans lose heat instantly when cold meat hits them. The burgers end up boiling in their own juices instead of searing.
🛑 3 Mistakes That Make Stovetop Burgers Tough or Dry
If your burgers usually turn out like hockey pucks, you are likely making one of these three common mistakes:
1. Salting the meat ahead of time
Never mix salt into your raw ground beef or salt the patties ahead of time. Salt dissolves proteins and draws out moisture. Salting too early cures the meat, giving it the dense, rubbery texture of a sausage link rather than a loose burger.
2. Buying lean ground beef
Do not buy 90/10 or 93/7 lean ground beef for burgers. Without fat, the meat will dry out within 90 seconds of hitting the pan. The 80/20 ratio means 20% fat, which melts during cooking to baste the meat from the inside out.
3. Fiddling with the patty in the pan
Once the meat hits the hot oil, leave it alone for 3 full minutes. Do not slide it around, do not flip it early, and absolutely do not press it flat with your spatula. Pressing down squeezes the moisture straight out of the meat and into the pan, leaving you with a dry burger and a smoky kitchen.
⏱️ Weeknight Prep & Leftover Hacks
Can I prep the patties in the morning?
Yes. Shape the patties on parchment paper, stack them with paper between each layer, and seal them in a Ziploc bag in the fridge. Do not season them until right before they hit the pan.
What do I do with leftover patties?
Do not microwave them the next day, or they will turn into rubber. Instead, chop up the cold cheesy patty, reheat it in a skillet for 2 minutes, and roll it into a flour tortilla with some extra burger sauce for a quick “cheeseburger wrap” lunch.
How to Serve Your Burgers
A burger by itself won’t completely fill up kids coming home from sports practice or a hungry family. Here are three cheap, fast sides that finish the plate:
- Crispy Air Fryer Tater Tots: Toss Great Value frozen tots with a little garlic powder and onion salt. Air fry at 400°F for 15 minutes, shaking halfway through.
- Diner-Style Pasta Salad: Boil a box of rotini noodles. Drain and rinse with cold water. Toss with cubed block cheese, sliced pepperoni, and a bottle of Walmart-brand Italian dressing.
- Sweet Vinegar Slaw: Shred half a head of green cabbage. Toss with 3 tablespoons of sugar, 3 tablespoons of white vinegar, and 2 tablespoons of oil. It cuts right through the richness of the burger.
💡FAQs
Always use 80/20 ground chuck. Ground sirloin or lean ground beef (like 90/10) will dry out on the stovetop and taste like cardboard. The 20% fat in ground chuck gives you that juicy, diner-style bite without breaking the bank.
When beef cooks, the muscle fibers tighten and shrink, forcing the middle to dome upward. Pressing a shallow dimple into the center of the raw patty offsets this shrinkage so your burger stays perfectly flat and fits the bun.
You can shape the patties a few hours ahead of time and keep them covered in the fridge. However, do not season them until the exact moment they are ready to hit the hot skillet.


Comments
No Comments