
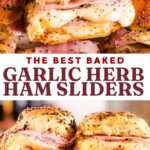
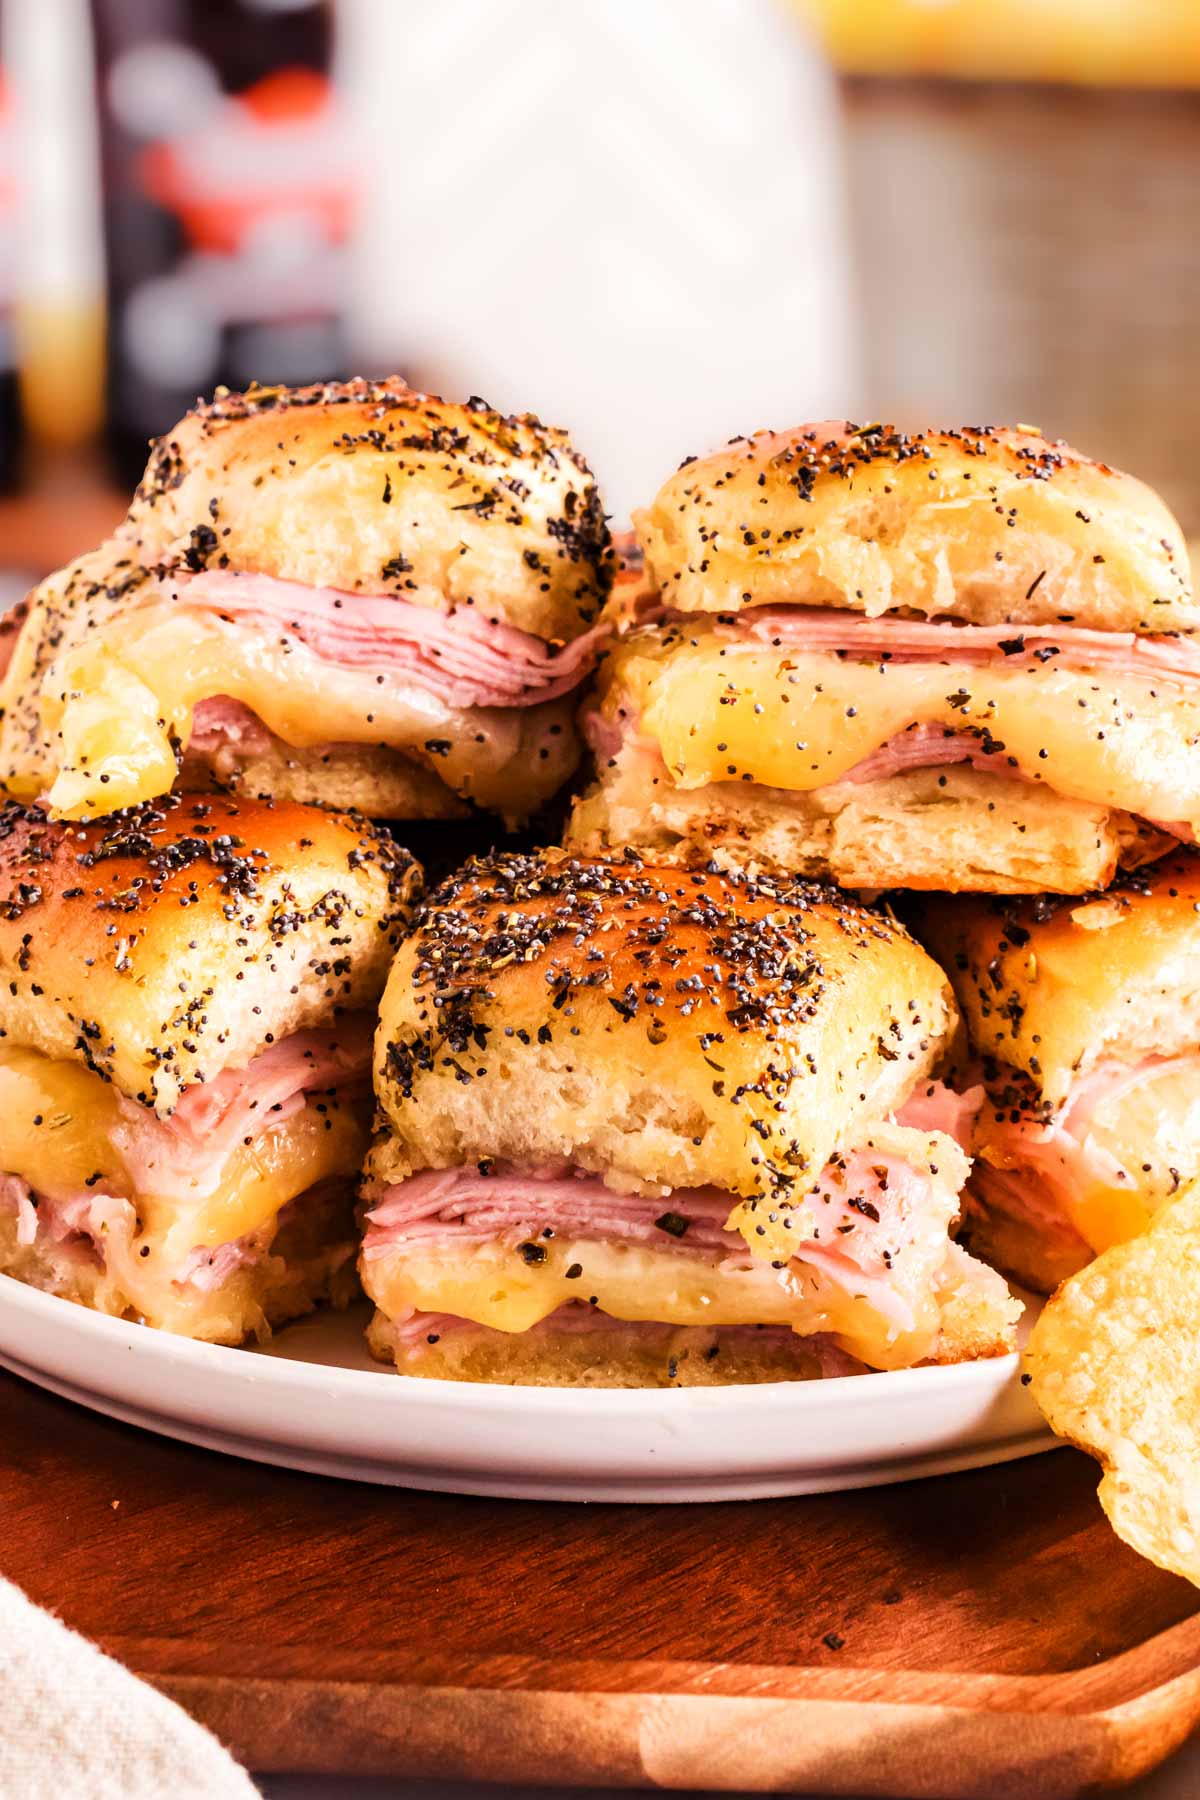
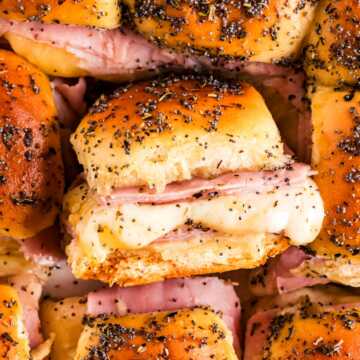
If you’re looking for the ultimate Garlic Herb Hot Ham Sliders recipe, this is it. Buttery, garlicky, and loaded with melty cheese, these sliders are the perfect balance of crispy, gooey, and ridiculously delicious!
Feeding a hungry crowd on game day or making a quick, family-friendly dinner, this recipe delivers every single time!
Why you’ll love this recipe
- Game day perfection: On some days, we eat classy food with a glass of wine in hand. And on other days, we feast on good ole’ sliders! These are loaded with melty cheese, buttery goodness, and just the right amount of garlicky flavor – perfect for feeding a hungry crowd.
- The ultimate comfort food: This recipe is definitely one for the comfort food and kid-friendly categories… But can you blame anyone? Warm, cheesy, and baked to golden perfection, these sliders are an instant favorite.
- Ridiculously easy: Such a classic, and always loved by everyone! Just layer, brush with butter, bake, and serve. Whether it’s a game day spread or a quick weeknight dinner, these come together in no time with zero hassle.
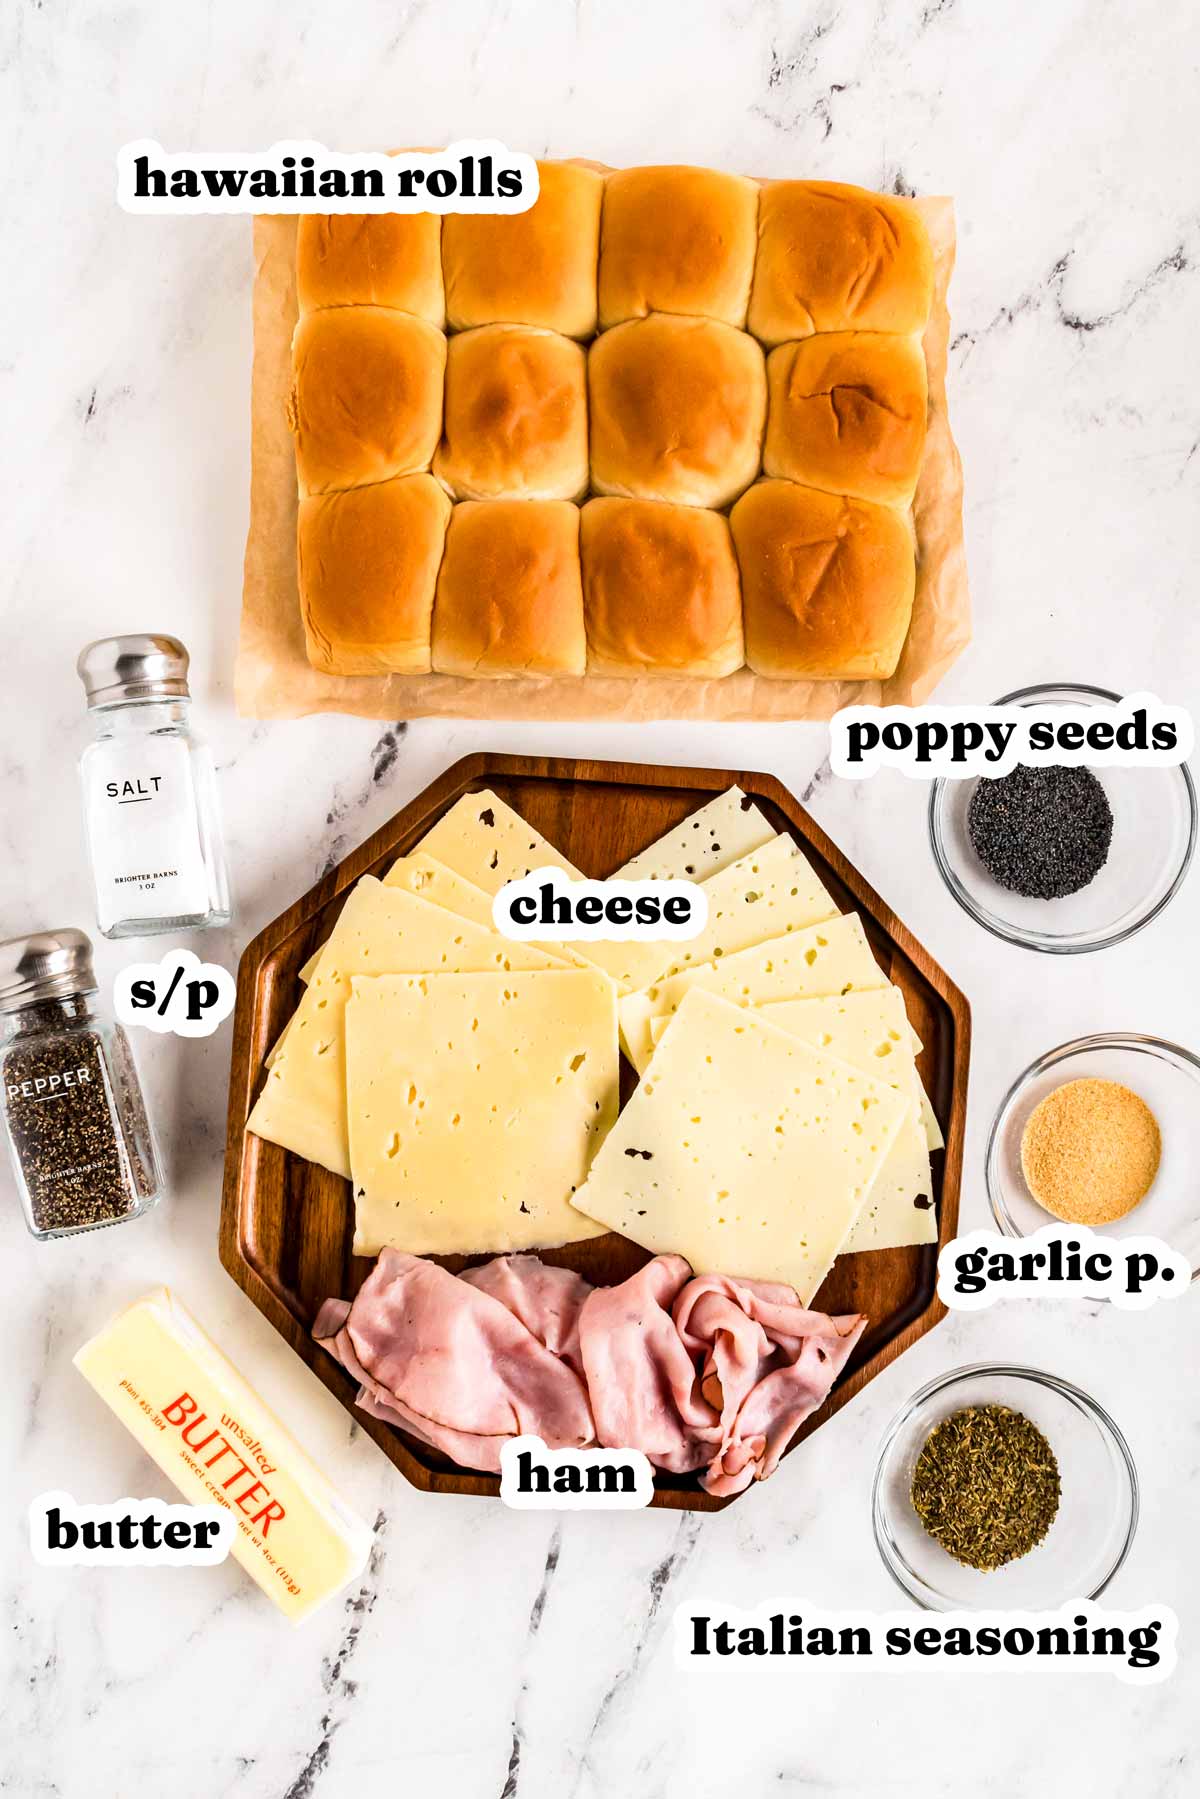
Ingredients you’ll need
Here is a visual overview of the ingredients in the recipe. Scroll down to the printable recipe card at the bottom of this post for quantities!
Ingredient notes
- Dinner rolls – I sometimes make my own dinner rolls for this, but it’s absolutely fine to use Hawaiian rolls or any store-bought dinner rolls you enjoy. A soft, pull-apart style works best – crusty rolls like ciabatta won’t soak up the buttery topping as well.
- Deli ham – I always buy an Italian-style cooked deli ham for this. Since ham is pretty much half of the filling, it better taste good, right? I like using a deli meat with a lot of flavor to really make these sliders shine. Feel free to use your favorite, but I do recommend going with a thinly sliced variety. If it’s too thin, it can get lost in the layers though, and if it’s too thick, the sliders won’t hold together as well. If you have leftover ham to use, try to slice it as thinly as you can.
- Cheese – I always go for two kinds: one that melts beautifully and one that’s sharp for bold flavor. For the melty cheese, Swiss, Havarti, or Fontina are great options. For the sharp one, Sharp Cheddar, Gruyère, or aged Gouda work well. I usually grab whatever looks good to me at the store! A mix of melty and sharp cheeses gives the best balance of texture and flavor.
- Butter – I use unsalted butter so I can control the saltiness. If you only have salted butter, just cut back on the added salt or skip it entirely. Use high-quality butter for the richest, most flavorful result.
- More flavor – Want to amp up the flavor? Instead of dabbing the sliced rolls with butter, spread a thin layer of mustard before adding the ham and cheese. It adds a delicious tang that pairs perfectly with the savory filling!
- Seasonings – Garlic powder ensures even flavor throughout, but if you want a stronger garlic kick, add a tiny pinch of granulated garlic. Italian seasoning is optional, but it adds a nice herby touch – skip it if you prefer a more classic flavor.
- Topping – Not a fan of poppy seeds? No problem! You can leave them out entirely or swap them for sesame seeds. Even everything bagel seasoning could work for an extra punch of flavor.
How to make hot ham sliders
Let’s make these garlic herb ham sliders! They come together effortlessly, and I’ll walk you through each step to ensure they turn out perfectly golden, cheesy, and delicious.
If you’ve never made sliders like this before, don’t worry – I’ve got all the tips to help you get them just right.
1. Prep the oven and rolls
Start by preheating your oven to 350°F so it has time to heat while you assemble the sliders.
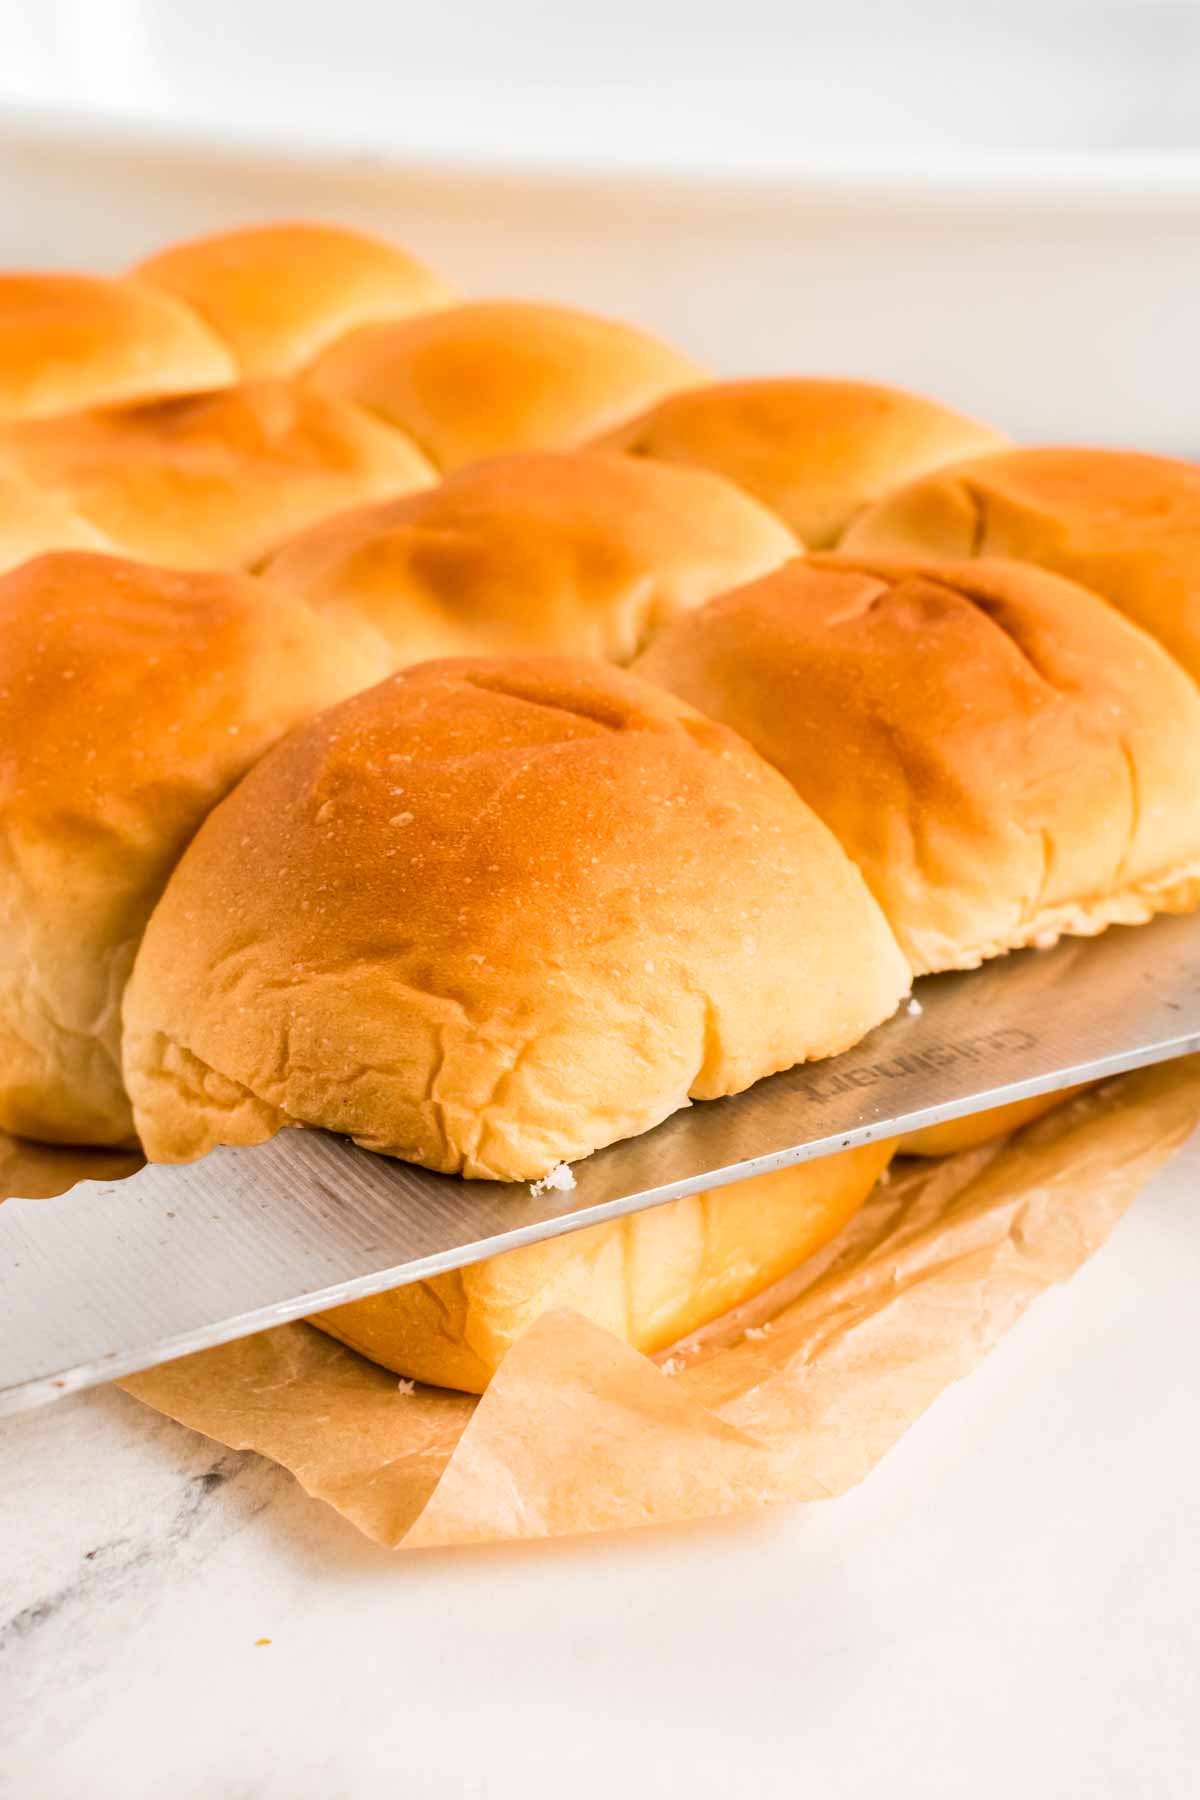
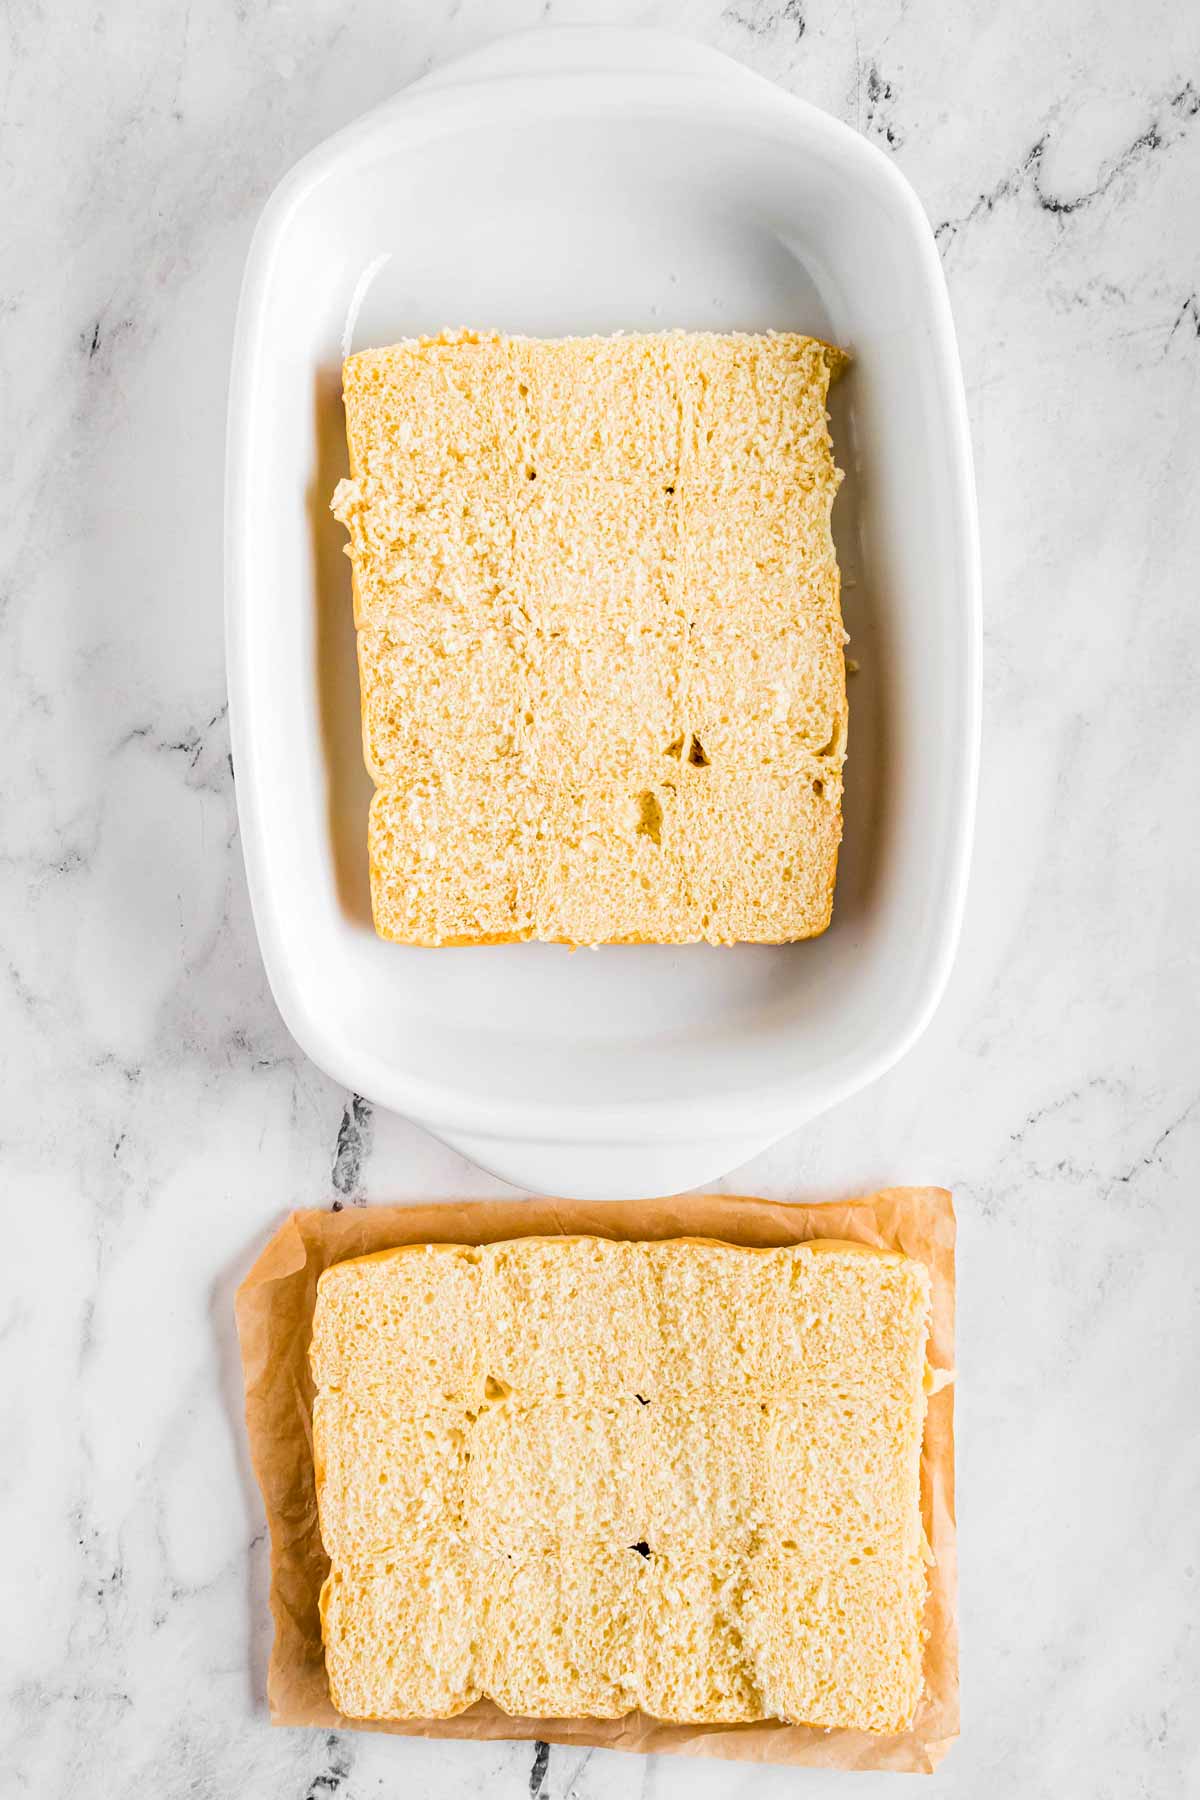
Next, take a 12-count slab of dinner rolls and use a serrated bread knife to slice them in half horizontally, keeping both halves intact. Think of it as creating one giant sandwich—this method ensures the rolls remain connected, making assembly much easier.
Place the bottom half of the rolls in a lightly greased baking dish that’s slightly larger than the slab of rolls. A small amount of butter or non-stick spray will prevent them from sticking to the dish.
2. Prepare the garlic butter mixture
In a small bowl, combine:
- 4 tablespoons unsalted butter, melted
- 1 teaspoon garlic powder
- 1 teaspoon salt
- Black pepper to taste
At this point, you have the option to mix in 1 tablespoon of Italian seasoning, though I personally prefer sprinkling it over the tops of the rolls later. If you enjoy a more pronounced herby flavor throughout, feel free to incorporate it now.
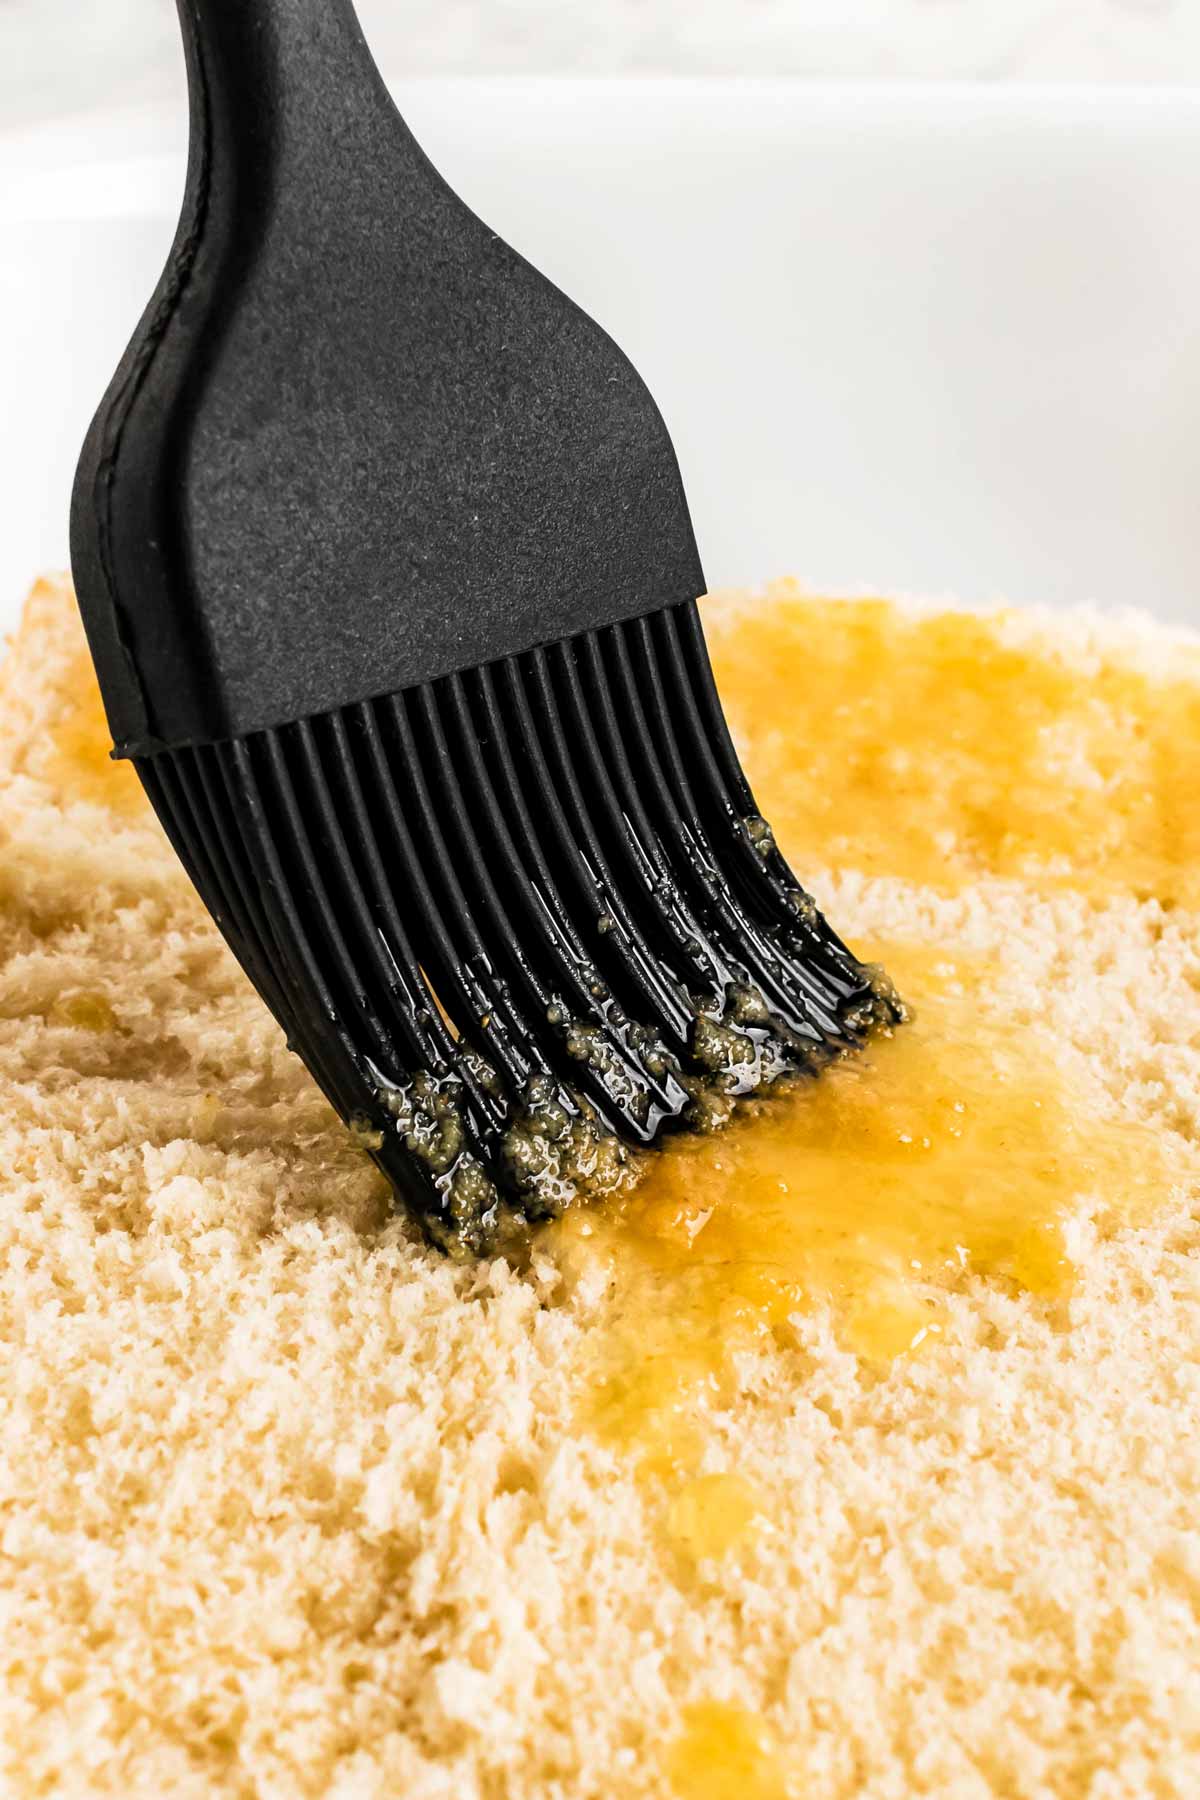
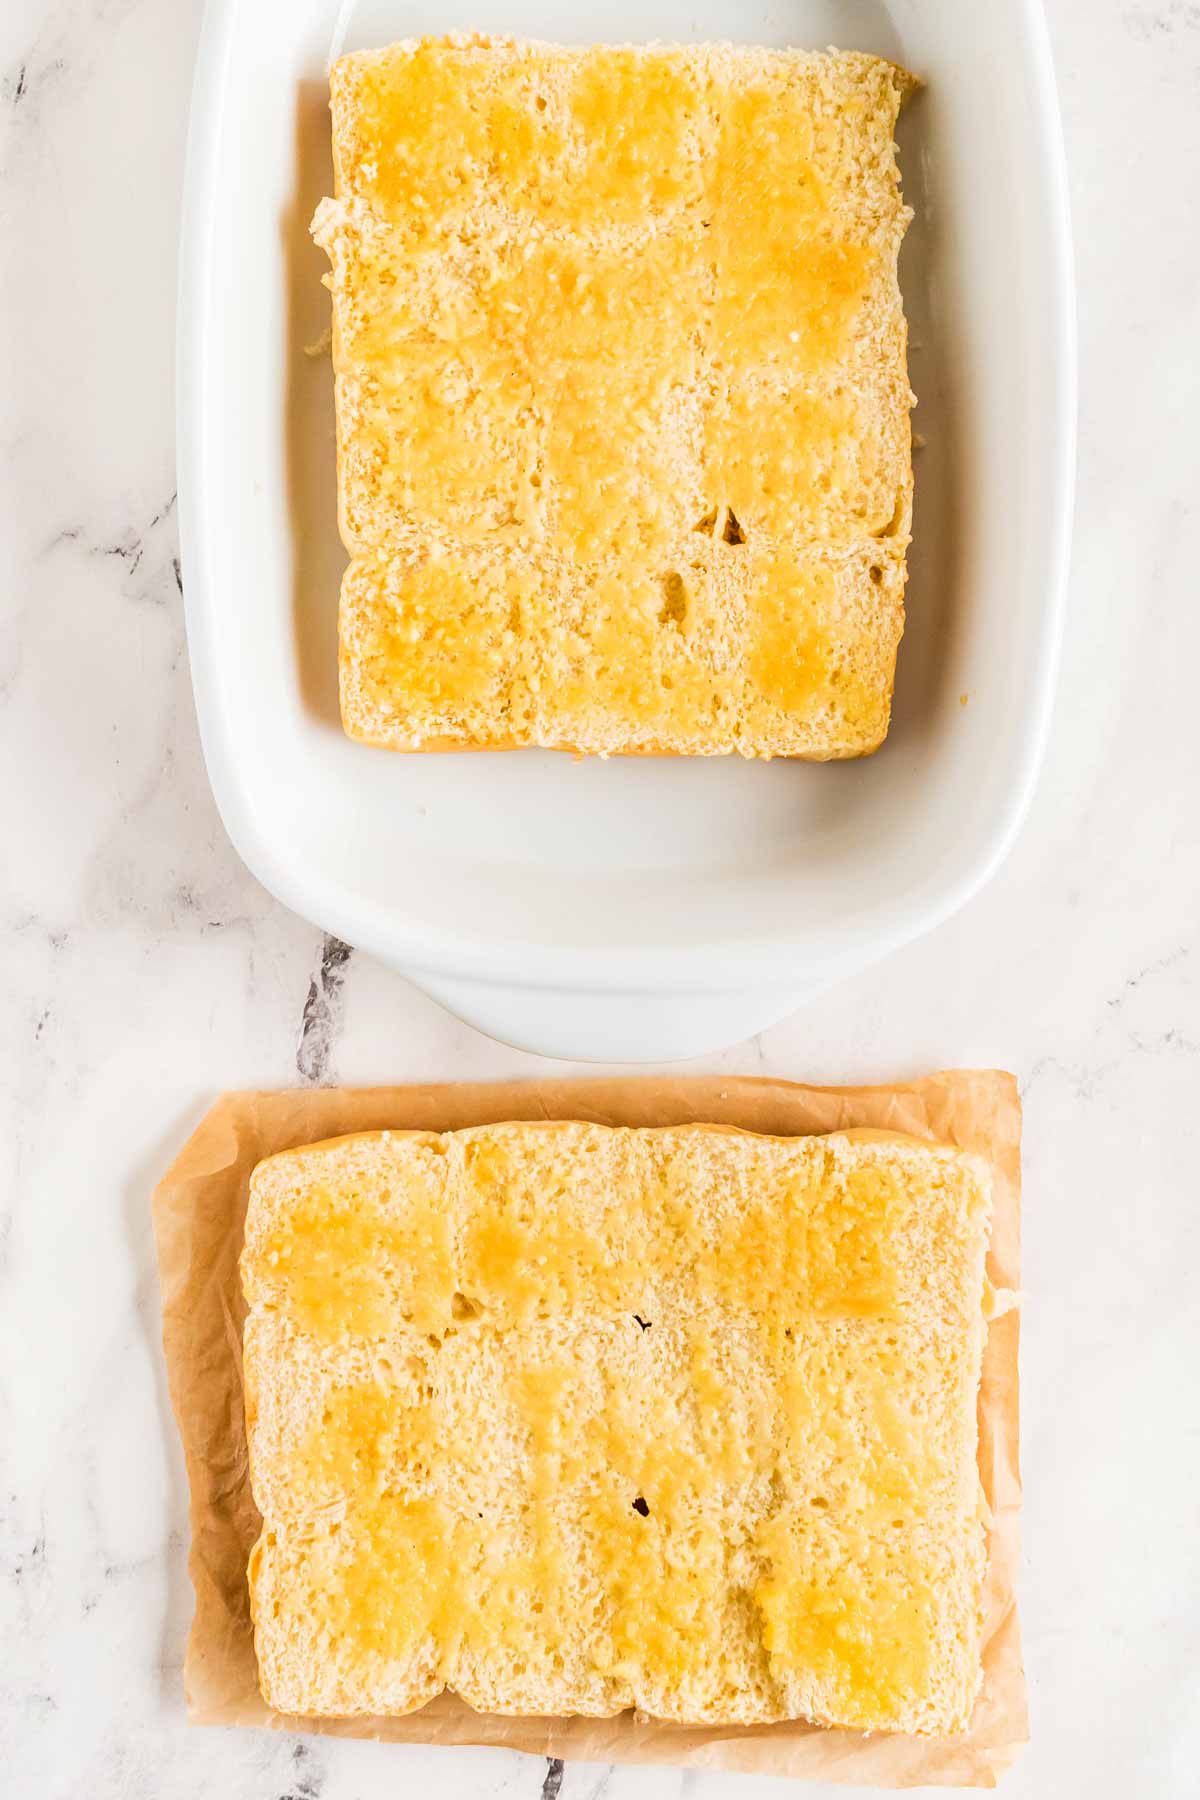
Now, take about 2 tablespoons of this butter mixture and lightly dab it onto the cut sides of the rolls. This infuses the bread with flavor from the inside out, so don’t skip this step. For an alternative twist, you can spread a thin layer of mustard instead, which adds a delightful tang that complements the ham.
3. Layer the ham and cheese
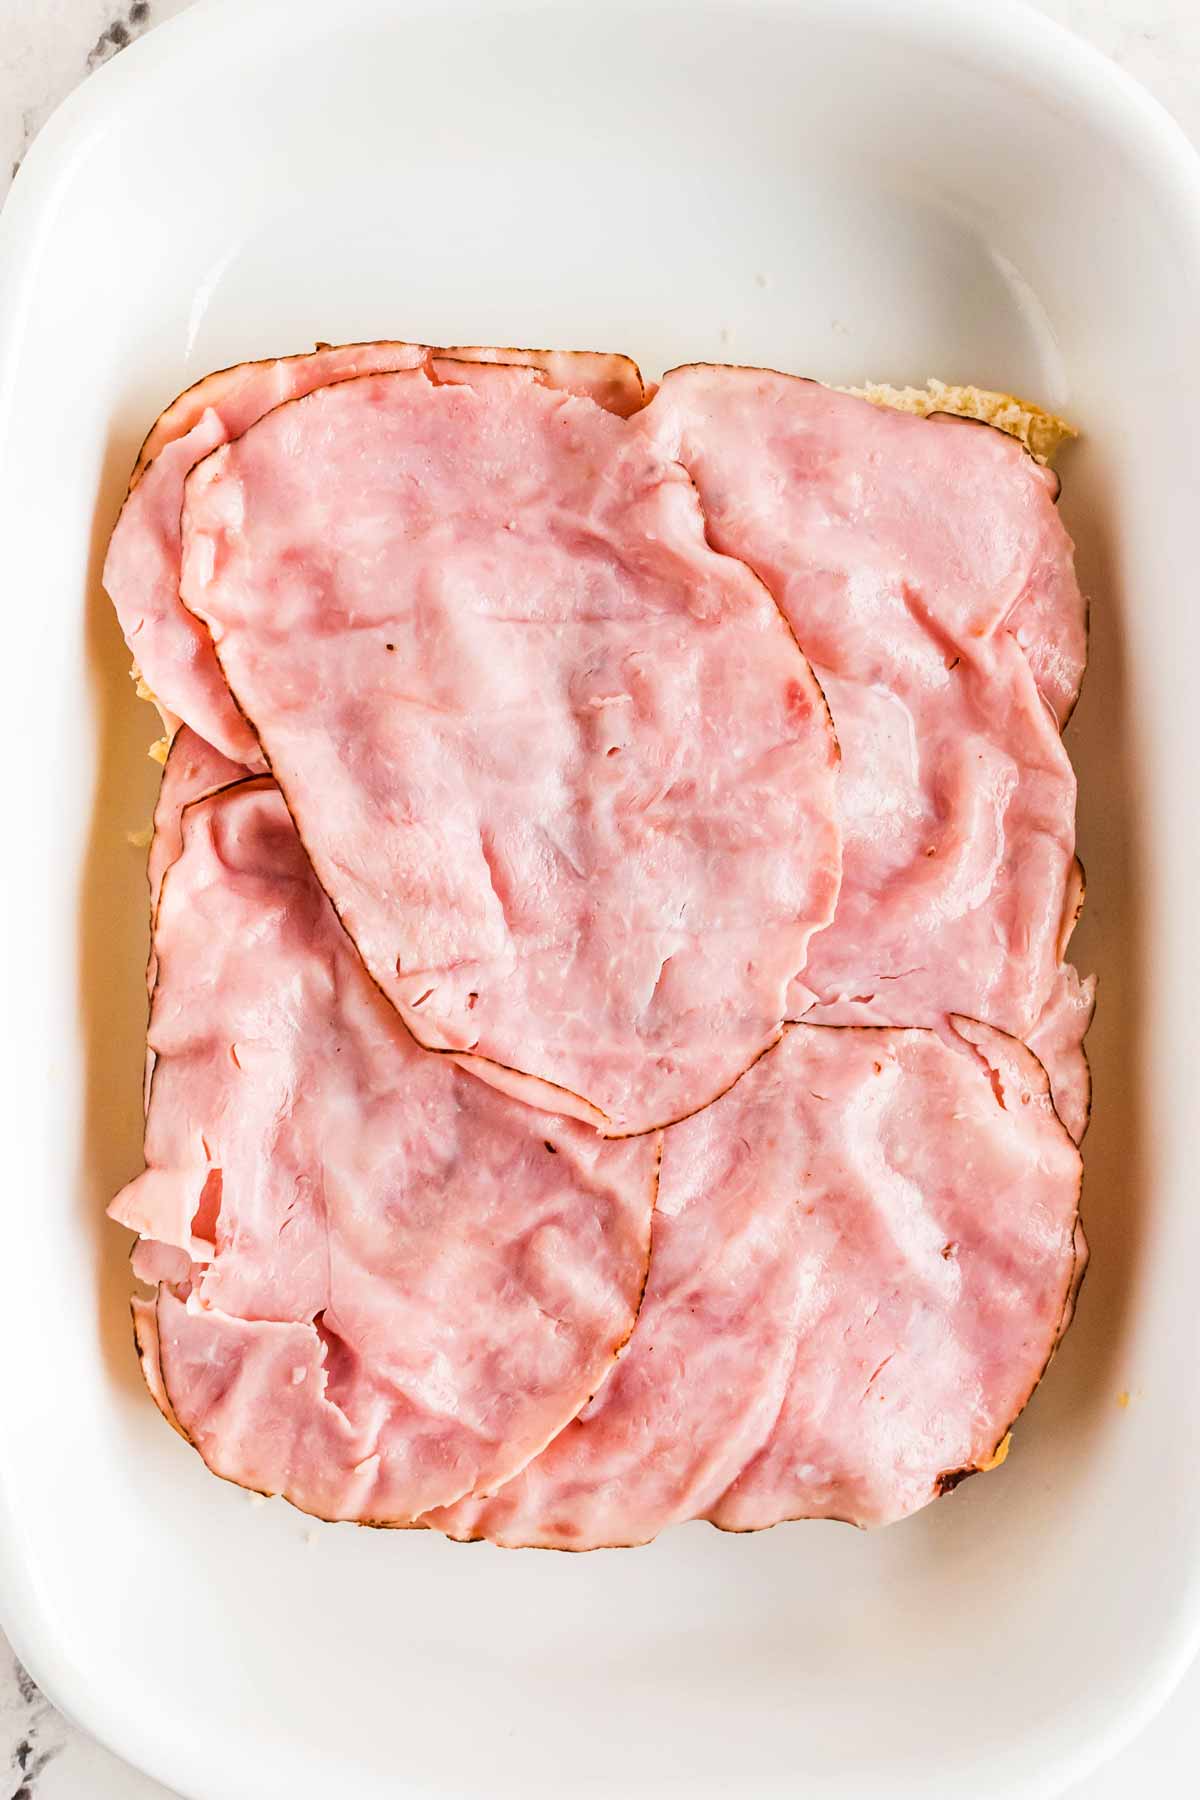
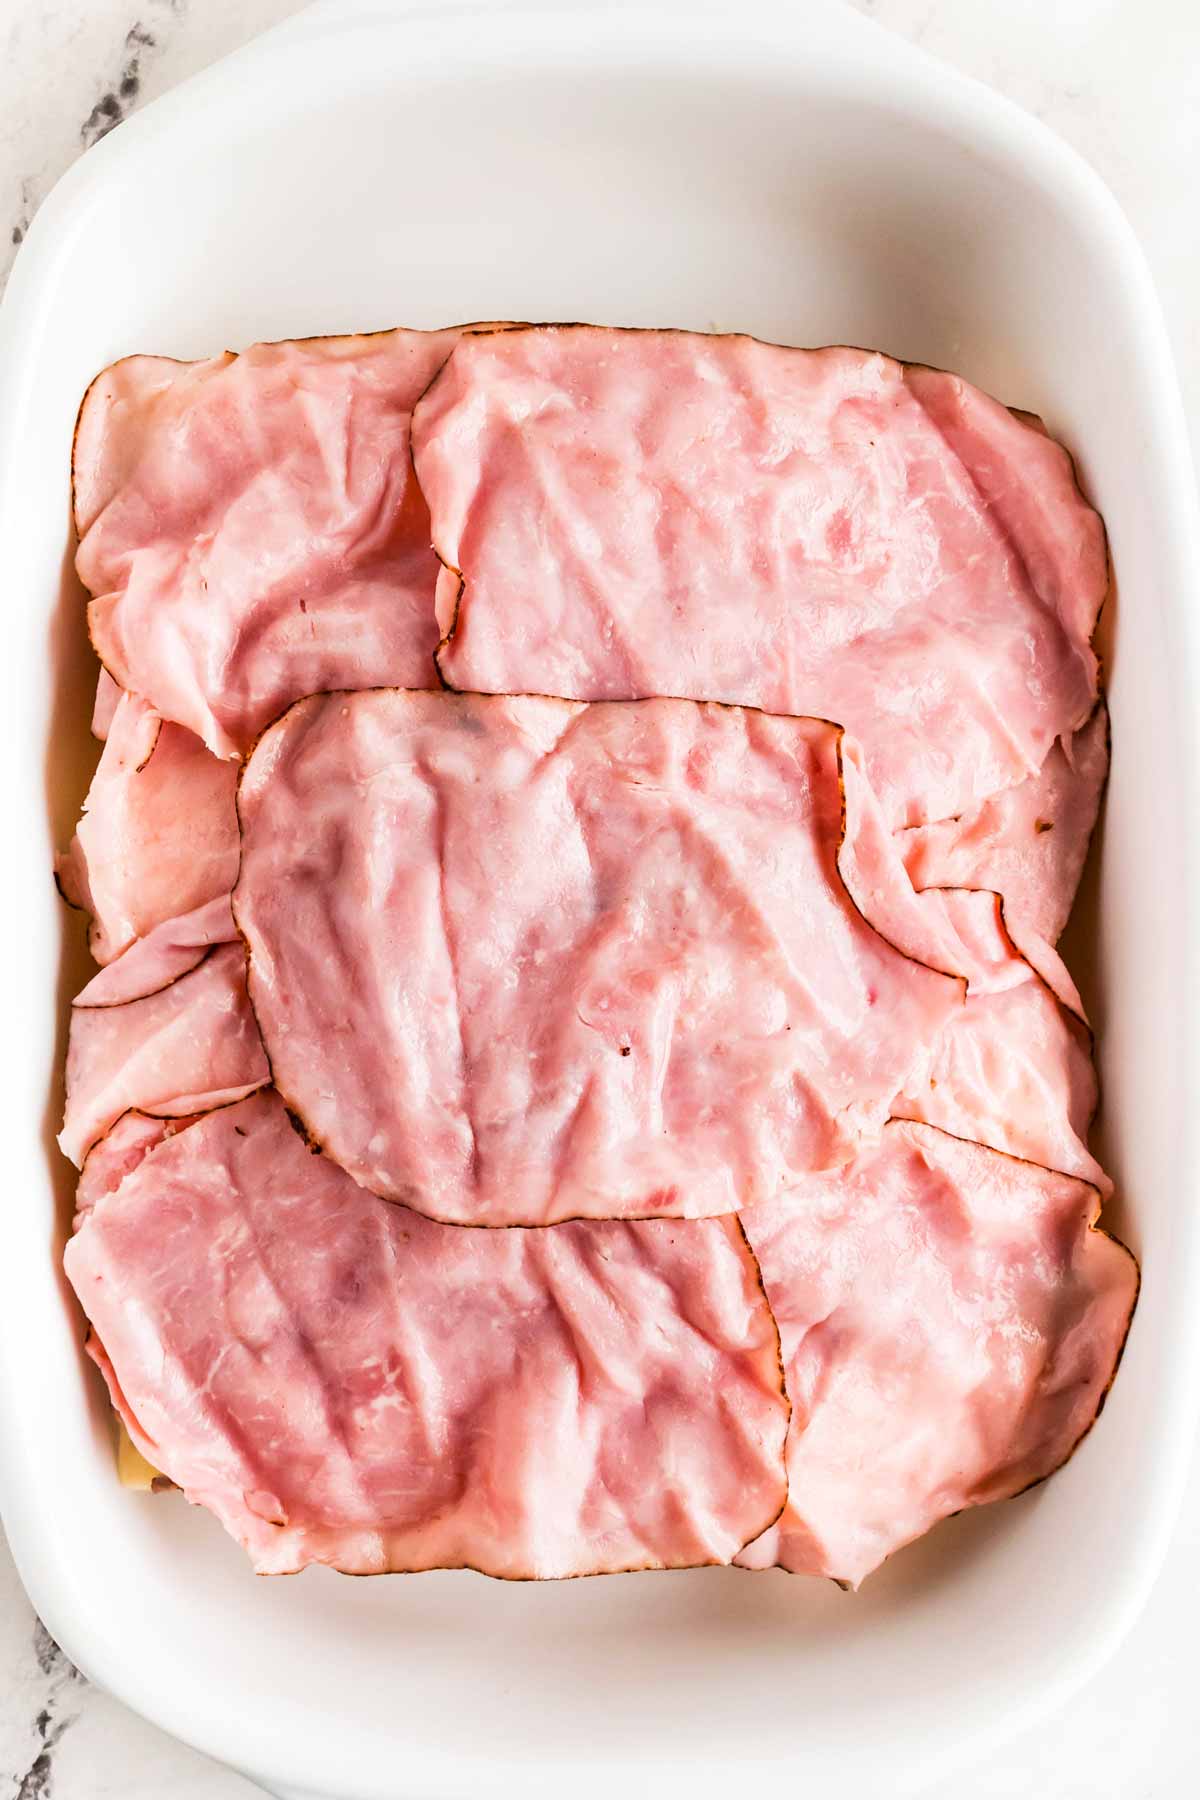
Now it’s time to assemble the filling! Start by layering half of the 12 oz deli ham evenly over the bottom half of the rolls. Spread it out well so that every slider has a generous portion.
Next, add 6 oz of melty cheese slices (such as Swiss, Havarti, or Fontina), followed by 6 oz of sharp cheese slices (Sharp Cheddar, Gruyère, or aged Gouda). I always opt for a combination of melty and sharp cheeses because it provides the perfect balance of texture and flavor – some creamy, gooey melt and some bold, savory bite.
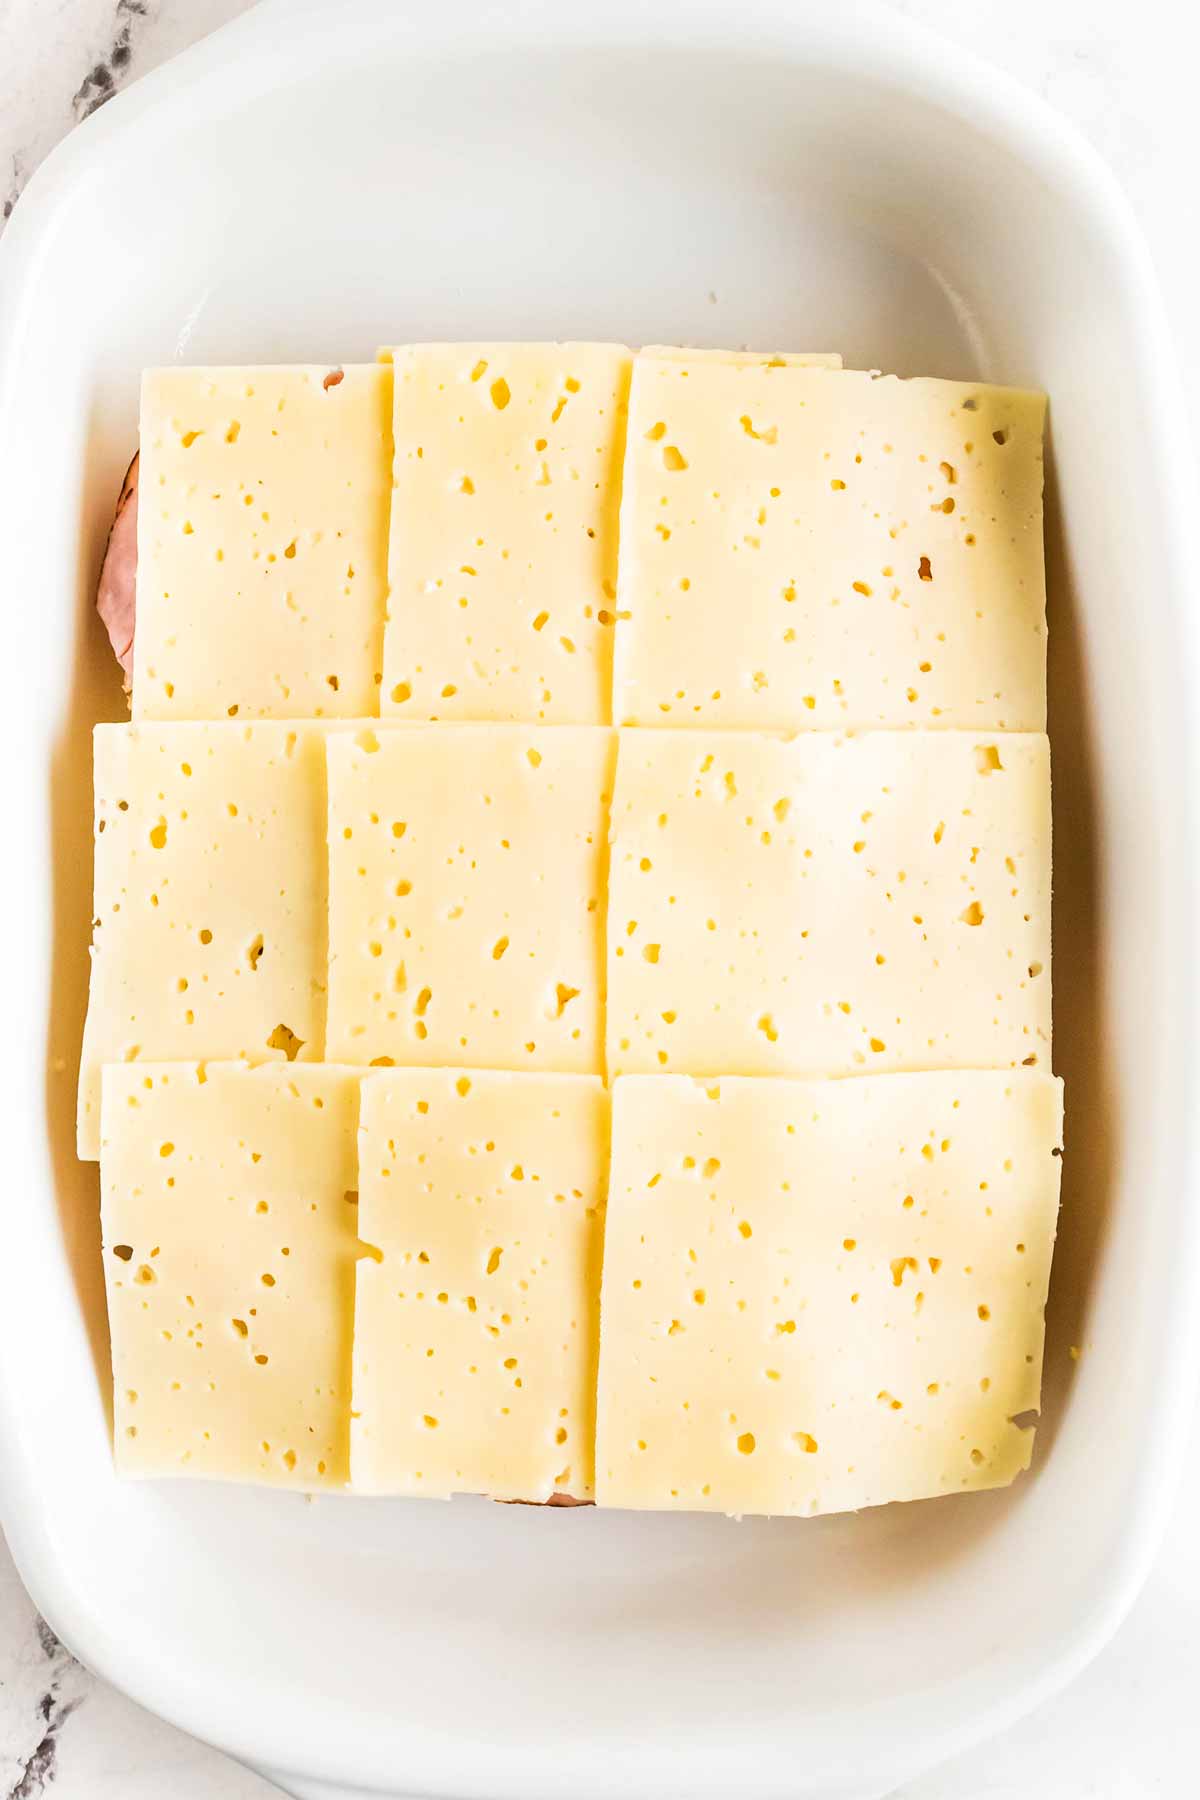
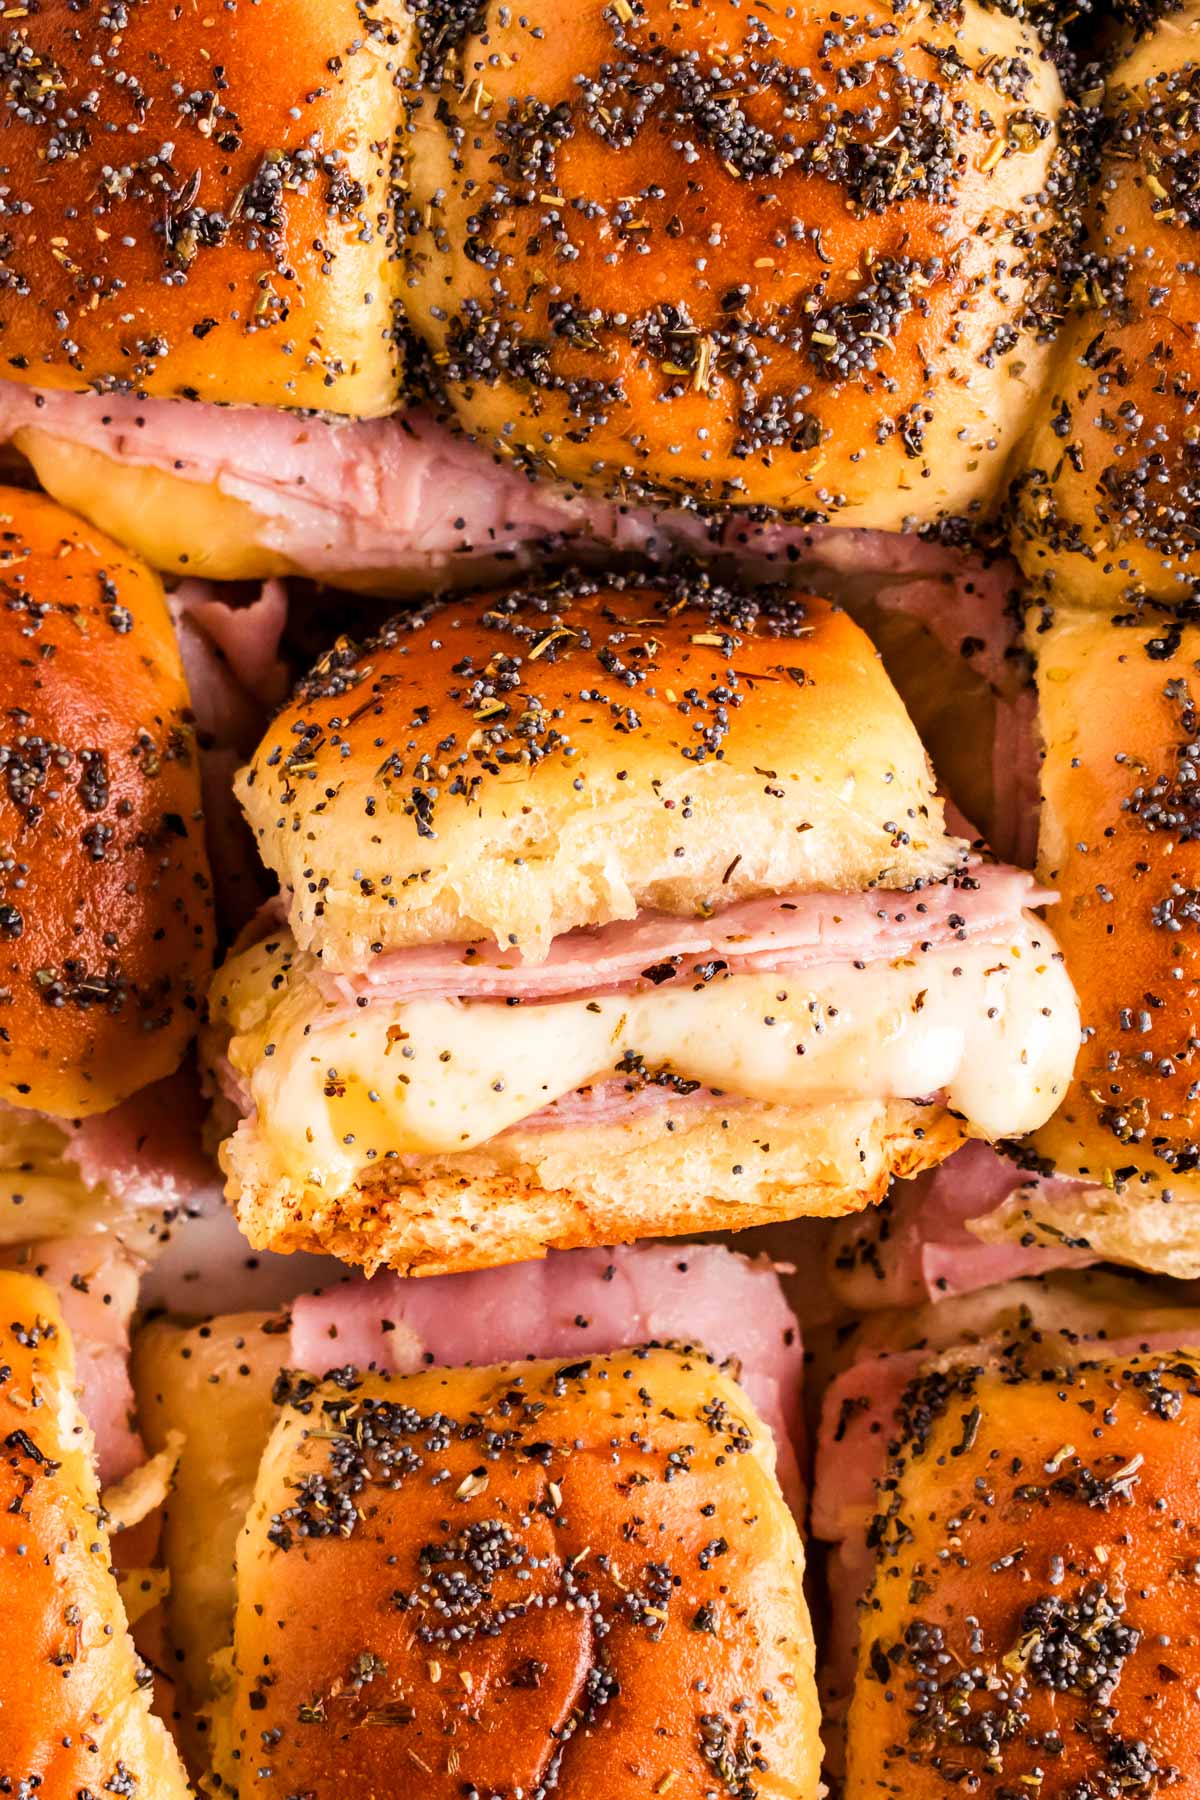
Finish by adding the remaining ham. This layering creates the satisfying effect that every bite will be flavorful in the end!
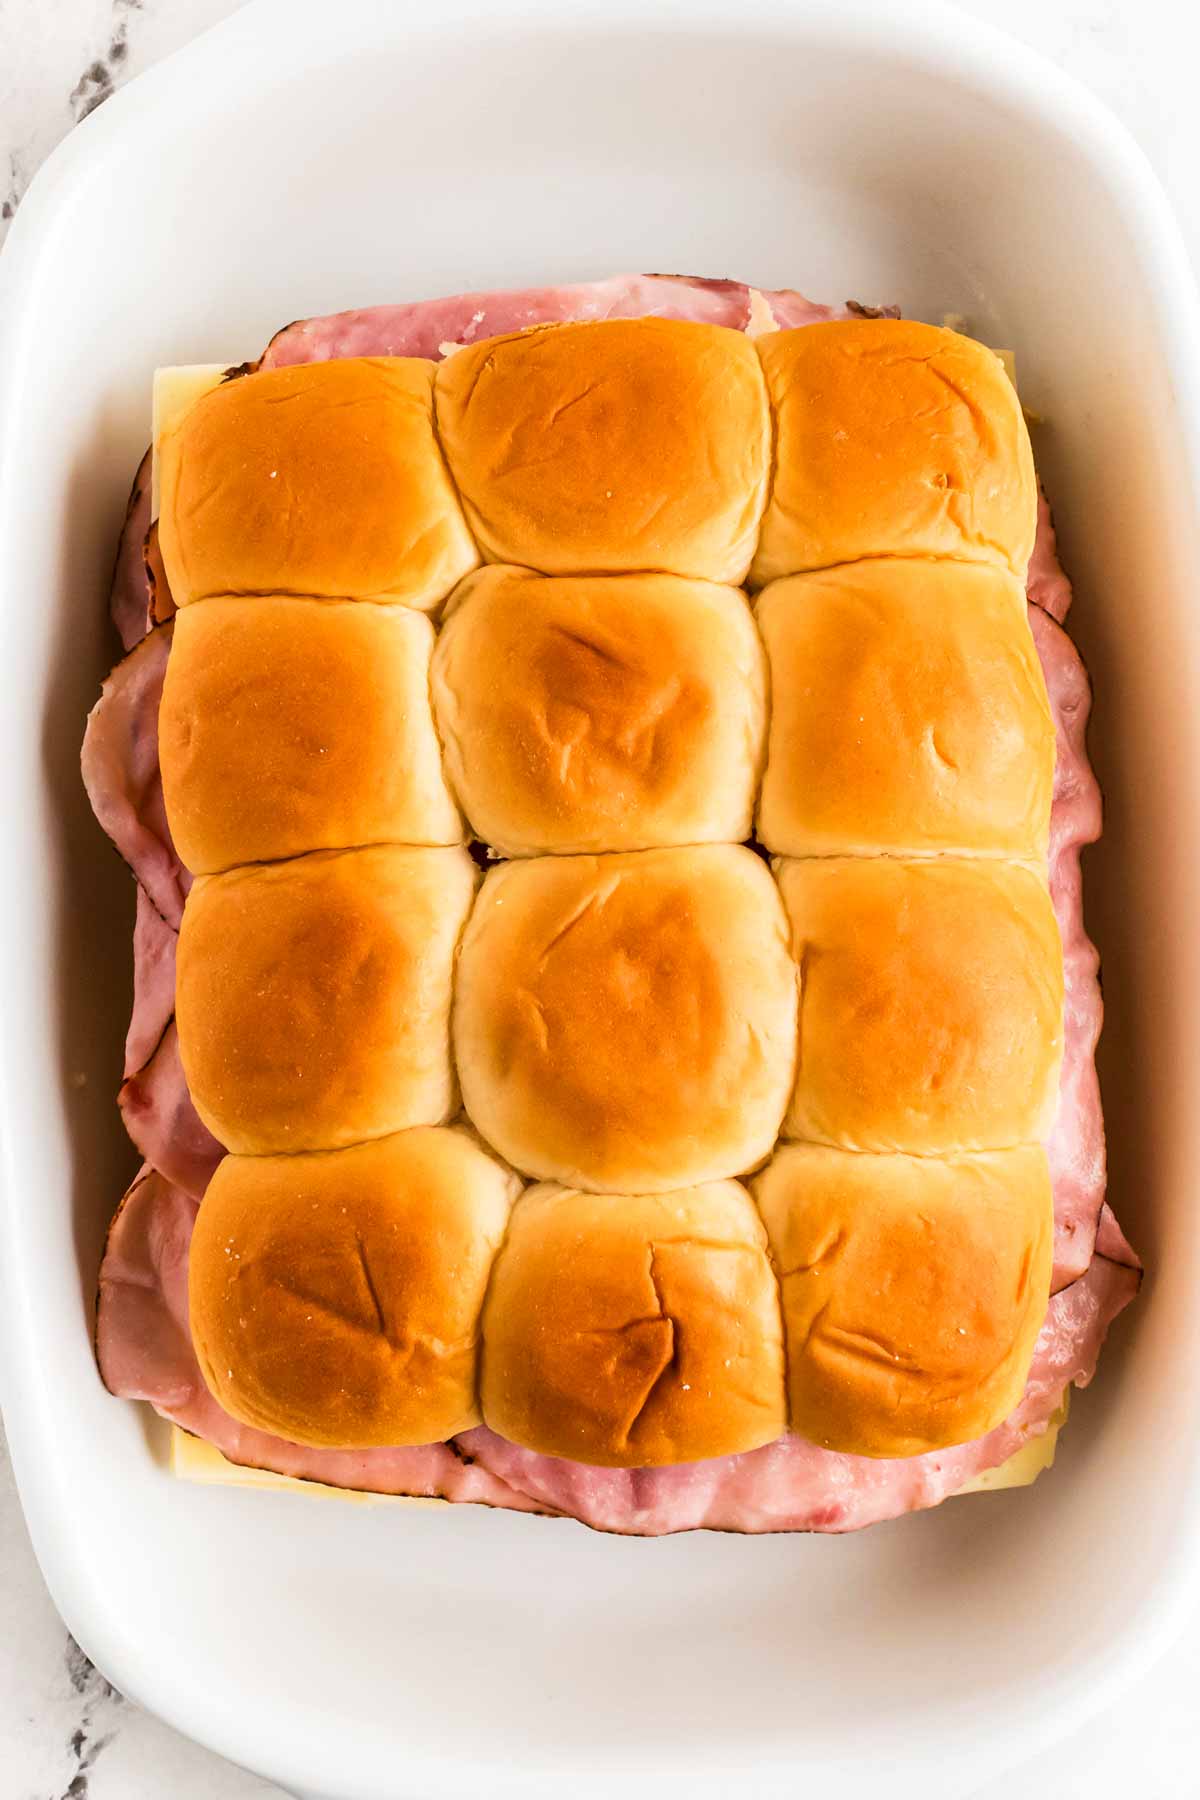
Finally, place the top half of the rolls over the filling, pressing down gently so everything stays in place.
4. Brush with the buttery topping
To the remaining melted butter mixture, stir in:
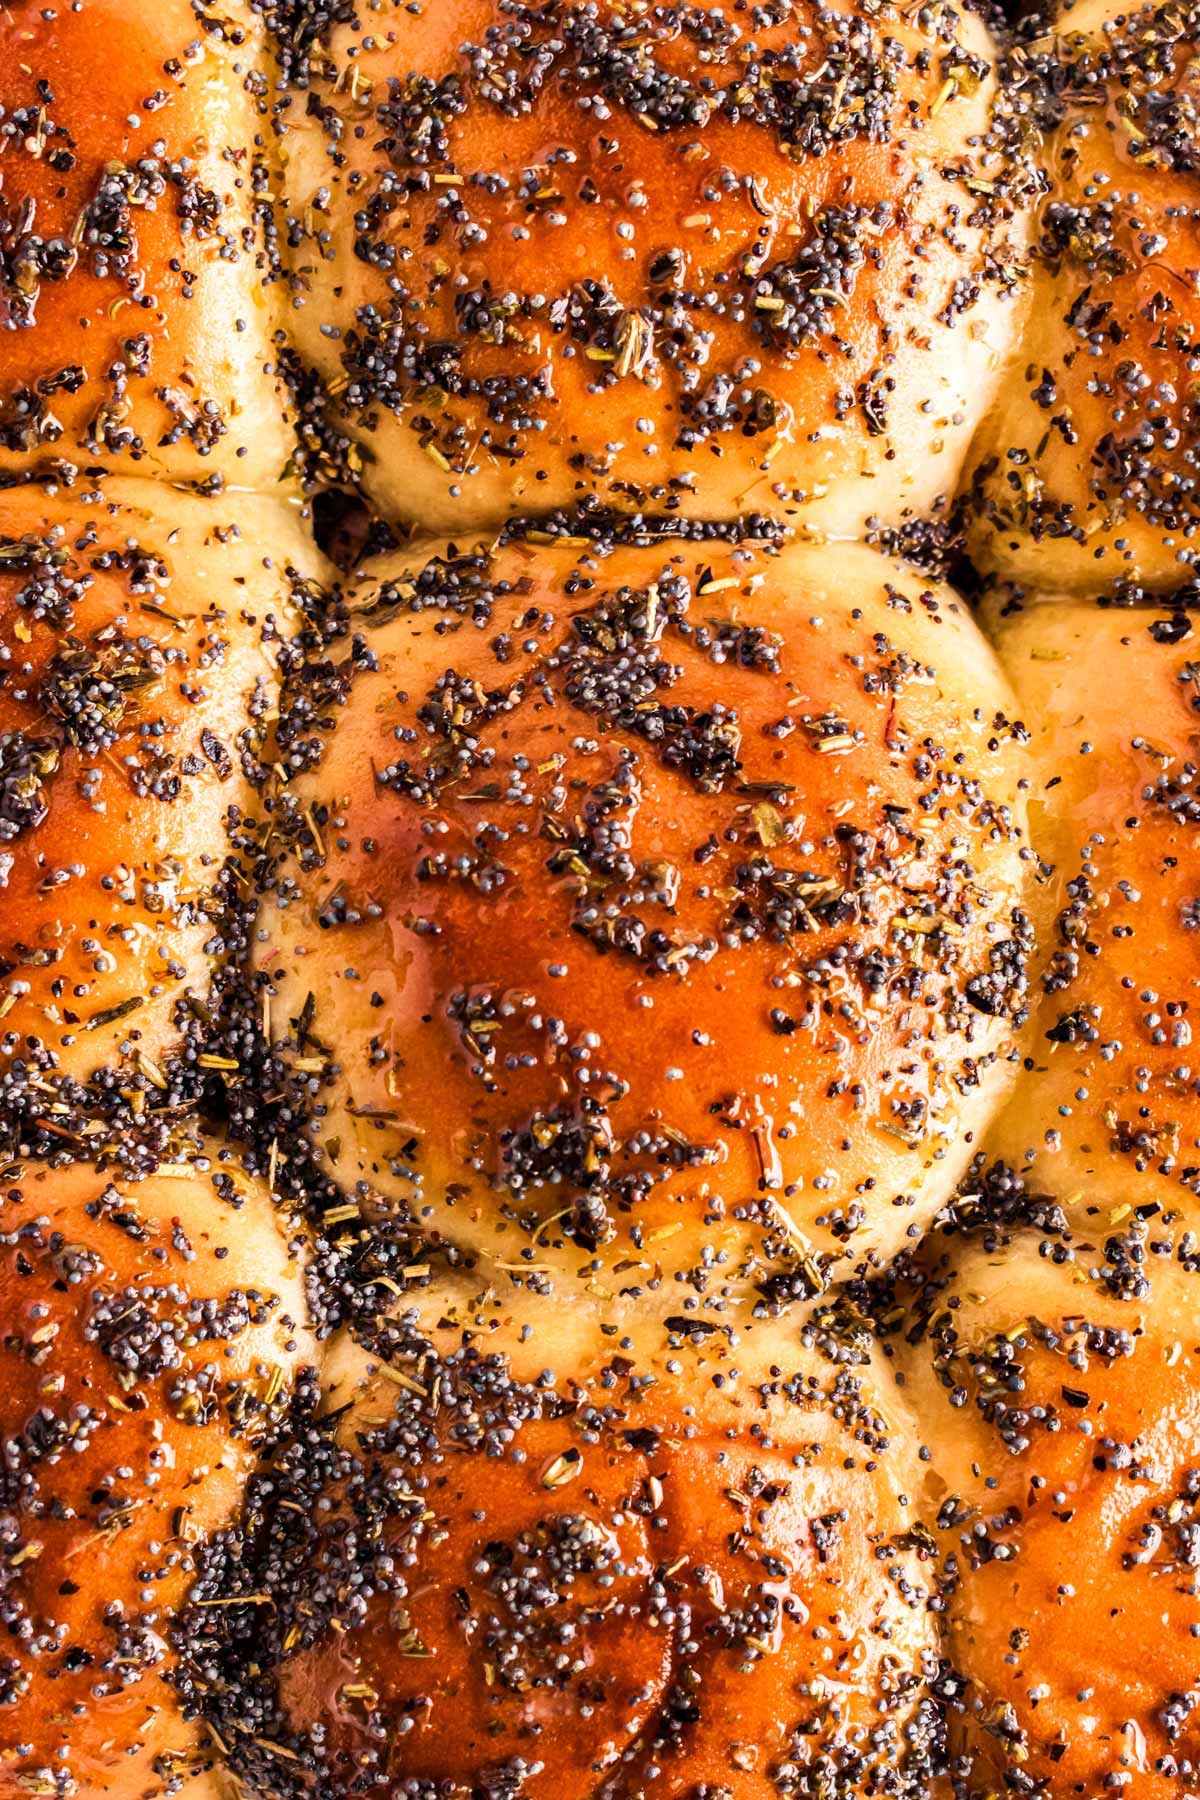
- 2 tablespoons poppy seeds
- 1 tablespoon Italian seasoning (if you didn’t add it earlier)
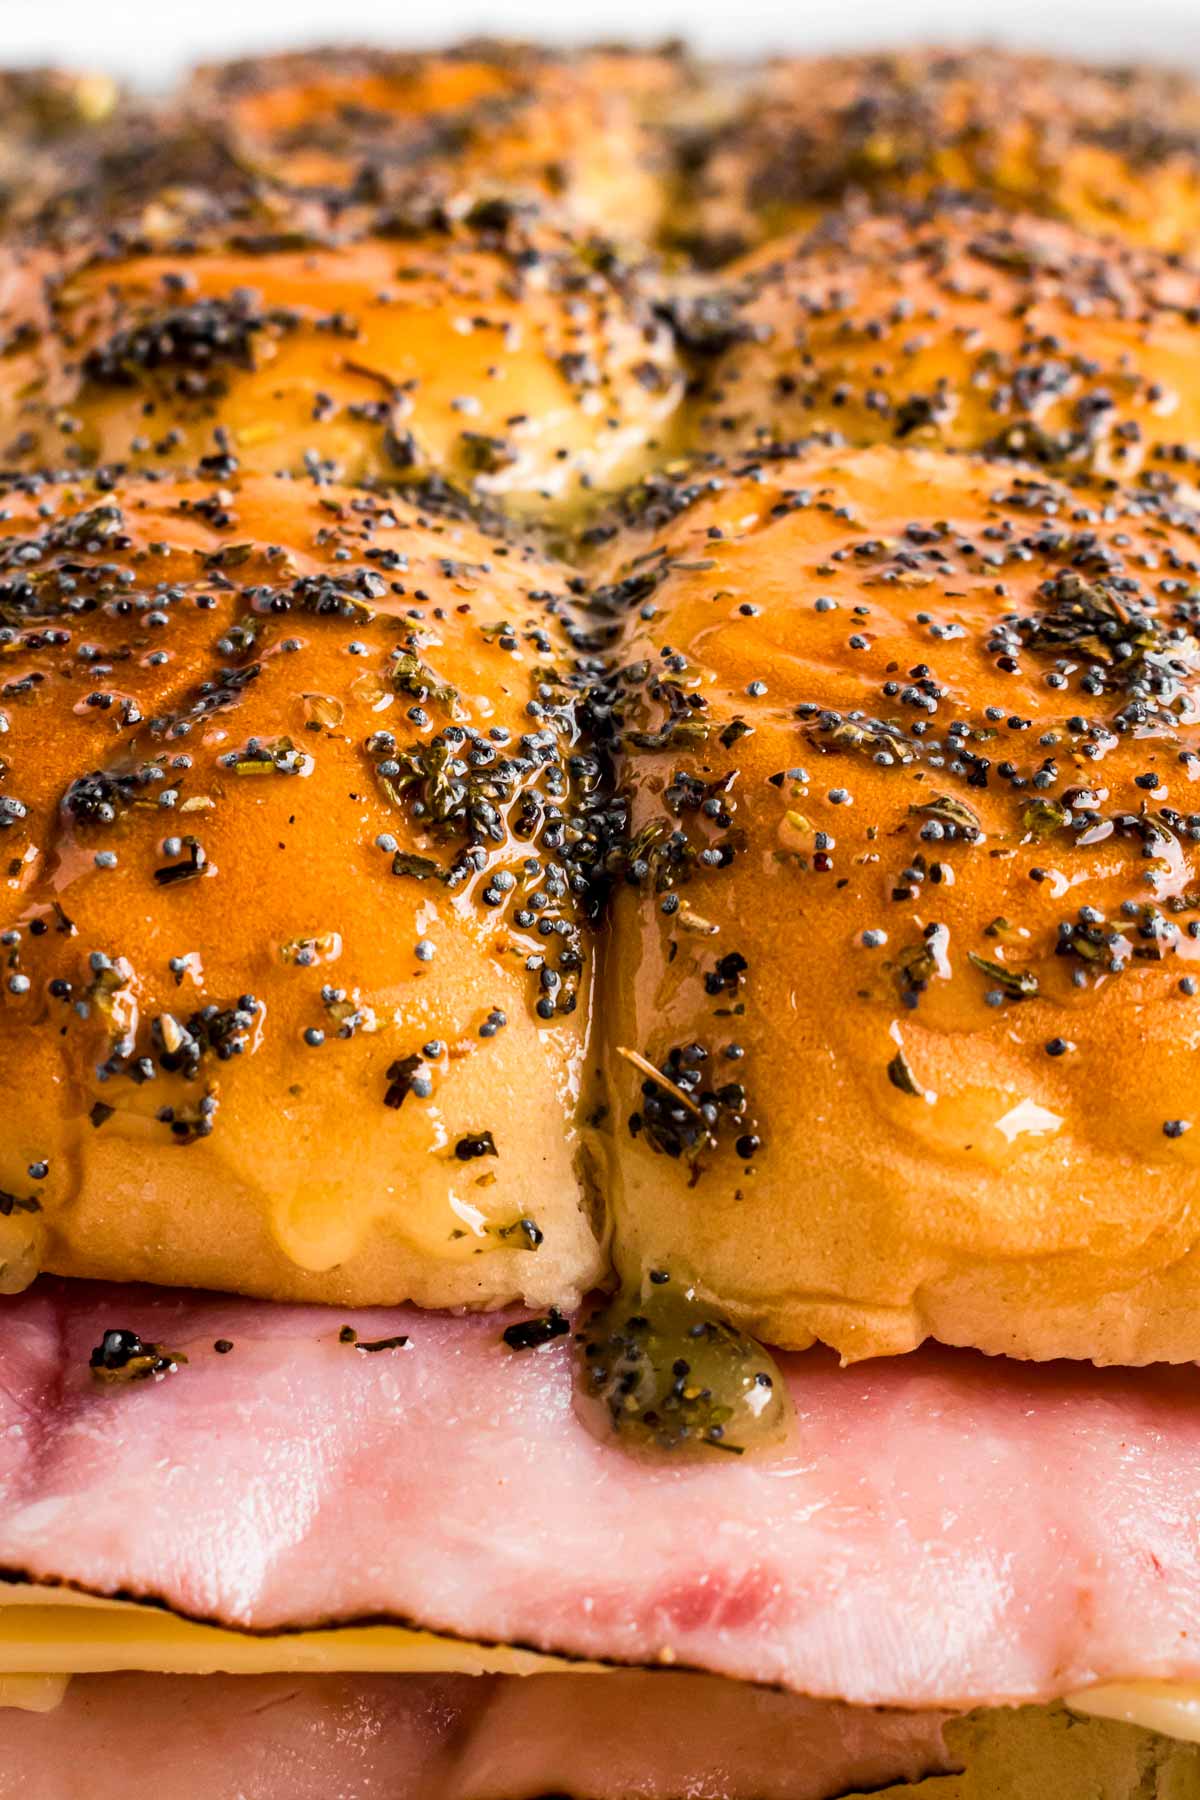
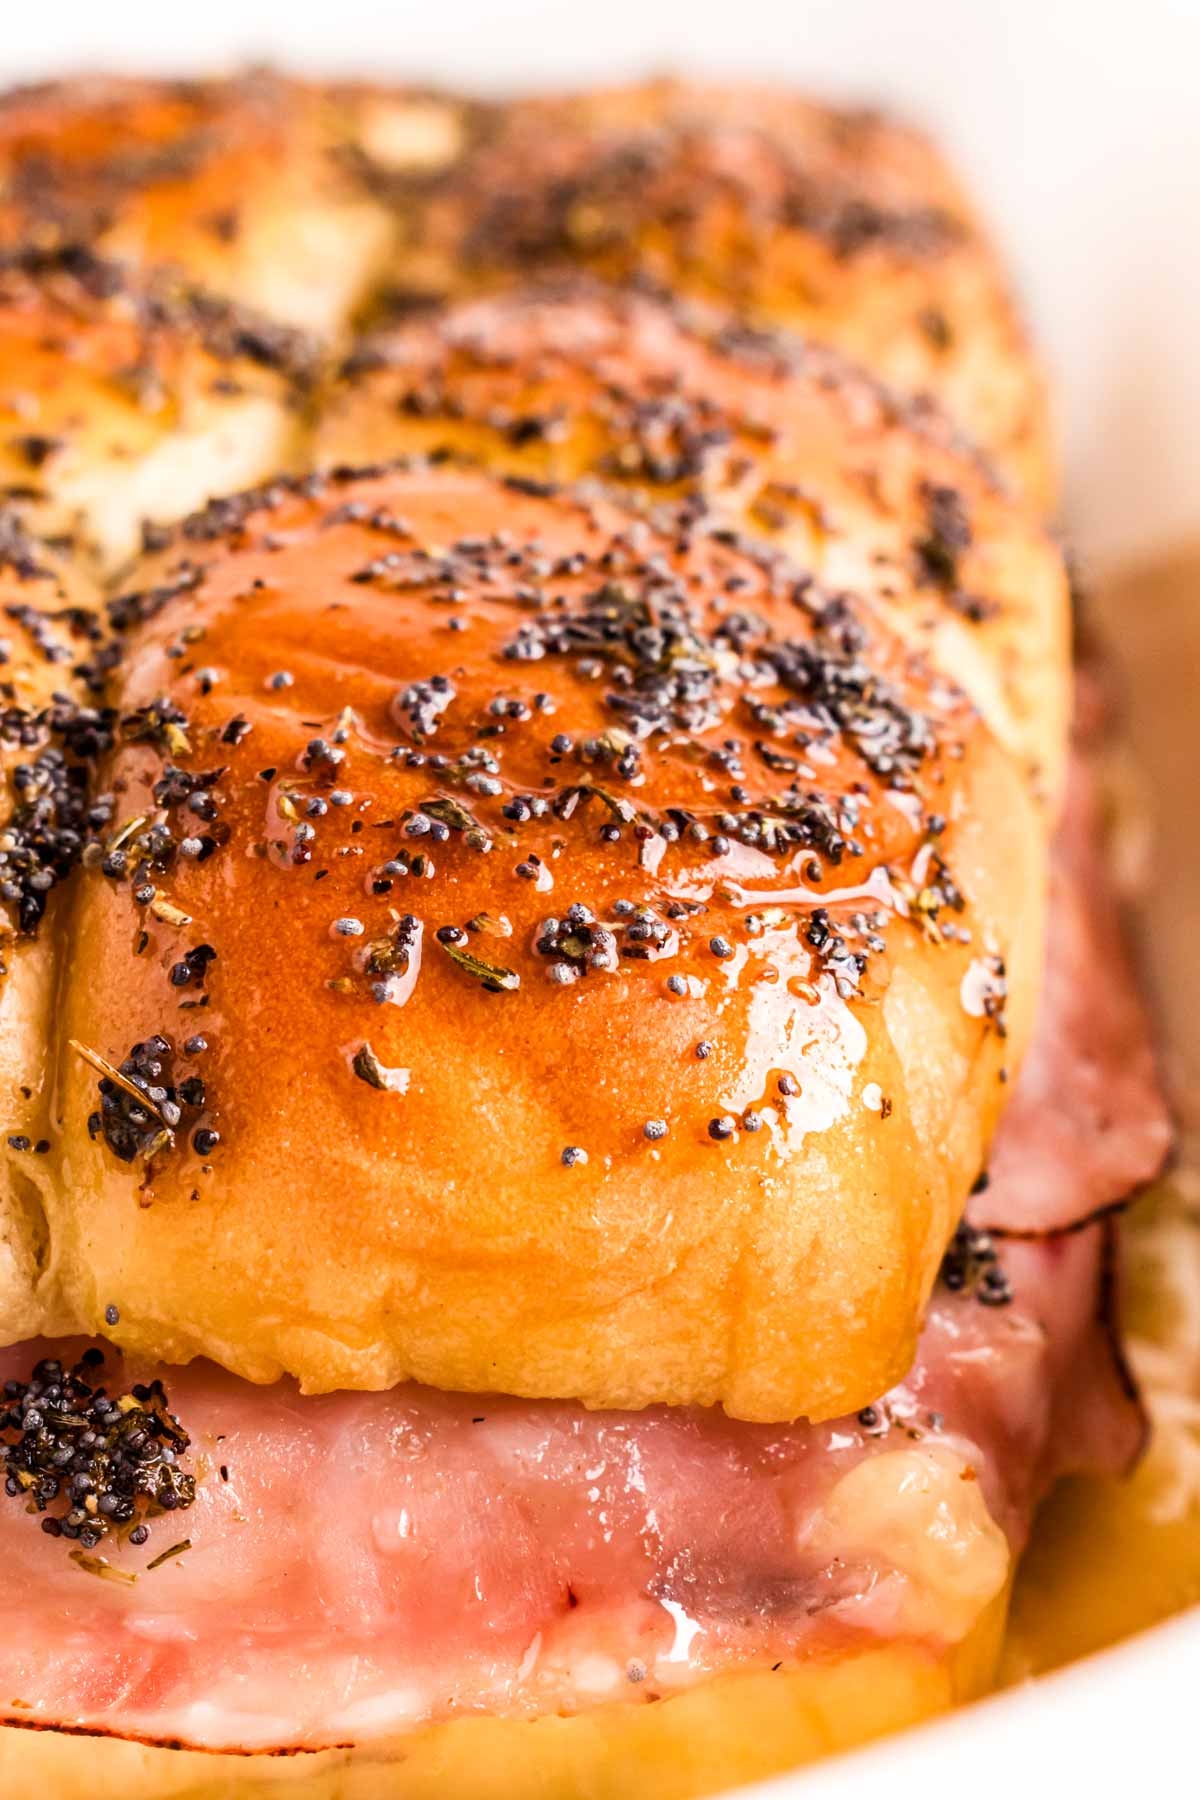
Generously brush this butter mixture over the tops of the rolls, coating them evenly. This step is key to achieving that irresistible golden, flavorful crust.
If you don’t have poppy seeds or prefer an alternative, sesame seeds or even everything bagel seasoning work well.

5. Bake to golden perfection
Cover the baking dish loosely with aluminum foil – this prevents the tops from browning too quickly while allowing the cheese to melt thoroughly. Place the sliders in your preheated 350°F oven and bake for 15-20 minutes, until the cheese is hot and bubbly.
Remove the foil and bake for another 4-5 minutes, just until the tops turn a beautiful golden brown. Keep a close eye on them at this stage, as ovens vary, and the tops can brown quickly.
6. Allow to cool slightly and serve
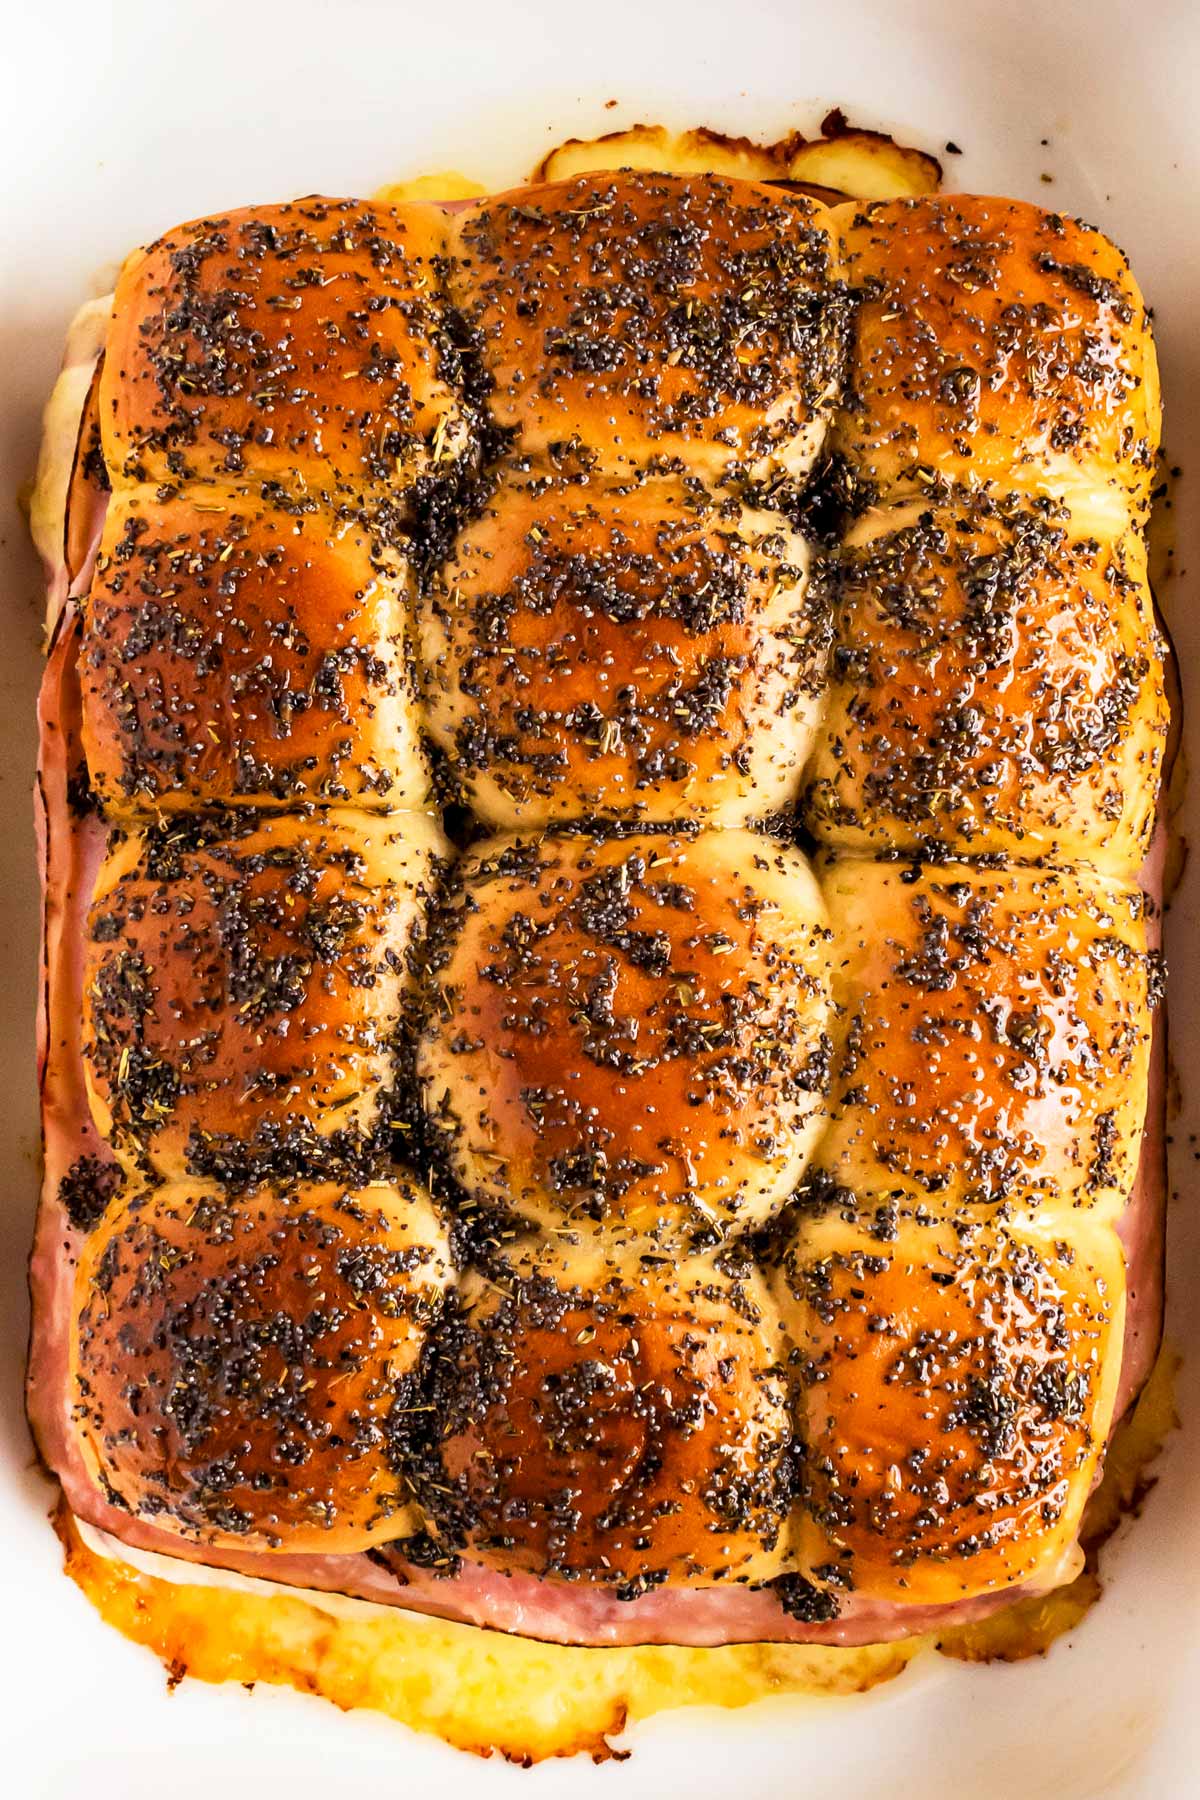
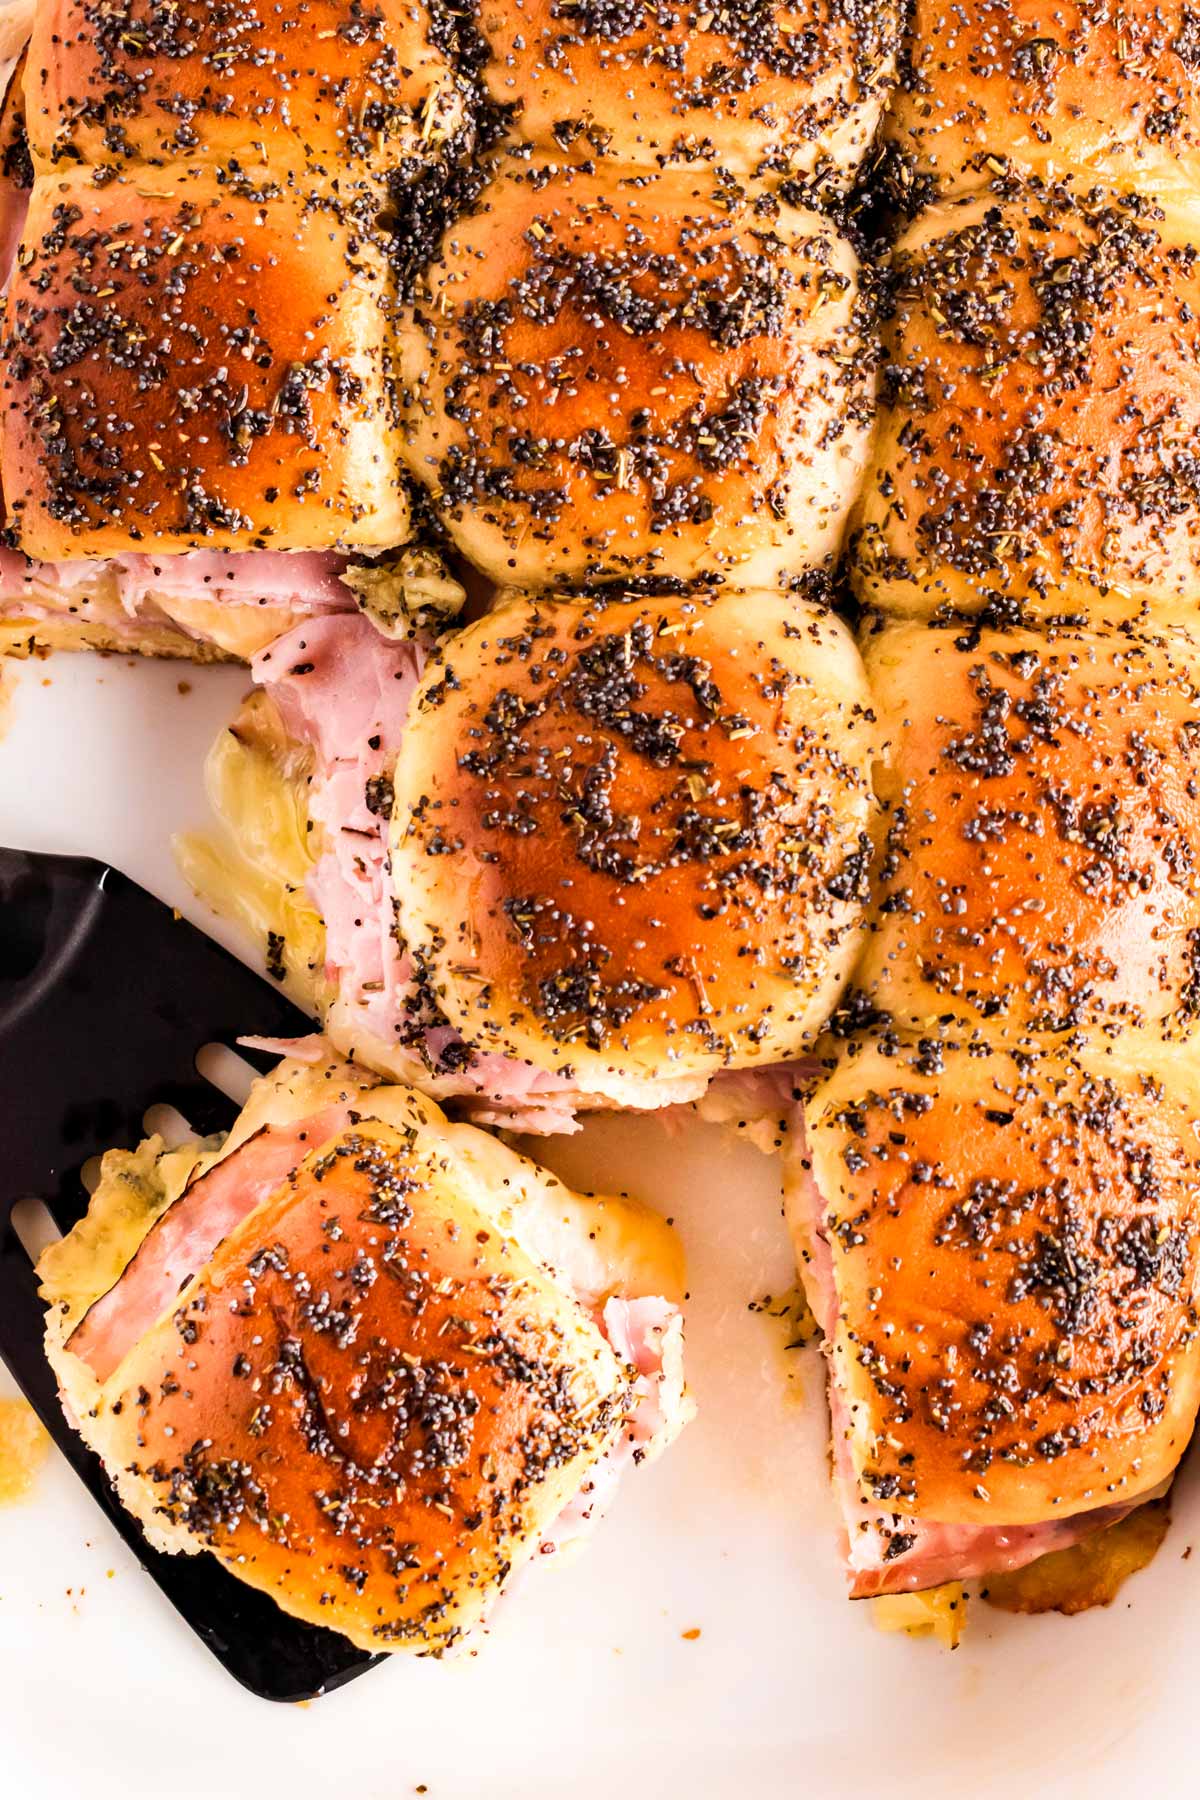
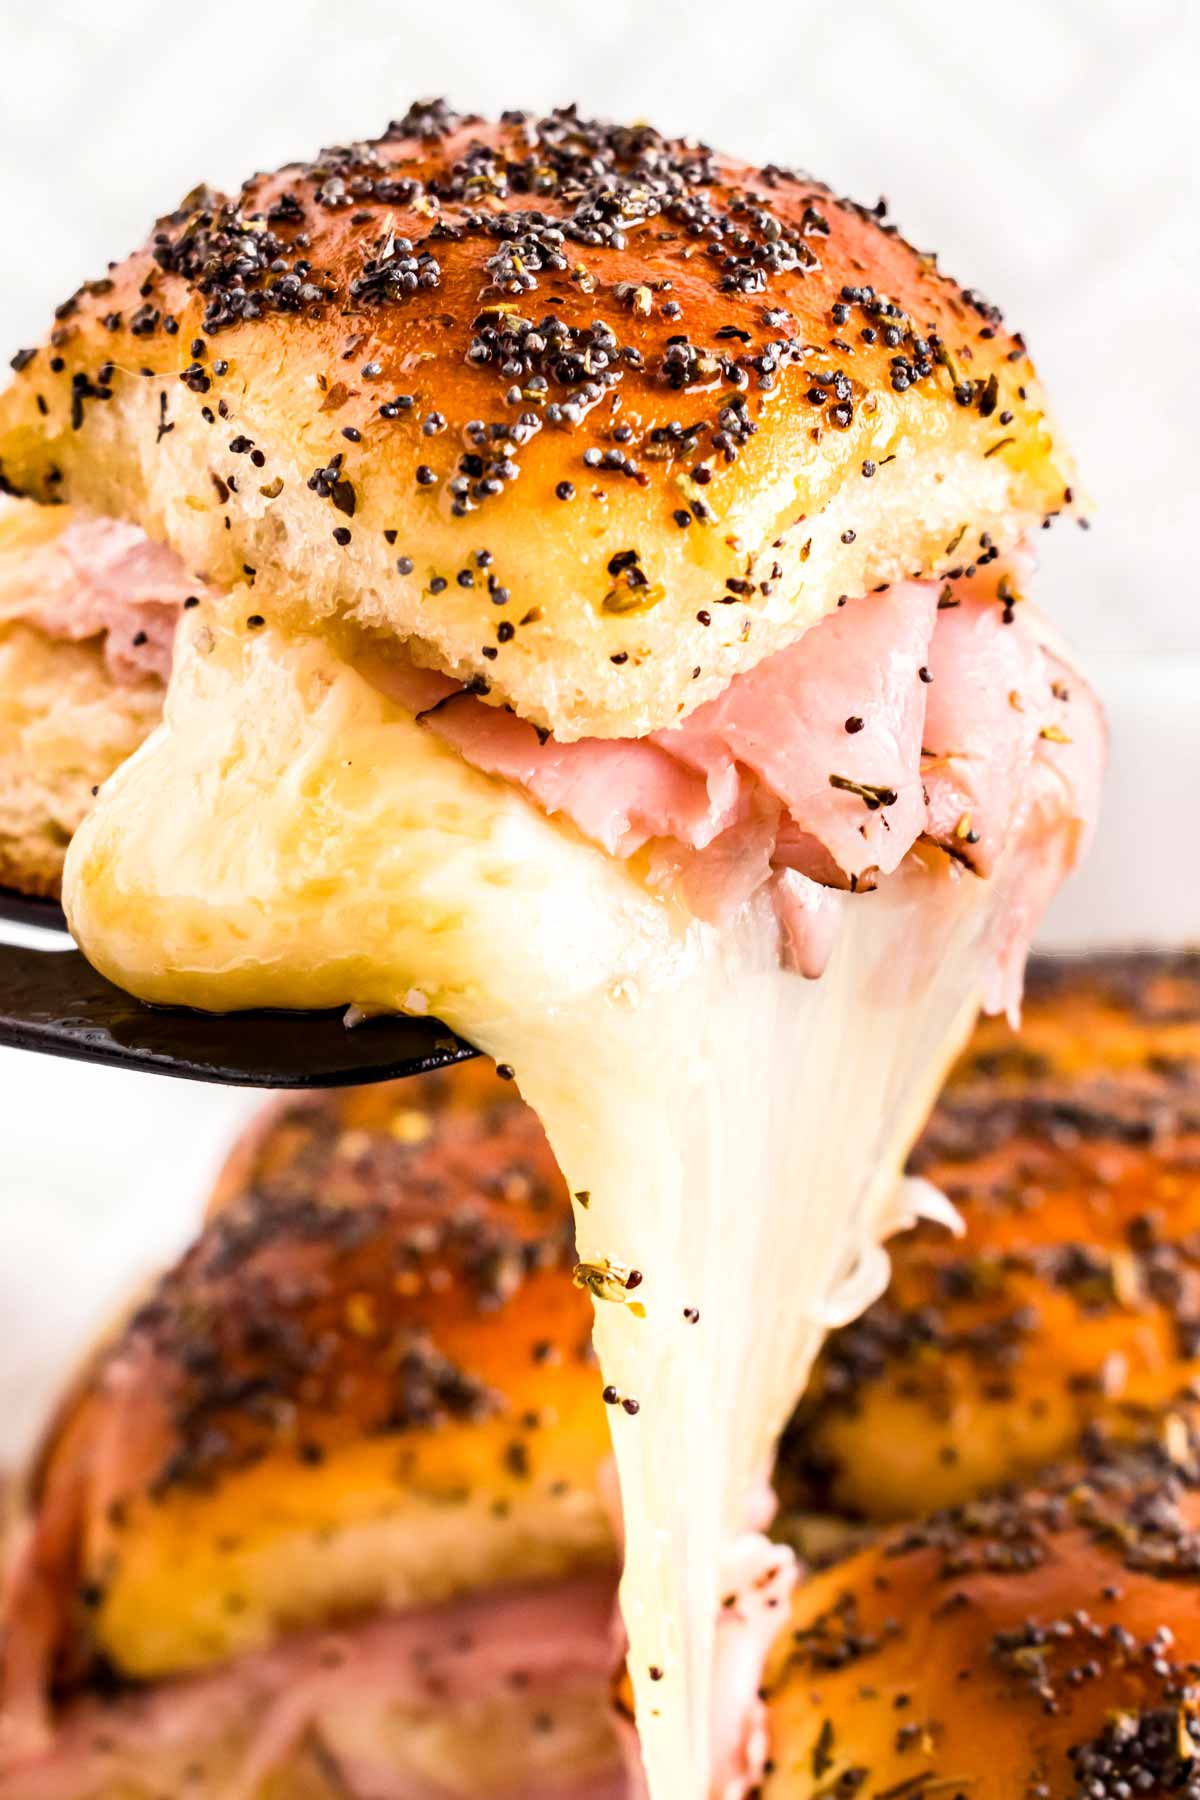
Once out of the oven, let the sliders rest for about 5 minutes before slicing. This allows the cheese to set slightly, making them easier to serve without everything sliding apart.
Use a spatula to cut and separate along the natural lines of the rolls, and serve them warm.
Whether you’re making these for game day, a party, or a simple weeknight meal, they’re guaranteed to be a hit. Enjoy every buttery, garlicky, cheesy bite!
Tips for recipe success
- Even cheese melting – The cheese in the middle sliders takes longer to melt than the cheese in the outer rolls. If you notice the center sliders aren’t quite as gooey when you pull them out of the oven, you can place just the middle section back in for another 5 minutes. When my kids were little, I would pass them those center sliders with the firmer cheese since I didn’t give them fully melted cheese yet for choking reasons.
- Keep an eye on the tops – After you remove the foil, the tops of the sliders can go from perfectly golden to too browned very quickly. Watch them closely during the last 4-5 minutes to make sure they develop that perfect toasted finish without burning.
- Use a spatula to separate the sliders – Cutting the sliders after baking can be tricky if the cheese has melted everywhere (which is exactly what we want!). I recommend using a cooking spatula to gently separate them before serving – it makes it so much easier to pull them apart without making a mess.
- Don’t overdo the butter on the bottom – While it’s tempting to slather the rolls in butter, using too much on the bottom can make them soggy. Stick to about 2 tablespoons on the cut sides of the rolls, and save the rest for brushing over the tops.
- Layer the ham strategically – If your deli ham is very thin, folding or slightly overlapping the slices will give the sliders a more satisfying bite. Too much ham stacked in one spot can make the sliders hard to eat, while spreading it evenly make sure every bite is flavorful.
- Slice carefully – When cutting the slab of rolls in half, use a serrated knife and take your time. A smooth, even cut makes assembling (and eating!) much easier.
- Serve immediately for the best experience – These sliders are at their absolute best straight out of the oven while the cheese is melty and the rolls are soft and warm. If you need to hold them for a bit, keep them covered with foil to retain heat.
Helpful recipe hints
Recipe variations
I love how easy it is to switch these up—same simple method, totally different flavors. Here are some of my favorite ways to keep things interesting:
- Turkey & Swiss Sliders – I know, ham and cheese is the classic, but turkey and Swiss? So good. I swap in thinly sliced turkey and use Swiss or Havarti for extra creamy, melty goodness. A little honey mustard on the rolls makes these next-level.
- Spicy Jalapeño Sliders – My husband loves spicy food, so I occasionally add thinly sliced pickled jalapeños and use Pepper Jack cheese for a little kick. And if I’m really leaning into the spice? A pinch of crushed red pepper in the butter mixture seals the deal. Definitely not one for the kids, but a great option if you love heat!
- Hawaiian Ham & Pineapple Sliders – Sweet and savory together? Yes, please. I add thinly sliced pineapple (patted dry so nothing gets soggy) and use Havarti or Mozzarella for a fun, slightly tropical twist. If you’re a Hawaiian pizza fan, you’ll love this one!
- Everything Bagel Sliders – If I’m in the mood for something a little extra, I swap the poppy seeds for everything bagel seasoning. Pairs especially well with ham & Swiss or turkey & Havarti, and adds a little crunch and extra flavor.
- BBQ Ham & Cheese Sliders – Making these for a summer cookout? I toss the ham in a few tablespoons of barbecue sauce before adding it to the rolls. The smoky, tangy flavor with the buttery rolls? Absolutely delicious.
No matter how I make them, these sliders never last long in my house. The kids devour them, the adults hover around the tray – it’s just one of those recipes that disappears before you know it!
Storage tips
These sliders are best served fresh, but if you want to make them ahead or store leftovers, here’s how to do it right:
Make ahead:
You can assemble the sliders a few hours in advance! Just layer the ham and cheese, place the top rolls on, and brush them with the butter mixture. Cover the dish tightly with foil and refrigerate for up to 4 hours.
When you’re ready to bake, pop them straight into the oven – just add a few extra minutes to the baking time since they’ll be cold.
Storing leftovers:
If you have any sliders left (which is rare in my house!), store them in an airtight container in the refrigerator for up to 2 days.
To reheat, place them on a baking sheet, cover loosely with foil, and warm them in a 350°F oven for about 10 minutes, or until heated through. The foil keeps them from drying out!
Freezing option:
These freeze surprisingly well! To freeze, assemble the sliders but do not bake them. Wrap the entire dish tightly in plastic wrap, followed by foil, and freeze for up to 2 months.
When ready to bake, thaw them in the refrigerator overnight, then bake as directed, adding a few extra minutes if needed.
Serving ideas
I know, I know. Snacks and appetizers and all. But honestly? We have these for lunch or even dinner when time is extremely short. To round out the meal and keep everyone satisfied, here are some of my favorite sides to serve alongside these sliders:
- Game day grub: These sliders were made for game day! Serve them with crispy air fryer fries, a side of creamy coleslaw, and a big batch of sticky BBQ slow cooker meatballs or crockpot lil smokies.
- Easy family dinner: When I need a simple, no-stress dinner, I serve these sliders with sautéed green beans and a salad with honey mustard dressing. It’s comforting, delicious, and comes together without much effort – exactly what I need after a long day.
- Quick lunch: These make a fantastic grab-and-go lunch when we’re all running in different directions. I pair them with a leafy green salad or a creamy cucumber salad and a side of air fryer potato wedges for something a little more filling.
- Holiday leftovers remix: If you’ve got leftover holiday ham, these sliders are the way to repurpose it. Swap in homemade dinner rolls (if you have extra) and use leftover cranberry sauce for dipping!
- Picnic or potluck spread: These sliders travel well, making them great for potlucks or picnics. I like to pack them up with Italian pasta salad, deviled eggs, and cranberry pecan cheeseball for a crowd-pleasing spread that always gets compliments.
- Back-to-school lunches: Leftovers, wrapped individually, are great to pop them in my kids’ lunchboxes. Paired with fruit salad, carrot sticks, and a little homemade ranch dip, it’s a fun and easy lunch that keeps them full and happy.
More easy party food

PS If you try this recipe, please leave a review in the comment section and add a star rating in the recipe card – I appreciate your feedback! Follow along on Pinterest, Facebook or Instagram.
Garlic Herb Hot Ham Sliders
Recipe details
Ingredients
- 1 (12-count) slab dinner rolls homemade or a brand like Sweet Hawaiian
- 4 tablespoons unsalted butter or more to taste; melted
- 1 teaspoon dried garlic powder
- ½ teaspoon salt
- black pepper to taste
- 12 oz deli ham
- 6 oz melty cheese slices e.g. Swiss or Havarti
- 6 oz sharp cheese slices e.g. sharp Cheddar or aged Gouda
- 2 tablespoons poppy seeds
- 1 tablespoon Italian seasoning
Instructions
- Prep: Preheat oven to 350°F. Using a serrated bread knife, split 1 (12-count) slab dinner rolls in half. Place bottom half in lightly greased baking dish slightly larger than your slab of rolls.
- Make butter mix: Combine 4 tablespoons unsalted butter, 1 teaspoon dried garlic powder, ½ teaspoon salt and black pepper (feel free to add the Italian seasoning at this point, too – I personally don't but some people do prefer it). Dab about 2 tablespoons of the butter on the cut sides of the rolls.
- Assemble: Place HALF of the 12 oz deli ham on the bottom half of the rolls. Evenly top with 6 oz melty cheese slices and 6 oz sharp cheese slices, then top with the remaining ham. Finally, add the top half of the rolls.
- Brush with butter: Add 2 tablespoons poppy seeds (and 1 tablespoon Italian seasoning, if you didn't add it before) to the melted butter mixture. Brush all over the top of the rolls. Cover rolls with aluminum foil.
- Bake: Bake for 15-20 minutes, or until cheese is bubbly. Uncover and finish baking for 4-5 more minutes, until tops are golden. Allow to cool on the counter for 5 minutes before slicing to serve.
Notes
Ingredient notes
- Dinner rolls – Soft, pull-apart rolls work best. Avoid crusty rolls.
- Deli ham – I prefer Italian-style cooked ham for extra flavor. Use thinly sliced ham for the best texture.
- Cheese – A mix of melty (Swiss, Havarti, Fontina) and sharp (Cheddar, Gruyère, aged Gouda) gives the best balance of flavor and texture.
- Butter – Unsalted is best; if using salted, reduce added salt.
- More flavor – Spread mustard on the rolls for extra tang.
- Topping – Skip poppy seeds if you don’t like them or swap for sesame seeds or everything bagel seasoning.
Recipe tips
- Even cheese melting – The center sliders take longer to melt. If needed, return just the middle section to the oven for 5 extra minutes.
- Prevent burning – Watch closely after removing the foil—tops brown quickly!
- Easy slicing – Use a cooking spatula to separate sliders after baking for clean, easy serving.
- Don’t overdo butter on the bottom – Too much makes the rolls soggy. Stick to about 2 tbsp for brushing inside.
- Layer ham evenly – Slightly overlap thin slices for a better bite without bulk.
- Serve immediately – These are best fresh out of the oven while warm and melty.
Storage tips
- Make ahead – Assemble up to 4 hours in advance, cover, and refrigerate. Bake straight from the fridge, adding a few extra minutes.
- Storing leftovers – Keep in an airtight container in the fridge for up to 2 days. Reheat at 350°F for 10 minutes (covered with foil to prevent drying out).
- Freezing option – Assemble but do not bake. Wrap tightly in plastic + foil, freeze for up to 2 months. Thaw overnight in the fridge before baking as directed. (Baking from frozen works too, but takes 25-30 minutes).
Nutrition
More recipe information
Recipe first published on 02/05/2021. Updated with new photos and more helpful text on 01/16/2025.


Cheryl says
Made last night for dinner to try for the super bowl tomorrow. definitely on our game day menu, so simple and delish! added the mustard to half of the rolls, left the other with only the garlic butter for the kiddos. worked out great.
Nora says
That’s GENIUS, Cheryl!
Melissa says
Made for 8 year old’s birthday today, came out great.
Nora says
I’m so glad!