

〈 swipe for more photos 〉
Homemade eggnog sounds like more work than it actually is. This version skips the extra steps and fussy techniques you’ll see in most recipes. Everything goes into one pot, gets gently warmed while you whisk, and then chills in the fridge. That’s it.
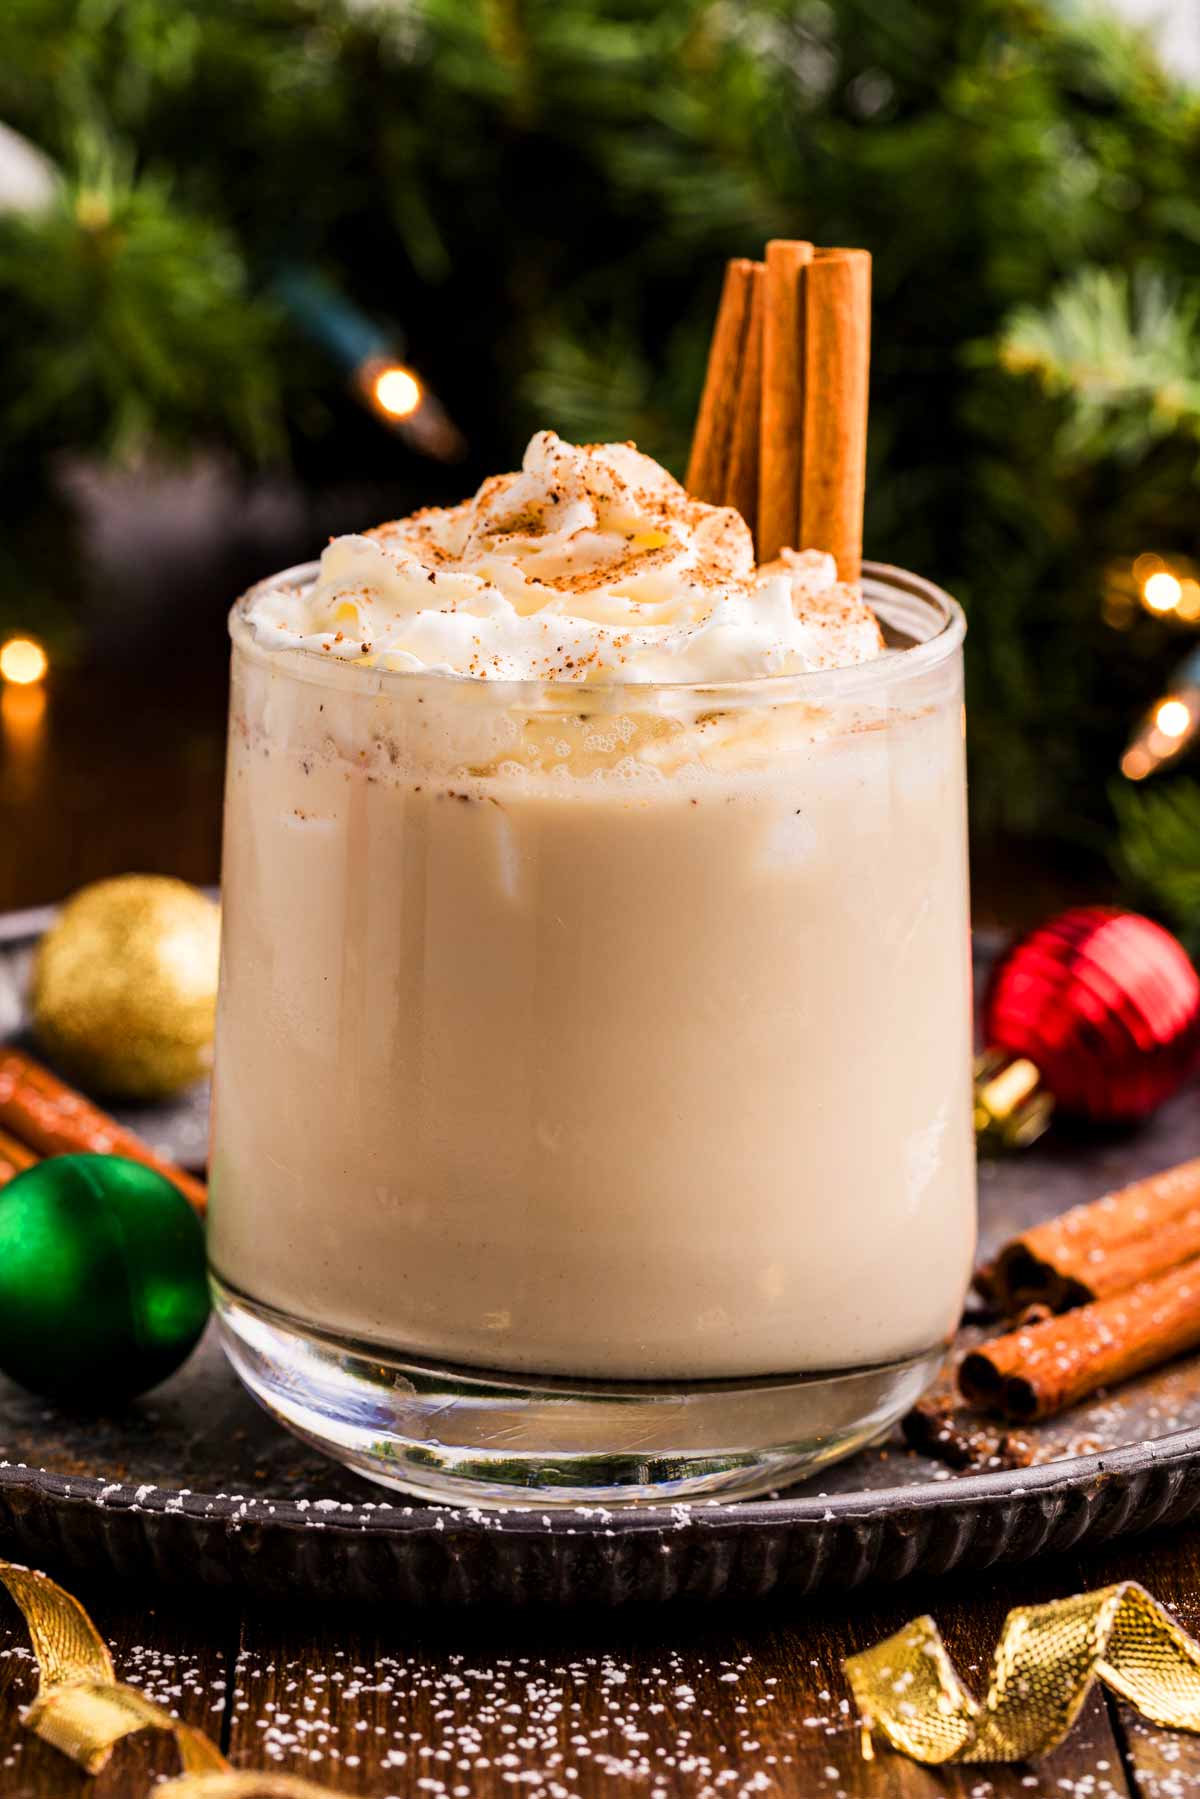
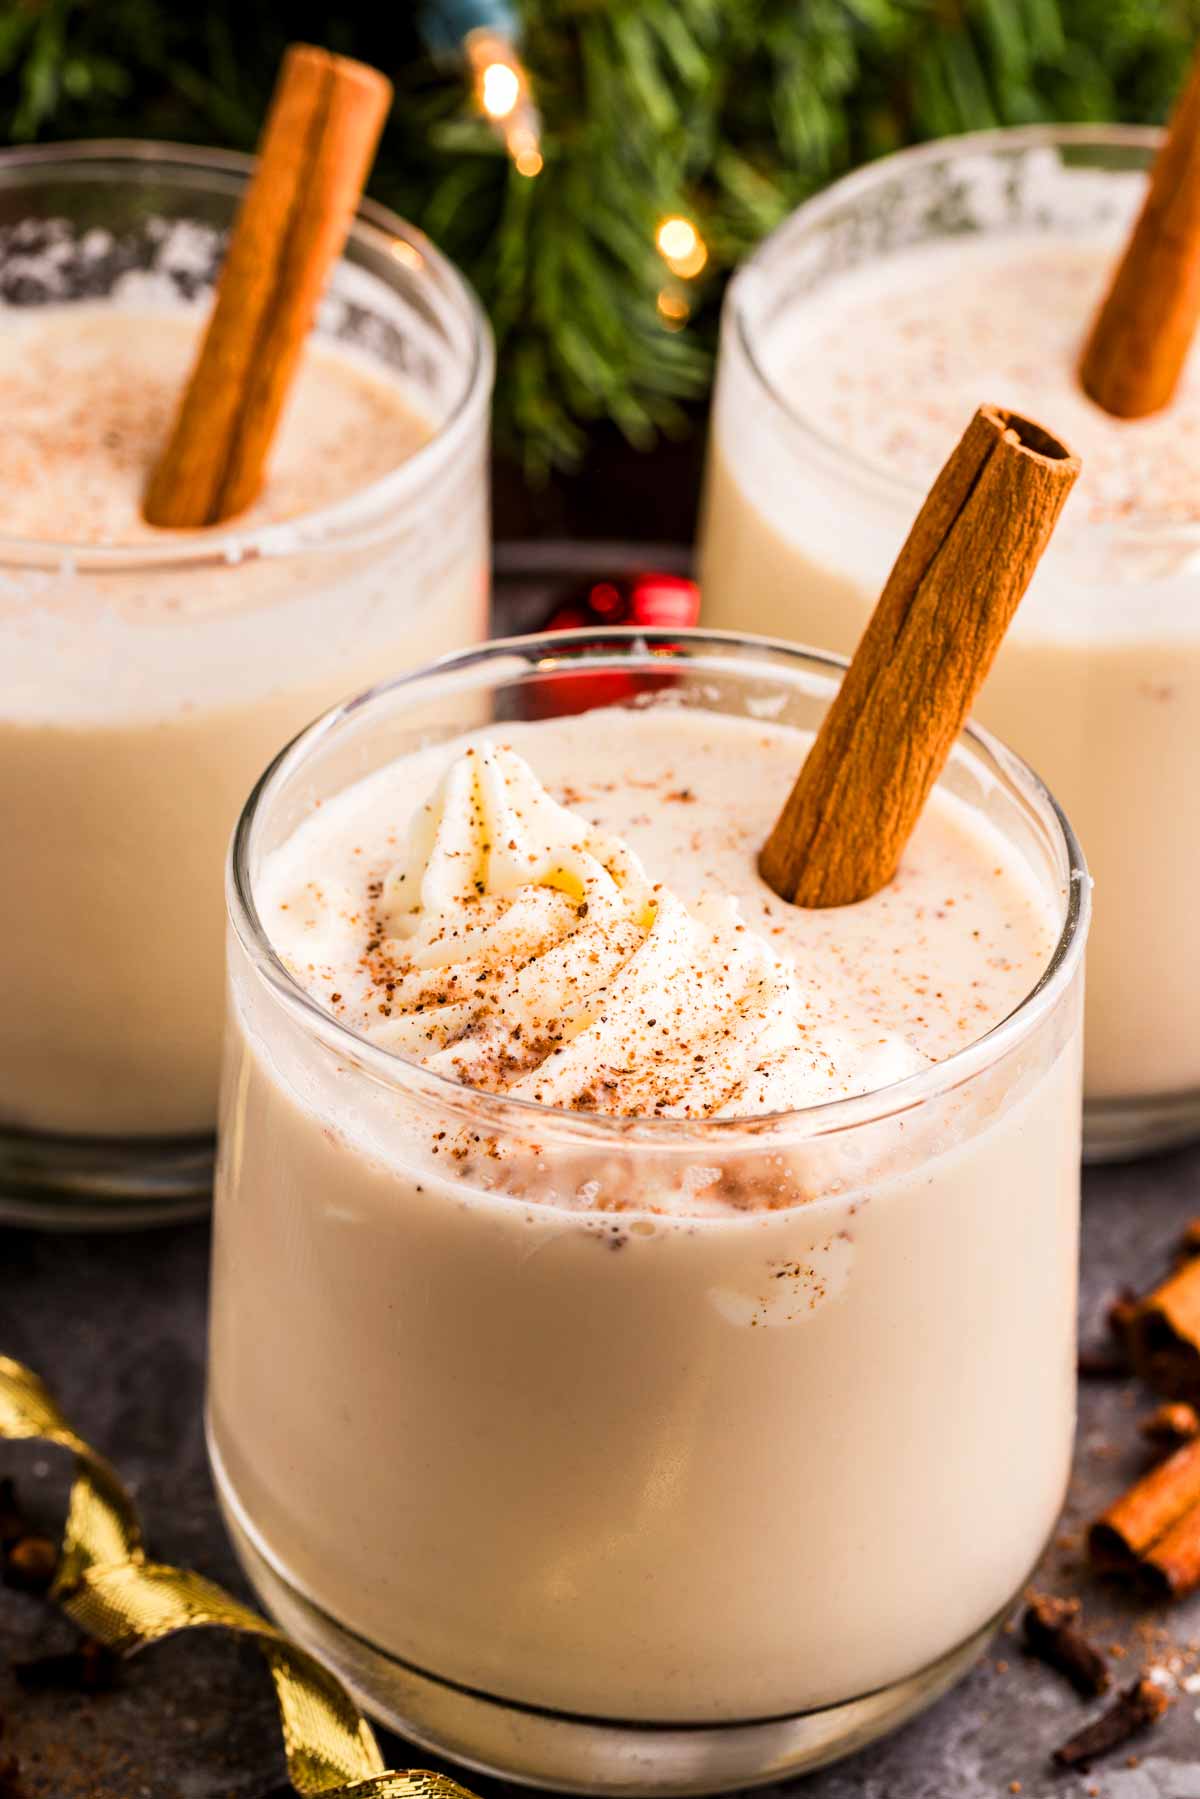
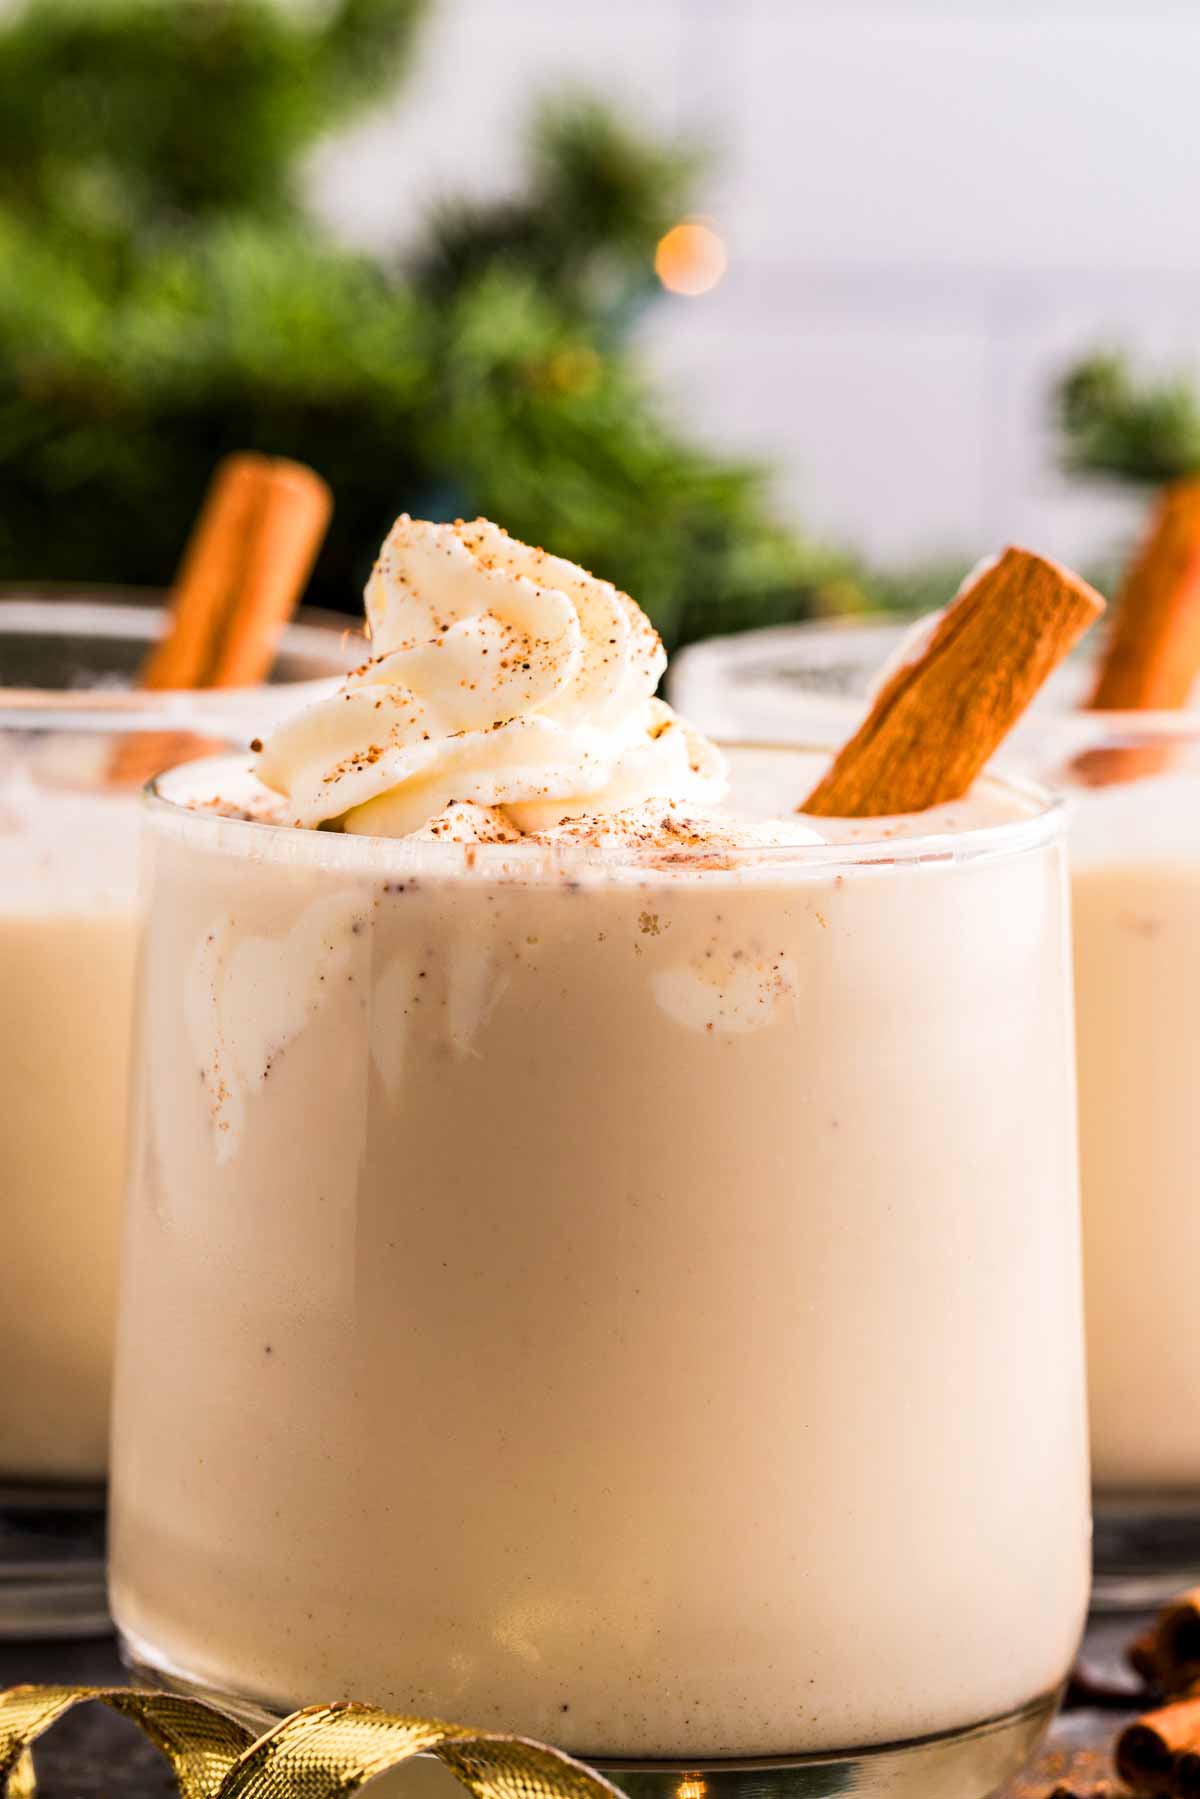
It’s rich, creamy, and tastes like classic eggnog – just without the carton.
What’s to love
- No tempering, no juggling: There’s no slowly pouring hot milk into eggs or worrying about messing it up. Everything is whisked together from the start and heated gently.
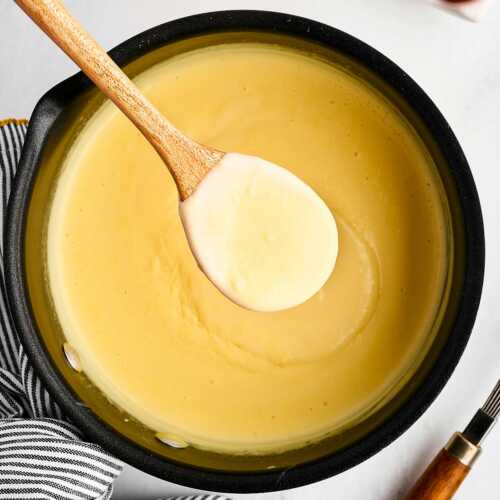
- Straightforward and cooked: Heating the eggnog to about 160–165°F thickens it and cooks the eggs, without turning it into custard or curdling.
- Familiar flavor: This tastes like the eggnog people actually want – creamy, lightly spiced, and not overly sweet.
Homemade eggnog like this isn’t about doing something fancy. It’s just a simple way to make a holiday drink that tastes better than store-bought – or to have eggnog when you forgot to buy it – without making it harder than it needs to be. If you usually buy eggnog, this is an easy recipe to try once and see what you think!
Printable Recipe Card
Ingredients
- 6 large egg yolks
- ⅔ cup sugar
- 1-½ cups heavy whipping cream
- 3 cups whole milk
- ¼ teaspoon ground nutmeg (or more to taste)
- ⅛ teaspoon ground cloves
- 1 pinch salt
- ½ teaspoon vanilla extract
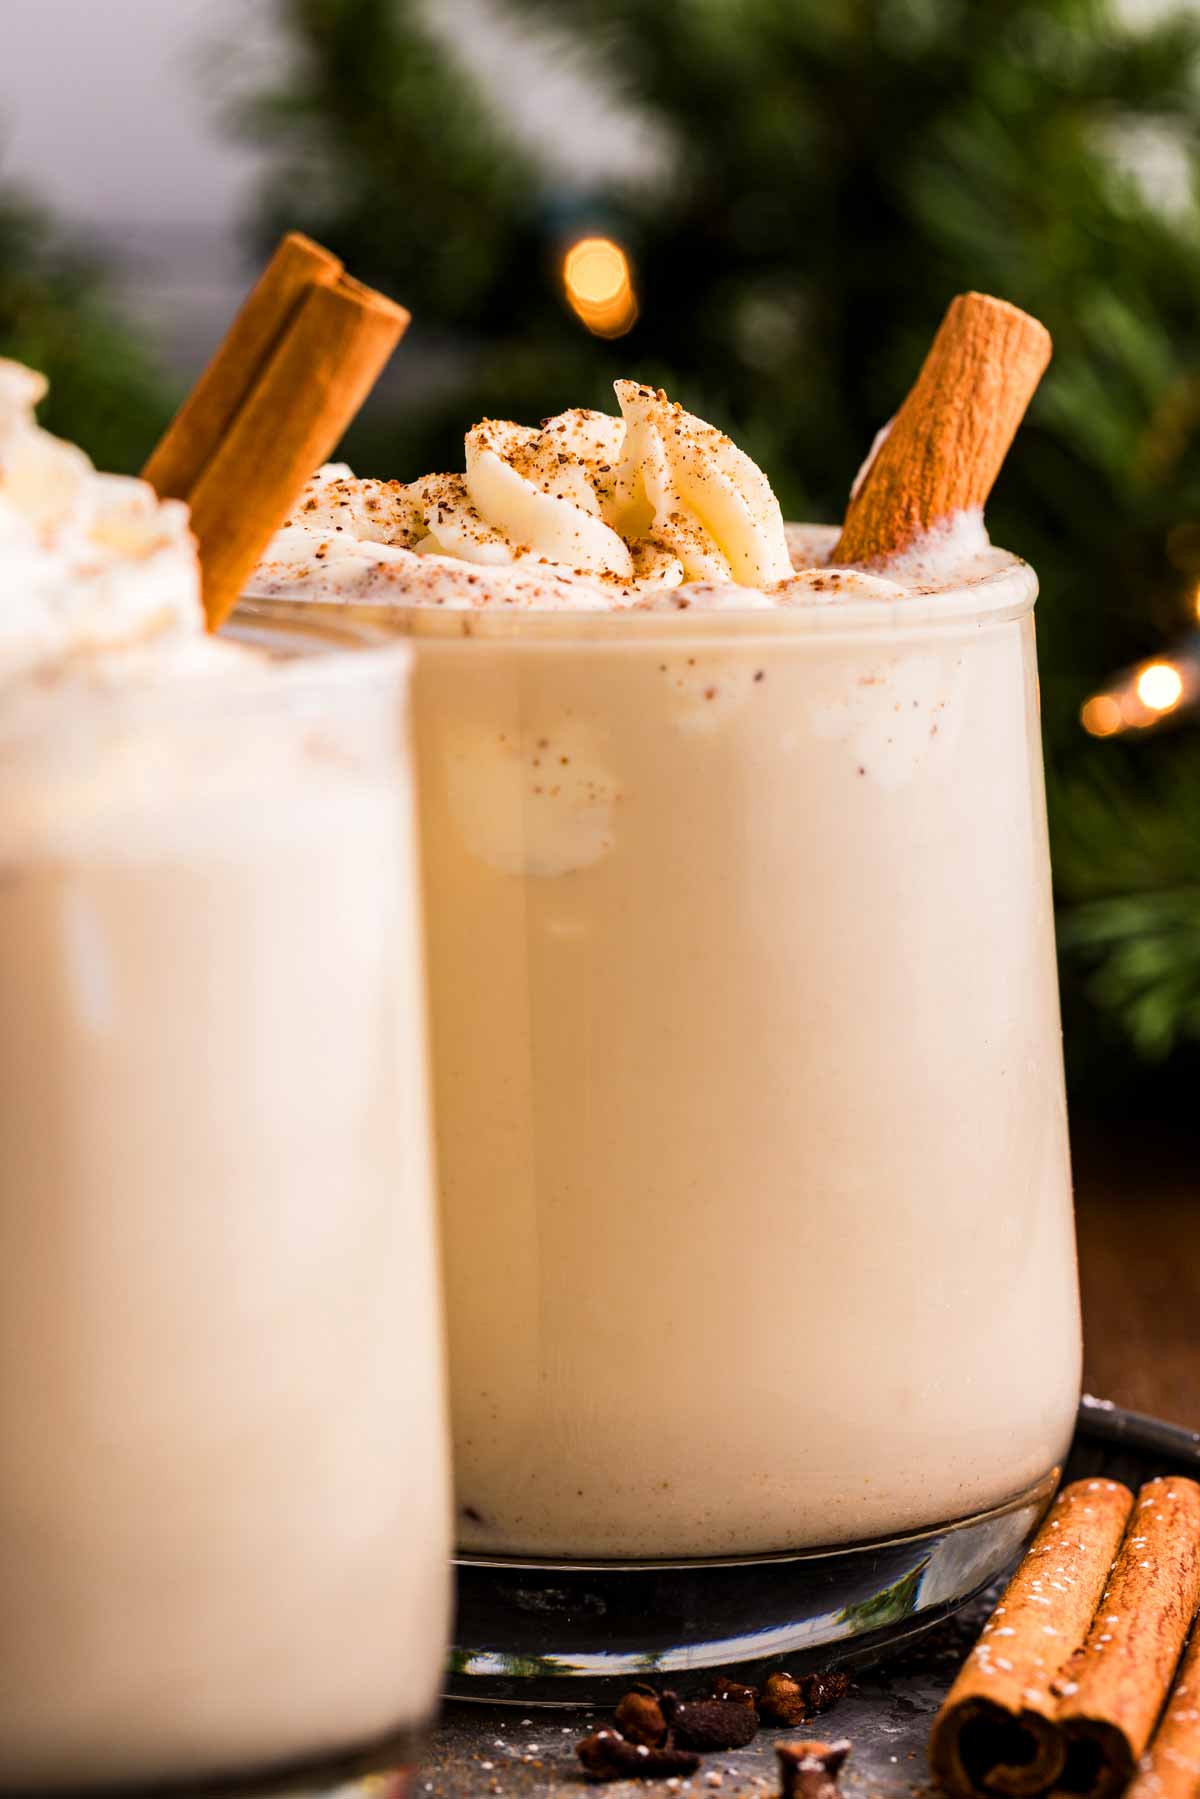
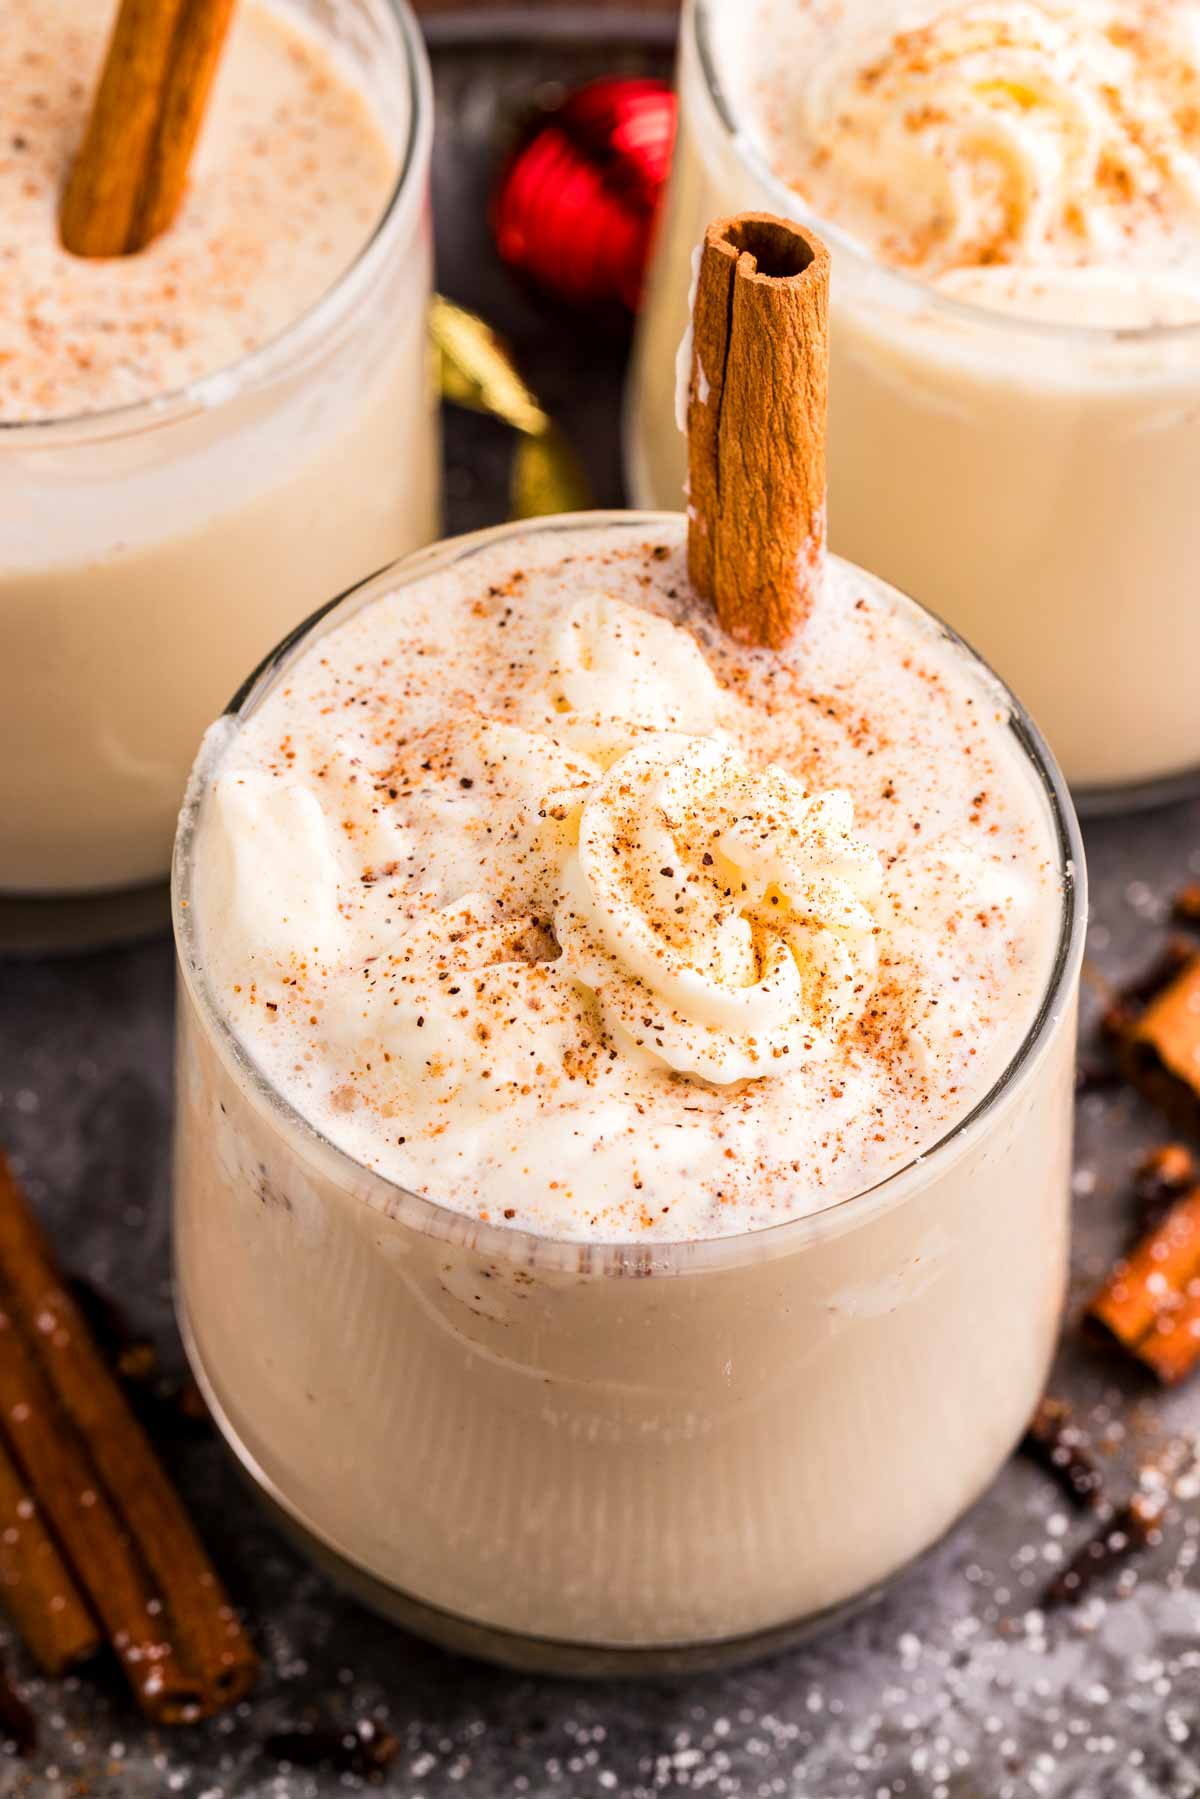
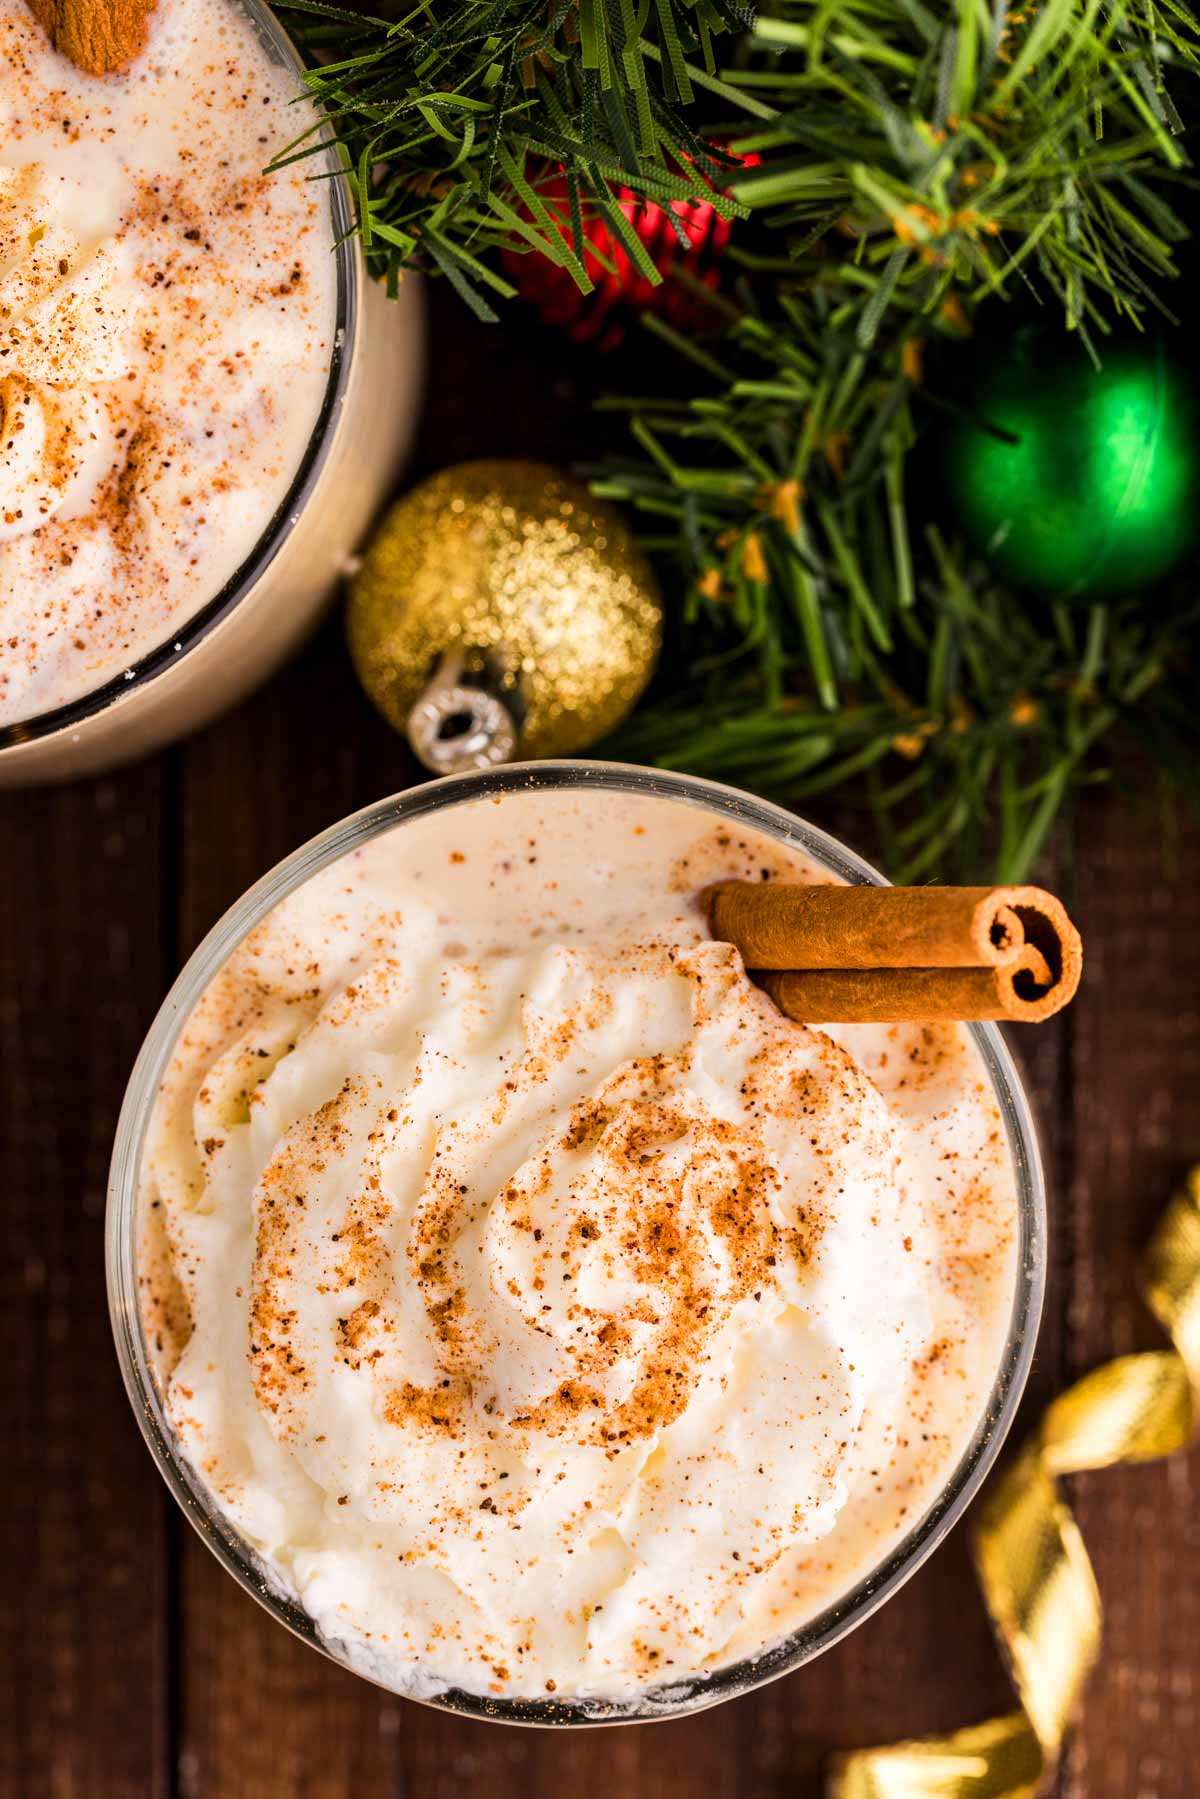
- ground cinnamon, ground nutmeg, cinnamon sticks, whipped cream (for serving (optional))
Tips
Instructions
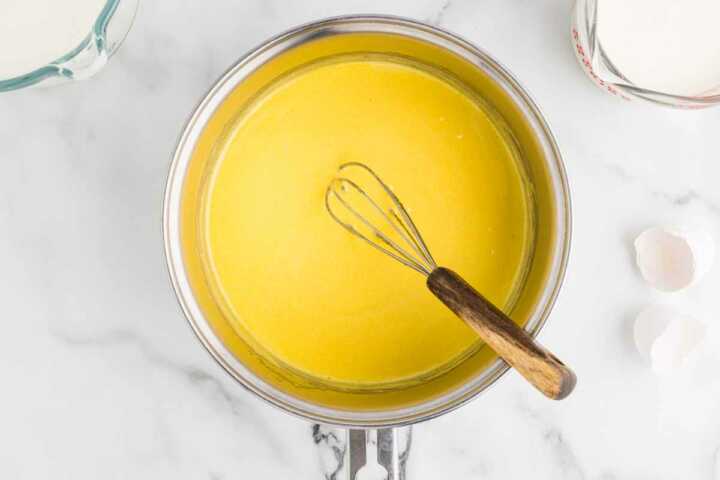
- Whisk egg yolks: Place the egg yolks and sugar in a saucepan. Whisk until well blended, lighter in color, and creamy.6 large egg yolks, ⅔ cup sugar

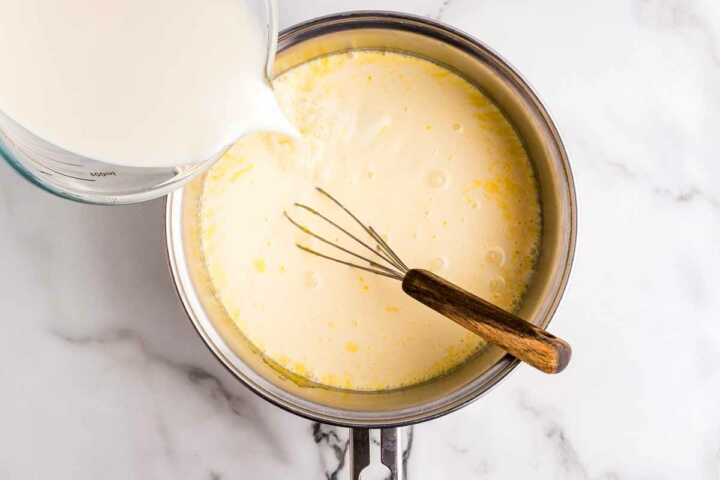
- Add liquids: Whisk in the cream, milk, ground nutmeg and cloves, and salt until blended.1-½ cups heavy whipping cream, 3 cups whole milk, ¼ teaspoon ground nutmeg, ⅛ teaspoon ground cloves, 1 pinch salt
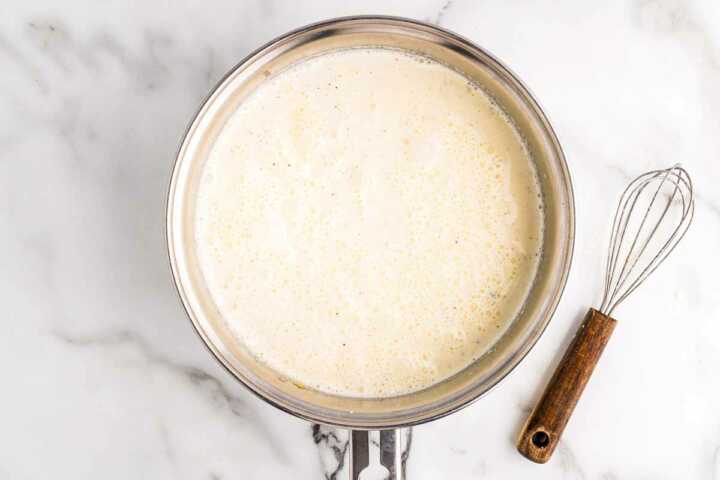
- Simmer: Place the saucepan over medium-low heat and slowly warm. Once the mixture is warm, increase the heat to medium and bring to a simmer, whisking constantly, until the mixture reaches 160-165°F on an instant-read thermometer. Immediately take off the heat.
- Strain: Allow the eggnog to cool for 10-15 minutes until it stops steaming, stirring from time to time. Stir in the vanilla extract.If you’re using alcohol, stir it in now.½ teaspoon vanilla extract
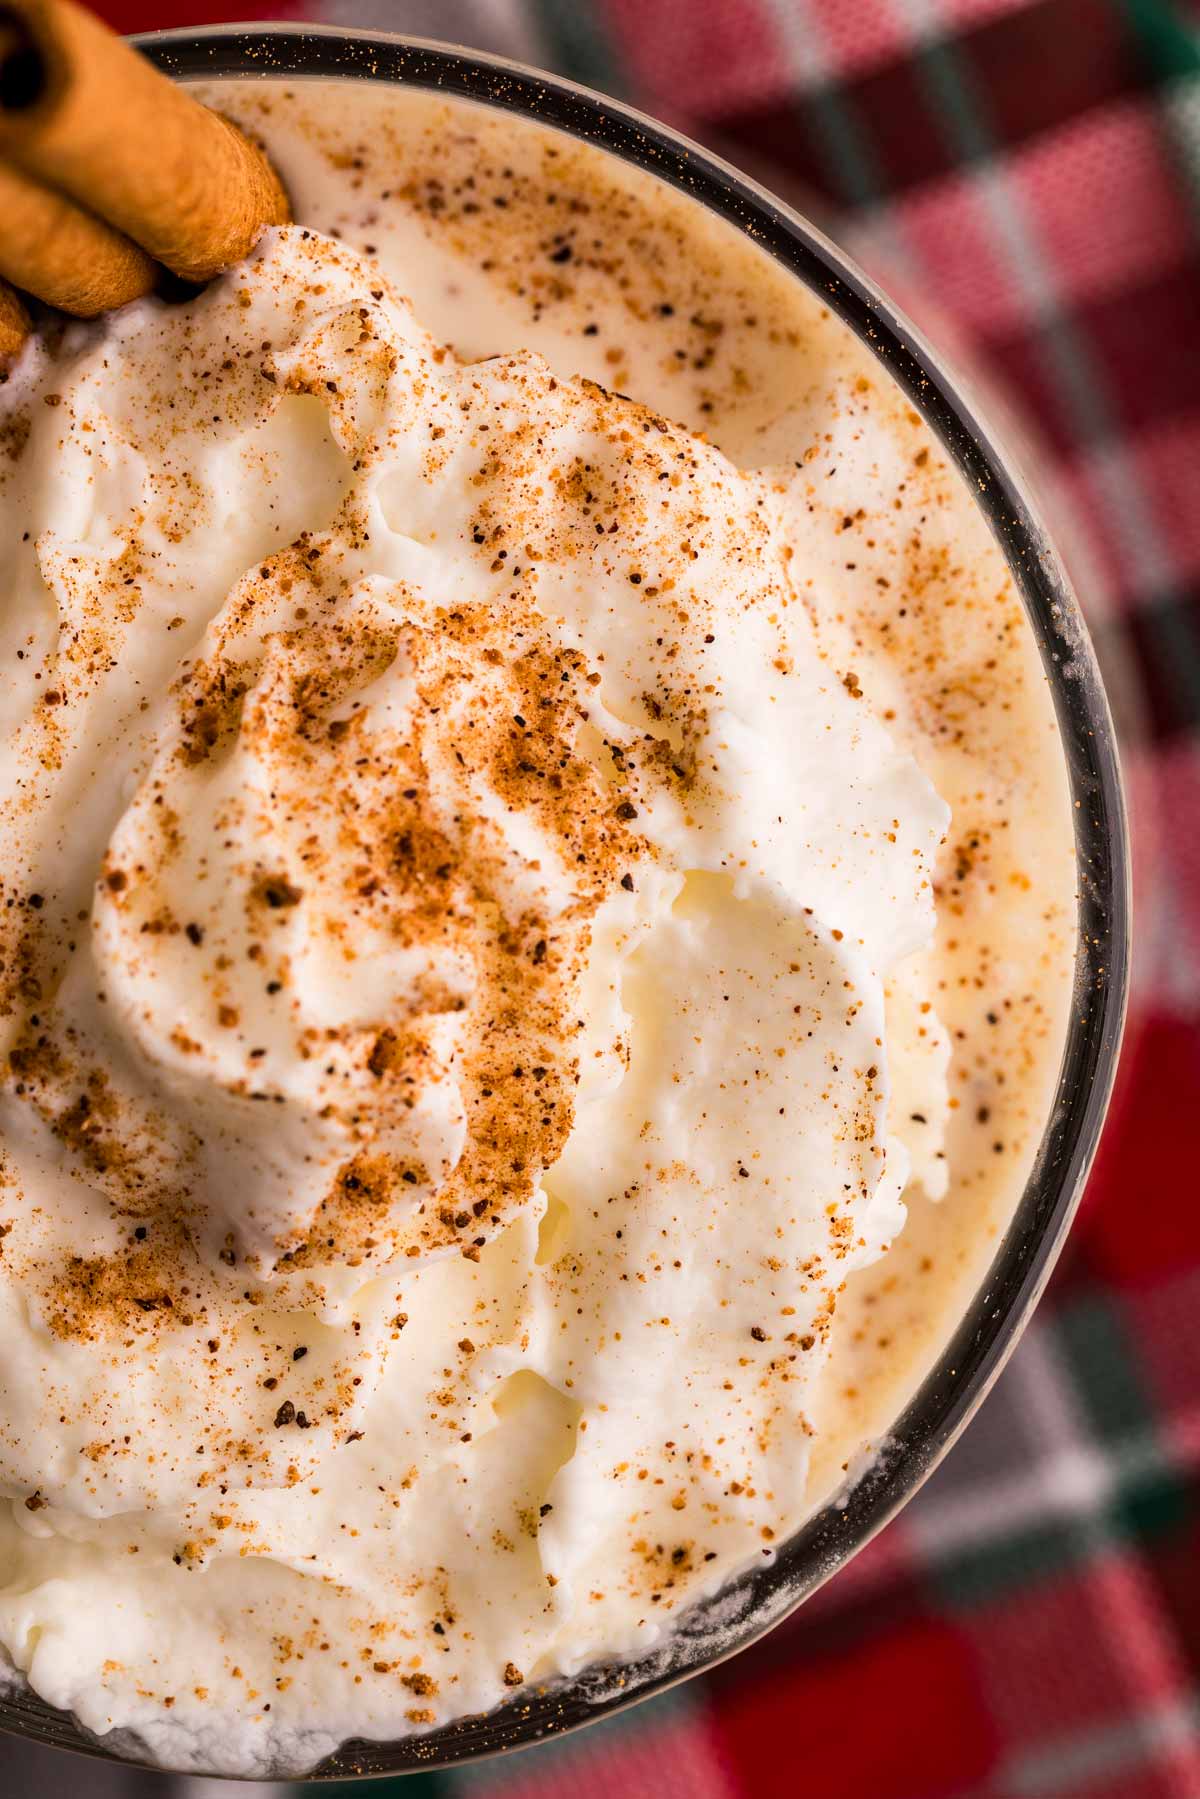
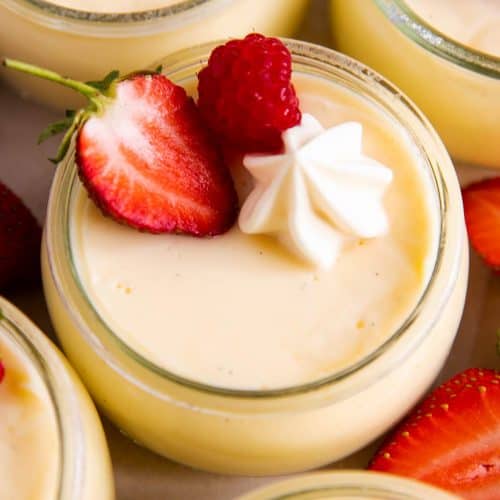
- Chill: Place the eggnog in the fridge until completely chilled – at least 4 hours is best. Serve with whipped cream, ground cinnamon, ground nutmeg and cinnamon sticks, if you like.ground cinnamon, ground nutmeg, cinnamon sticks, whipped cream


Easy Homemade Eggnog
make your kitchen smell like home?Eggnog FAQs
Yes. There’s no tempering in this recipe. The eggs, sugar, milk, and cream all go into the pot together and are heated slowly while you whisk. As long as you keep the heat moderate and whisk, check the temperature and don’t heat beyond 165°F, the eggs won’t scramble.
This is easier and more forgiving than heating the milk first, tempering the eggs and then whisking them into the hot milk.
The eggnog is done when it reaches 160–165°F and lightly coats the back of a spoon. At that point, the eggs are cooked and the mixture will thicken more as it chills.
If you don’t have a thermometer, watch for steam and a slightly thicker texture – don’t let it boil.
If the eggnog gets too hot, the eggs can curdle and turn grainy. That’s why it’s important to heat it slowly and whisk the whole time.
If you see little bits forming, take it off the heat right away and strain it – that can sometimes save it.
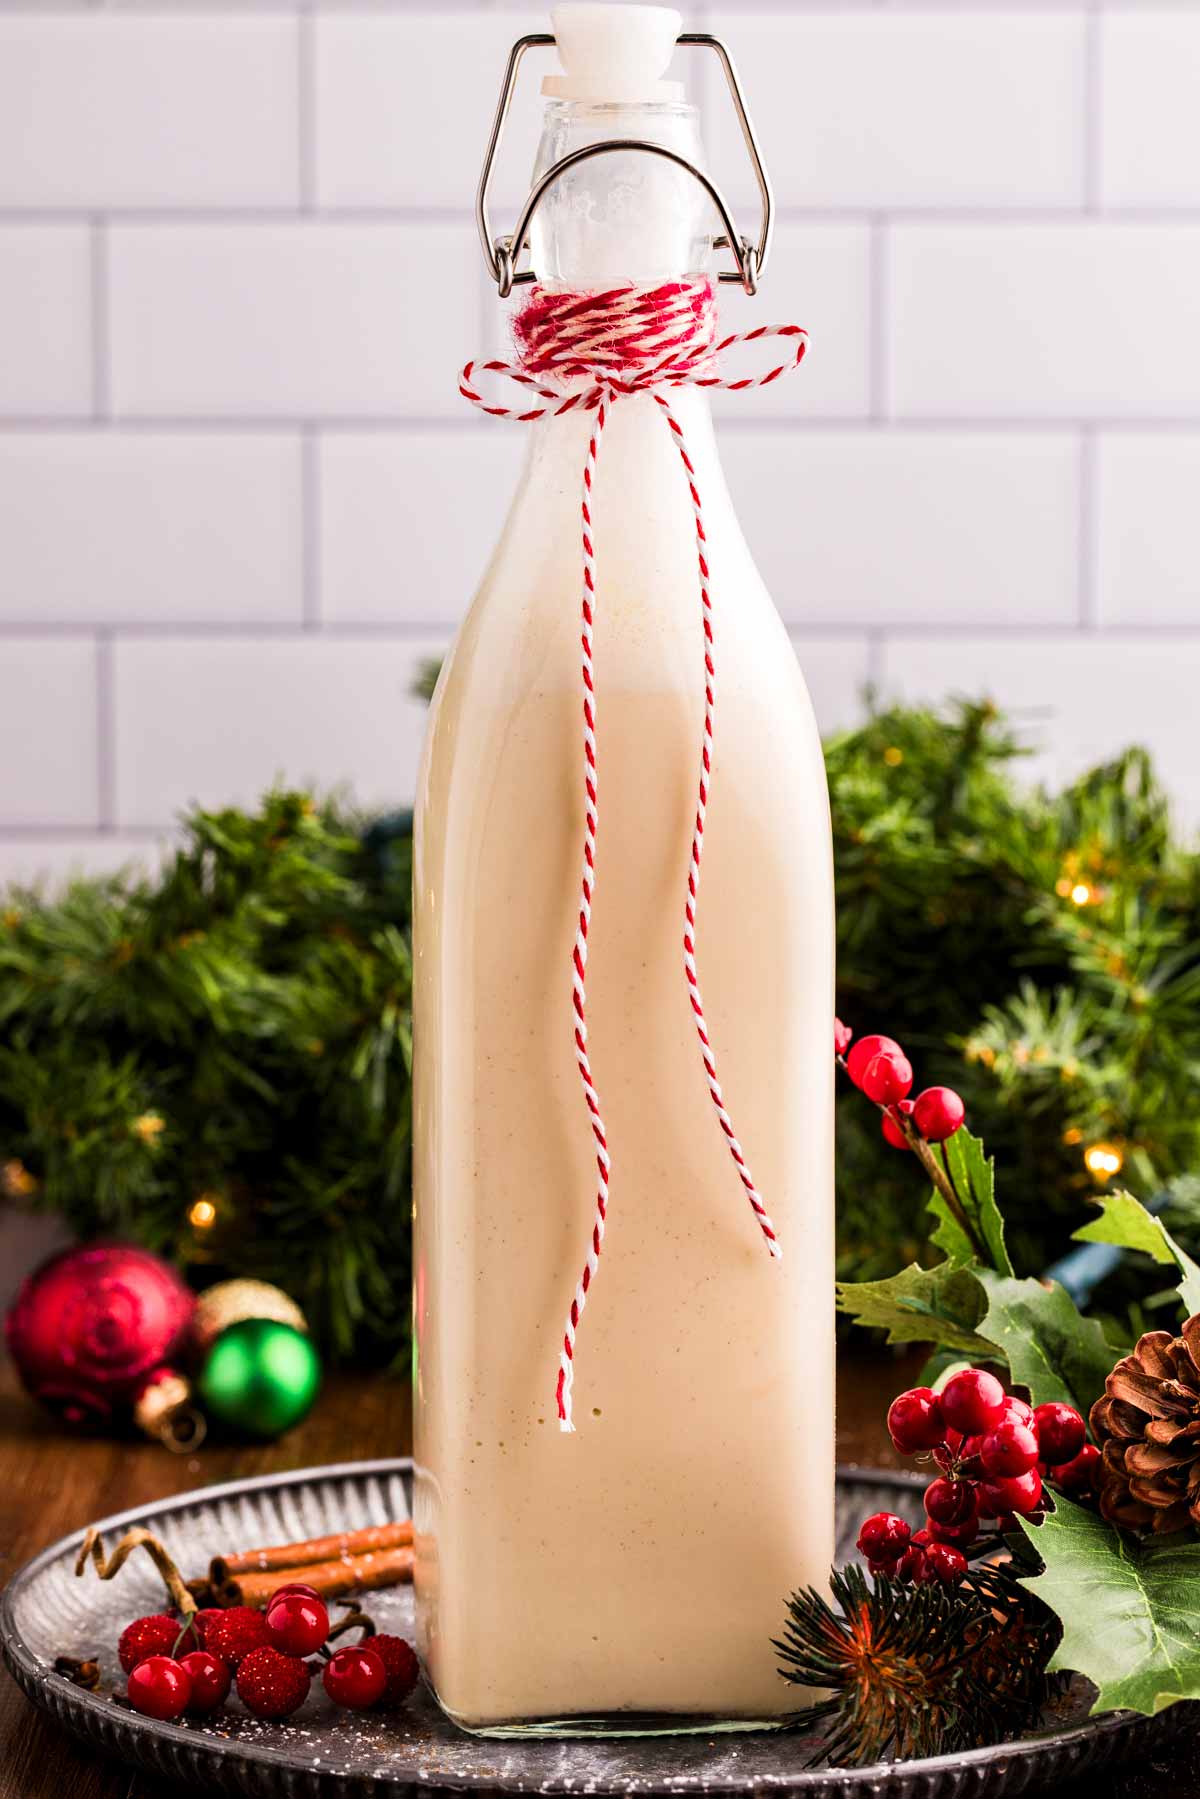
Yes. Homemade eggnog is actually better after it chills. You can make it up to 2 days ahead and keep it covered in the fridge.
Give it a good stir before serving.
Stored in a covered container in the refrigerator, it will keep well for 2–3 days.
Yes. Stir alcohol in after the eggnog comes off the heat and before chilling. Start with 1–2 ounces, taste, and add more if you like.
Spiced rum is a popular choice, but you can also use bourbon or brandy.
Chilling does two things: it thickens the eggnog and helps the flavors come together. Four hours is ideal, but if you’re short on time, you can serve it sooner – it will just be a little thinner.
You can, it will make it extra-smooth and remove any tiny bits that may have formed during cooking. But it’s not mandatory as long as you stick to the recipe and keep the heat moderate/don’t overcook the nog.
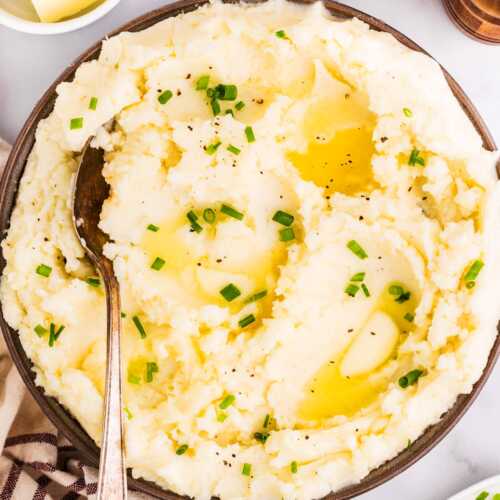
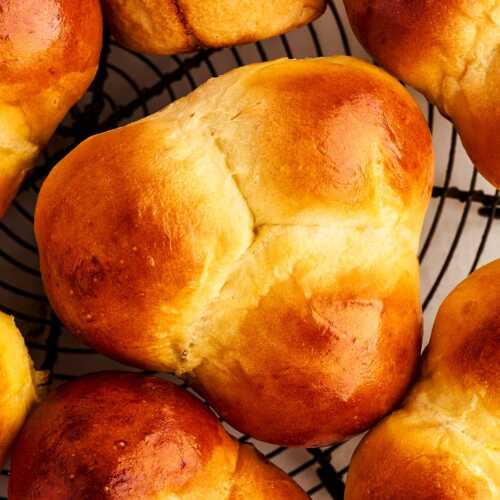
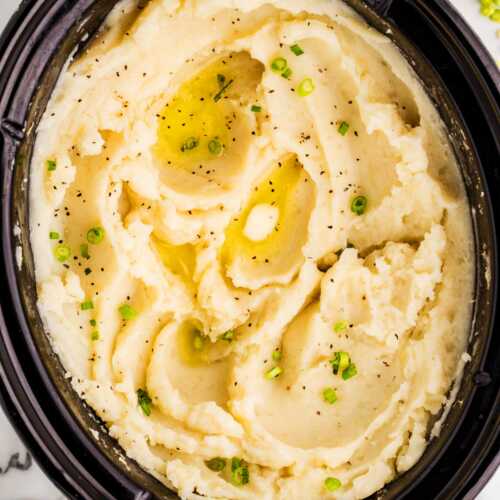
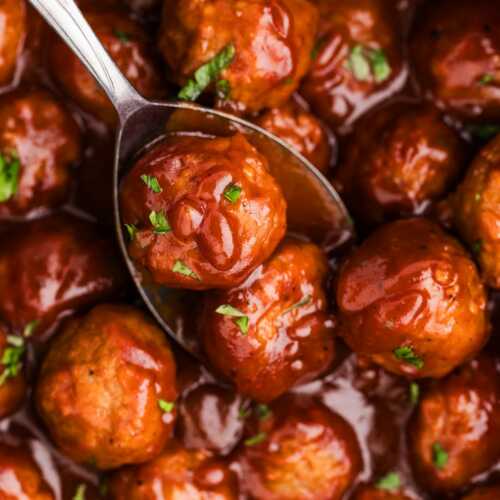
Perfect to serve with

More Christmas recipes
Christmas recipes made to be cooked, shared, and enjoyed – without extra steps or stress!
Browse all Christmas recipes 〉


〈 swipe for more 〉

More recipes you may enjoy


〈 swipe for more 〉


Comments
No Comments