

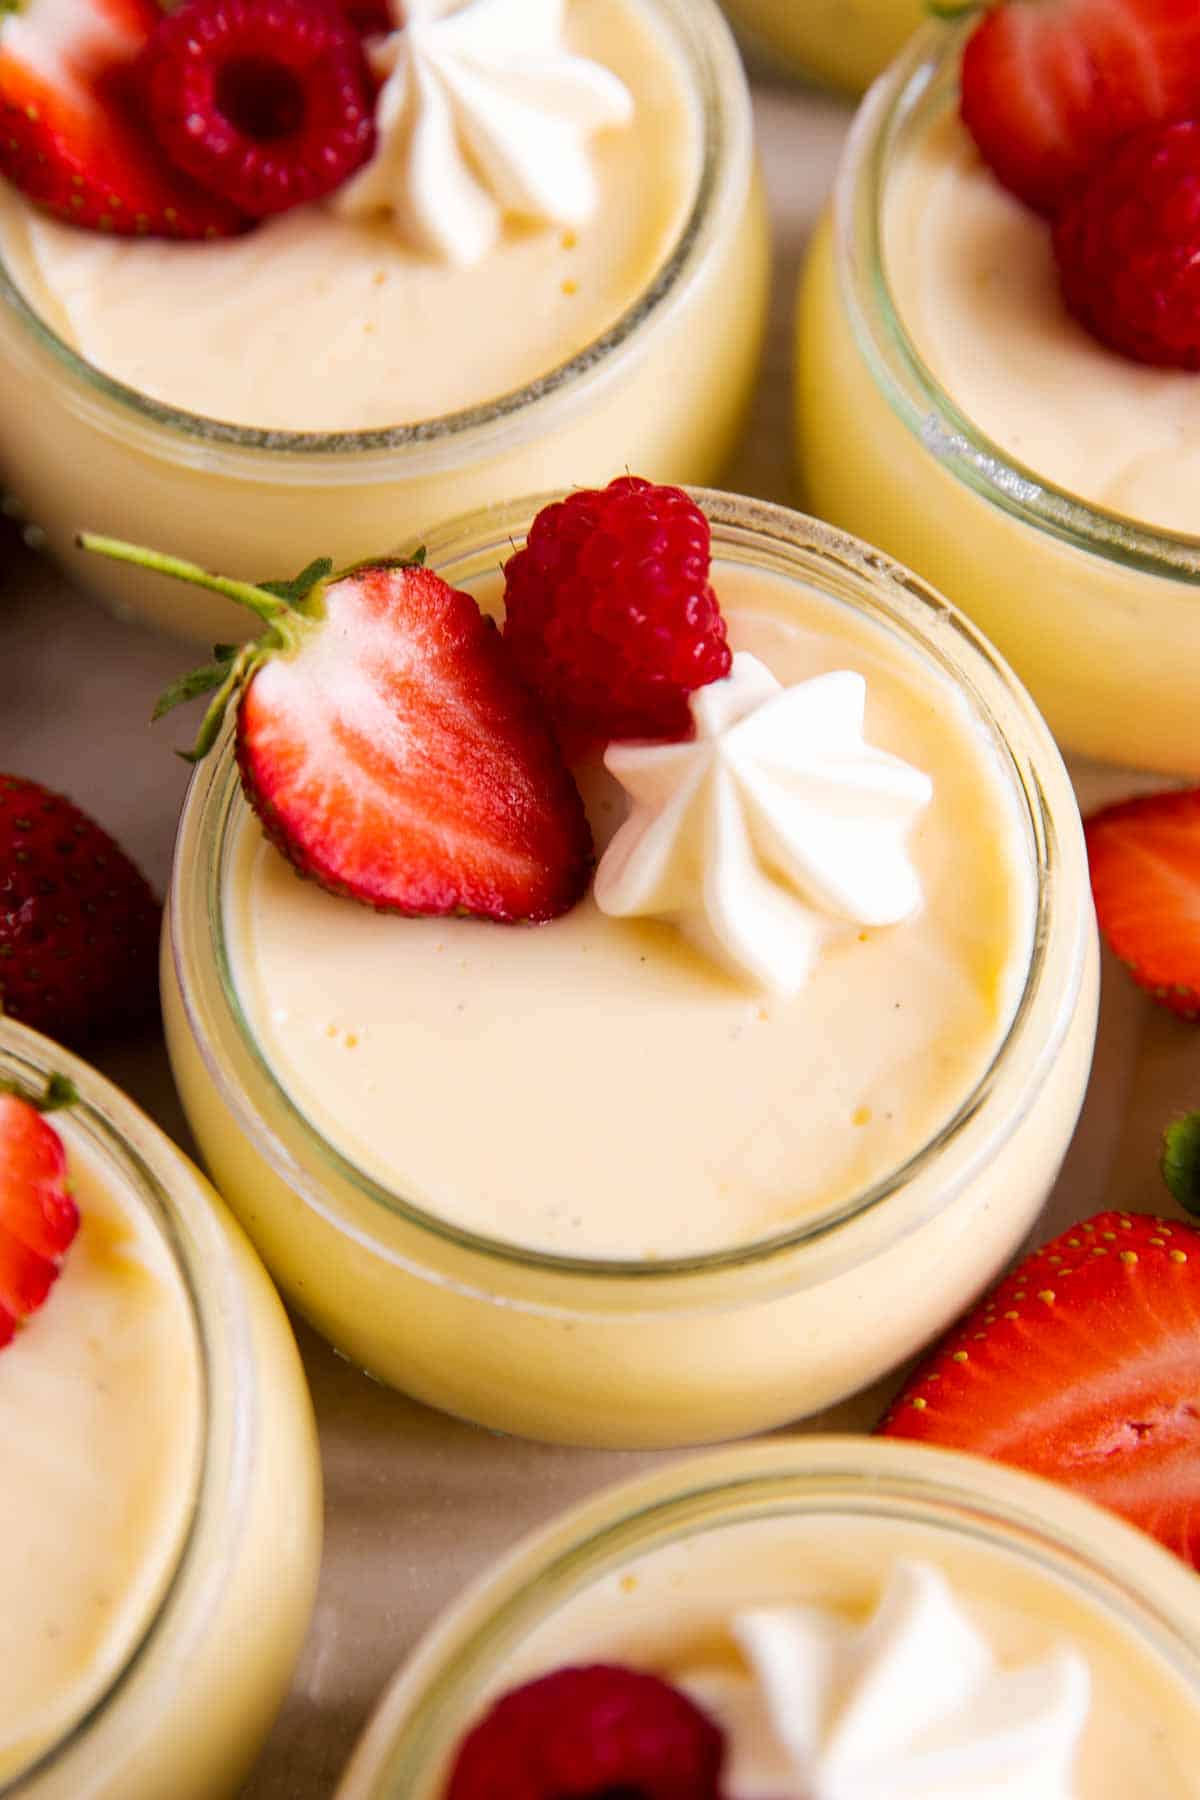
Homemade Vanilla Pudding is a delicious snack or dessert, made from just a few simple pantry staples. This recipe comes out smooth, creamy and delicious – you will never reach for the boxed kind again!
Vanilla pudding recipe
- Making homemade pudding is not hard, it just takes some whisking and a little patience.
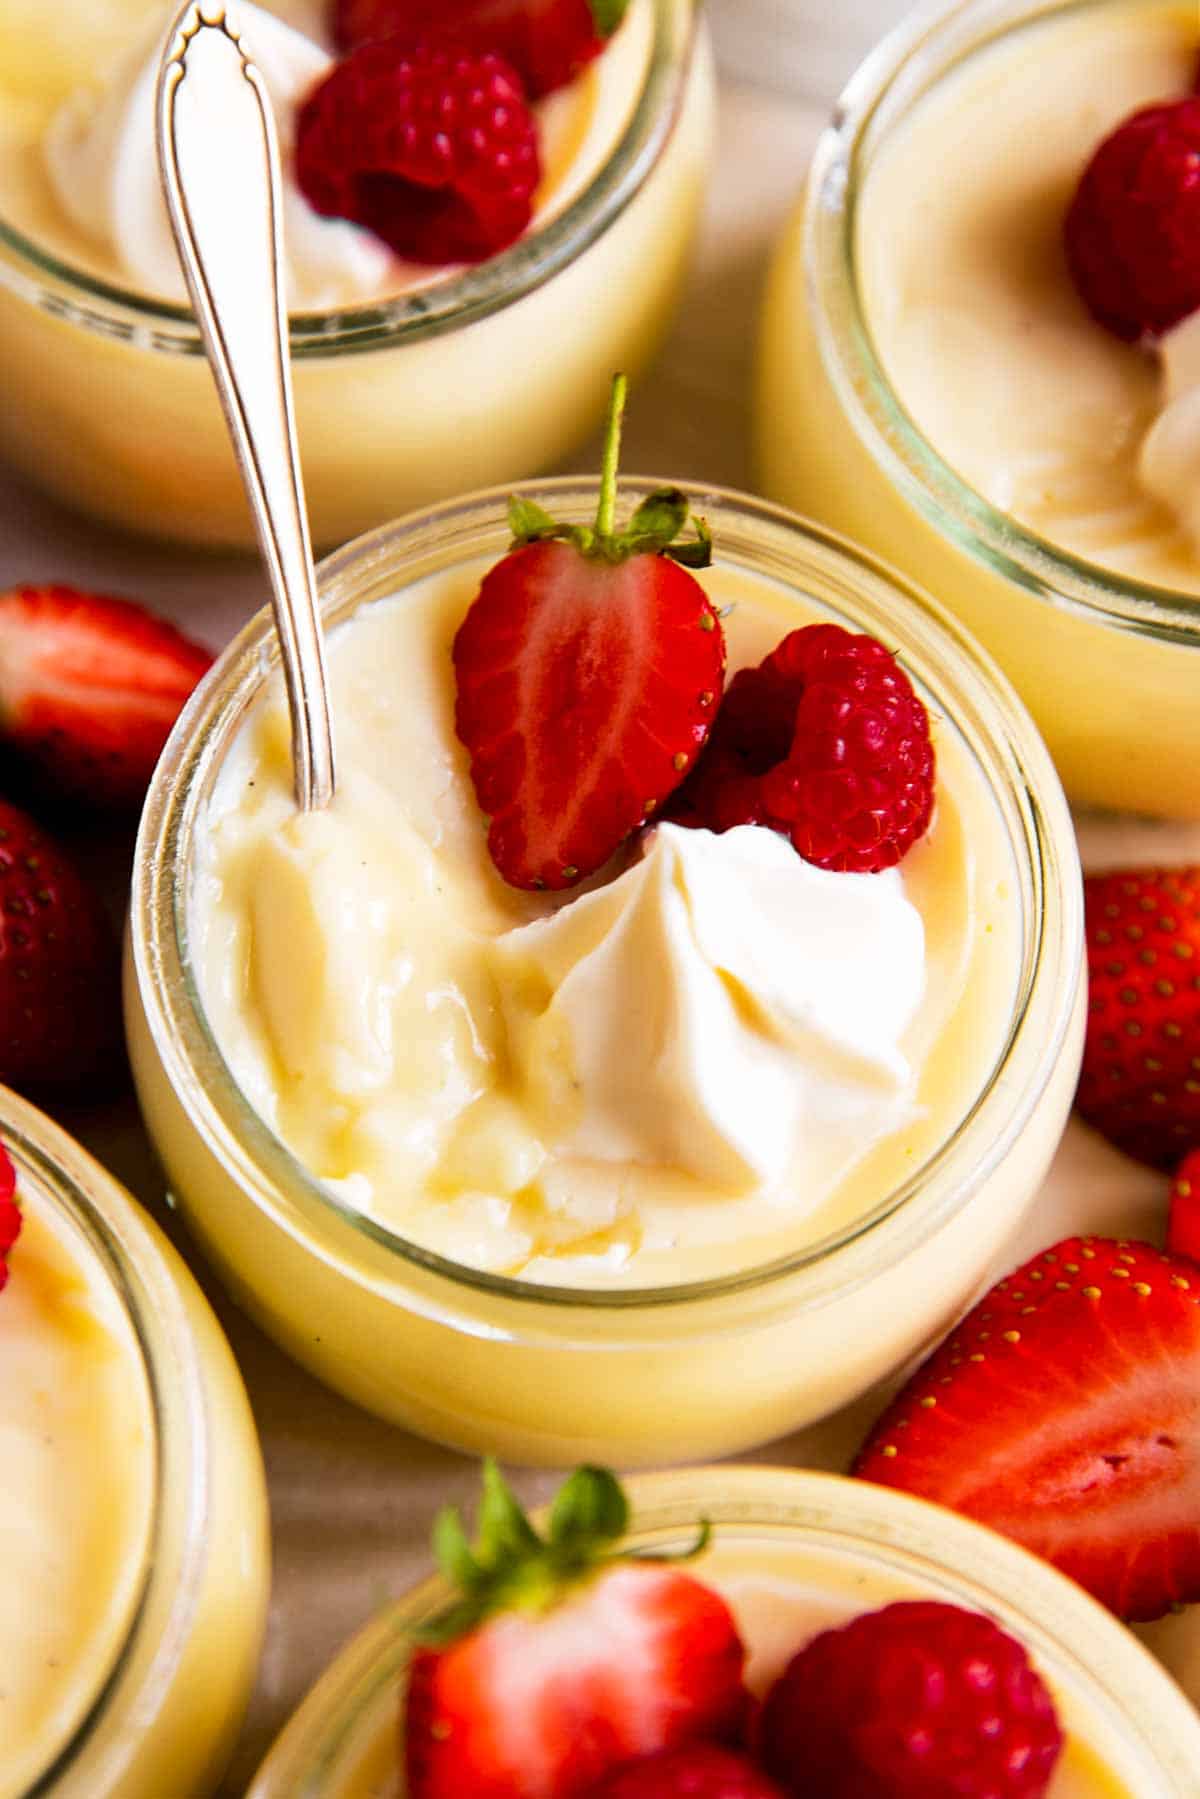
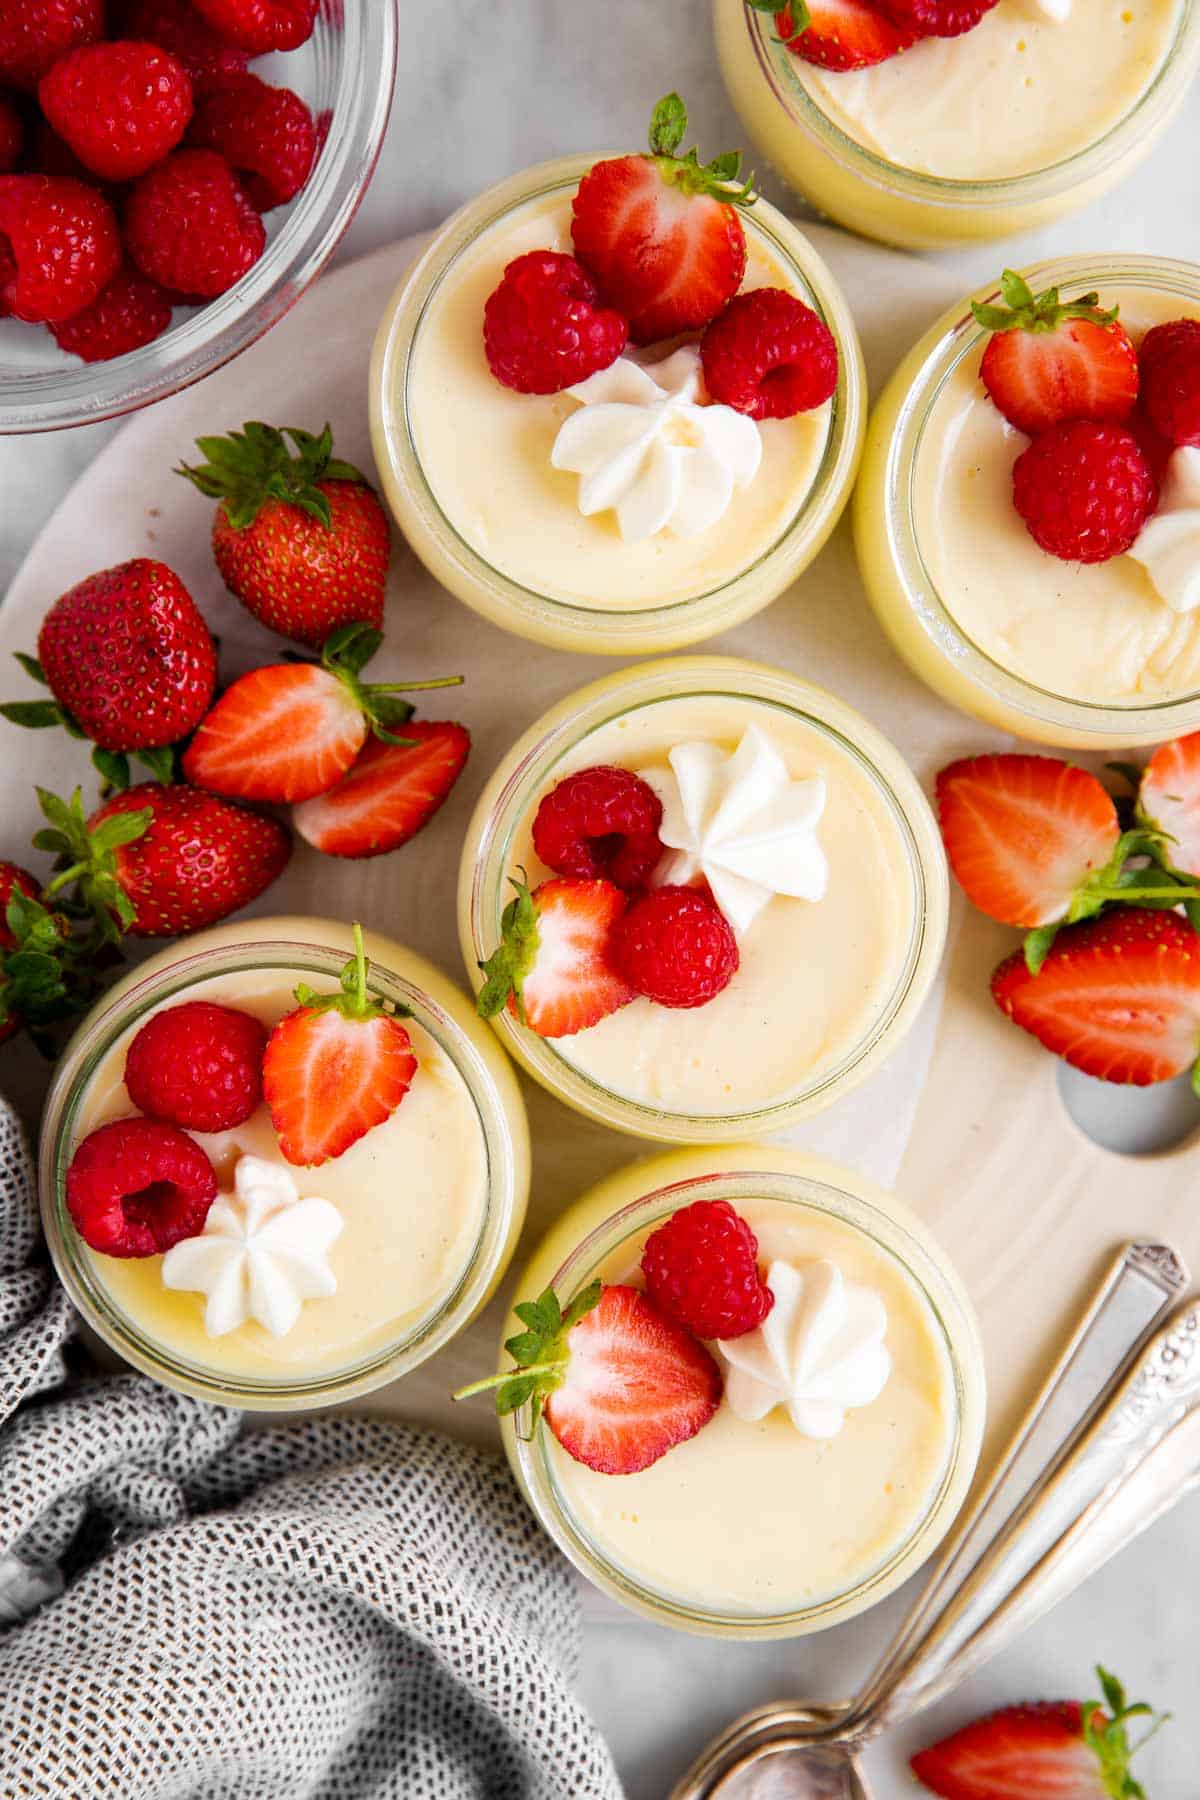
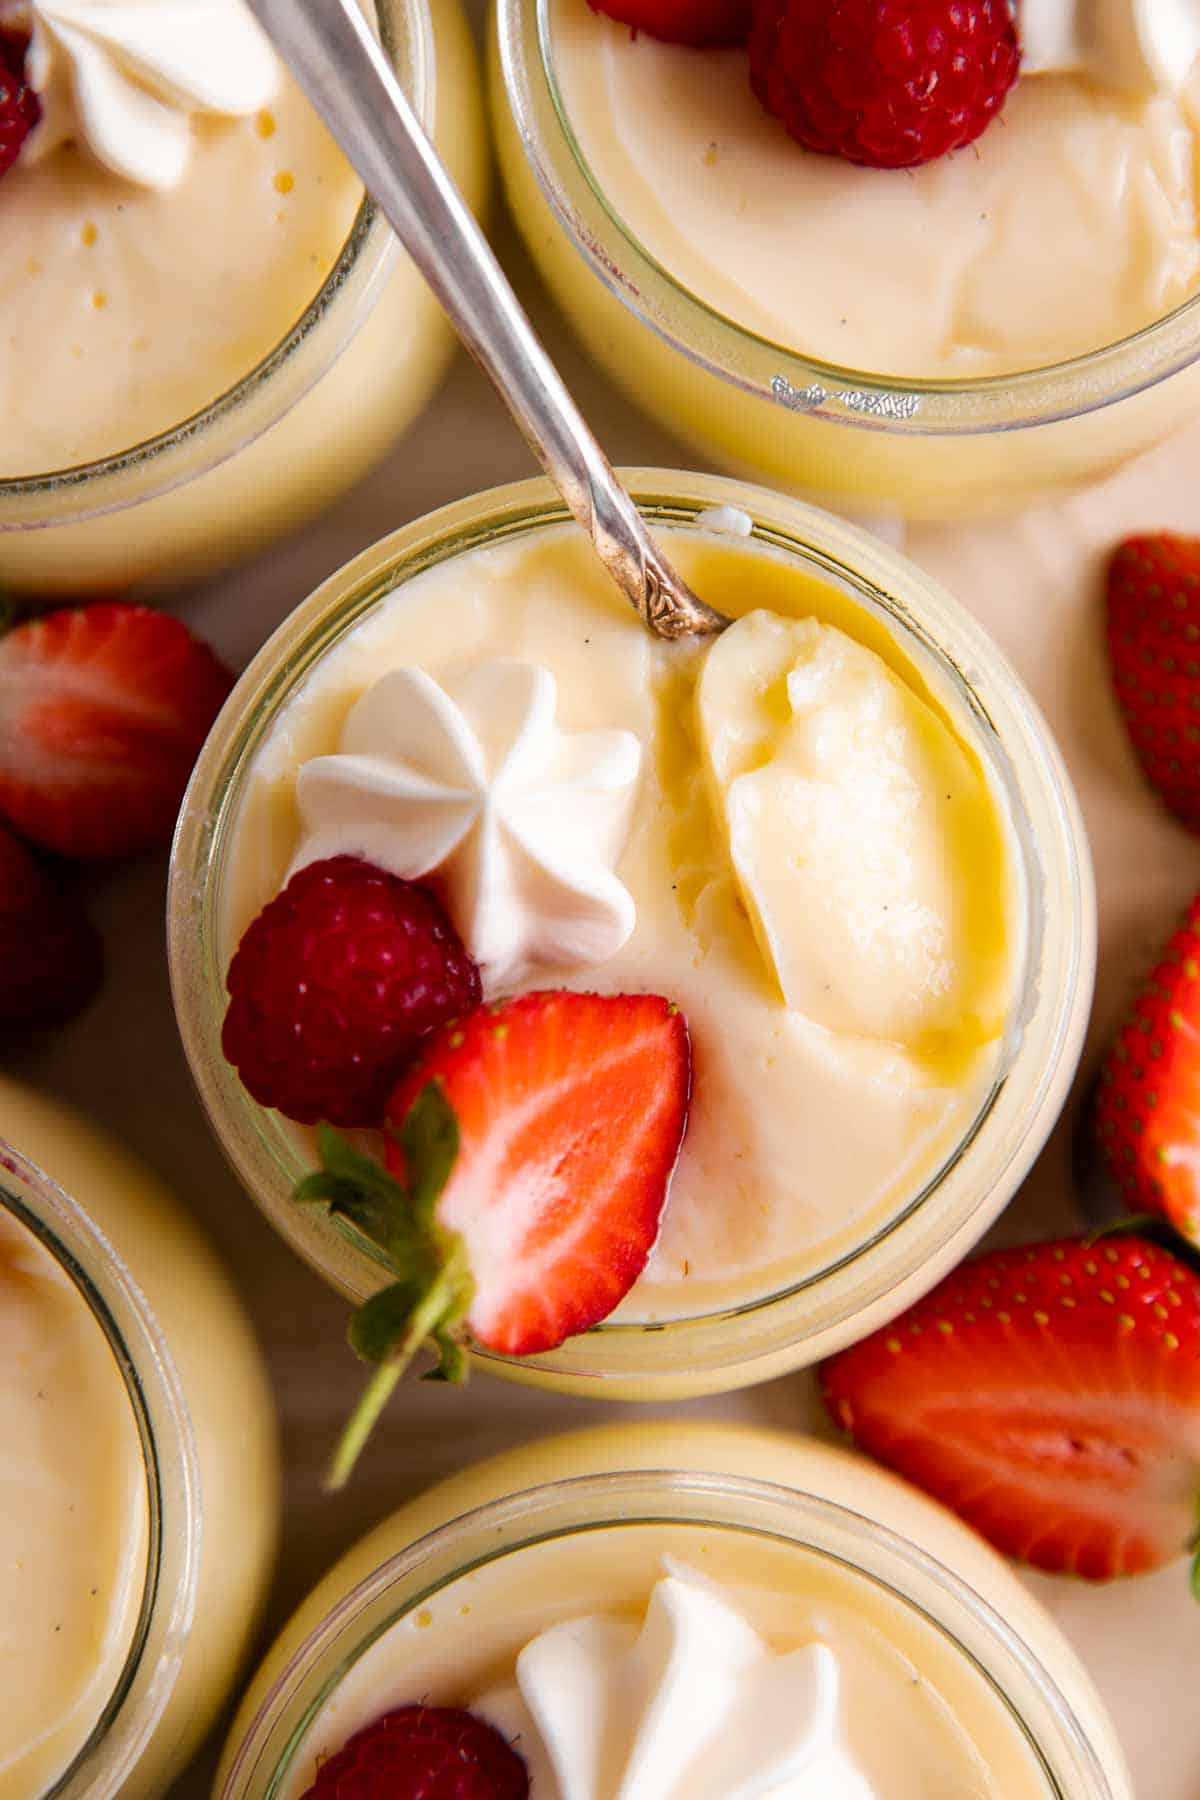
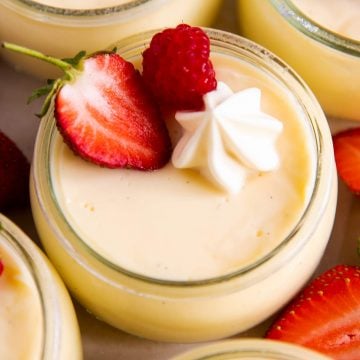
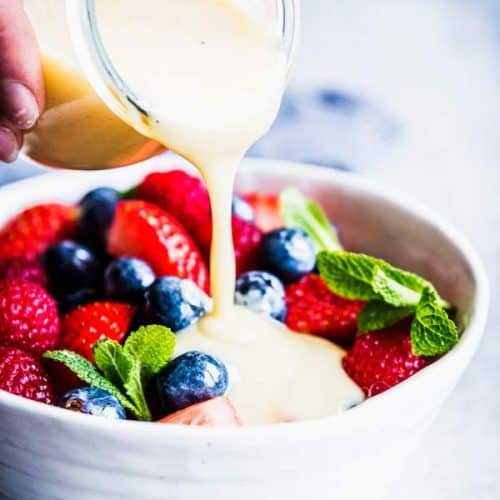
- This is a great after-school snack for hungry kids – or a simple dessert when served with a dollop of whipped cream and fresh berries.
- The pudding keeps in the refrigerator for around 5 days, so it’s a great dessert or treat to make ahead.
Ingredients you’ll need
Here is a visual overview of the ingredients in the recipe. Scroll down to the printable recipe card at the bottom of this post for quantities!
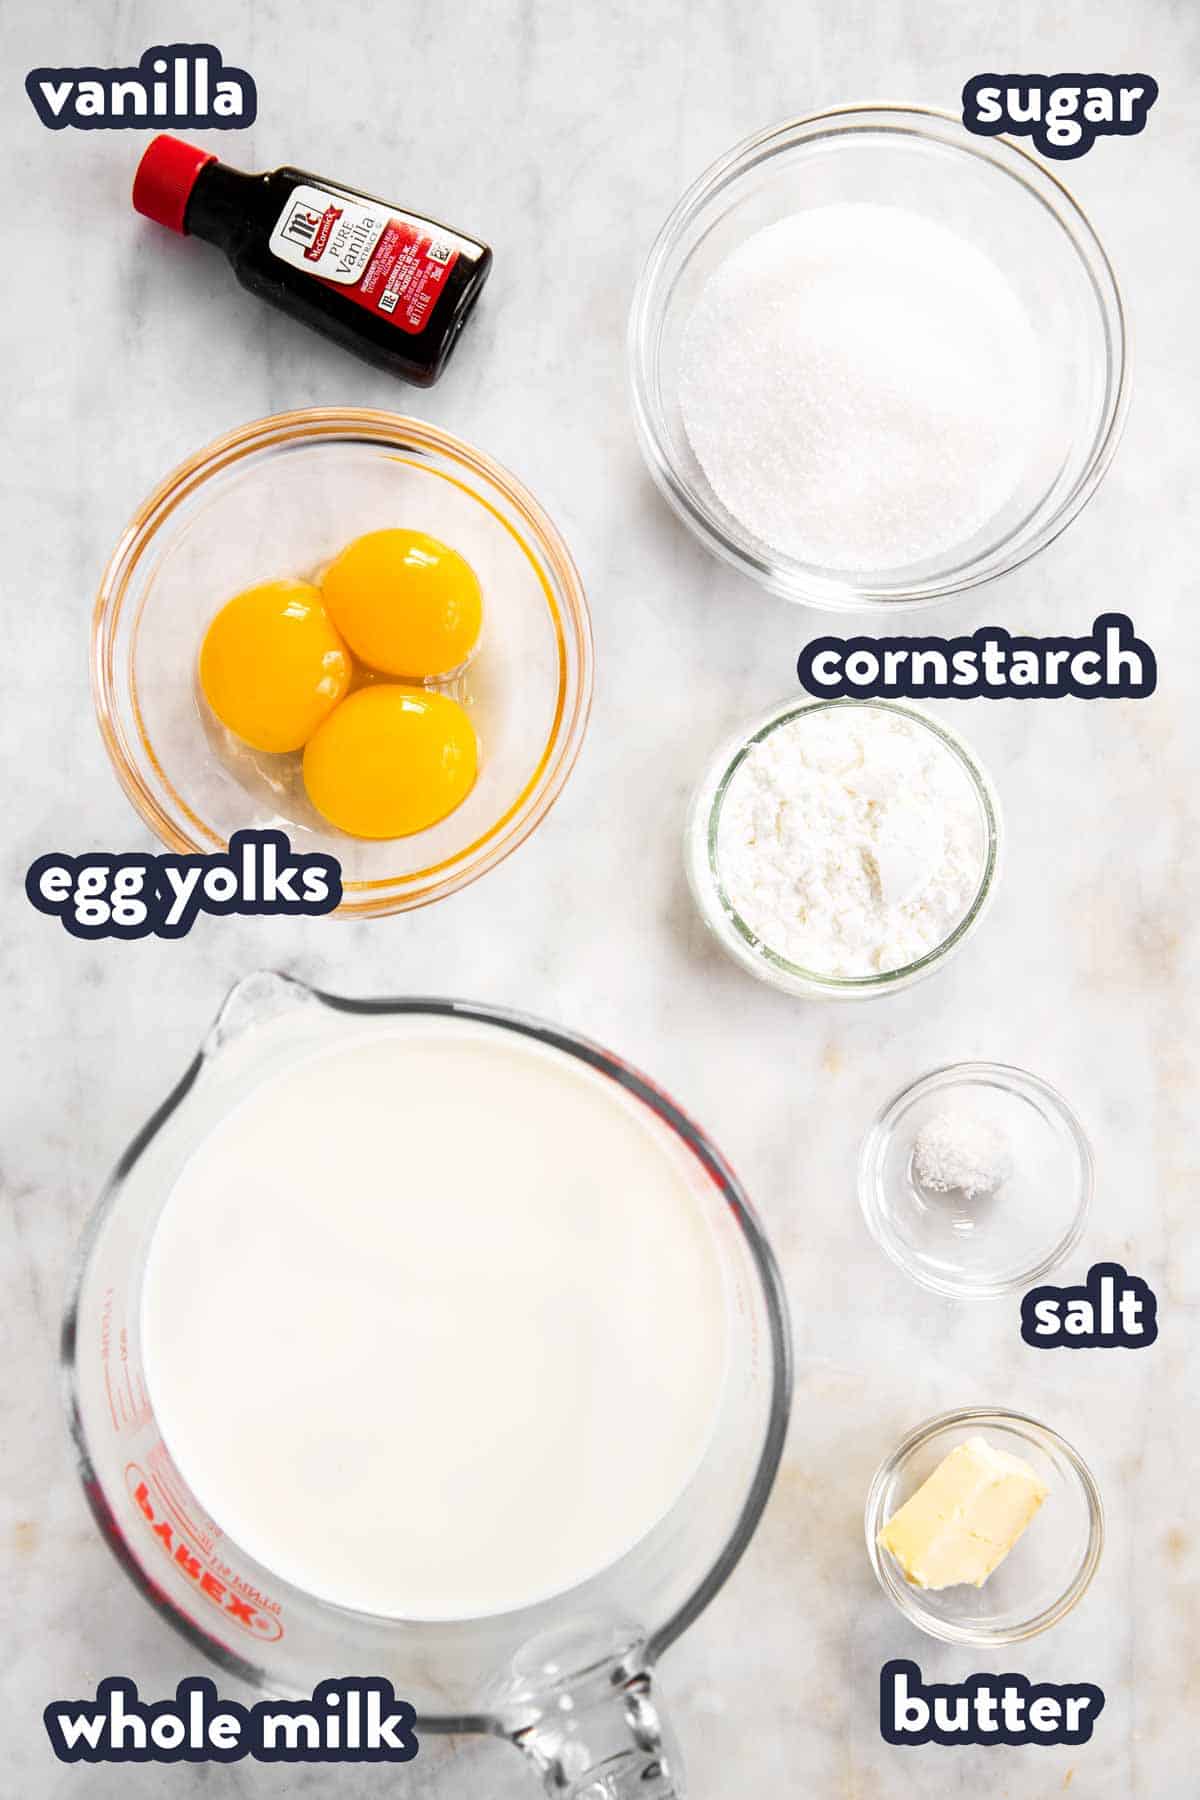
Ingredient notes
- Milk: I very strongly recommend sticking to whole milk with this recipe. It yields the thickest, creamiest pudding. You can get away with using 2% milk, but please do not use anything with less fat. Skim milk in particular will yield a watery pudding.
- Vanilla: Vanilla extract is the cheapest and most accessible way to add vanilla flavor to your pudding. However, you can make it extra-special by using vanilla bean paste instead. OR use ½ of a whole vanilla bean, split open, seeds scraped out. With vanilla extract and vanilla bean paste, you want to add it to the pudding last. With a vanilla bean, you’ll need to add it to the milk from the start – along with the split and scraped bean. Discard the bean before pouring the hot milk mixture over the egg yolks.
- Cornstarch: You must use cornstarch in this recipe, do not replace it with flour. Flour will take much longer to thicken, and to lose the raw flour taste.
- Butter: Butter is optional, but adds an extra-rich touch to the pudding. Leave it out if you prefer! I don’t always add it myself, especially not when my kids are on a pudding kick and I’m making pudding every week.
How to make vanilla pudding from scratch
This is a walk-through of the recipe with step photos. Skip to the printable recipe card at the bottom for exact times and temperatures.
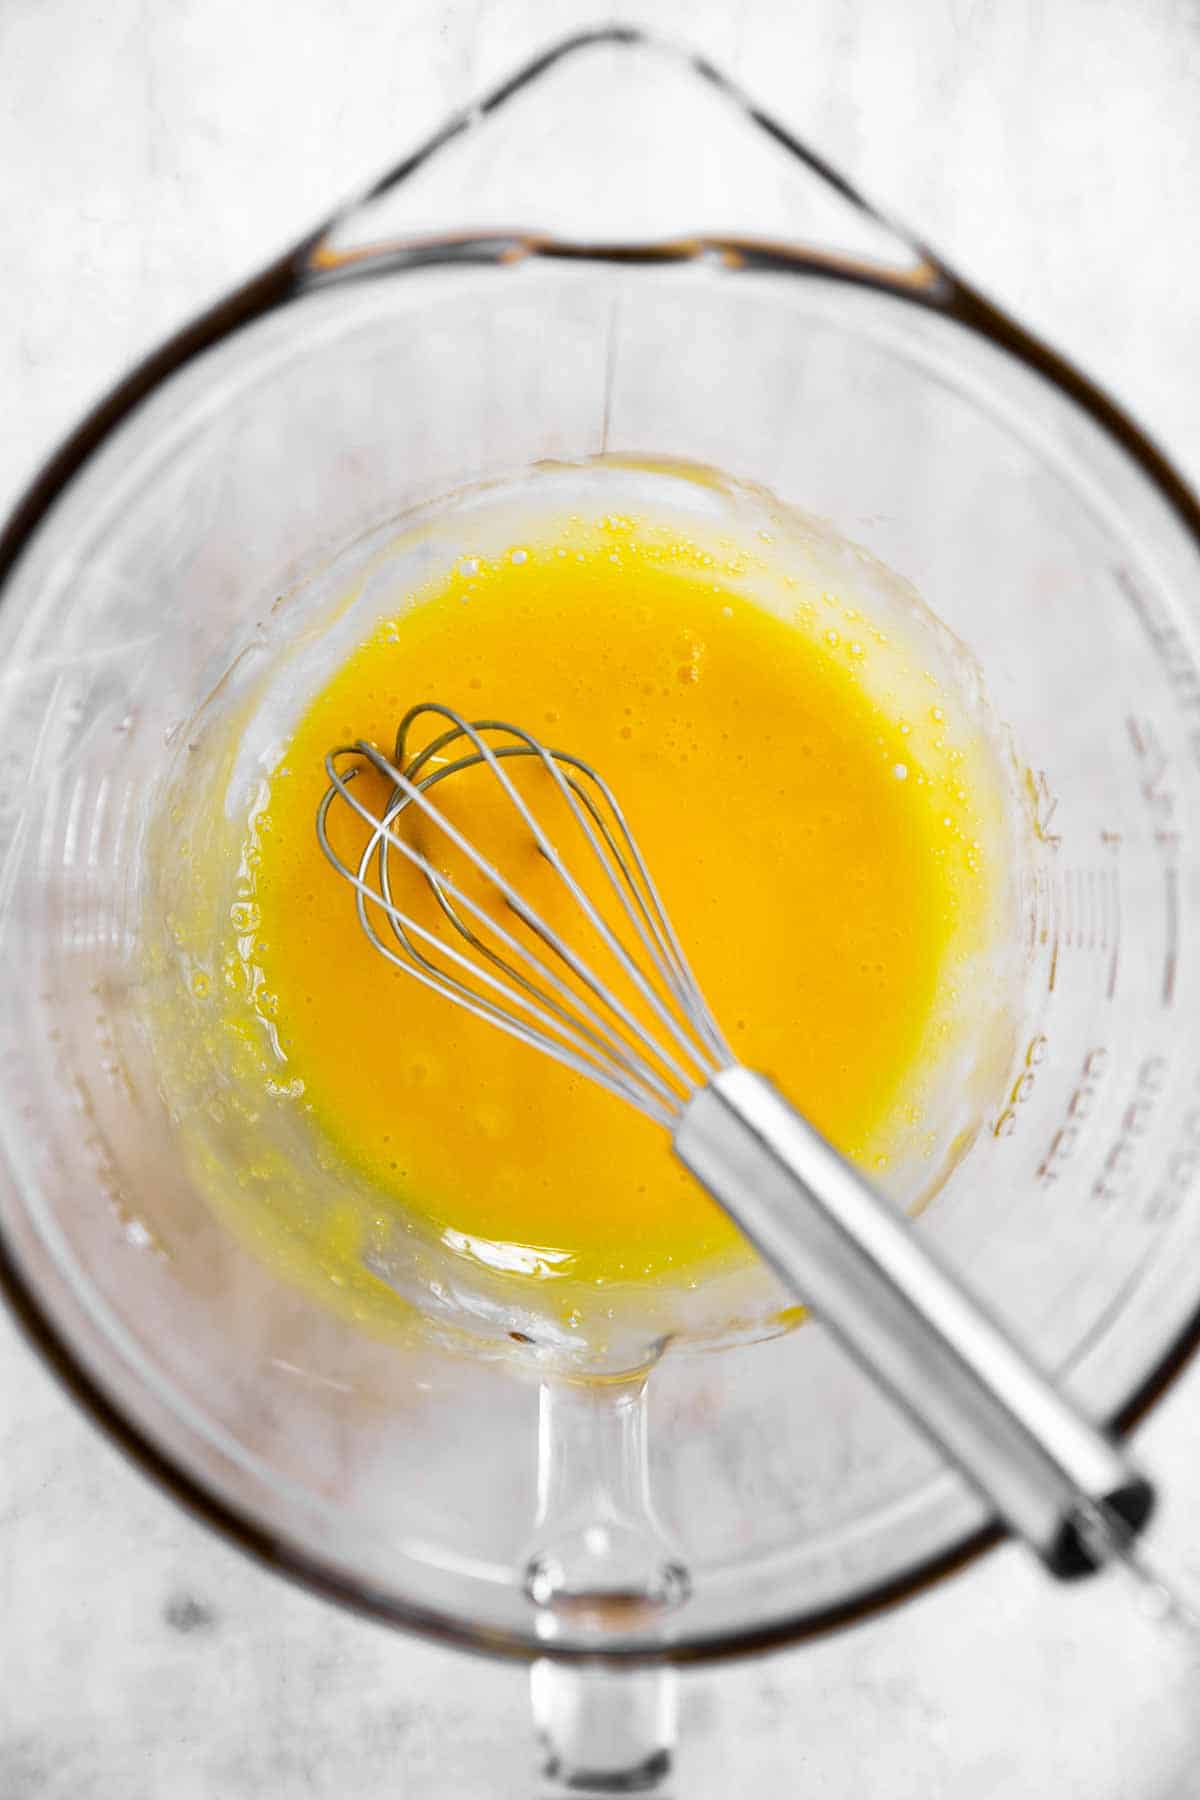
1. Beat the egg yolks in a large, heat-proof bowl and set aside.
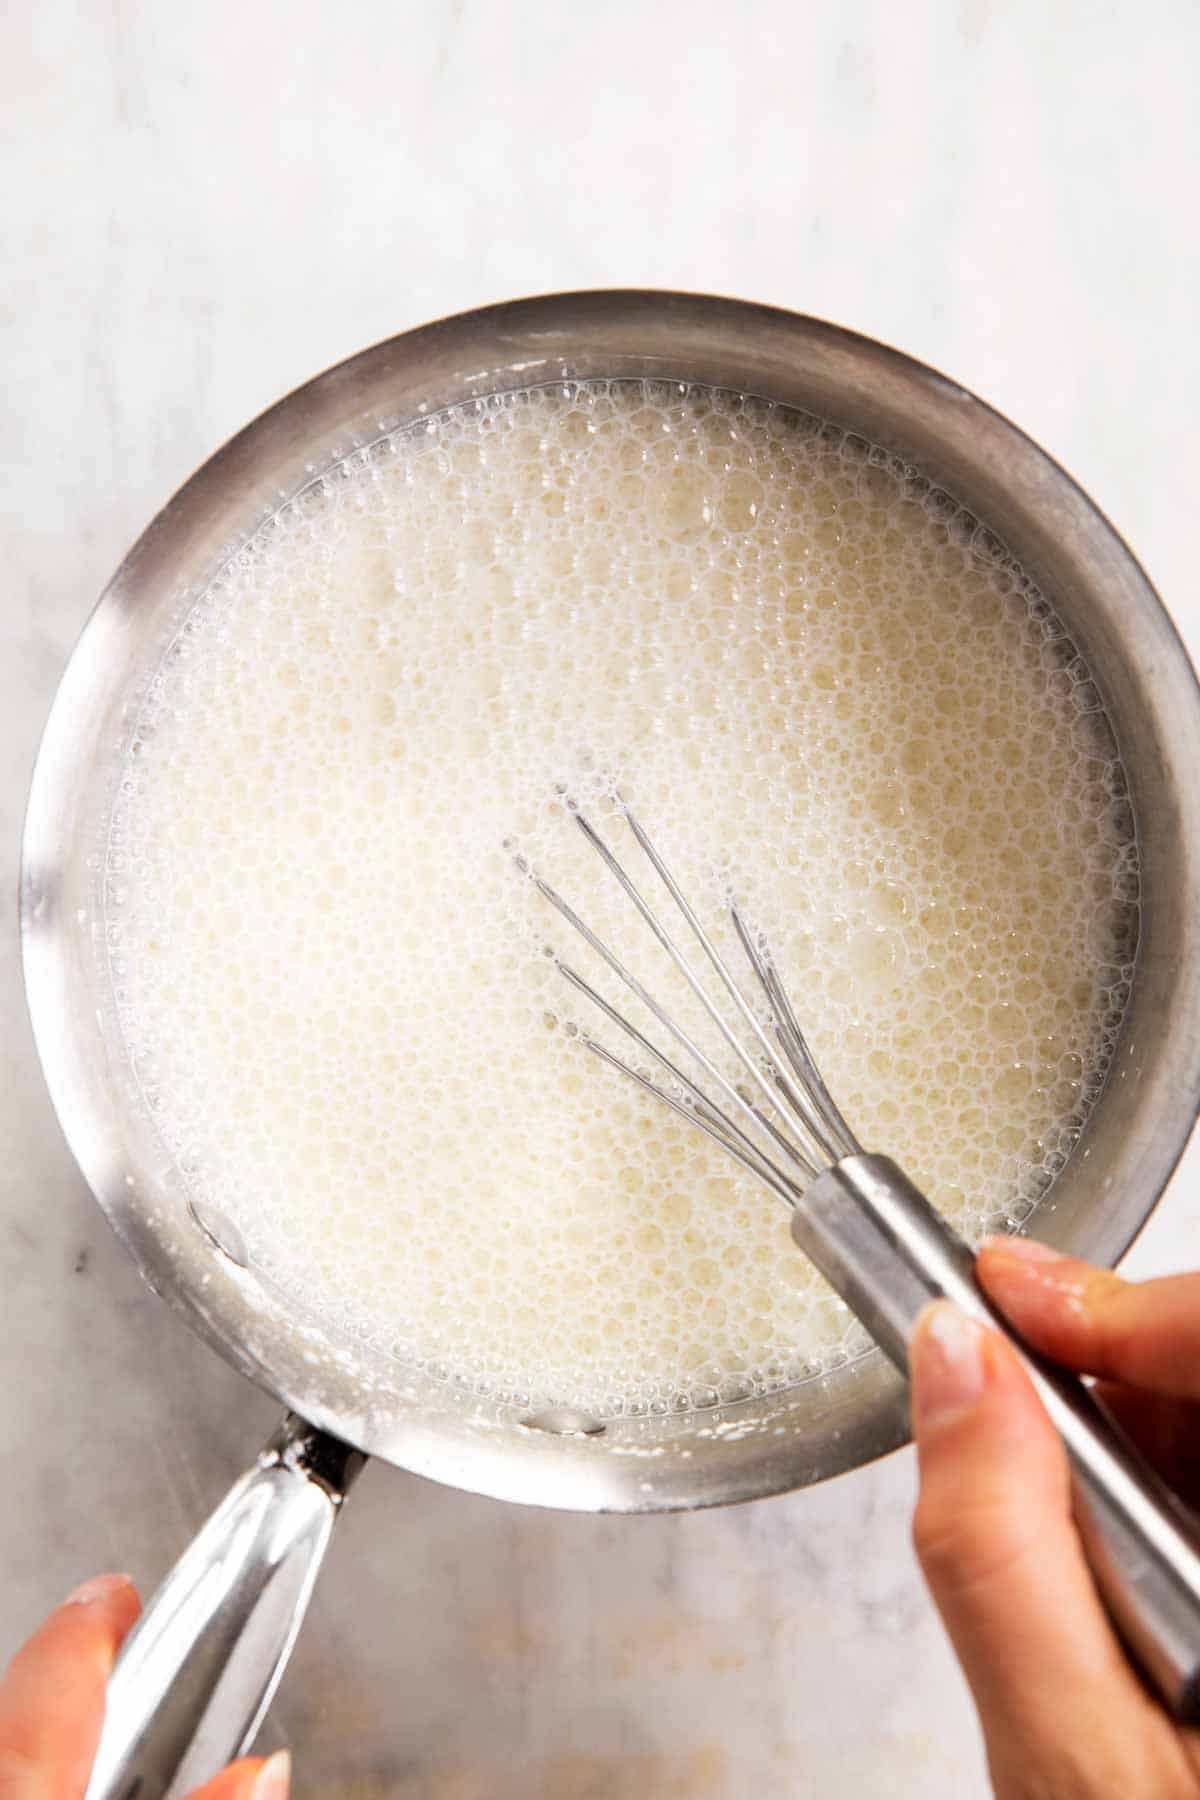
2. Place the cornstarch into a medium saucepan and whisk with ¼ cup of milk until smooth. Then add the remaining milk, the sugar and salt and whisk well until fully combined.
Make sure the cornstarch is fully whisked into the milk – you don’t want any lumps!

beat egg yolks in bowl whisk milk with cornstarch, sugar and salt in saucepan until smooth
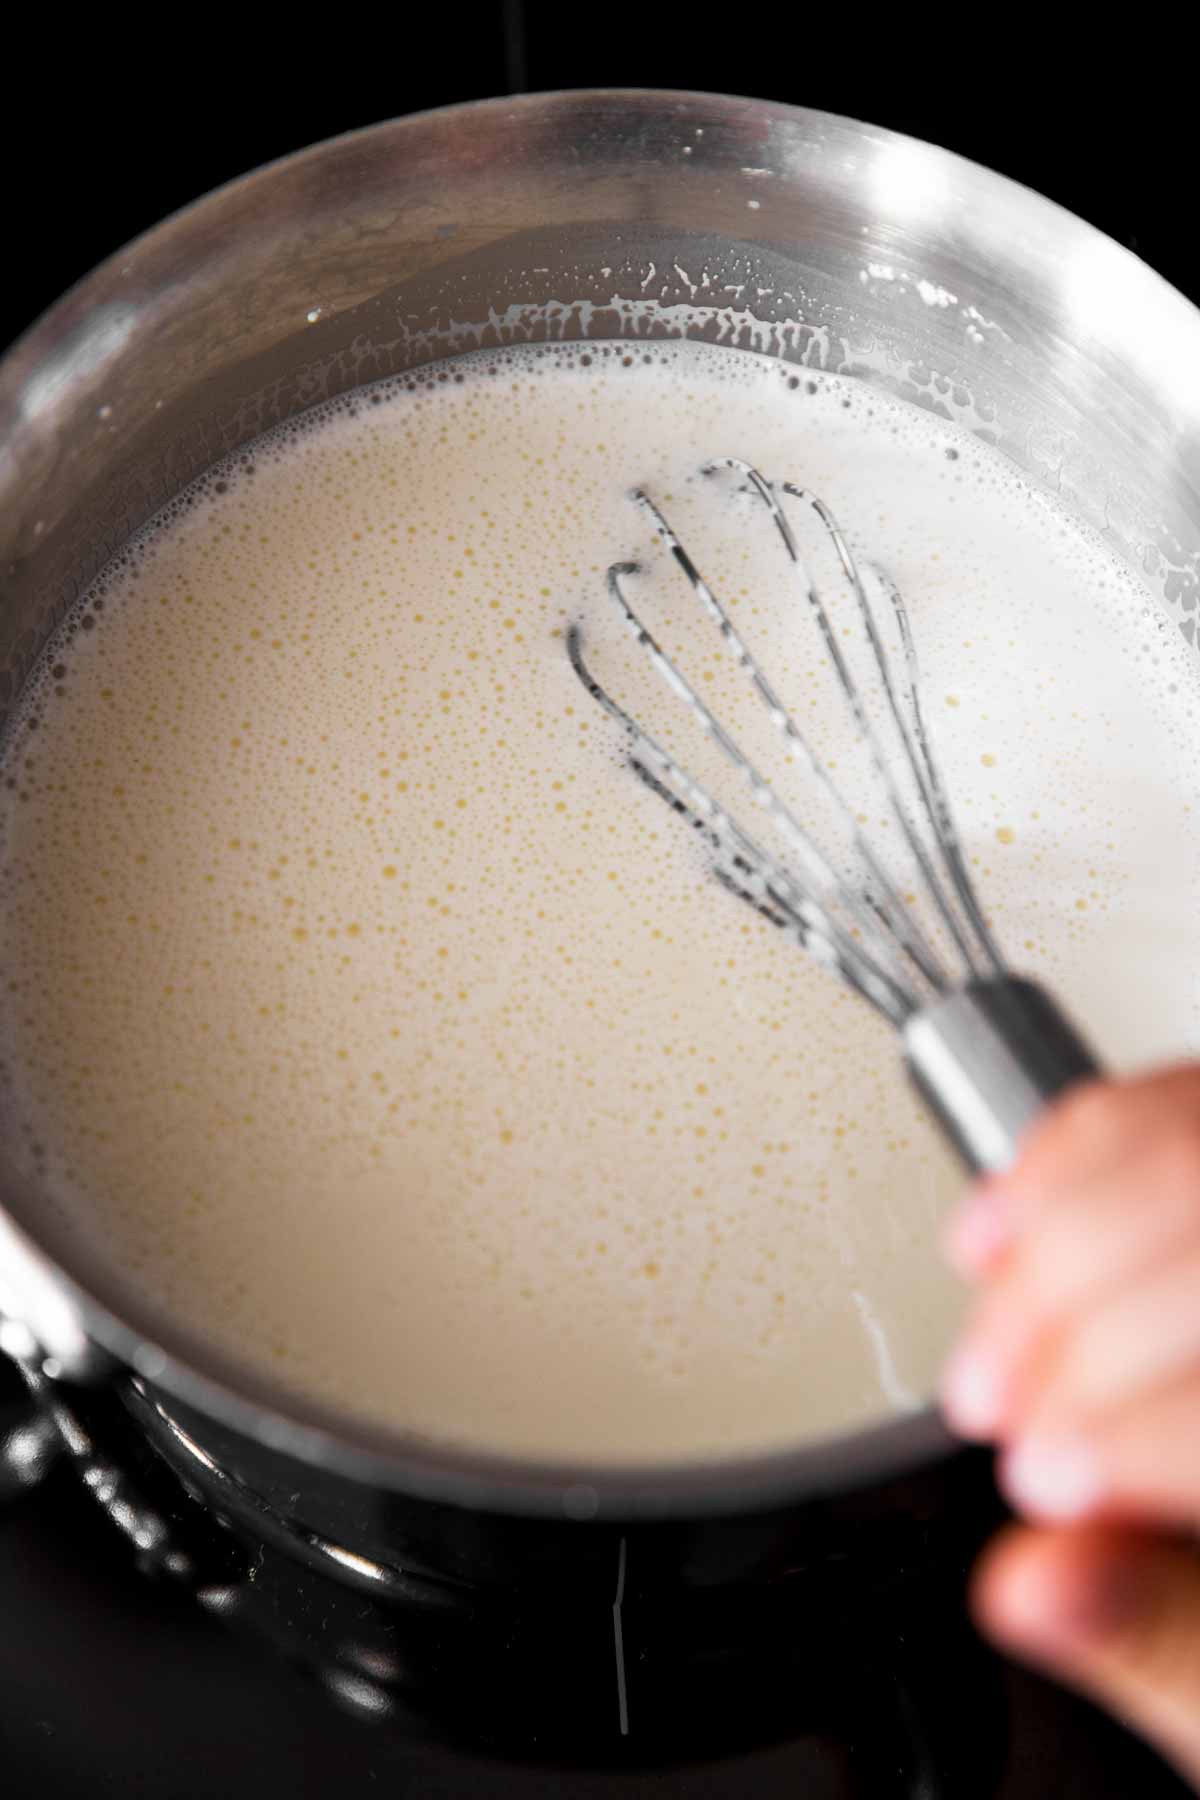
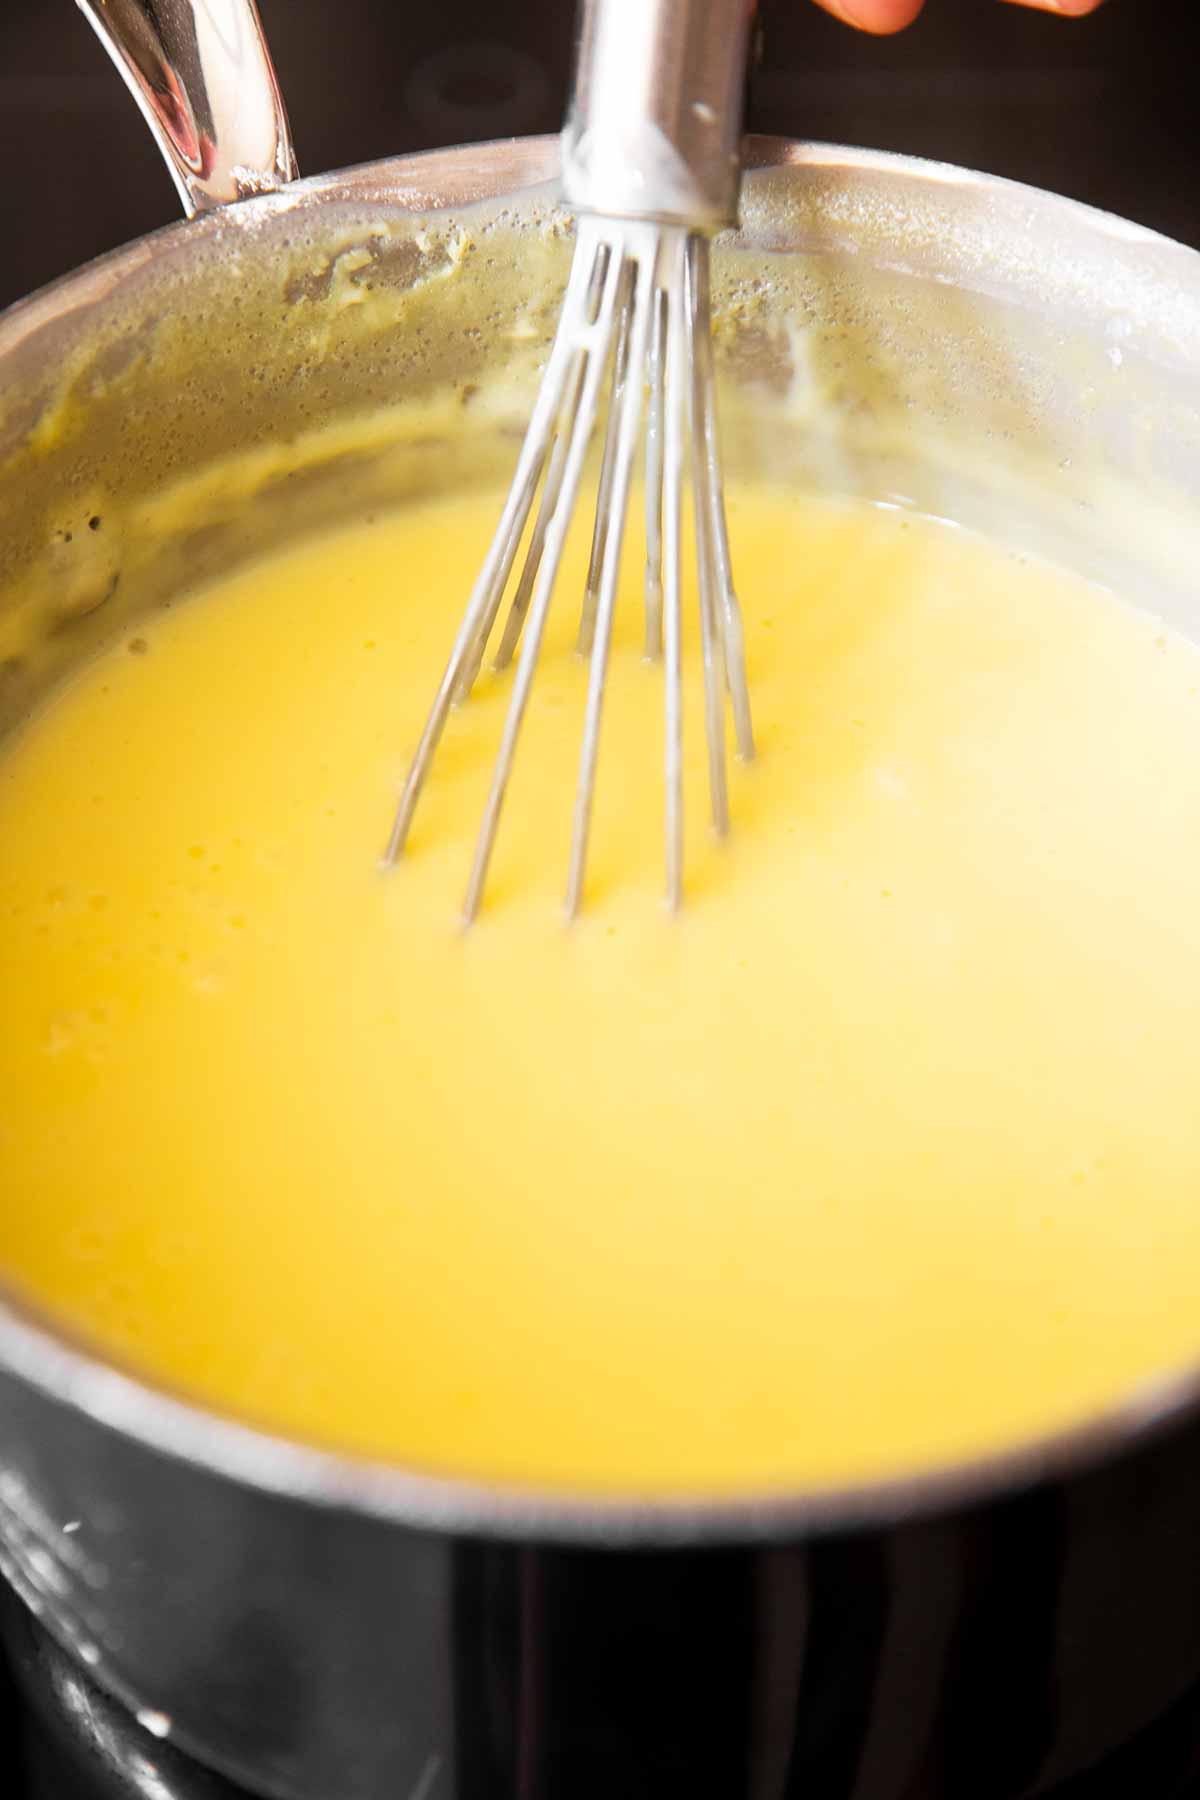
3. Bring the milk mixture to a simmer over a little more than medium heat. You’ll need to whisk constantly, but you don’t need to whisk awfully fast. Be careful and don’t use high heat, the milk will boil over.
Once your mixture is at 200°F, it should start thickening and you need to take it off the heat so it doesn’t boil over – it will not become thick like a finished pudding yet!
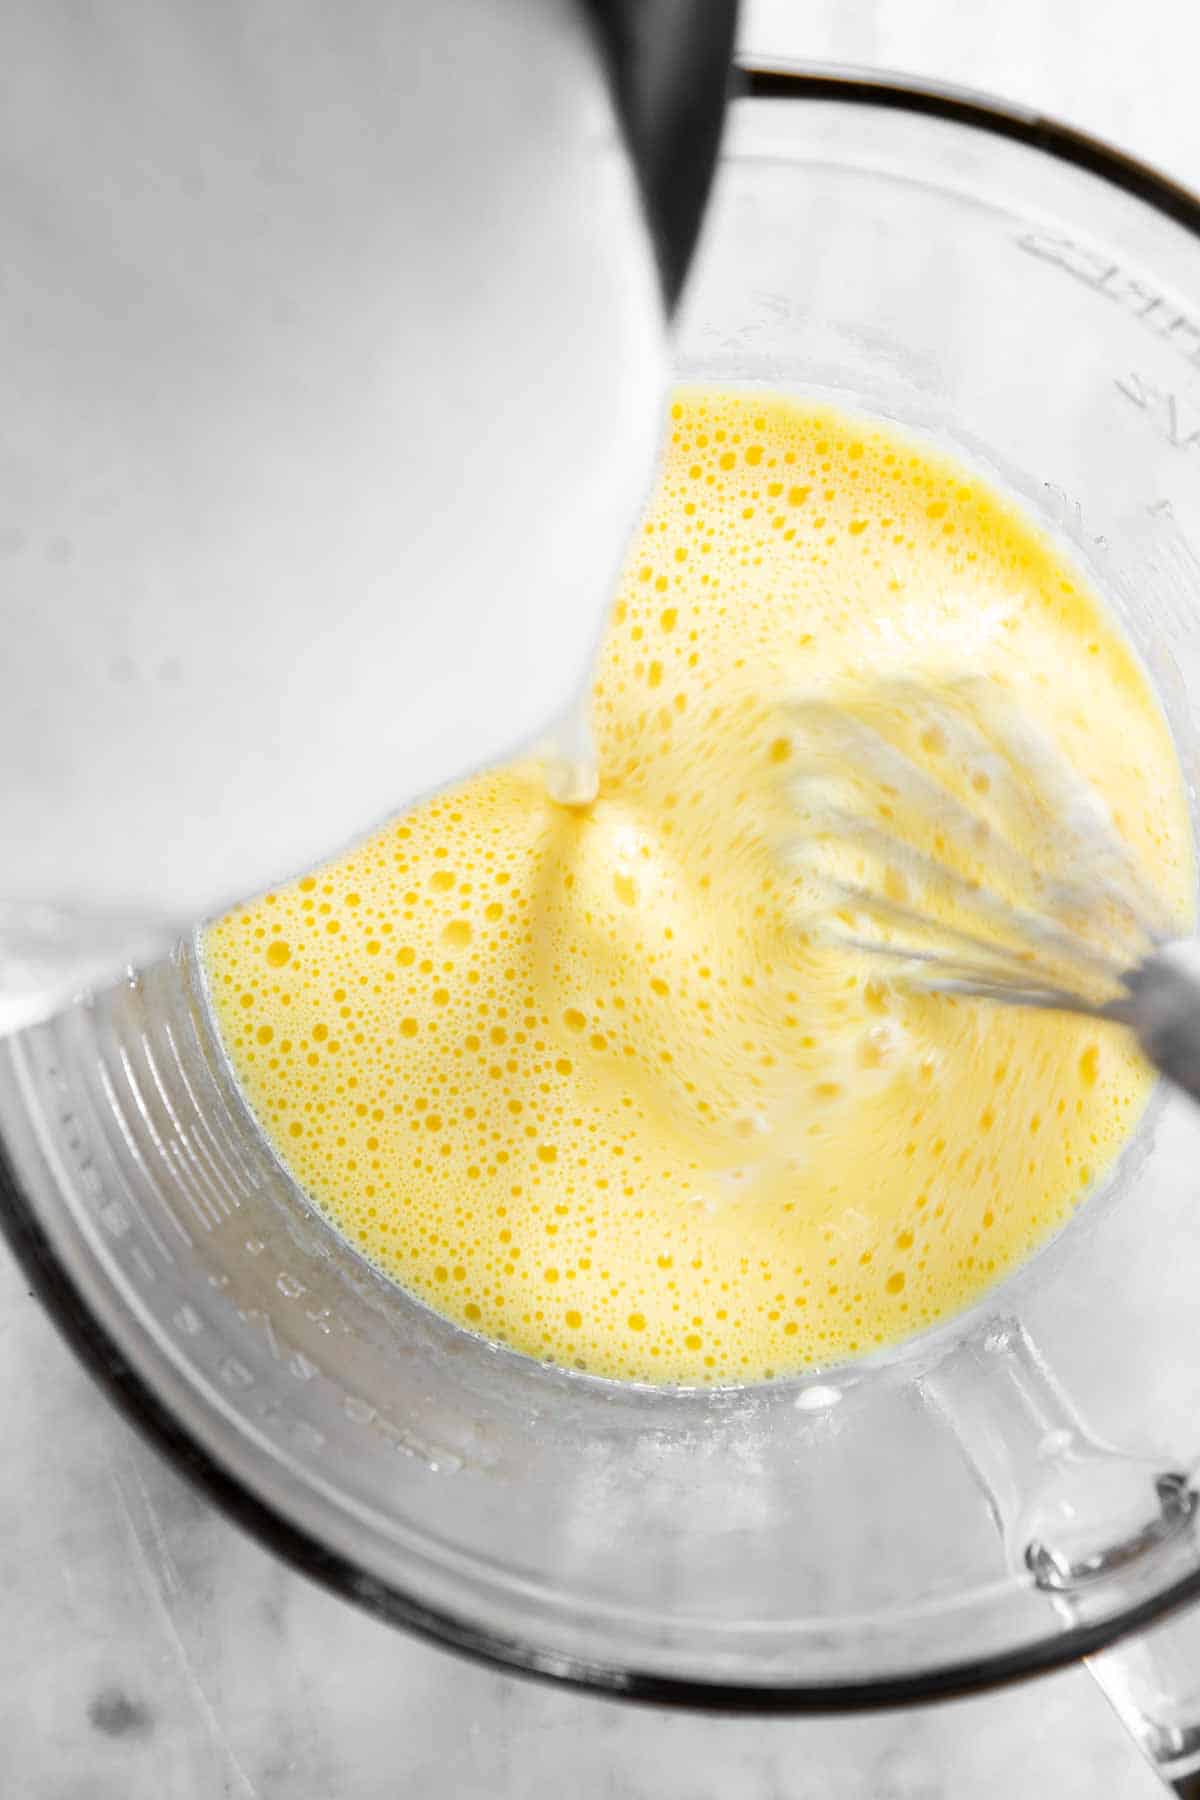
4. Whisking constantly (and faster now!), pour the hot milk mixture over the beaten egg yolks. You need to whisk all the time to make sure your eggs don’t scramble.
simmer milk mixture whisk into egg yolks whisk for a minute pour back into saucepan
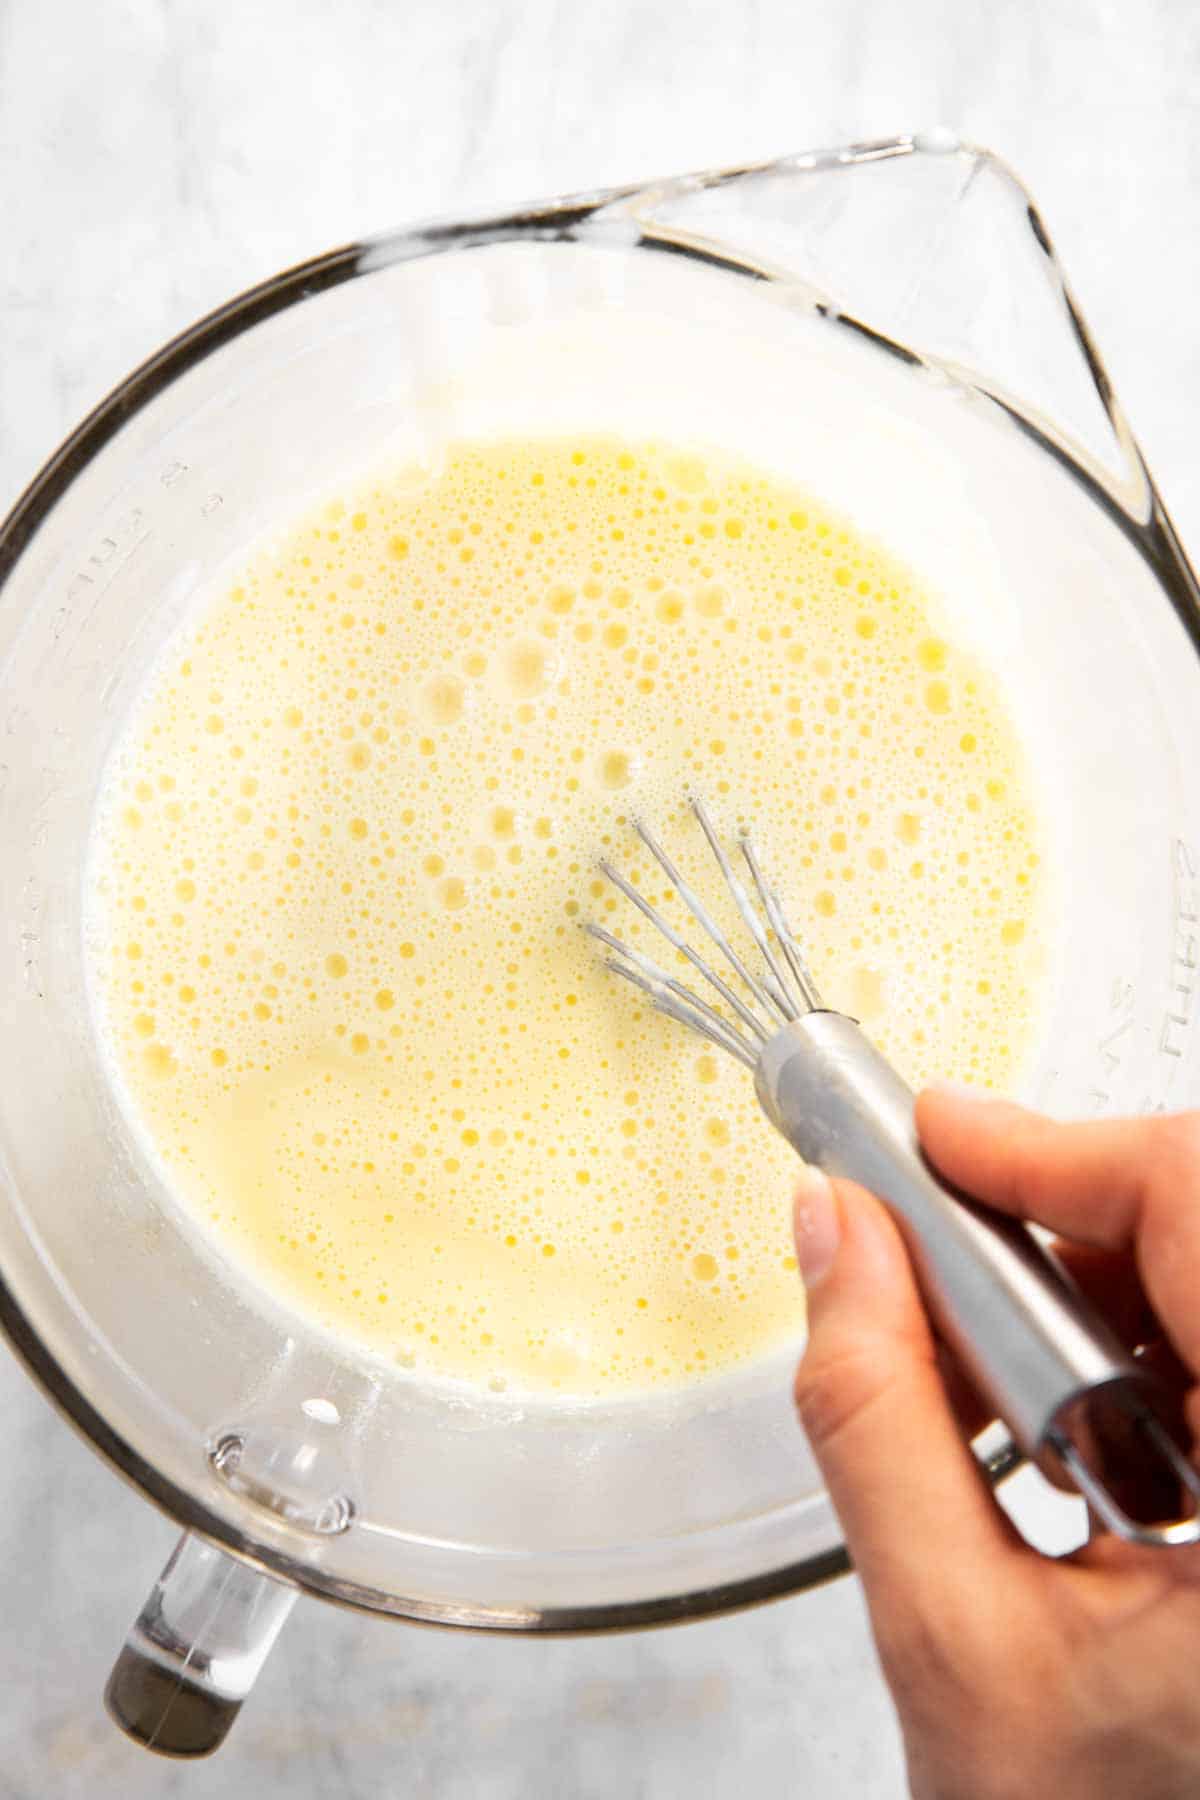
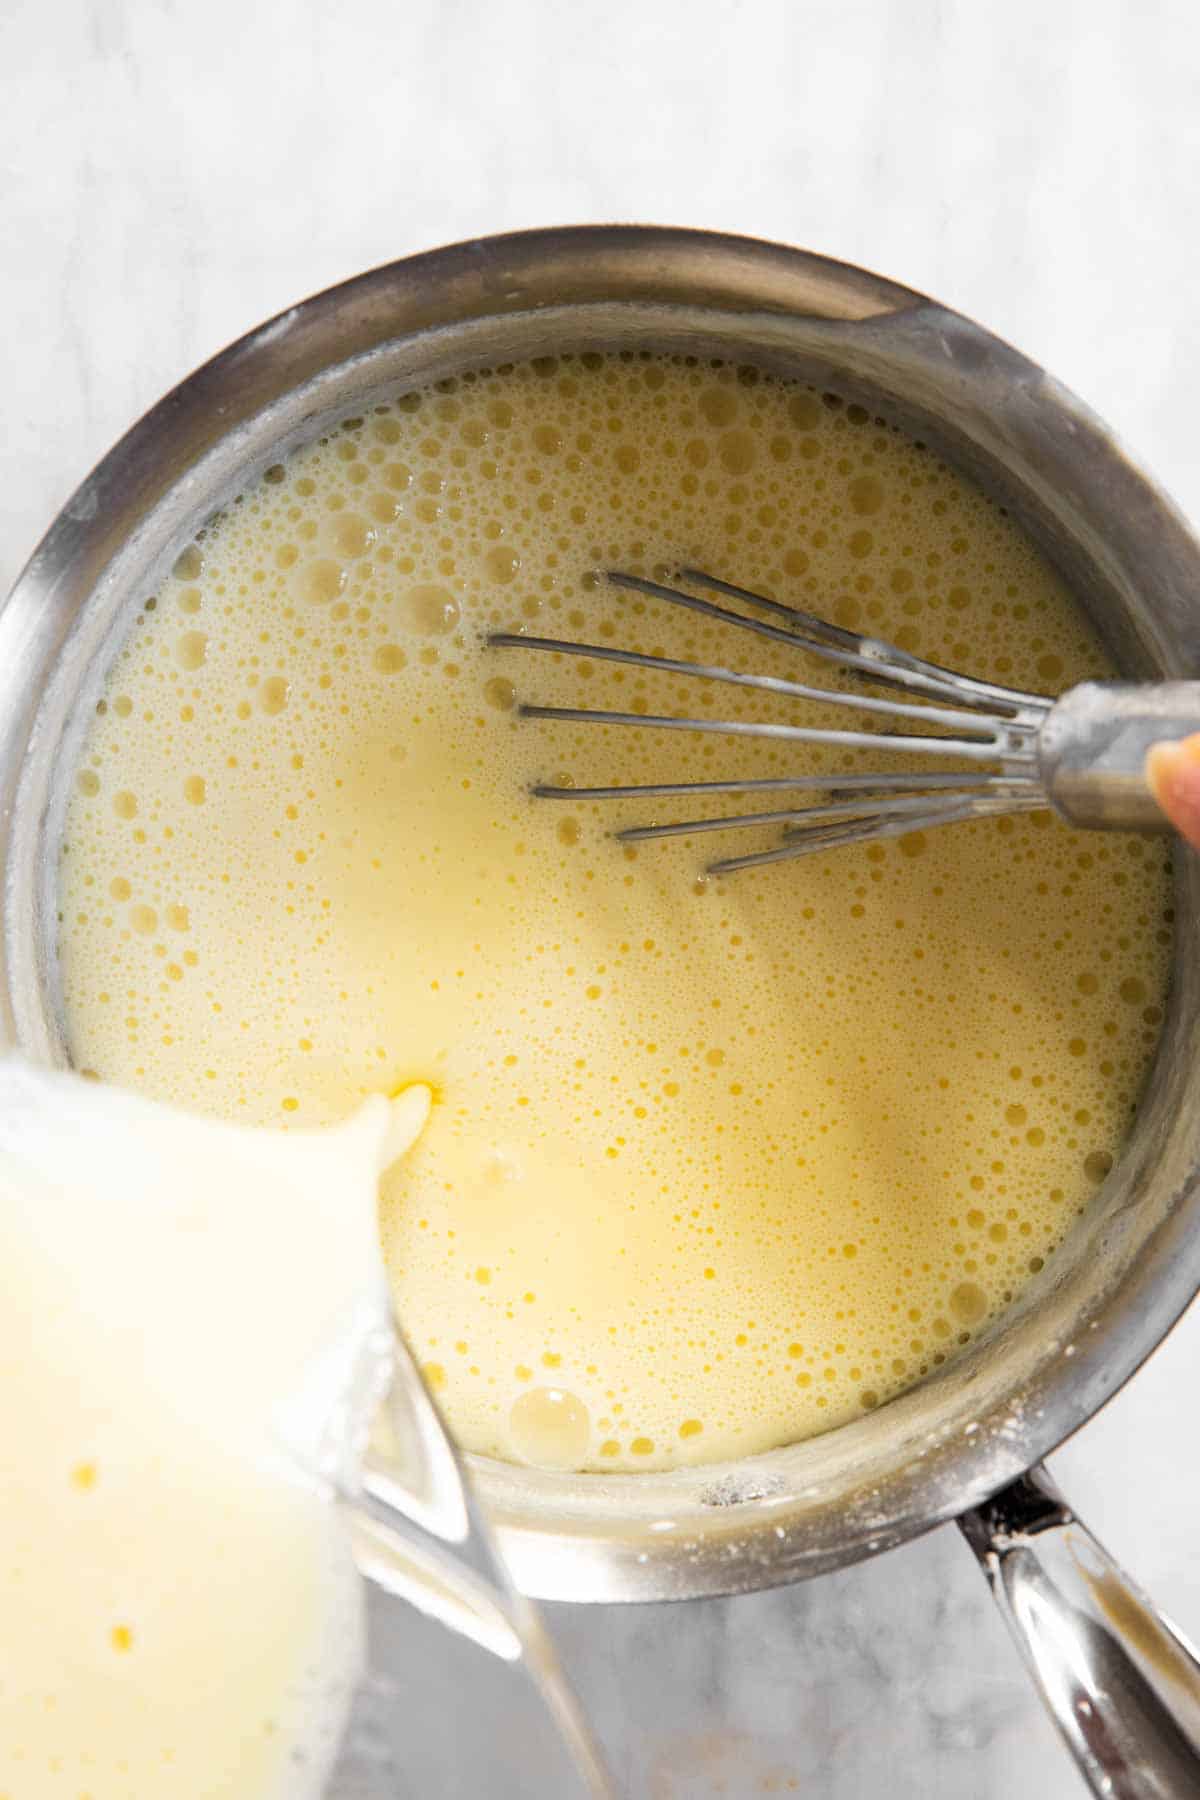
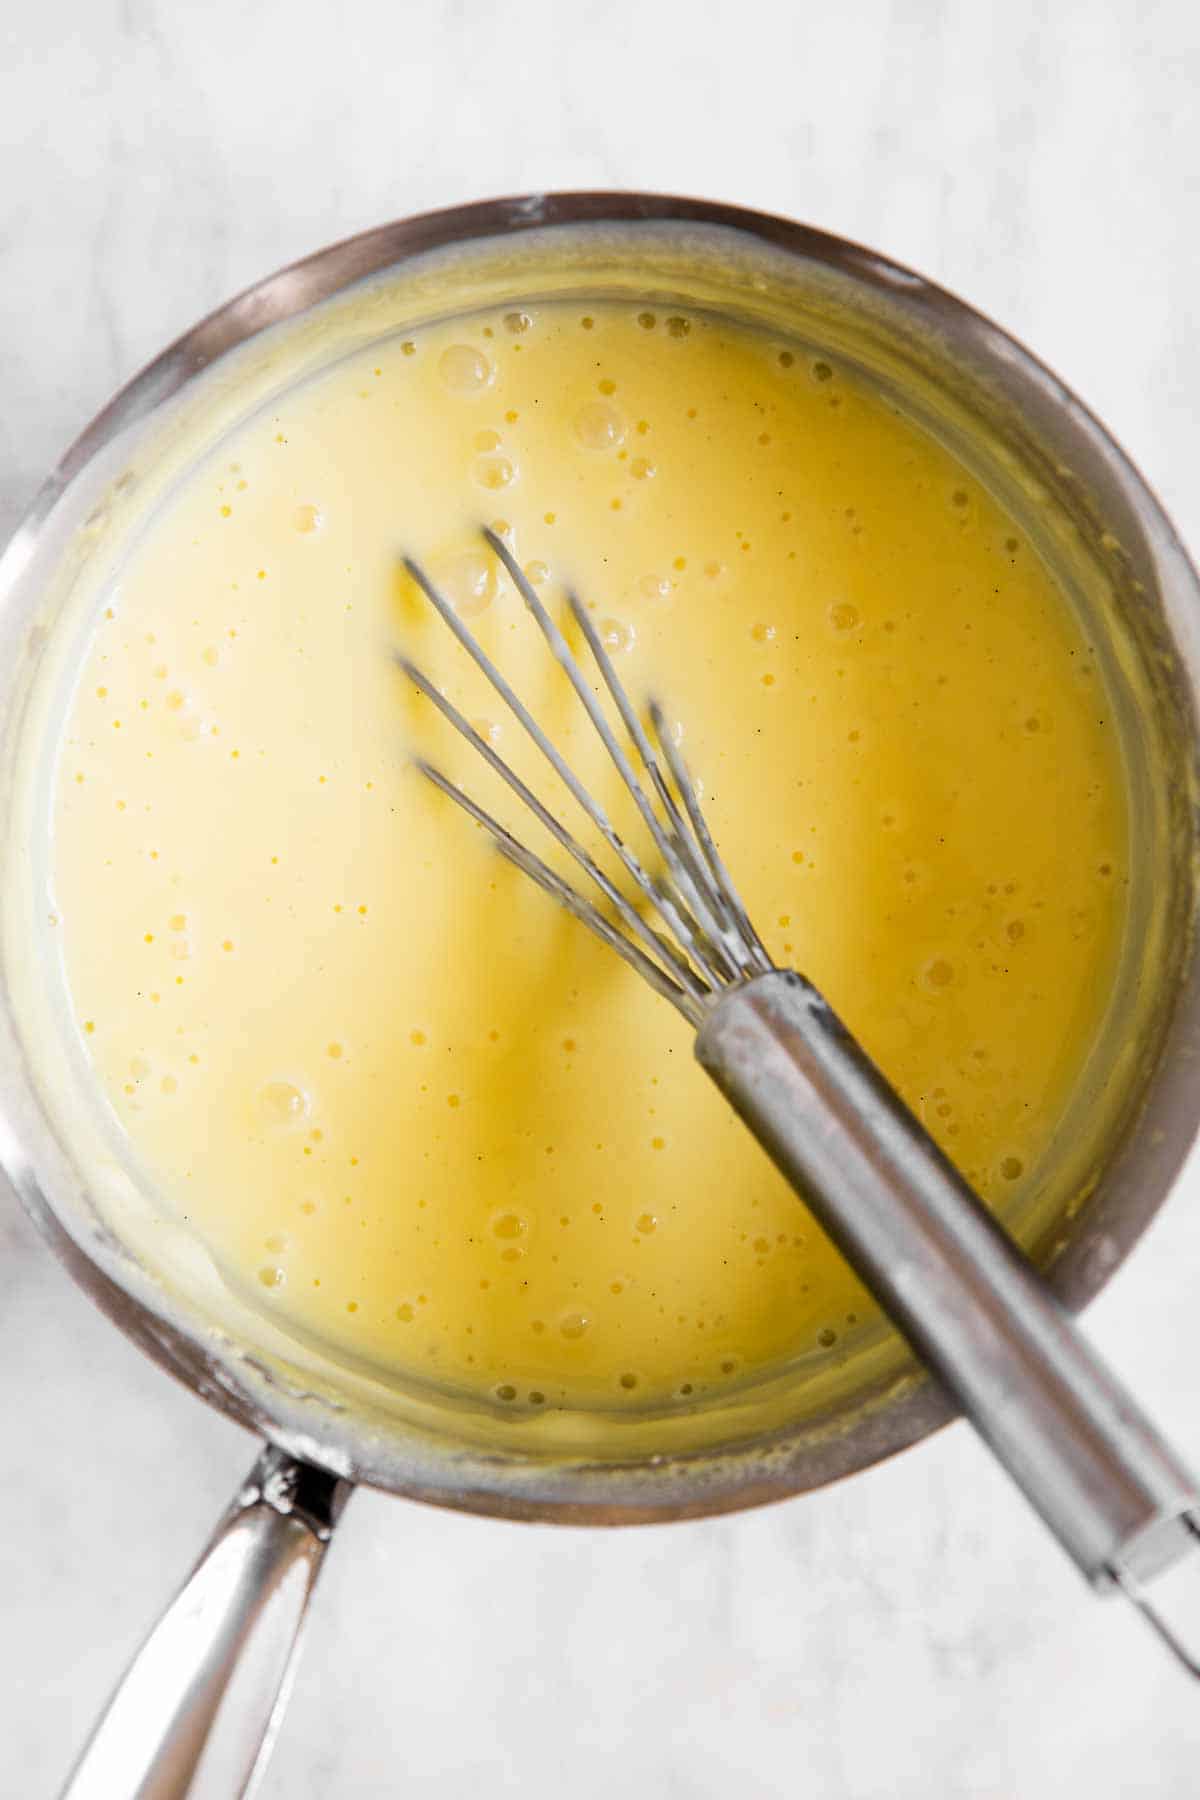
5. Whisk the pudding mixture in the bowl for a minute, then pour it back into the saucepan.
6. Simmer the pudding over medium to medium-high heat, whisking slowly, until it is notably thicker (it still won’t be as thick as finished pudding – it needs to cool to fully thicken).
simmer pudding until it thickens add butter and vanilla
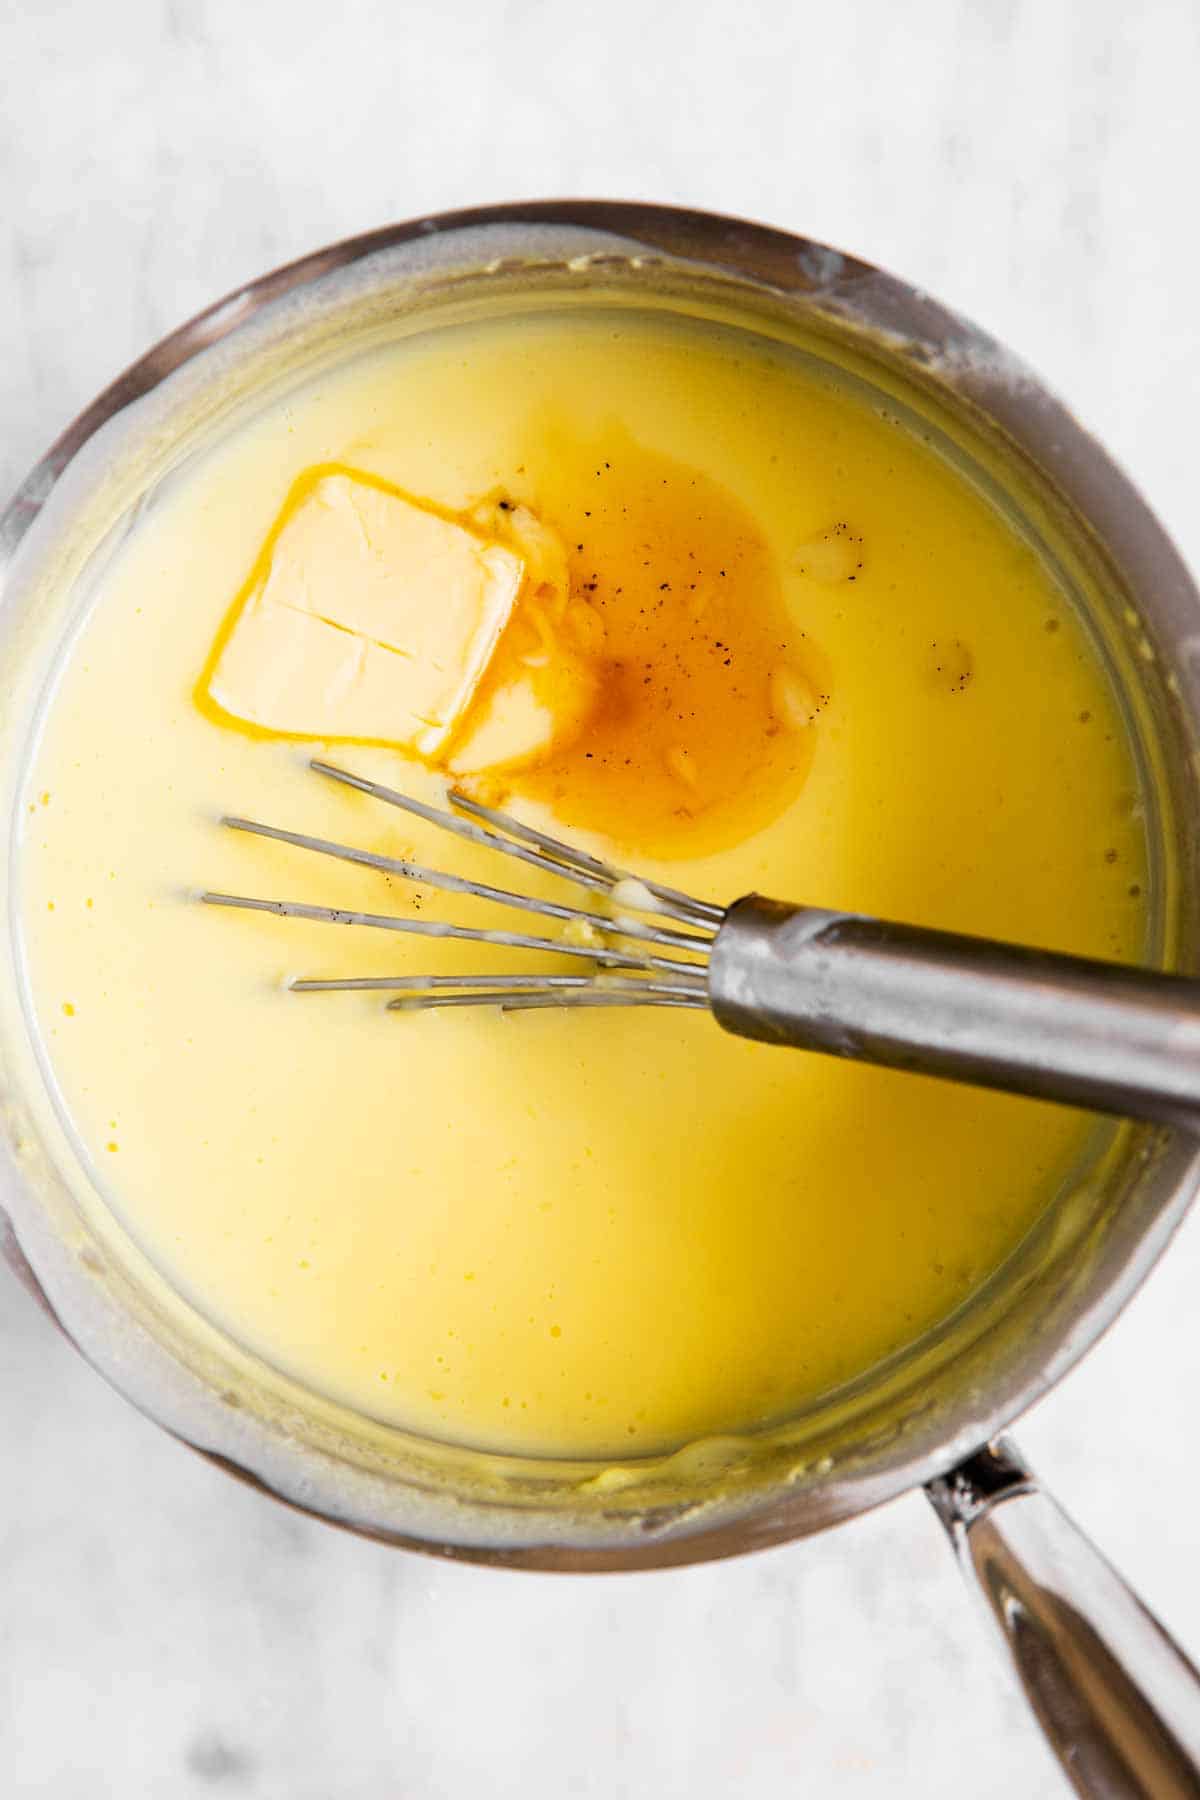
7. Take the pudding off the heat, then add the butter and vanilla and stir until smooth. Immediately pour the pudding into individual serving dishes.
If you want to keep a skin from forming on top of the pudding, immediately cover it with food-safe, heat-safe plastic wrap (right on the pudding’s surface).
whisk until smooth cover with plastic wrap, if desired
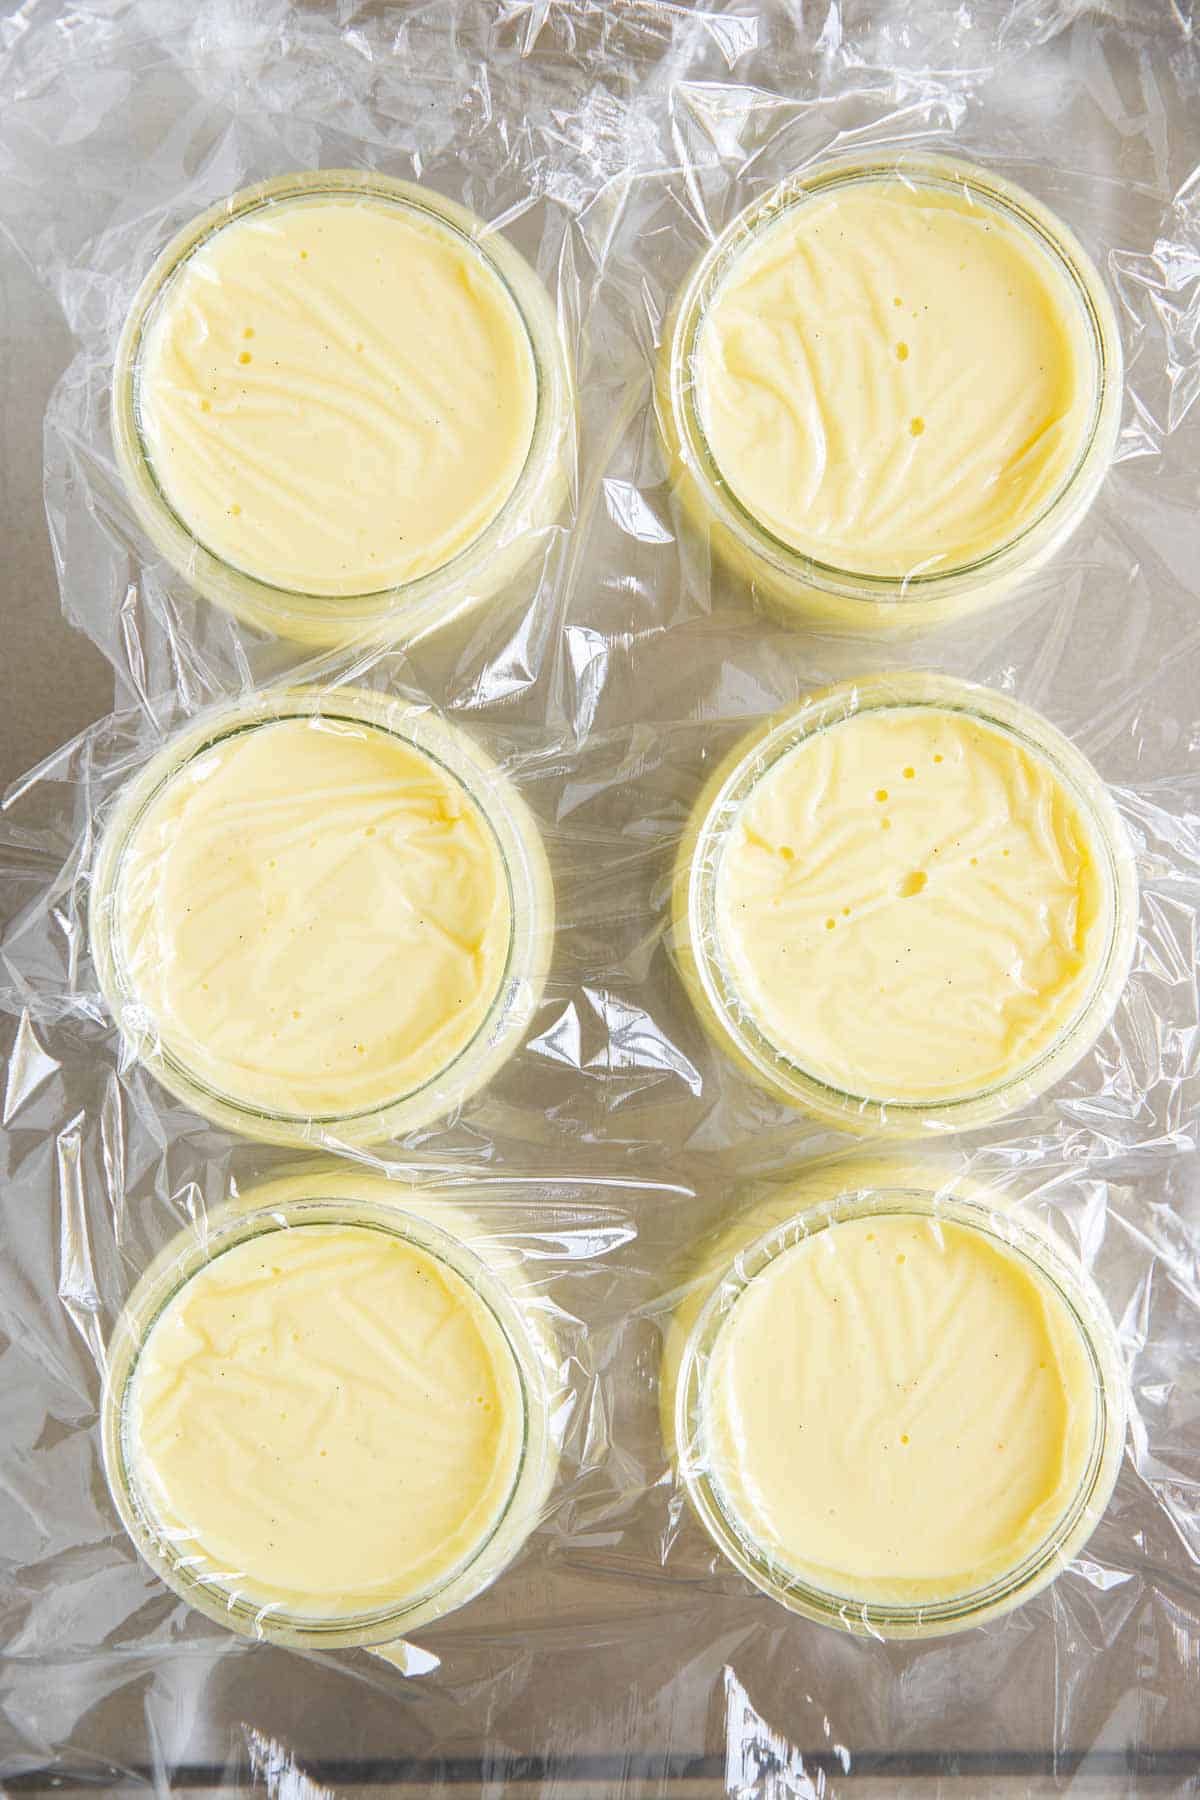
8. Chill the pudding for at least one hour, better for several hours or even overnight. The longer you chill it for, the better the flavor and texture get in my opinion! I like it most after it has chilled for 24 hours.
Recipe tips
- I recommend using a 3-4 quart saucepan to make this recipe (mine in the photos is 2 quart, but I only used a small size for the photos because it was difficult to photograph in a larger pan). If you use a pan that is too small, it will not only take much longer for the pudding to thicken, but the likelihood of the milk boiling over is also much bigger.
- Never use an electric mixer for pudding, always whisk with a balloon whisk by hand. An electric mixer is too fast and can cause the starchy structure to break up, yielding a pudding that won’t set right.
- Do not use high heat, it will a) cause the pudding to scorch on the bottom of the pan and b) to boil over and c) to scramble the eggs. My induction stove goes up to 10, I cook my pudding on 6.
- To keep a skin from forming on top of your pudding, you need to cover it with plastic wrap directly on its surface immediately after filling the pudding into individual jars or cups. Make sure to use heat-safe, food-safe plastic wrap. I hardly ever bother with this and nobody in my family minds the pudding’s skin, but I wanted to mention it because it’s common practice.
- One recipe of this pudding yields 6 individual servings of approximately ½ cup each. I use a few glass jars I kept from fancy yogurt, but ramekins or smaller drinking glasses work in a pinch!
Pudding FAQs
There is a small difference between pudding and custard, and it lies in the thickener used. According to Taste of Home, custard is only thickened with eggs, while vanilla pudding is thickened with both eggs and cornstarch.
You may not be heating the milk enough in the first step – cornstarch is activated at around 200°F (95°C), which means it needs to get to 200°F to start thickening a liquid.
It is also possible to overmix the starch and break up the structure, but you do really need to whisk excessively for this to happen. Only use a whisk, never an electric mixer. Once your pudding has thickened, stop whisking it and move on with the recipe.
Storage tips
Store the pudding in the fridge at all times. If constantly refrigerated, it keeps for 5 days.
Many sources say you can freeze pudding, and you technically can, but I actually do not like the texture of frozen, then fully thawed pudding very much. It does make great pudding pops, though!
Serving ideas
Honestly, on a day-to-day basis we eat the pudding like plain old pudding cups… With nothing ? But it really is food enough to eat by itself.
If you want to turn it into something a little more special, it’s great with fresh berries (or strawberry topping!) and some whipped cream. Or serve with whipped cream, sliced banana and a vanilla wafer for elegant, individual “banana pudding cups”.
PS If you try this recipe, please leave a review in the comment section and add a star rating in the recipe card – I appreciate your feedback! Follow along on Pinterest, Facebook or Instagram.
Homemade Vanilla Pudding
Recipe details
Ingredients
- 3 cups whole milk
- 3 heaping tablespoons cornstarch
- ½ cup granulated sugar use ¾ cup for a sweeter pudding
- ⅛ teaspoon salt
- 3 large egg yolks
- 1 tablespoon butter
- 1 teaspoon pure vanilla extract OR vanilla bean paste
Instructions
- Beat egg yolks in a heat-proof bowl. Set aside.
- Whisk together cornstarch and ½ cup milk in 3-4 quart saucepan. Add remaining milk, sugar and salt and whisk until fully combined.
- Place saucepan over medium-high heat and bring to a boil, whisking constantly.
- Once at a boil, immediately take saucepan off the heat and immediately pour steaming hot milk mixture in a slow stream into the egg yolks, whisking constantly. Blend very well!
- Pour pudding back into saucepan and place over medium to medium-high heat. Heat gently, whisking constantly, until notably thickened (pudding mixture will not be thick like finished pudding yet!), about 2-3 minutes.
- Take pudding off the heat, then whisk in butter and vanilla. Allow pudding to cool for 5 minutes, then pour into individual serving dishes. Chill at least one hour, better several or overnight before serving.
- Store the pudding in the fridge at all times. If constantly refrigerated, it keeps for 5 days.
Notes
Ingredient notes
- Milk: I very strongly recommend sticking to whole milk with this recipe. It yields the thickest, creamiest pudding. You can get away with using 2% milk, but please do not use anything with less fat. Skim milk in particular will yield a watery pudding.
- Vanilla: Vanilla extract is the cheapest and most accessible way to add vanilla flavor to your pudding. However, you can make it extra-special by using vanilla bean paste instead. OR use ½ of a whole vanilla bean, split open, seeds scraped out. With vanilla extract and vanilla bean paste, you want to add it to the pudding last. With a vanilla bean, you’ll need to add it to the milk from the start – along with the split and scraped bean. Discard the bean before pouring the hot milk mixture over the egg yolks.
- Cornstarch: You must use cornstarch in this recipe, do not replace it with flour. Flour will take much longer to thicken, and to lose the raw flour taste.
- Butter: Butter is optional, but adds an extra-rich touch to the pudding. Leave it out if you prefer! I don’t always add it myself, especially not when my kids are on a pudding kick and I’m making pudding every week.
Recipe tips
- I recommend using a 3-4 quart saucepan to make this recipe (mine in the photos is 2 quart, but I only used a small size for the photos because it was difficult to photograph in a larger pan). If you use a pan that is too small, it will not only take much longer for the pudding to thicken, but the likelihood of the milk boiling over is also much bigger.
- Never use an electric mixer for pudding, always whisk with a balloon whisk by hand. An electric mixer is too fast and can cause the starchy structure to break up, yielding a pudding that won’t set right.
- Do not use high heat, it will a) cause the pudding to scorch on the bottom of the pan and b) to boil over and c) to scramble the eggs. My induction stove goes up to 10, I cook my pudding on 6.
- To keep a skin from forming on top of your pudding, you need to cover it with plastic wrap directly on its surface immediately after filling the pudding into individual jars or cups. Make sure to use heat-safe, food-safe plastic wrap. I hardly ever bother with this and nobody in my family minds the pudding’s skin, but I wanted to mention it because it’s common practice.
- One recipe of this pudding yields 6 individual servings of approximately ½ cup each. I use a few glass jars I kept from fancy yogurt, but ramekins or smaller drinking glasses work in a pinch!


Elliebellesmom says
This is my first time making vanilla pudding, though I’ve made chocolate for years. The recipe is easy to follow, and the pudding is velvety smooth (I did pour it through a strainer when returning it to the sauce pan after adding the egg yolks.) I think the only change I’ll make when making this again is to add 1/2-1 tsp more of vanilla for a stronger vanilla flavor. Thanks for a great, easy recipe!
Nora says
I’m glad you liked it! I’d think the amount of vanilla extract probably comes down to the exact brand you use. I use a homemade one, maybe it’s gotten very strong over time. Thanks for the heads-up! I need to be more mindful of this in my recipes.