

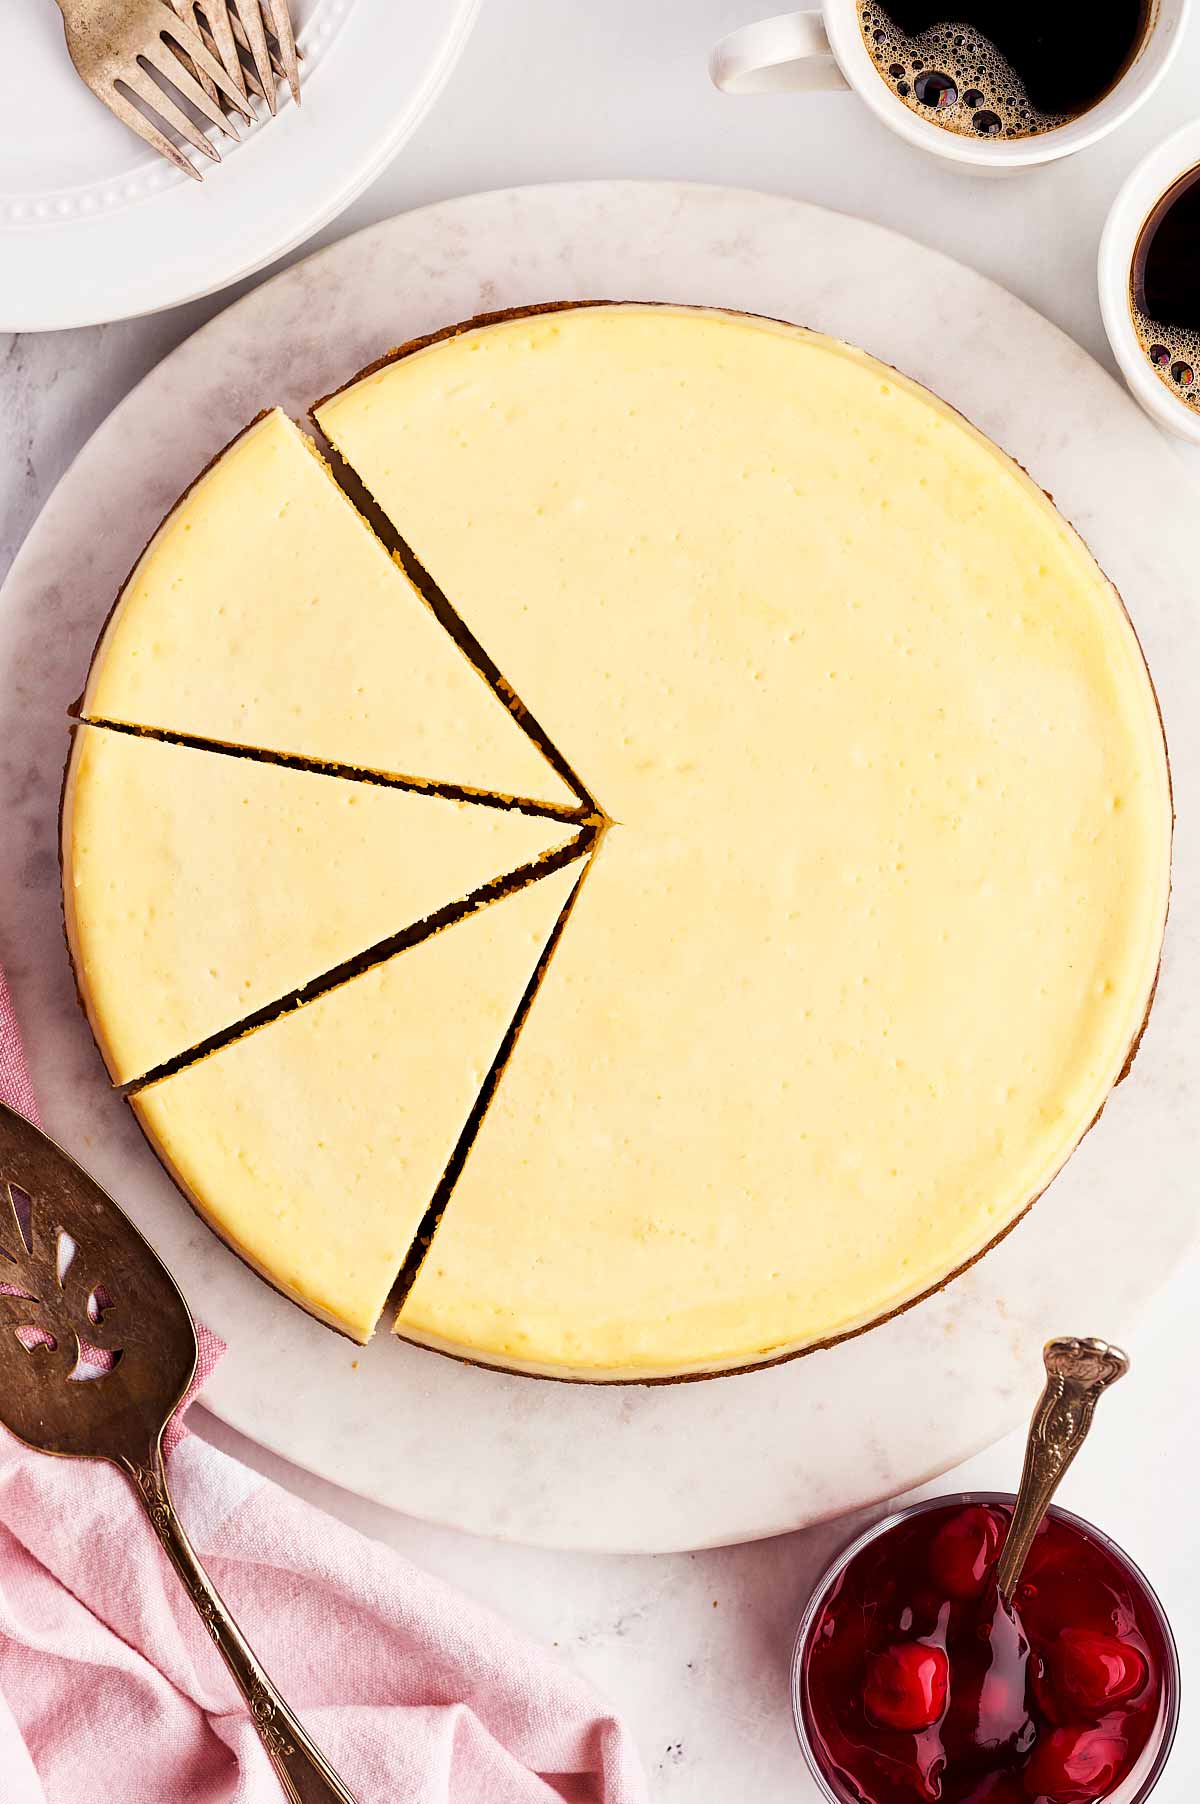
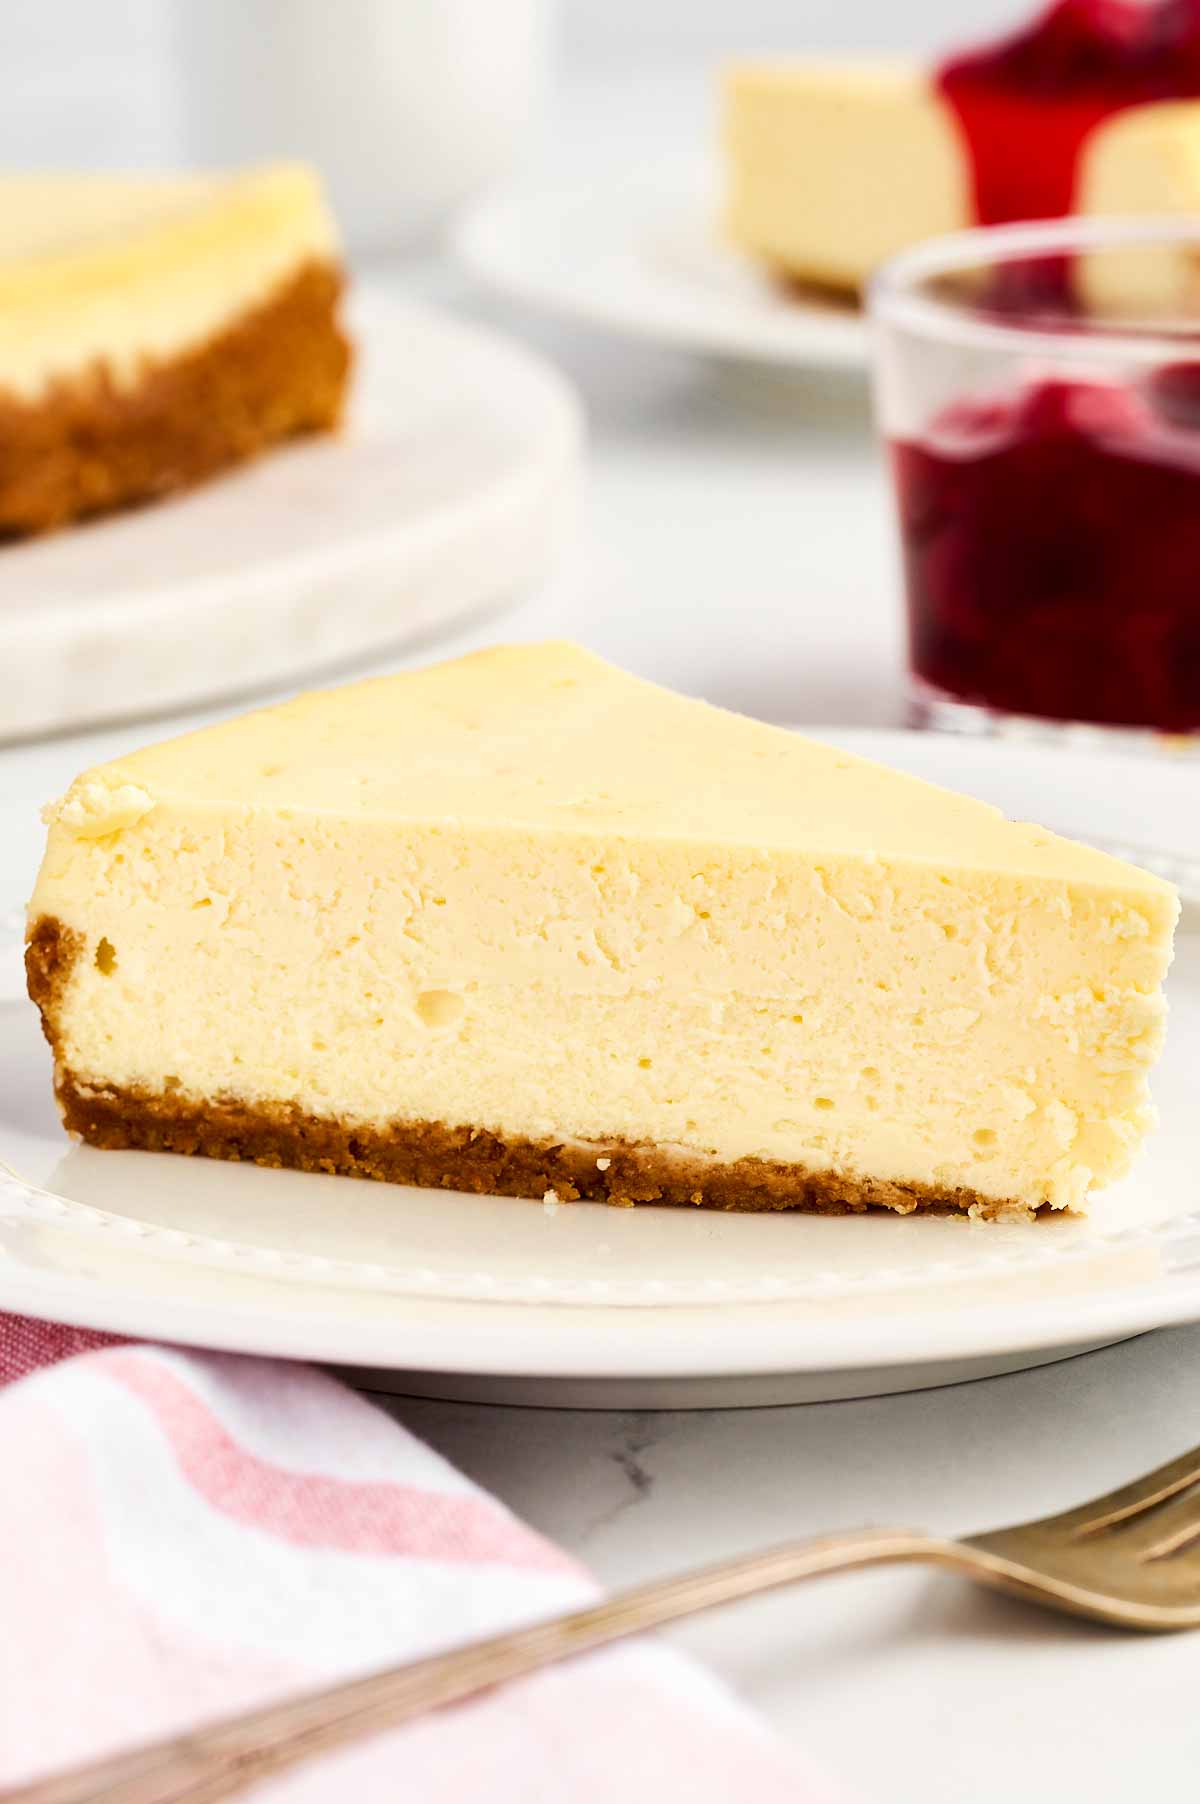
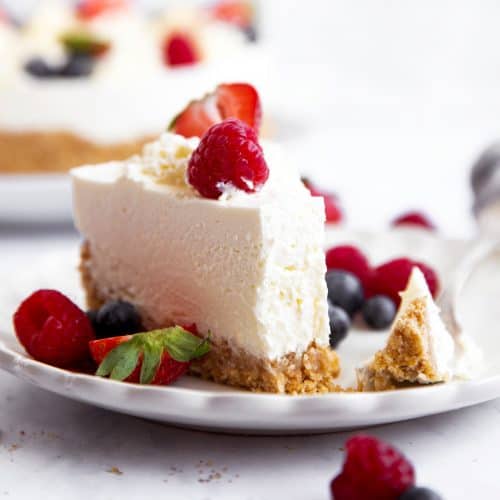
If you’ve been searching for the ultimate cheesecake recipe, stop right here – you’ve found it! This Classic Cheesecake is rich, creamy, and perfectly balanced with a buttery graham cracker crust, and trust me, it’ll rival anything from a fancy bakery.
Whether you’re impressing guests or treating your family, this recipe is guaranteed to become a favorite in your kitchen!
Why you’ll love this recipe
- It’s bakery-quality, made in your kitchen: I’m not kidding – this cheesecake is so smooth, creamy, and perfectly rich, you’ll feel like you’ve just pulled it from a high-end bakery display. But nope, you made it right at home!
- I’ve got you covered with all the tips: I’ve been there, nervously watching the oven, wondering if my cheesecake would crack. That’s why I’ve packed this recipe with foolproof steps (like the trusty water bath) so you can bake with confidence.
- It’s totally customizable: My kids love theirs with a caramel drizzle, while I’m all about fruity toppings. No matter how you serve it, this cheesecake is the ultimate crowd-pleaser!
Ingredients you’ll need
Here is a visual overview of the ingredients in the recipe. Scroll down to the printable recipe card at the bottom of this post for quantities!

Ingredient notes
- Cream cheese: Use full-fat cream cheese for the best texture and flavor – trust me, it’s worth it. Make sure it’s softened to room temperature for a smooth, lump-free filling. Avoid low-fat versions, which can make the cheesecake less creamy.
- Graham cracker crumbs: You can crush your own graham crackers or use store-bought crumbs for convenience. If you’re feeling adventurous, try substituting with crushed digestive biscuits or even vanilla wafers or Oreo cookie crumbs for a fun twist.
- Sour cream: This adds a subtle tang and helps achieve a silky texture. If you don’t have sour cream, plain full-fat Greek yogurt works great as a substitute.
- Lemon juice: Fresh is best! The brightness from the fresh juice balances the richness of the cream cheese. Bottled juice can work in a pinch, but the flavor won’t be as vibrant.
- Eggs: Room temperature eggs blend more easily into the filling, reducing the risk of overmixing. If you forgot to take them out ahead of time, just place them in a bowl of hand-temperature water for a few minutes to bring them up to temp.
How to make a classic cheesecake
Making this cheesecake is like having a little baking adventure in your own kitchen! Don’t worry, I’ll walk you through every step so you’ll feel totally confident. Let’s get started:
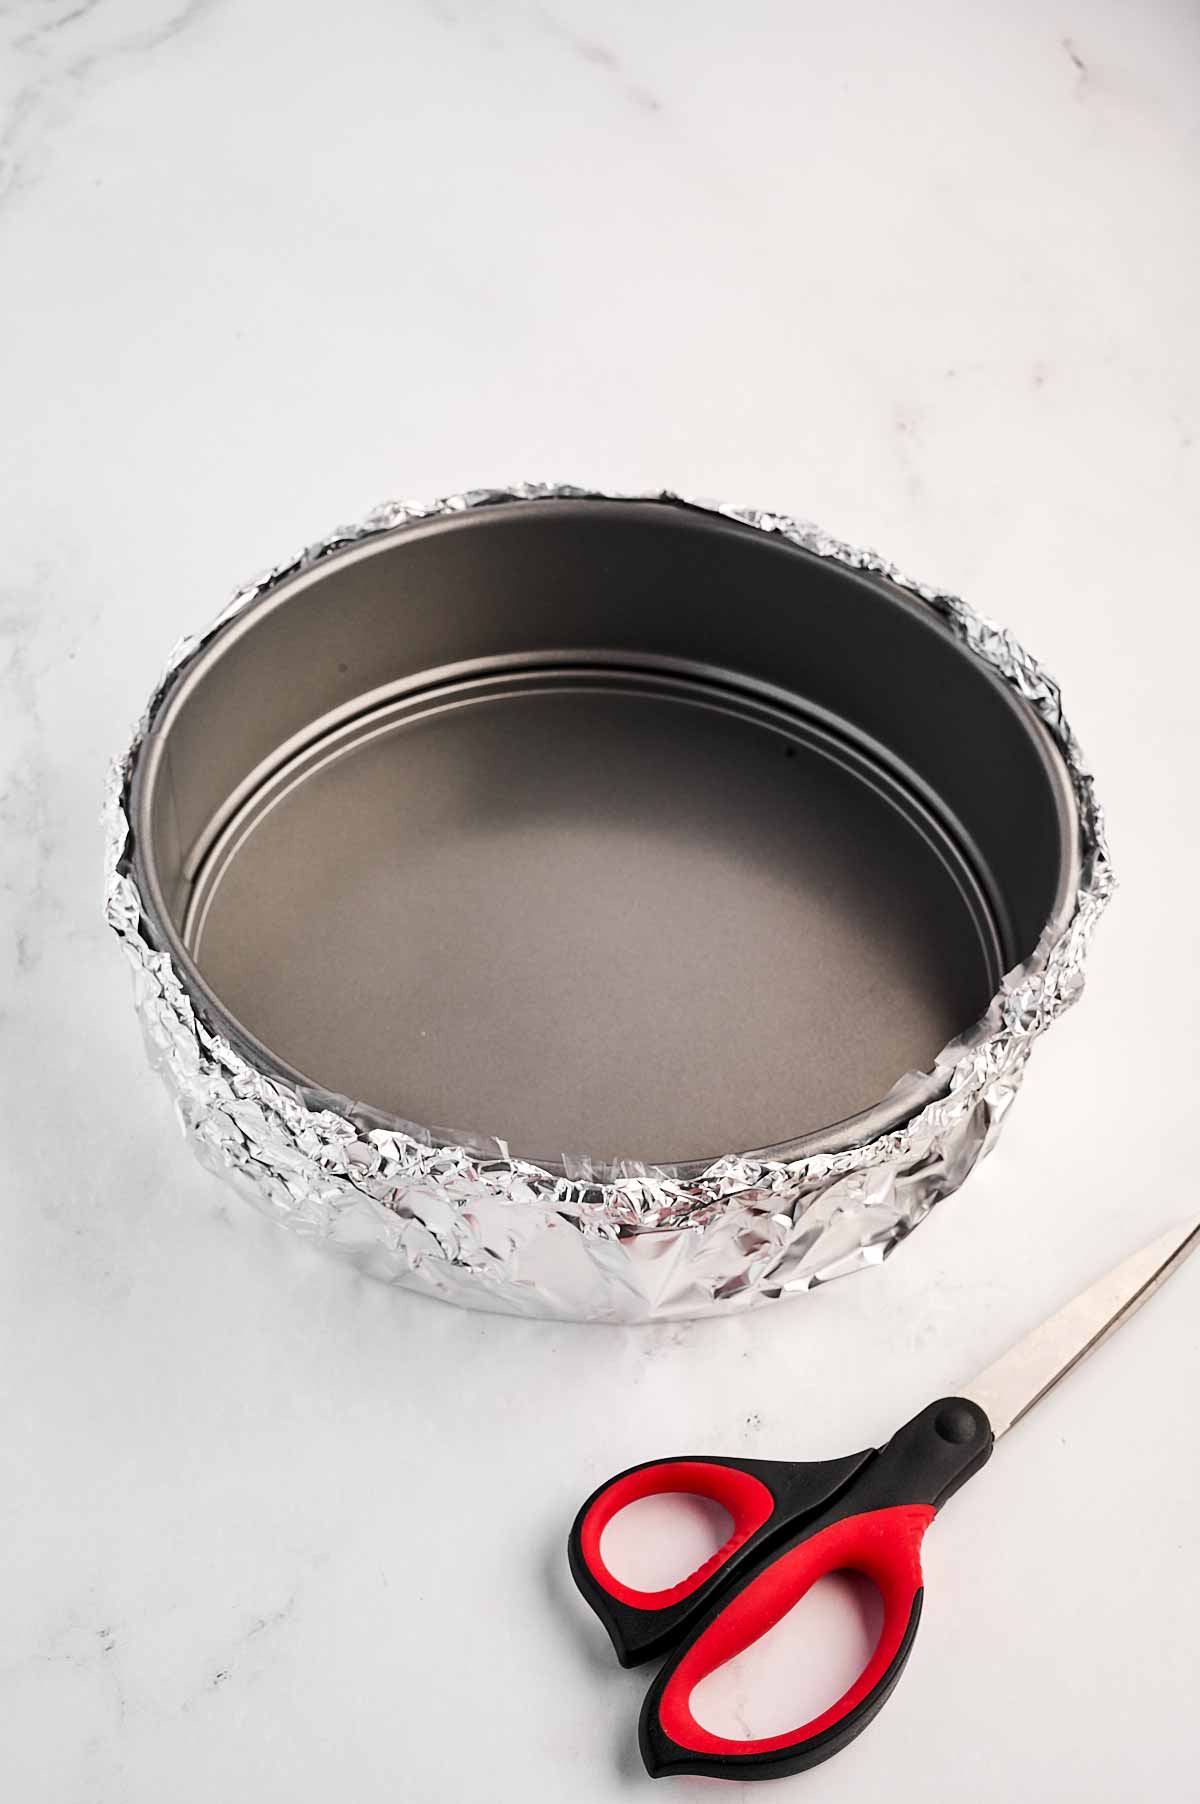
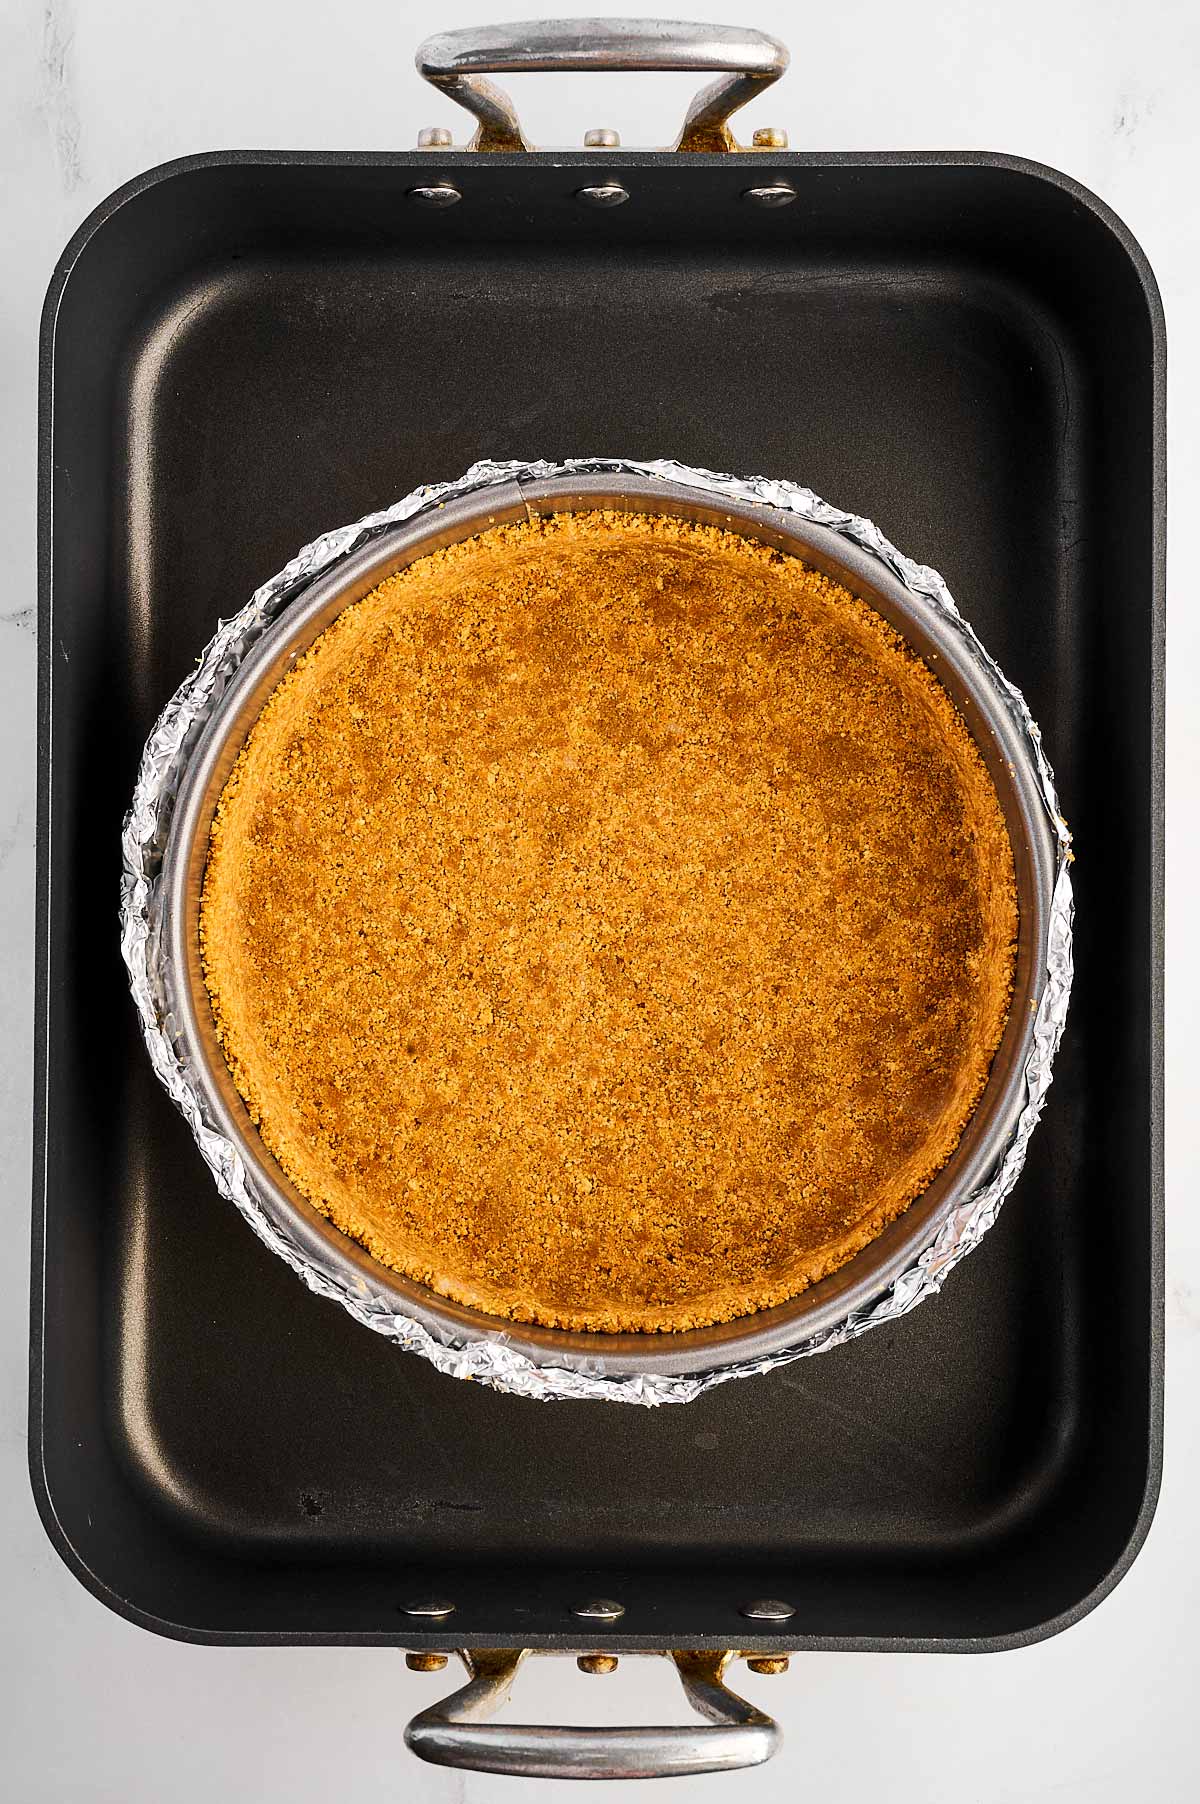
1. Prep your pan like a pro: First things first – grab your trusty 9-inch springform pan. If it’s non-stick, you’re golden! If not, give it a light spray with non-stick cooking spray.
Now for the magic trick: Take a turkey-sized roasting bag and slide the pan inside. Secure it with some kitchen string to keep everything in place.
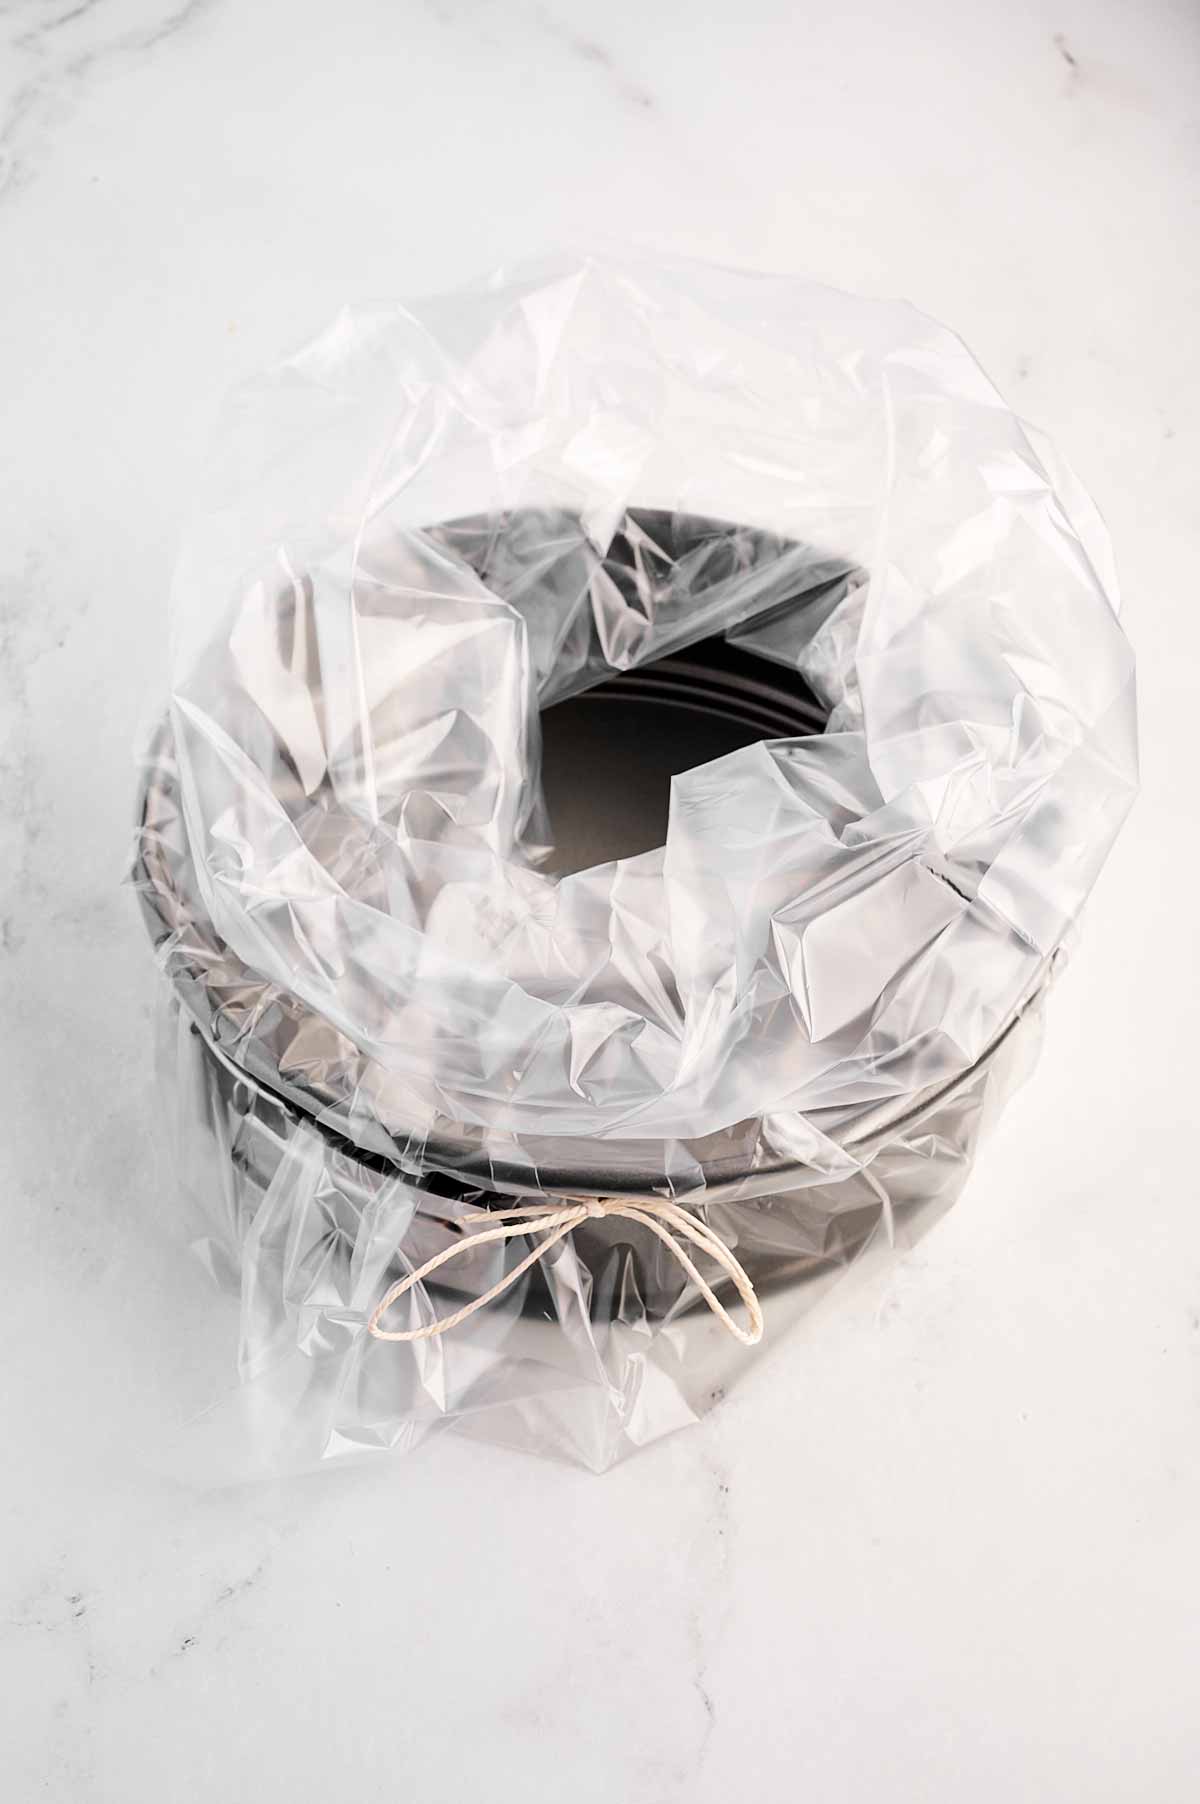
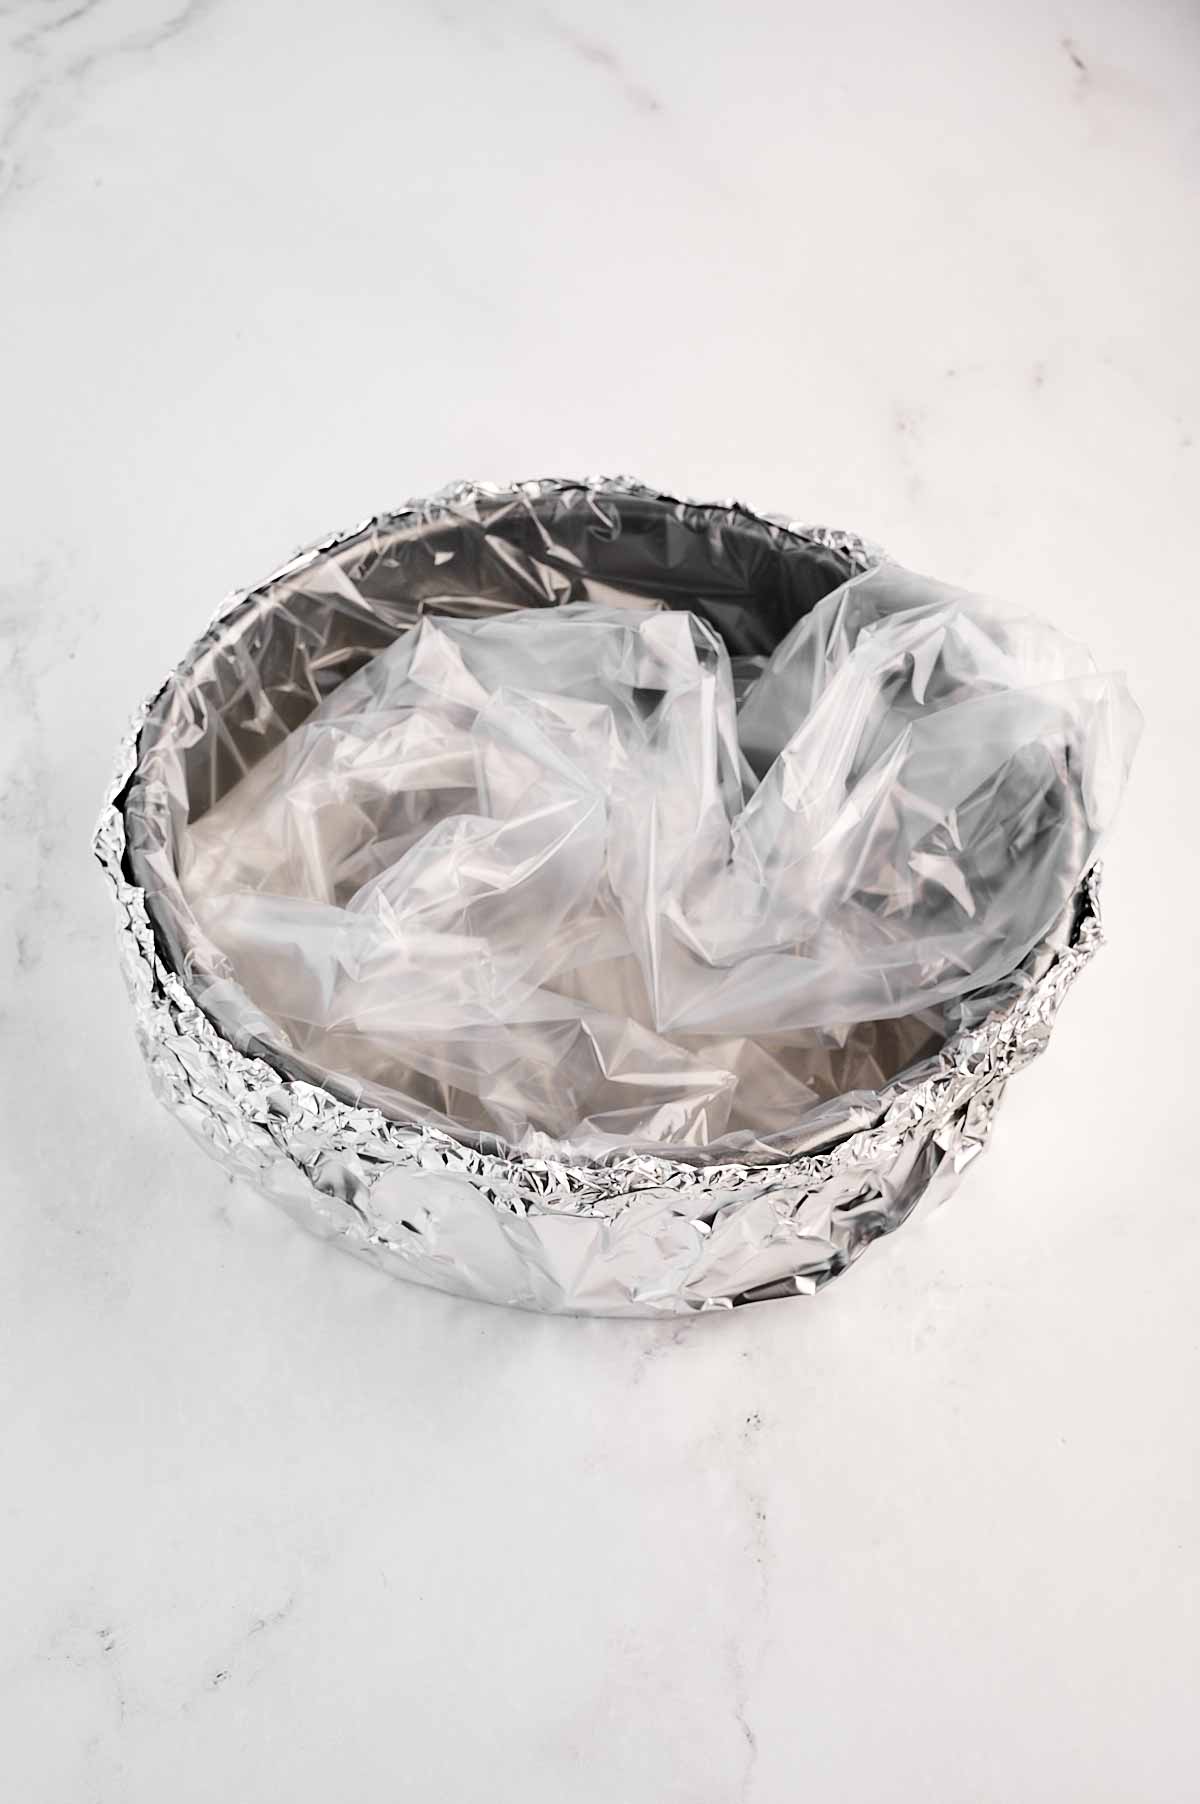
For extra insurance (because no one likes a soggy crust), wrap the whole thing in heavy-duty foil, snugly covering the bottom and sides. Trim the bag so it’s even with the pan’s rim, and voilà, your pan is water-bath ready!
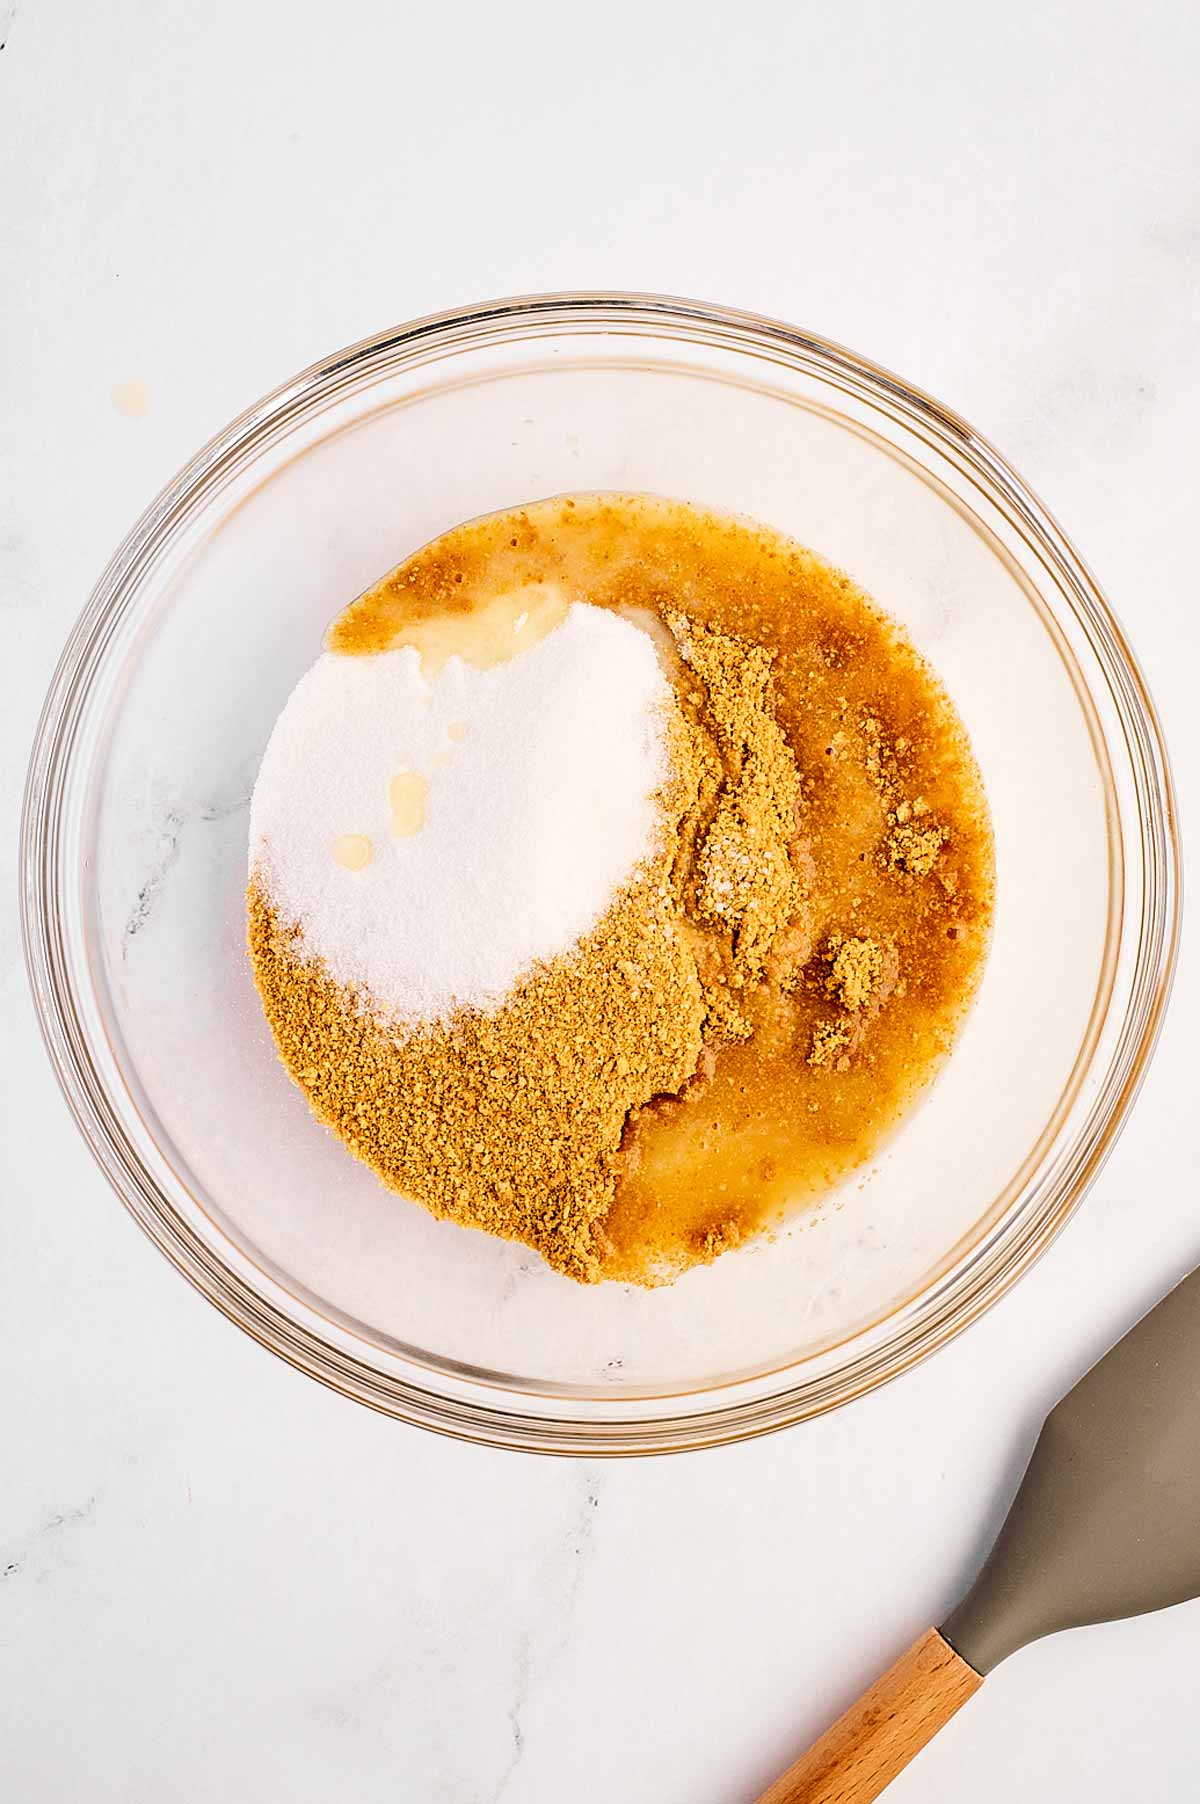
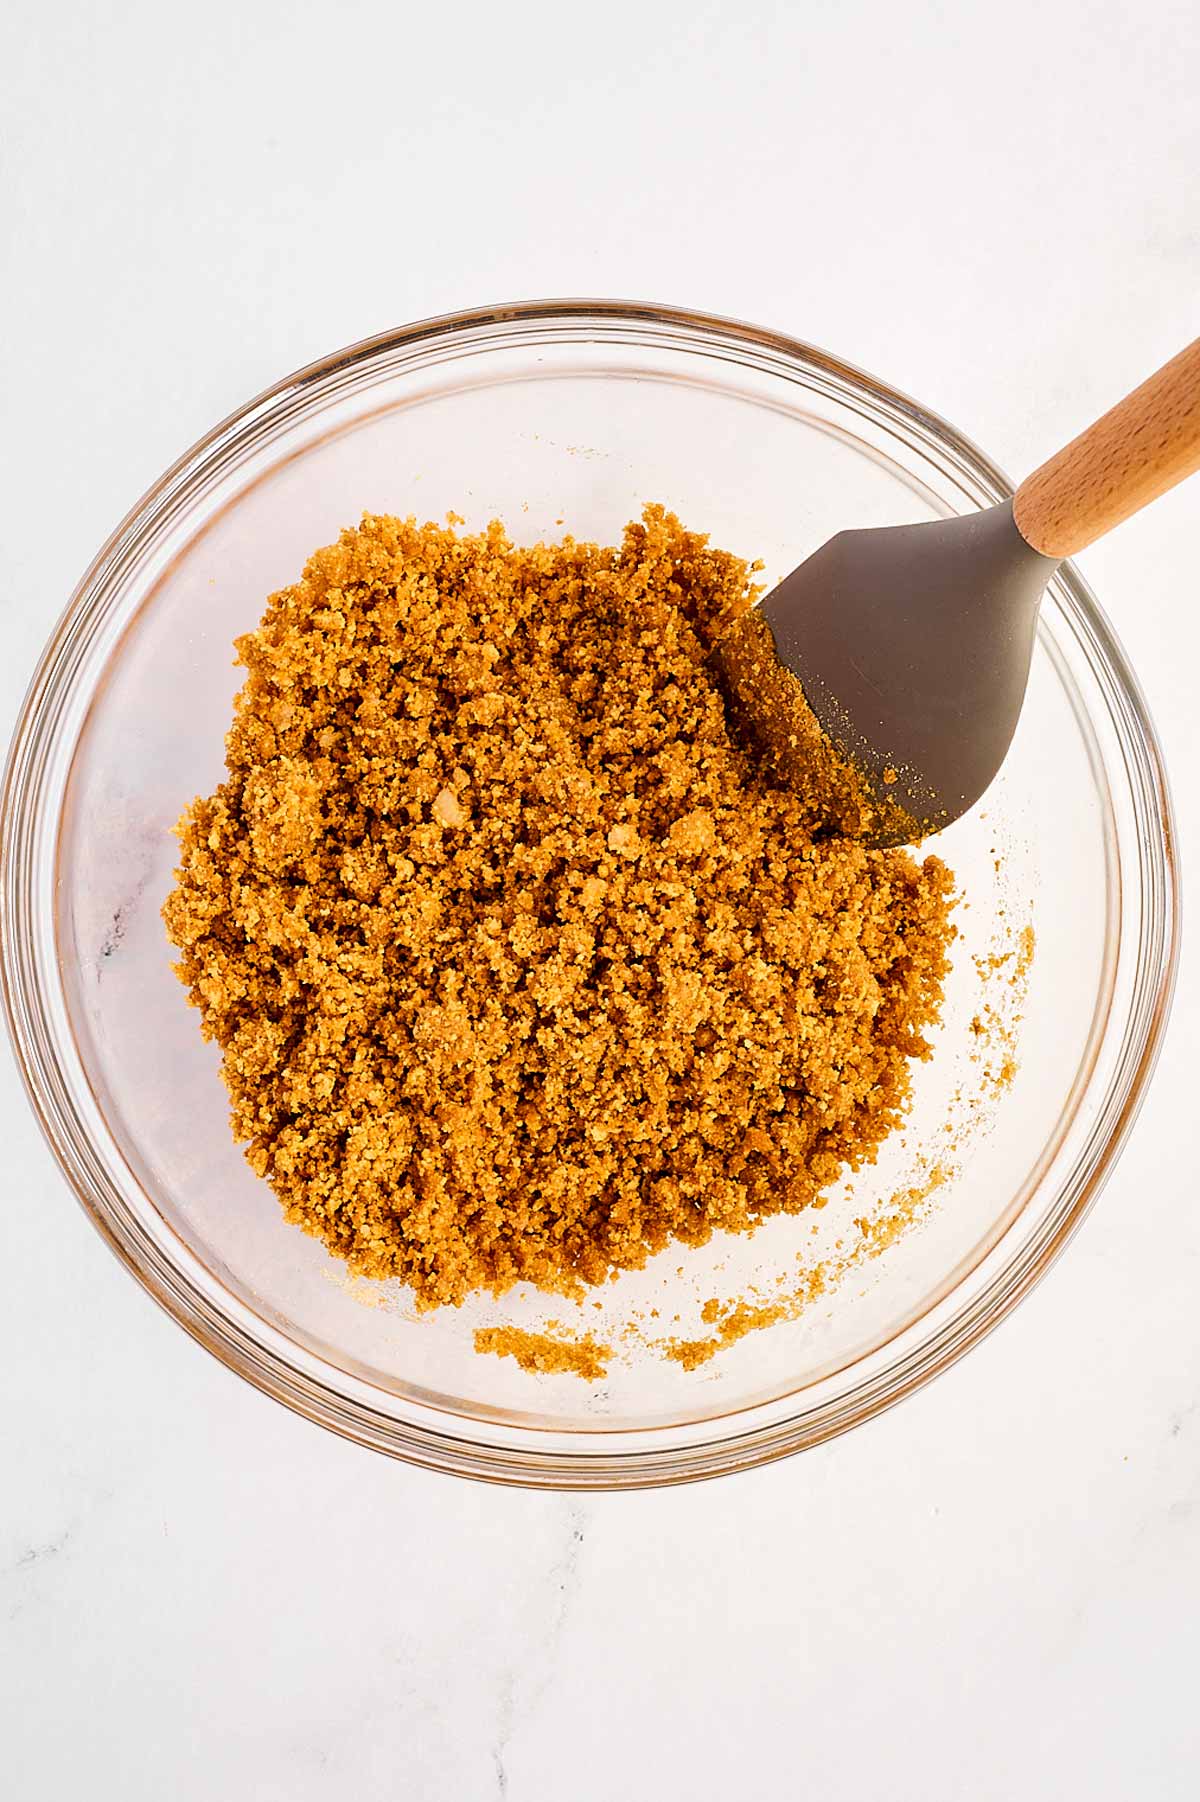
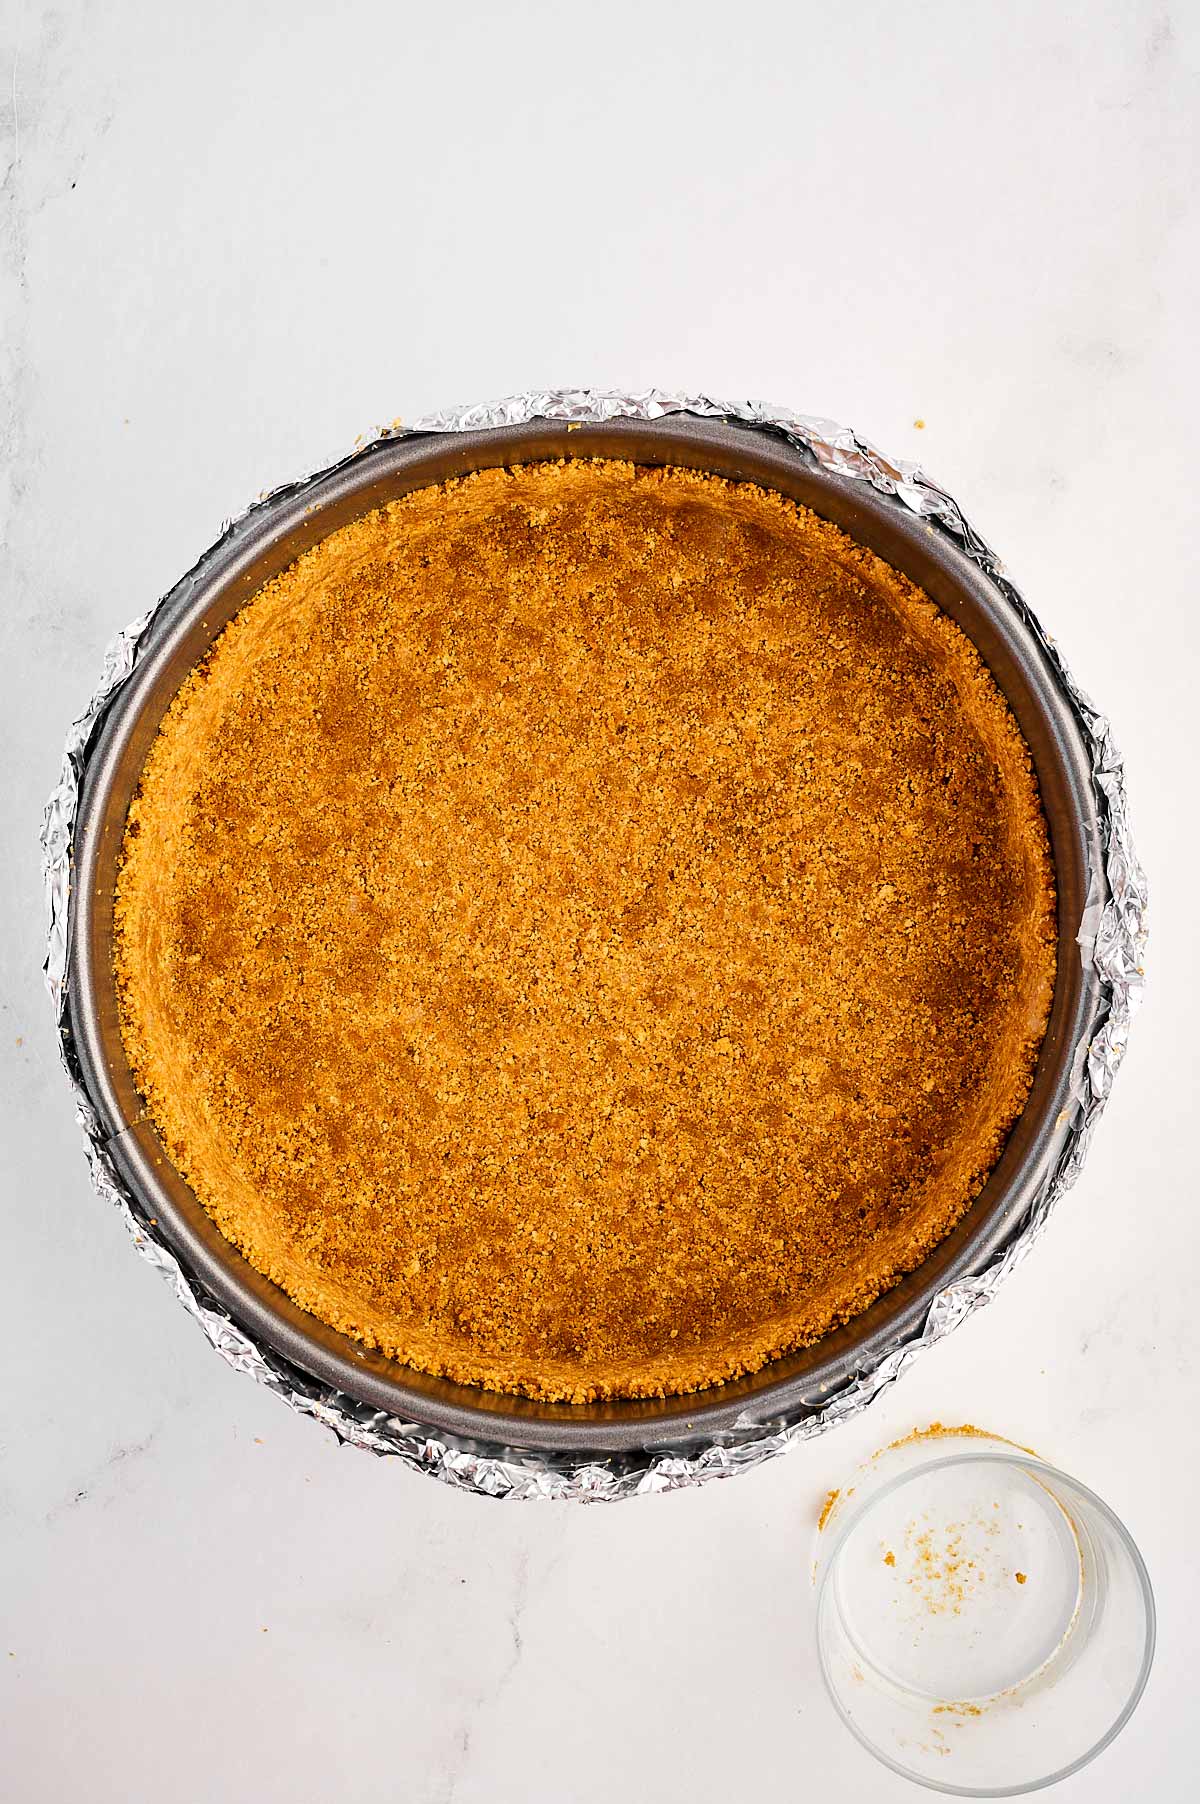
2. Mix up that graham cracker crust: In a bowl, stir together 1.5 cups graham cracker crumbs, 3 tablespoons sugar, and a pinch of salt, then pour in 6 tablespoons melted butter. Mix it all up until it feels like damp sand.
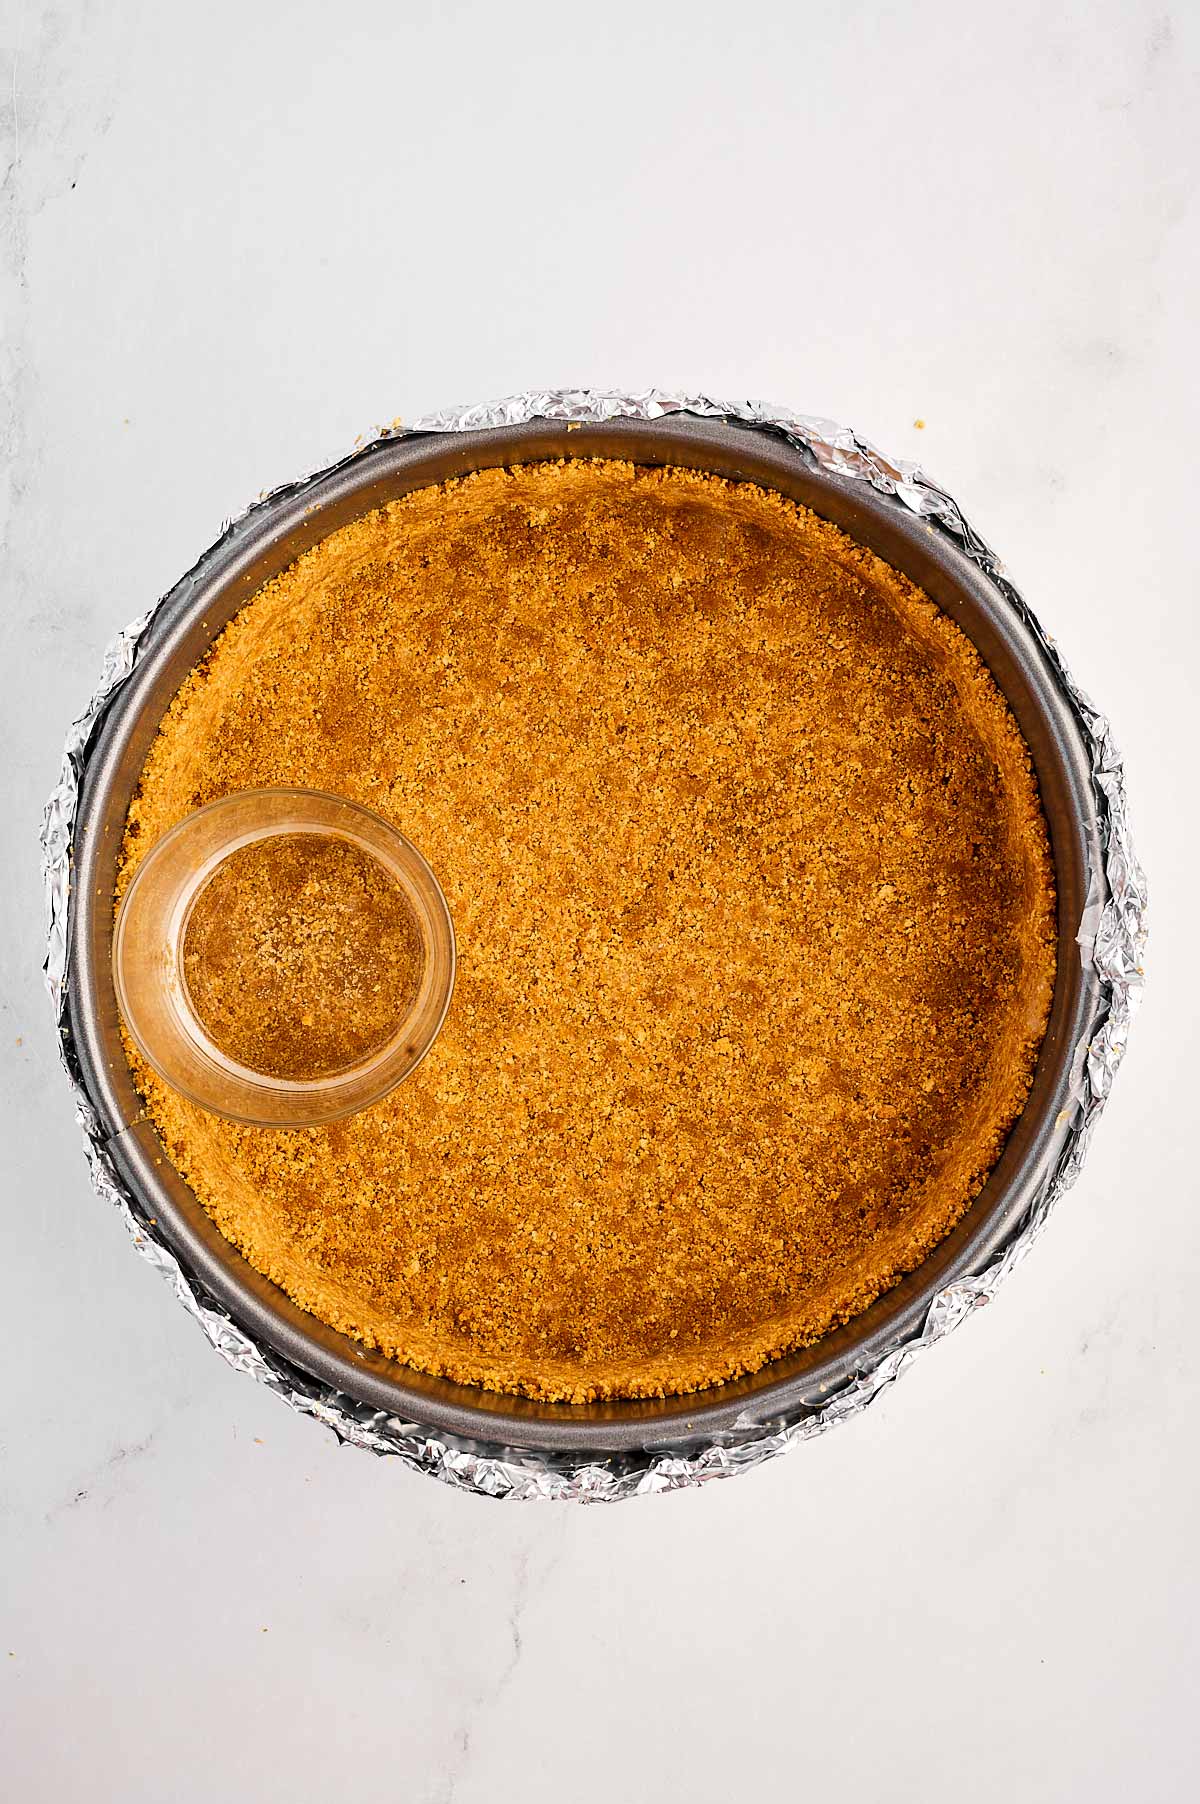
Now, press the mixture into the bottom of your prepared pan, and a little up the sides too – I like to use the back of a measuring cup or a small glass for this step. It’s oddly satisfying! Set the crust aside and give yourself a high-five.
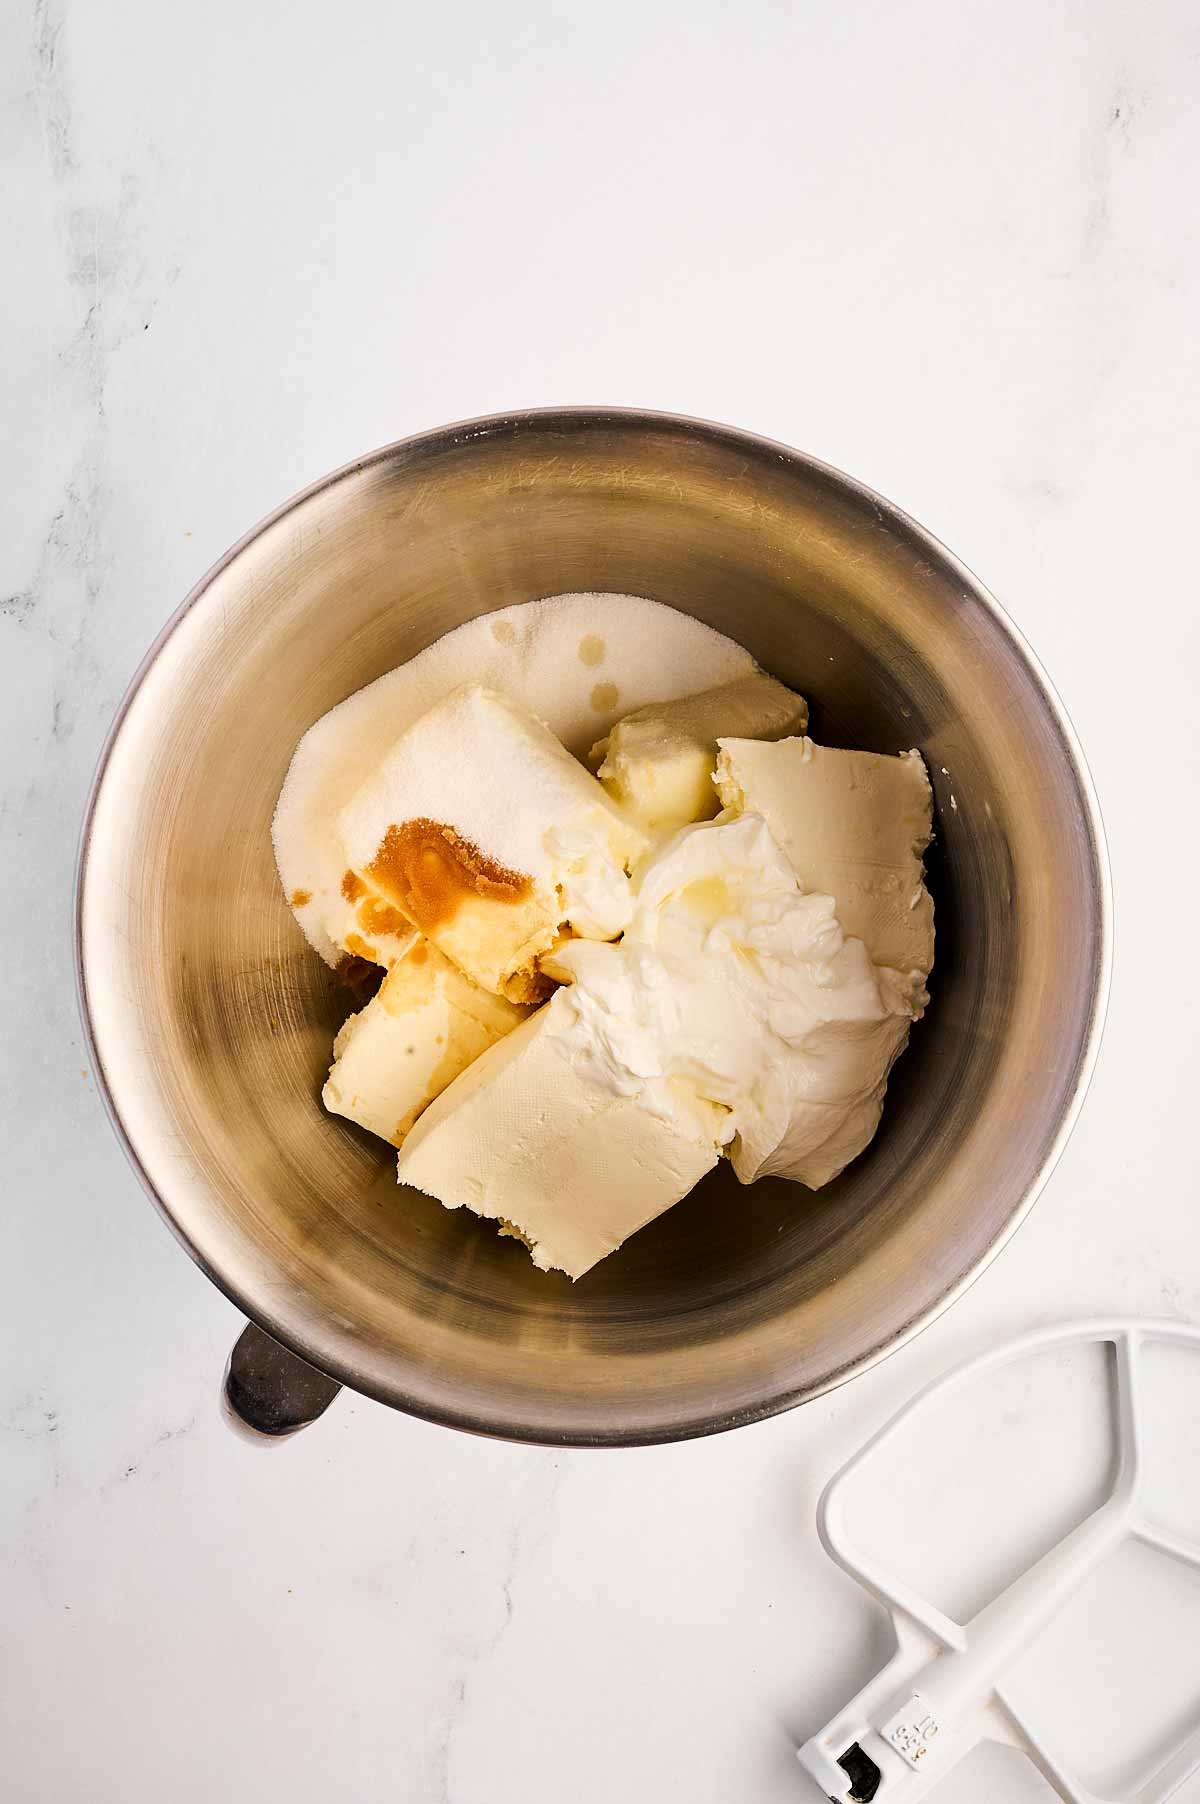
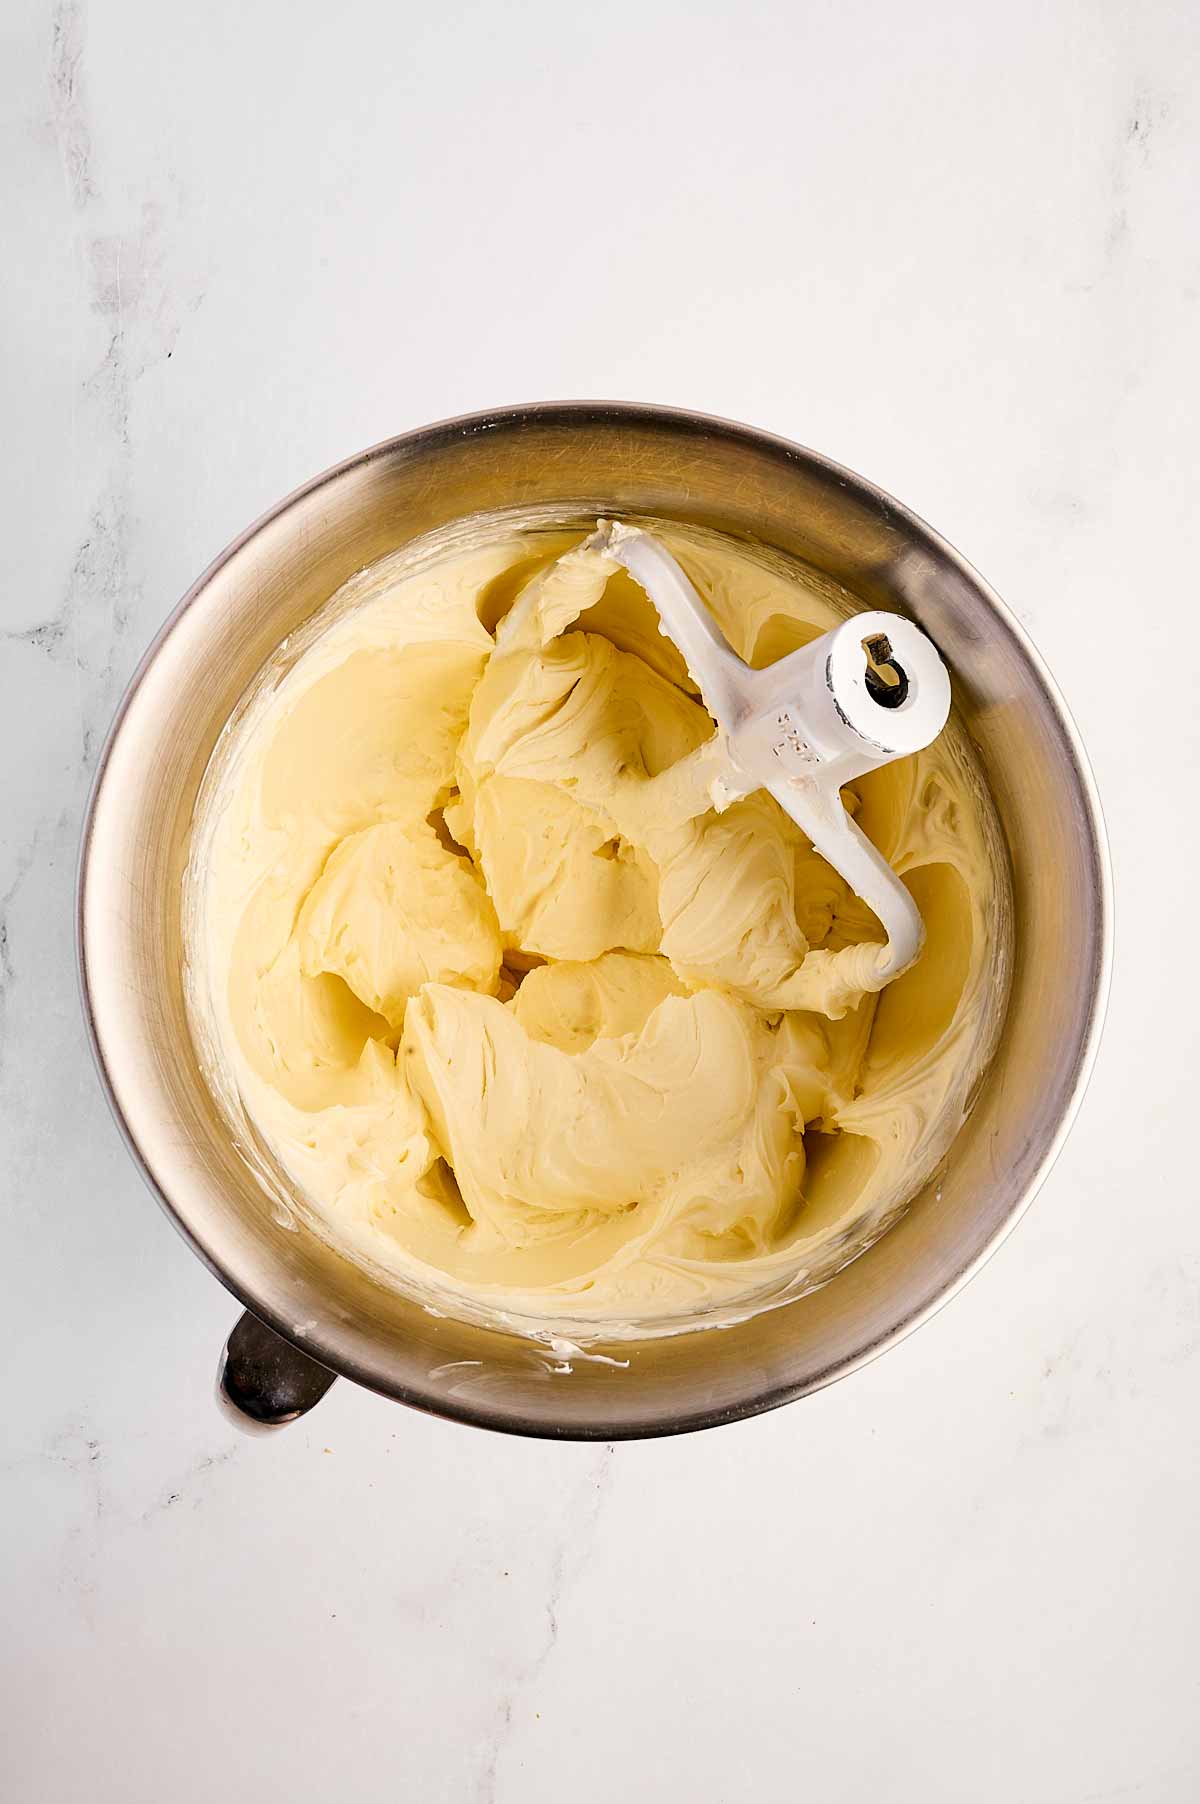
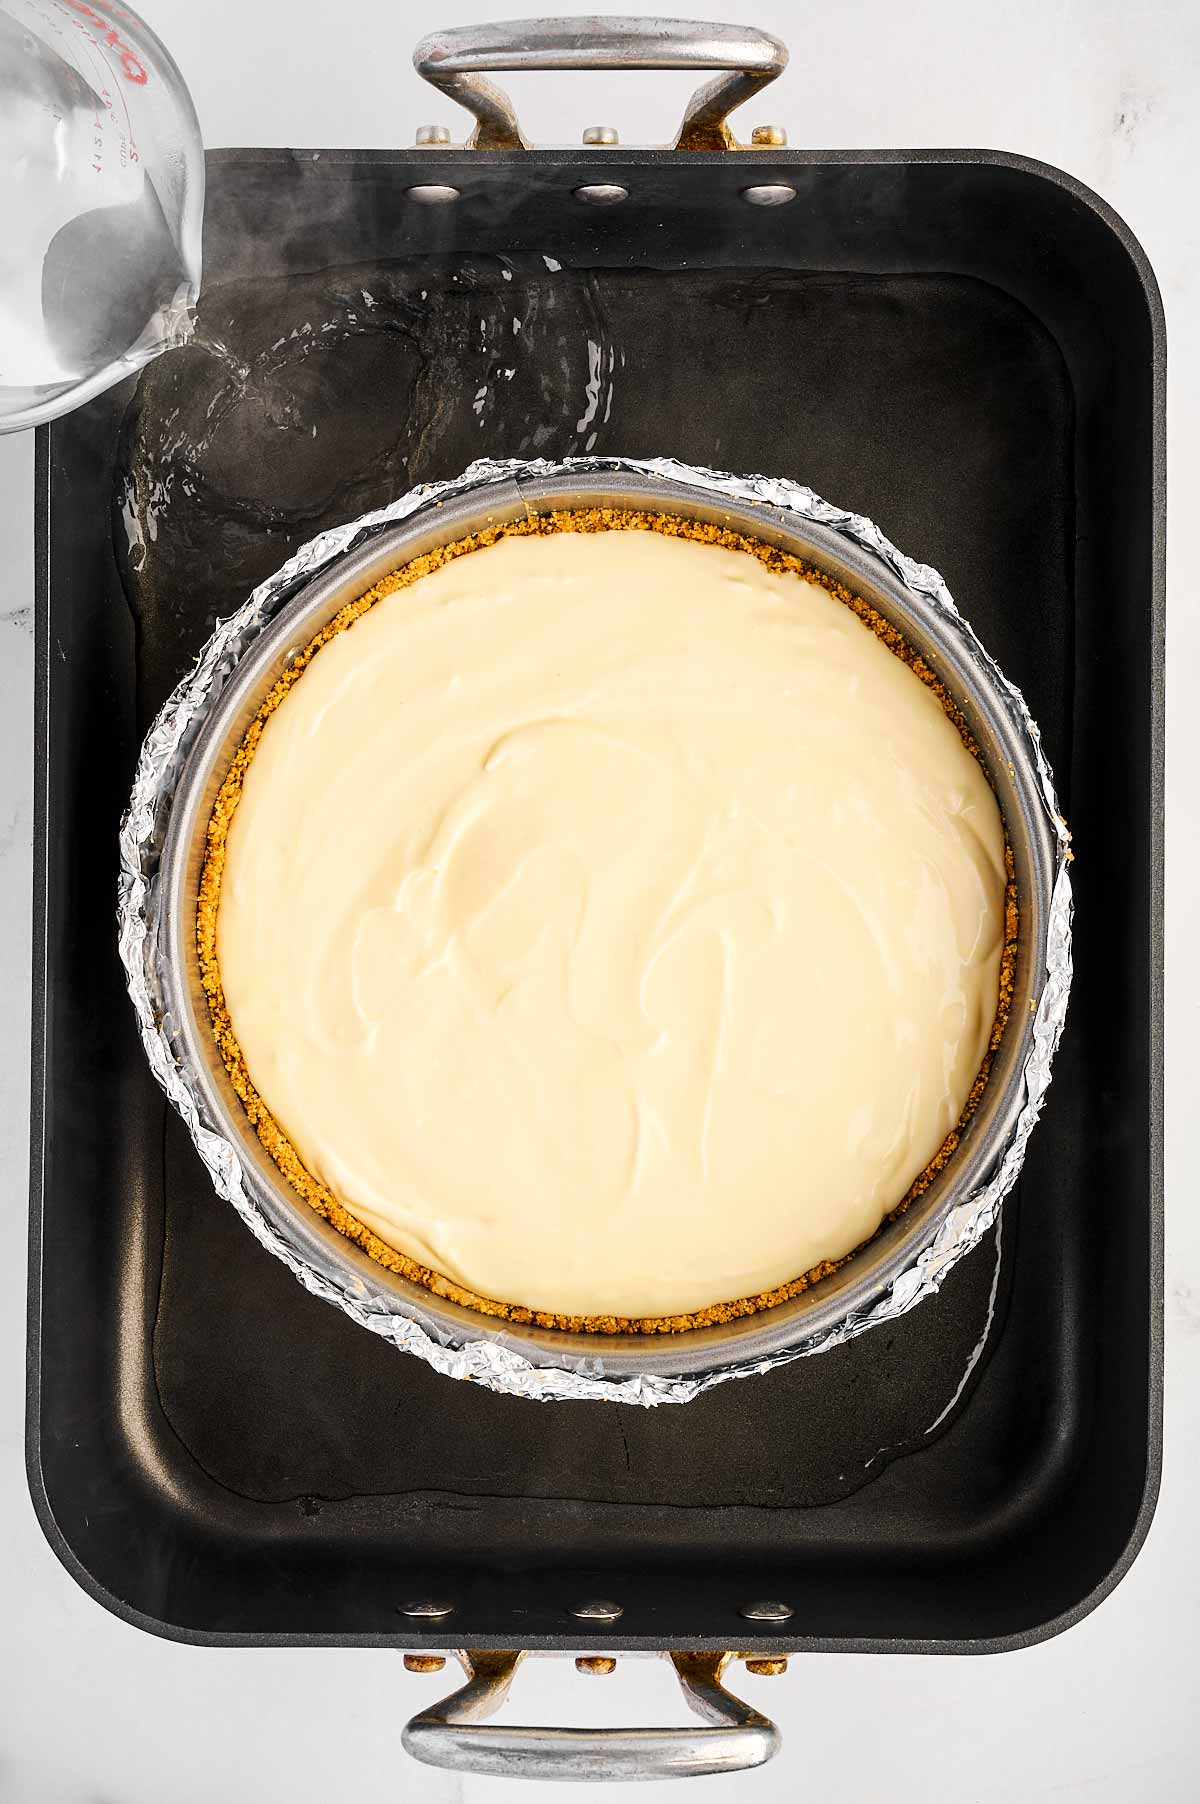
3. Whip up the creamy filling: In a large mixing bowl, beat 4 (8-oz) bricks softened cream cheese with 1 cup sugar, ¾ cup sour cream, 1.5 teaspoons fresh lemon juice, and 1.5 teaspoons vanilla extract until it’s all creamy perfection.
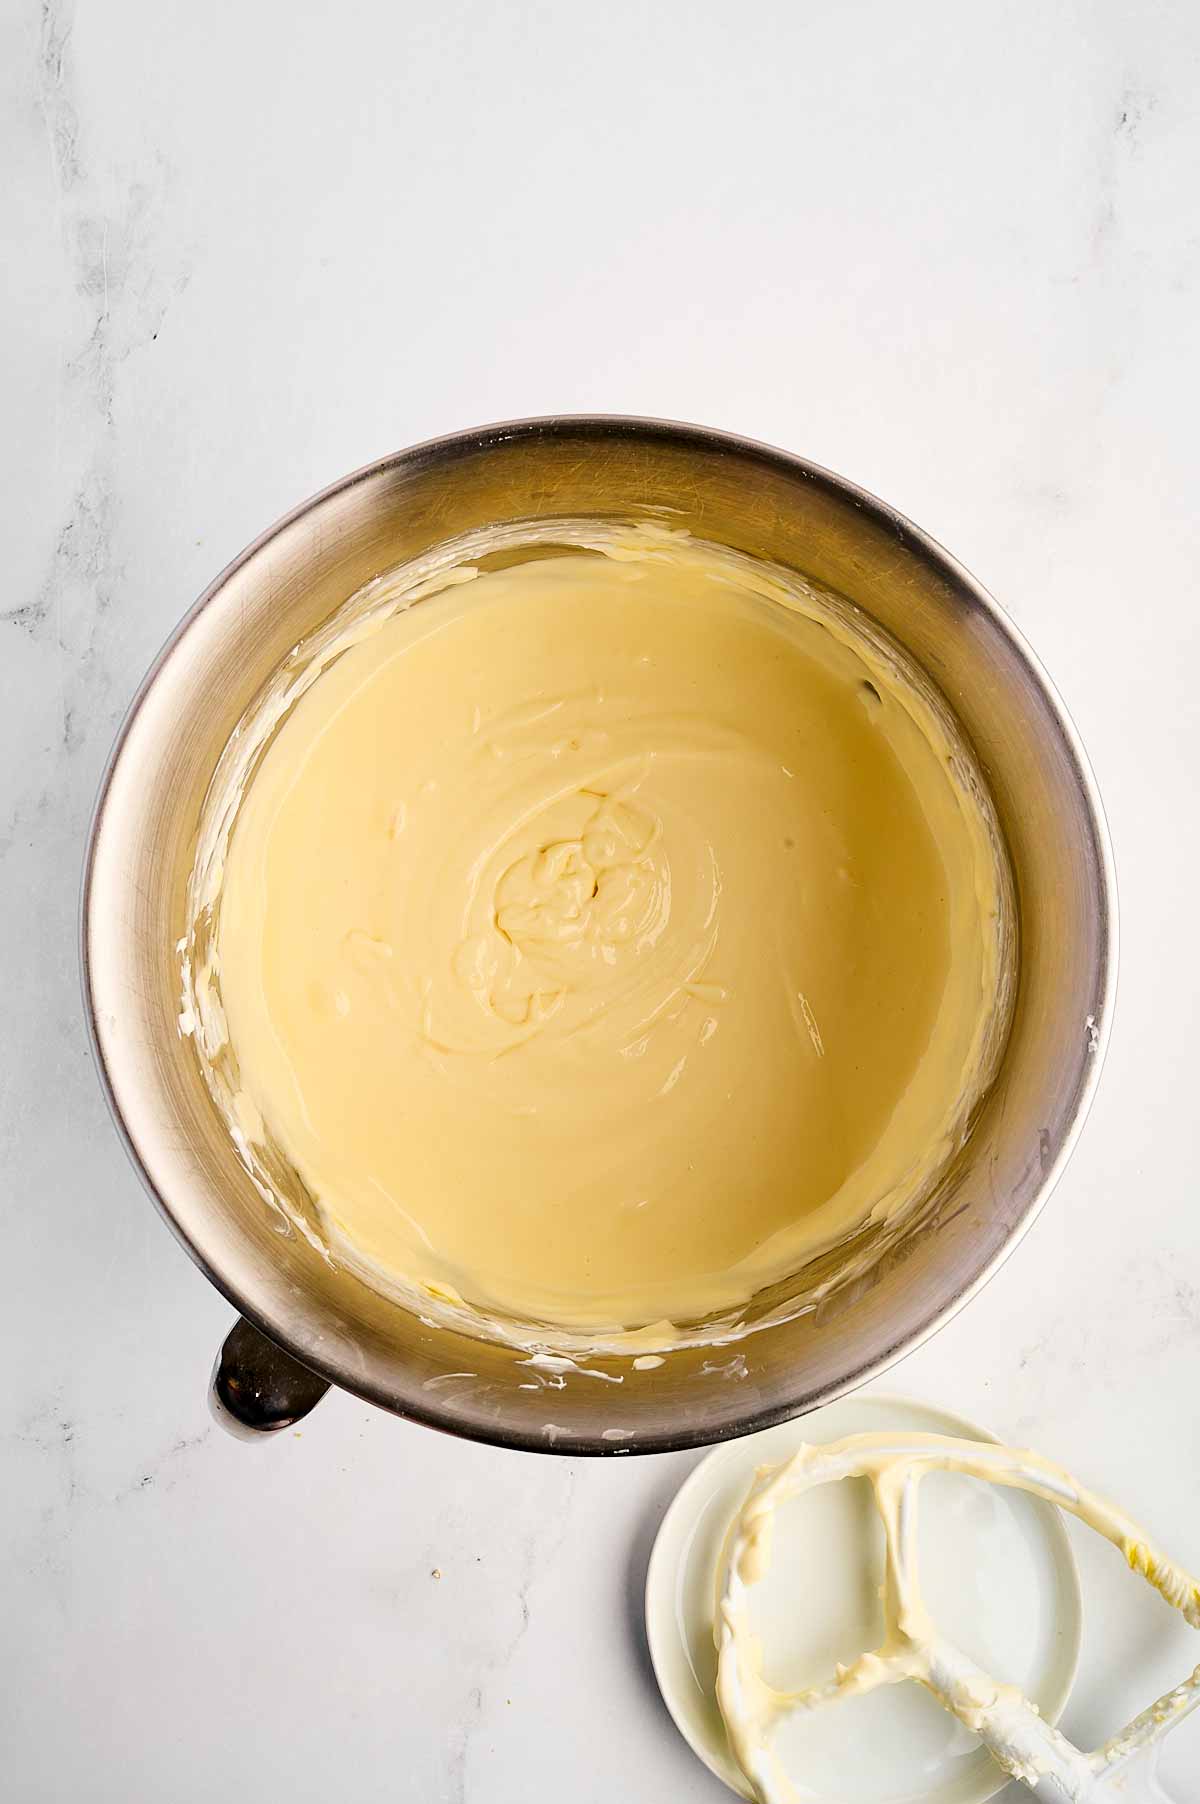
Now, for the 4 eggs – add them one at a time, mixing on low speed just until they’re blended. The key here is to go easy; overmixing can lead to cracks later on, and we’re aiming for cheesecake glory!

4. Assemble the water bath: Now for the part that makes everyone a little nervous – but trust me, it’s easy! Boil about 2 quarts of water. Place your springform pan into a larger roasting pan, then pour your cheesecake batter over the crust.

Carefully set the whole thing on a rack one level below the middle of your preheated oven. Slowly pour the hot water into the roasting pan, making sure it reaches about halfway up the side of your springform pan. Take your time here – we don’t want any splashes!
5. Bake your masterpiece: Bake the cheesecake at 325°F for about 1 hour to 1 hour and 30 minutes (this is a large span, but ovens vary – especially at lower temps!). You’ll know it’s ready when the center is almost set but still has a little jiggle.
If the top starts to brown too much after about 1 hour, just lay a piece of foil loosely over the top to protect it.
Once the baking time is up, turn off the oven and crack the door open about an inch. Leave the cheesecake in there for 10 minutes, then gently run a blunt knife around the edges to loosen it from the pan (this helps prevent cracks).
Leave it in the water bath in the oven for another 50 minutes to cool slowly – this step is key for that smooth, crack-free surface!
6. Cool and chill: Once the cheesecake has finished its oven spa session, take it out of the water bath and let it cool completely on a rack.
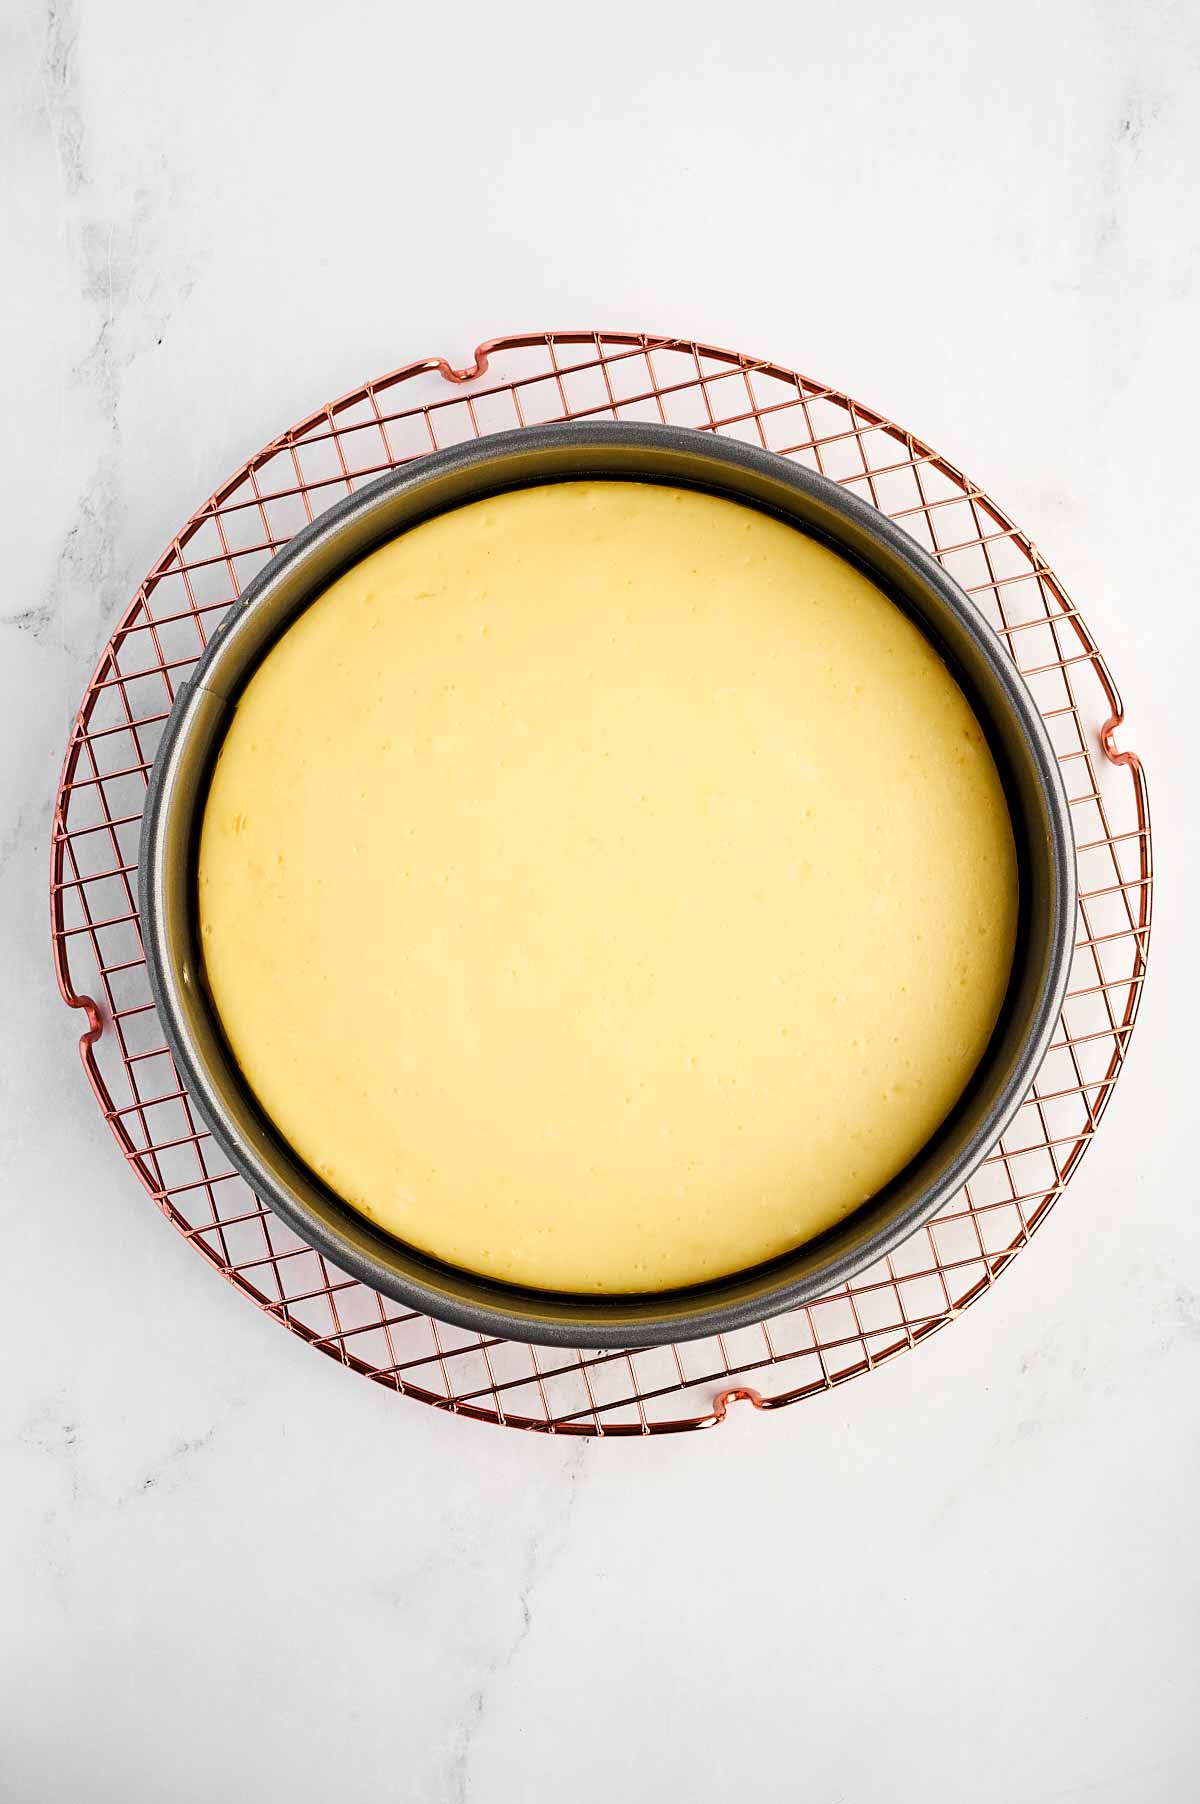
Finally, cover the pan with foil (but don’t let it touch the surface of the cheesecake!) and pop it in the fridge for at least 4 hours, or overnight if you can wait that long. The chilling time helps everything set up beautifully.
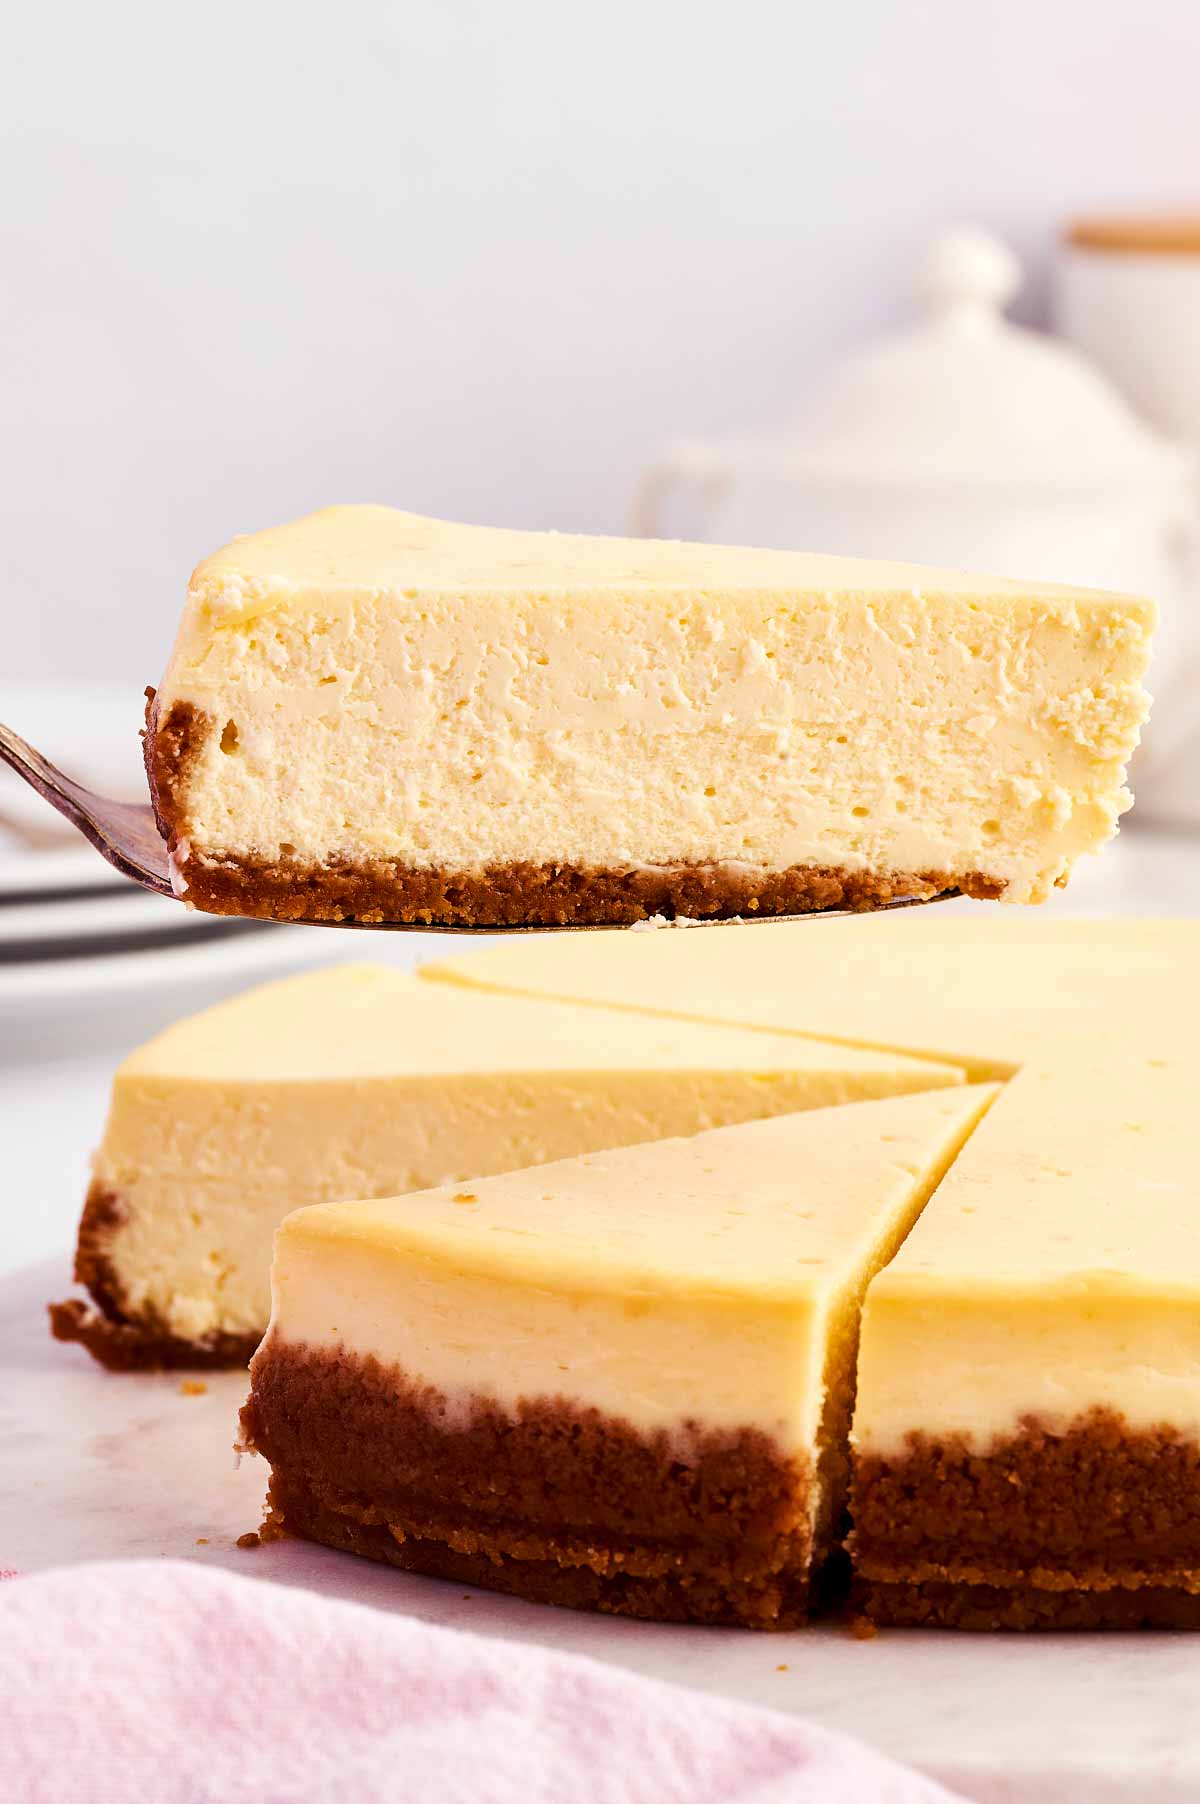
7. The big reveal: When you’re ready to serve, take the cheesecake out of the fridge and carefully remove the foil. If the edges are a little stuck, just run a blunt knife around them one more time.
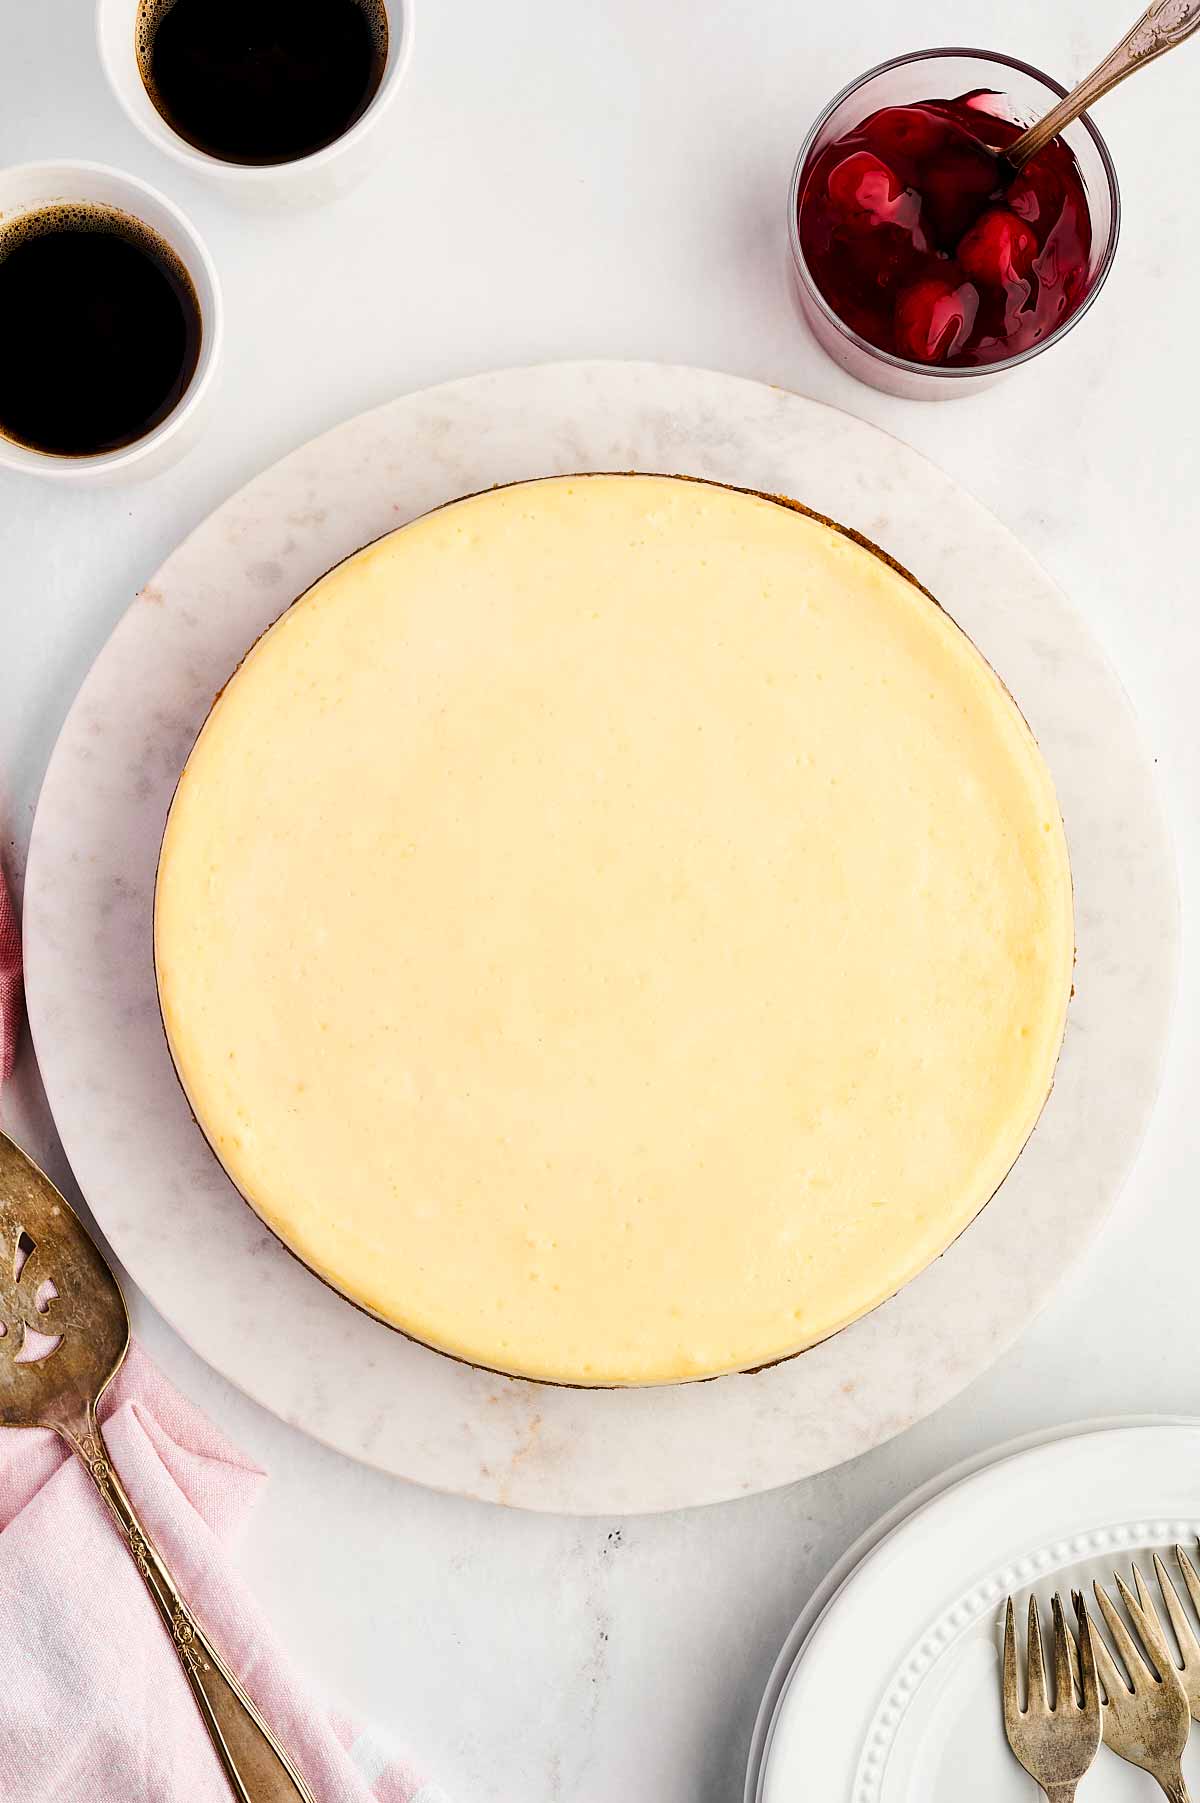
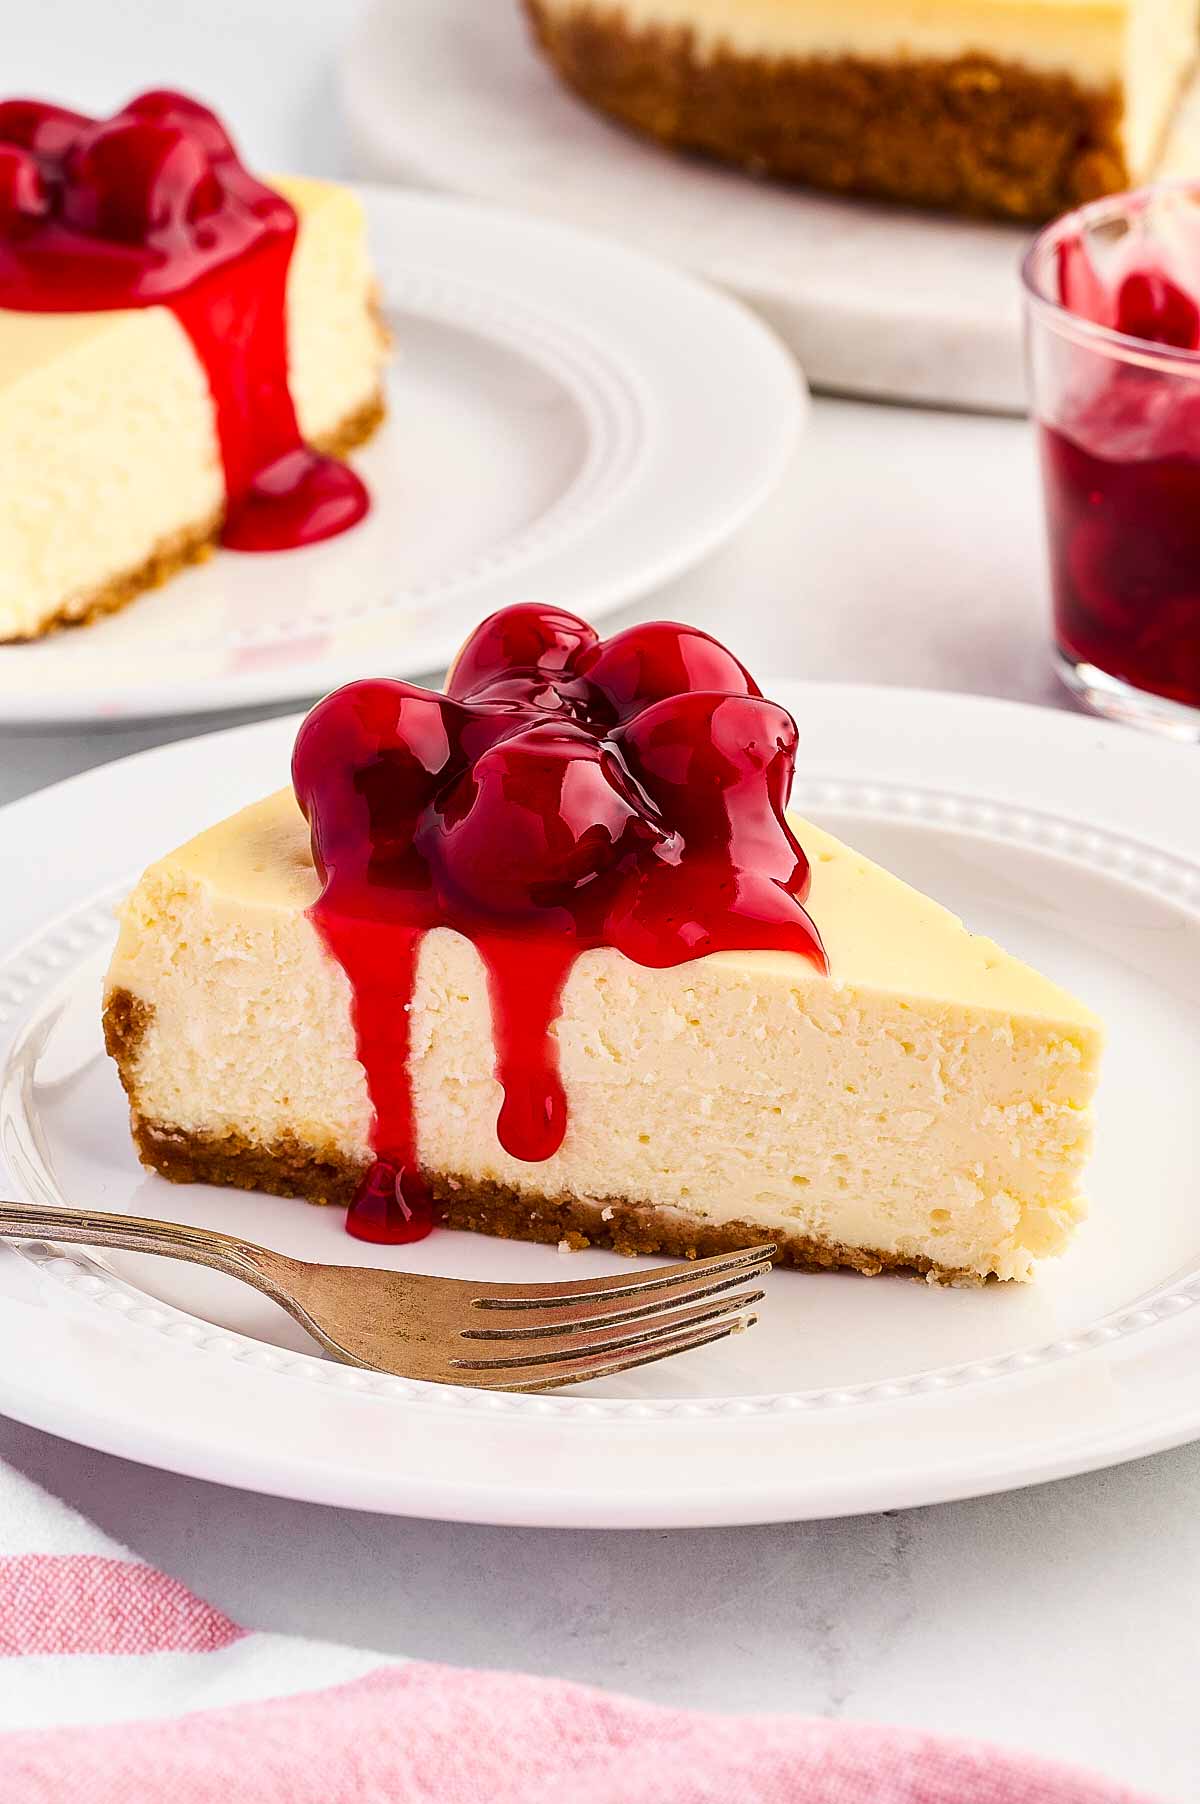
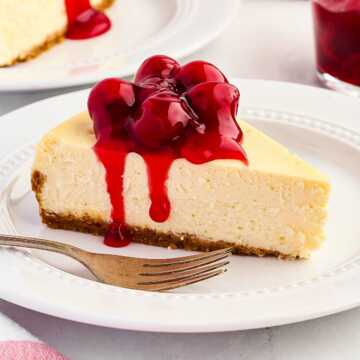
Remove the springform sides, transfer the cheesecake to a serving platter, and get ready to wow your family! Top it with whatever you love—fresh berries, caramel drizzle, or a cloud of whipped cream.

And there you have it! The best classic cheesecake, made right in your kitchen. Now, grab a fork and dig in – you deserve it!
Top tips for recipe success
- Bring your ingredients to room temperature: This is a game-changer for creamy cheesecake! Room-temperature cream cheese, sour cream, and eggs blend together more smoothly, giving you that perfectly luscious filling. They also blend faster, so you don’t have to worry about overmixing.
- Don’t skip the water bath: I know it might sound intimidating, but the water bath keeps your cheesecake from cracking by providing gentle, even heat. Plus, it helps achieve that silky texture we all love.
- Avoid overmixing the batter: Once you add the eggs, mix on low speed and stop as soon as they’re incorporated. Overmixing can add air to the batter, leading to cracks or a dense texture.
- Be patient with cooling: Letting the cheesecake cool gradually in the oven with the door cracked is key to avoiding sudden temperature changes that can cause cracks. Cheesecake is a lesson in patience, but the results are worth it!
- Use fresh lemon juice: That little splash of citrus adds just the right amount of brightness to balance the rich creaminess of the cheesecake. Fresh makes all the difference here!
- Don’t rush the chilling time: The cheesecake needs at least 4 hours in the fridge to fully set. Overnight is even better if you can resist!
- Wrap your pan carefully: Double-wrap your springform pan with a roasting bag and foil to keep every drop of water out of your crust. Soggy crusts are a cheesecake’s worst enemy!
- Test for doneness with a jiggle: The edges should be set, but the center should still have a slight wobble—like Jell-O! It will firm up as it cools.
- Loosen the edges with a knife: Running a blunt knife around the edges while the cheesecake is still warm helps prevent it from sticking to the pan and cracking as it cools.
Helpful recipe hints
Recipe variations
- Berry bliss cheesecake: Add a swirl of your favorite fruit puree (strawberry, raspberry, or blueberry) on top of the filling before baking. It’s like having a built-in fruity topping! My 8-year-old loves to help with the swirling.
- Citrus sensation cheesecake: Replace the vanilla extract with a mix of orange or lemon zest and extract for a bright, zesty flavor. Perfect for summer parties or when you’re craving something refreshing!
- Cookie crust cheesecake: Swap the graham crackers for crushed Oreos, Biscoff cookies, or even gingersnaps for a fun twist on the classic crust. It’s such an easy way to customize!
Storage tips
Make-ahead option: Cheesecake is a perfect make-ahead dessert! You can bake it a day or two in advance, then let it chill in the fridge until you’re ready to serve. In fact, I think it tastes even better the next day after the flavors have had time to meld.
Storing leftovers: If you somehow have leftovers (it rarely happens in my house!), cover the cheesecake tightly with plastic wrap or store slices in an airtight container. It’ll stay fresh in the fridge for up to 3 days.
Freezing tips:
- Cool completely: Before freezing your cheesecake, make sure it’s fully cooled to room temperature and has had time to chill in the fridge. Trust me, this little step is key to keeping the structure perfect and avoiding those dreaded ice crystals that can sneak in if it’s still warm.
- Wrap it up right: To keep your cheesecake fresh and safe from freezer burn, wrap it tightly in plastic wrap and then a layer of aluminum foil. For extra protection, pop it into a freezer-safe bag or an airtight container. This may seem like overkill, but it’s totally worth it to lock in that creamy, dreamy flavor.
- Freeze without toppings: If you’re planning to freeze your cheesecake, skip the toppings for now. Things like fruit or whipped cream can get soggy in the freezer. Add them after thawing—it’s an easy way to keep everything looking and tasting fresh!
- Label and date: I always stick a little label with the freezing date on mine so I don’t forget. Cheesecake is best enjoyed within a month for peak flavor and texture, but if life gets busy (hello, mom life), it can hang out in the freezer for up to two months.
Thawing tips:
- In the fridge overnight: The easiest and best way to thaw your cheesecake is to let it sit in the fridge overnight. It’s slow and steady, but this method keeps the texture just as creamy as the day you baked it.
- Quick thaw for slices: If you’re in a rush (been there), you can thaw individual slices at room temperature for a couple of hours. Just keep an eye on them – don’t leave them out too long, or the texture might not be quite as perfect.
With these tips, your cheesecake will freeze and thaw like a champ. It’s like having a little slice of homemade magic ready whenever you need it!
Serving ideas
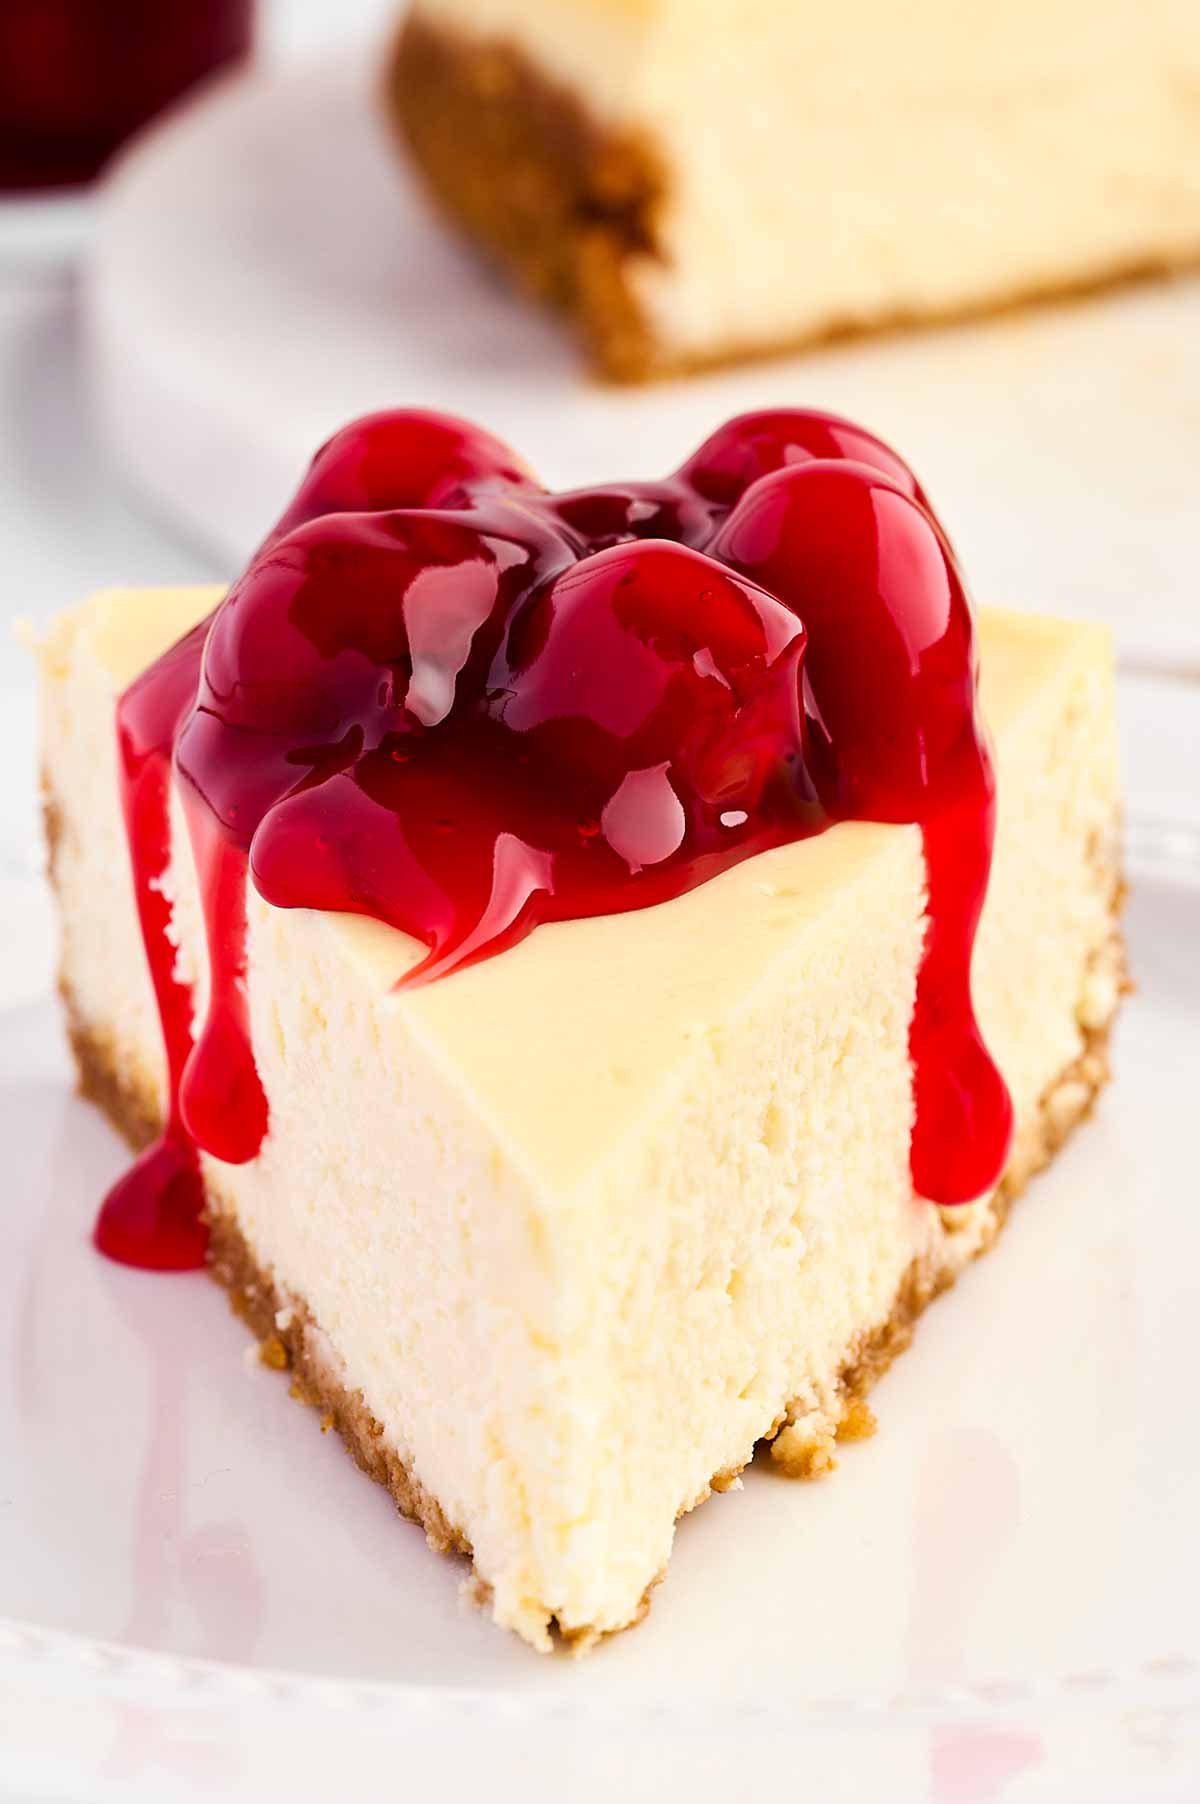
Let’s take your classic cheesecake and dress it up for any occasion! Whether it’s a cozy family gathering or a big holiday celebration, these topping ideas will make your cheesecake the talk of the table:
- Easter Extravaganza: Want to wow the kids (and let’s be honest, the grown-ups too)? Top your cheesecake with crushed mini chocolate eggs! The pastel colors are so festive, and the crunch adds a fun twist. Plus, who doesn’t love a little extra chocolate at Easter?
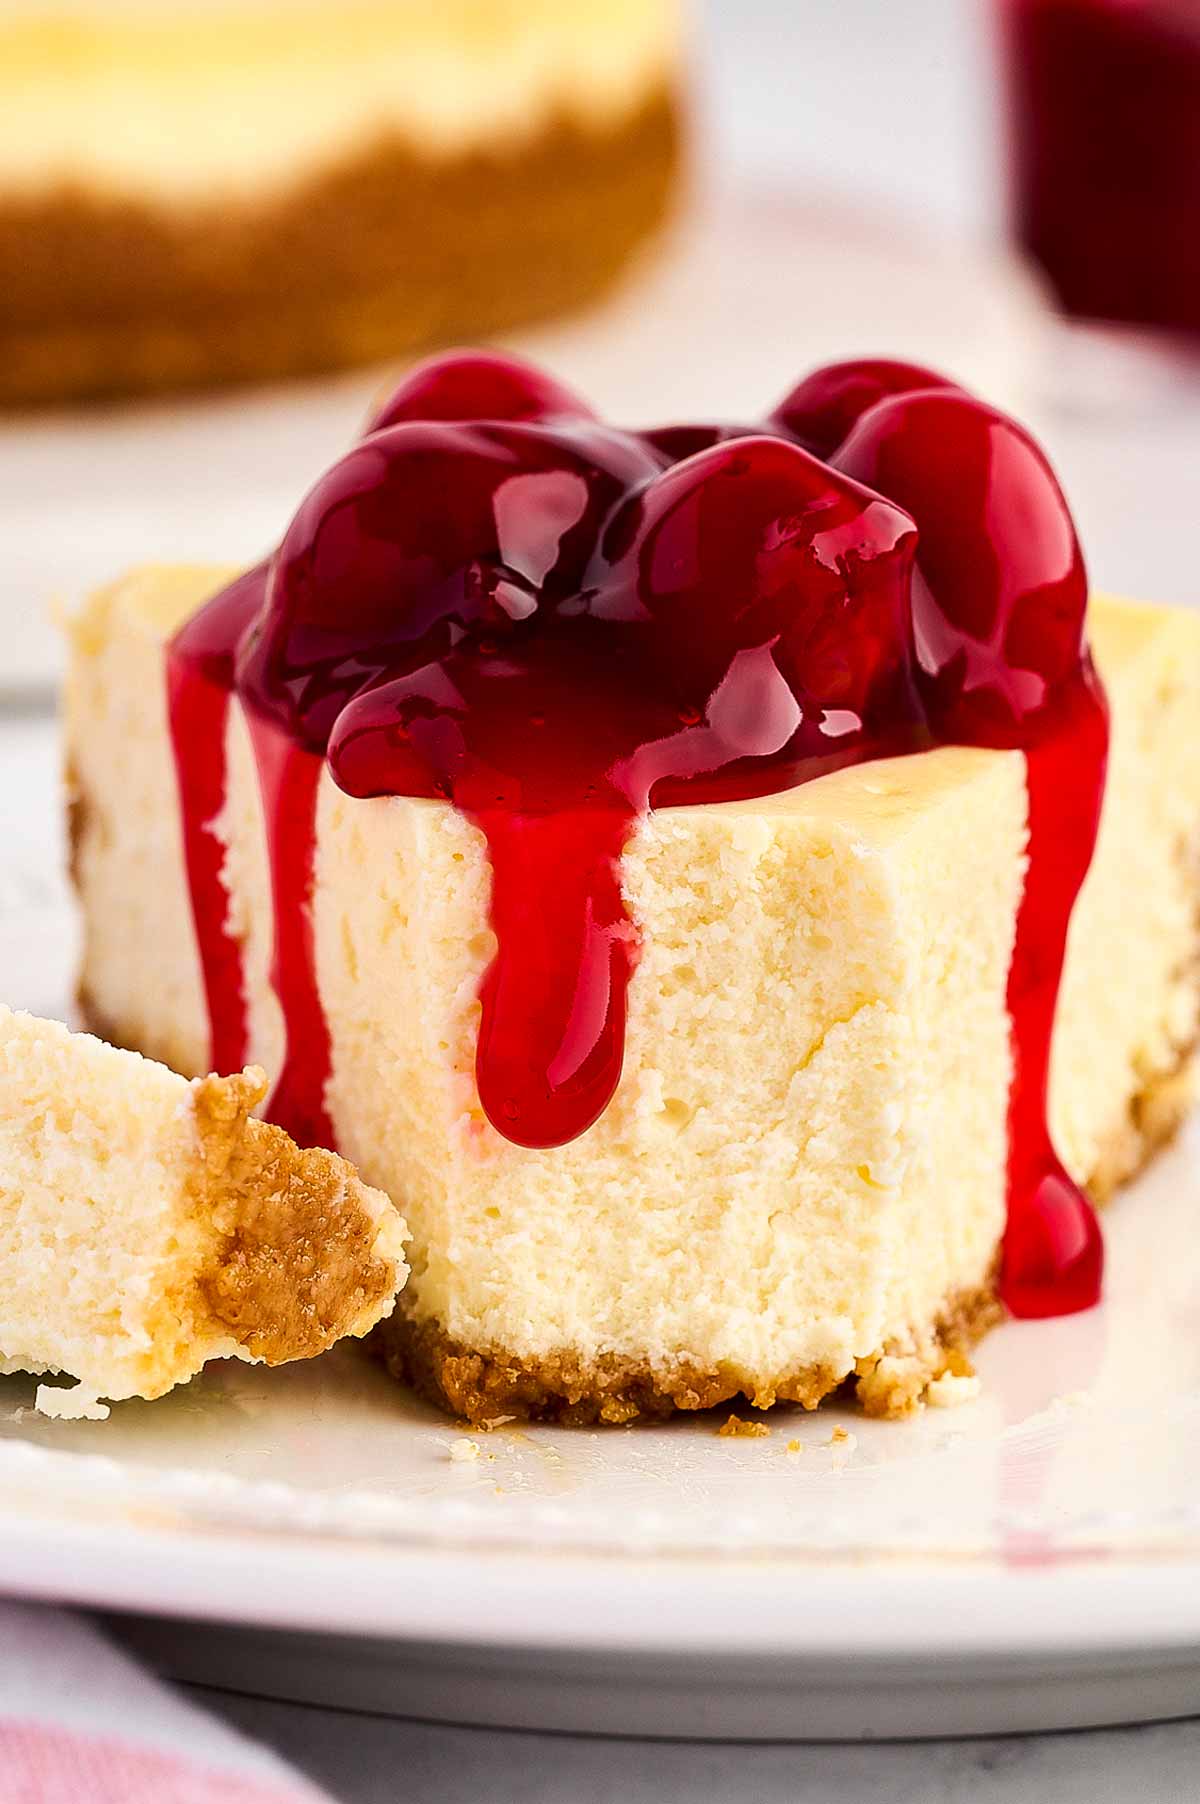
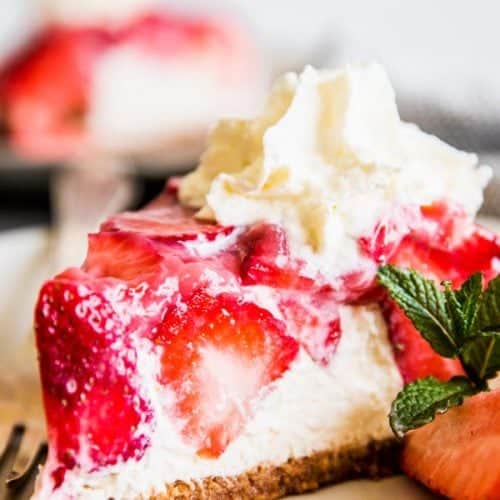
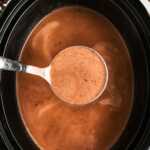
- Springtime Delight: A drizzle of homemade strawberry sauce takes this cheesecake to a whole new level. It’s bright, fruity, and so perfect for those sunny spring days. I always make extra because my kids will eat it by the spoonful if I’m not watching!
- Autumn Gathering: Pumpkin spice everything, am I right? Add a layer of spiced pumpkin sauce or pumpkin caramel to your cheesecake, and suddenly it’s the coziest dessert on the table. This one’s a hit for Thanksgiving – just be prepared for everyone asking for seconds!
- Christmas Celebration: For the holidays, I love topping my cheesecake with a glossy chocolate ganache and a sprinkle of crushed peppermint candies. It’s festive, decadent, and let’s be h
- onest, feels a little fancy (even though it’s super easy to pull off).
- Summer Picnic: Fresh berries are always a winner! Pile on some whipped cream plus a mix of strawberries, blueberries, and raspberries for a light, refreshing topping. It’s simple, stunning, and perfect for those laid-back summer get-togethers.
The best part about this cheesecake is that it’s like a blank canvas. You can totally make it your own. What’s your favorite topping? Let me know – I’m always up for trying new ideas!
More cheesecake recipes


PS If you try this recipe, please leave a review in the comment section and add a star rating in the recipe card – I appreciate your feedback! Follow along on Pinterest, Facebook or Instagram.
Classic Cheesecake
Recipe details
Ingredients
Graham cracker crust
- 1 ½ cups graham cracker crumbs
- 3 tablespoons sugar
- 1 pinch salt
- 6 tablespoons butter melted
Cheesecake Filling
- 4 (8-oz) bricks cream cheese softened at room temperature
- 1 cup sugar
- ¾ cup sour cream room temperature
- 1 ½ teaspoons fresh lemon juice
- 1 ½ teaspoon pure vanilla extract
- 4 large eggs room temperature, lightly beaten
Instructions
- Prep: Heat oven to 325°F. Set a 9-inch non-stick springform pan inside a turkey-sized roasting bag (if pan isn’t non-stick, lightly spray inside with non-stick cooking spray). Tie kitchen string around to secure bag. For extra protection, set wrapped pan on large square of heavy-duty aluminium foil. Wrap foil around pan to secure bag firmly against pan, folding any excess foil to be even with trim. Finally, trim roasting bag to be level with pan’s rim.
- Prepare crust: Combine graham cracker crumbs, sugar, salt and melted butter in a medium-large mixing bowl. Press mixture firmly into bottom and partially up the sides of prepared pan (an empty measuring cup is helpful to complete this step).
- Mix filling: In a large mixing bowl, beat softened cream cheese, sugar, sour cream, lemon juice and vanilla extract until smooth and creamy.
- Incorporate eggs: Add eggs, one at a time, mixing on low speed JUST until blended. Avoid overmixing!
- Assemble water bath: Prepare 2 quart boiling water. Place springform pan inside a large roasting pan. Pour cream cheese mixture over prepared crust. Set on a rack one rung down from middle of preheated oven. Carefully pour hot water into roasting pan, halfway up side of springform pan (about 1 – 1 ¼ inch), taking care not to pour any water over cheesecake!
- Bake: Bake for 1h minutes to 1h 30 minutes (depending on your exact oven and pan used, this can vary), or until center is almost set; cover loosely with foil after about 55-60 minutes or if top starts browning.
- Cool in oven: Once cheesecake is done (center almost set, slight jiggle present), turn off oven and crack door open 1 inch. After 10 minutes, carefully run a blunt knife around edge to loosen any stuck parts – do not remove cheesecake from oven. Let cheesecake cool inside water bath in switched off, cracked open oven for 50 more minutes to prevent surface cracking.
- Cool and chill the cake: Remove cheesecake from oven, and from water bath. Set on a cooling rack and allow to cool completely. Cover springform pan with foil without touching cheesecake surface, refrigerate for at least 4 hours before serving.
- Serve: Take cheesecake out of refrigerator and remove all foil. If needed, run a blunt knife along the edge of the cake again to loosen it from pan. Remove springform sides, then set on a serving platter and serve with desired toppings.
Notes
Ingredient notes
- Cream cheese: Use full-fat, softened cream cheese for the creamiest texture. Avoid low-fat versions.
- Sour cream: Full-fat works best; plain Greek yogurt is a good substitute.
- Graham cracker crumbs: Use store-bought crumbs or crush your own; try digestive biscuits or vanilla wafers as alternatives.
- Lemon juice: Use fresh for a brighter flavor; bottled works in a pinch.
- Eggs: Room temperature eggs blend better; warm in hand-warm water if needed.
Recipe tips
- Avoid cracks: Use a water bath and avoid overmixing the batter.
- Check doneness: Look for a slightly jiggly center – don’t overbake.
- Cooling matters: Cool gradually in the oven, then chill in the fridge for at least 4 hours.
- Wrap carefully: Double-wrap your pan with foil and a roasting bag to keep water out.
- Add toppings after chilling: Prevent sogginess by decorating after chilling.
Storage tips
- Make ahead: Bake 1–2 days in advance and store in refrigerator for even better flavor.
- Store leftovers: Cover tightly or store in an airtight container in the fridge for up to 3 days.
- Freeze: Wrap cooled cheesecake in plastic wrap and foil; freeze for up to 2 months. Thaw overnight in the fridge or individual slices at room temperature for 2–4 hours.


Comments
No Comments