

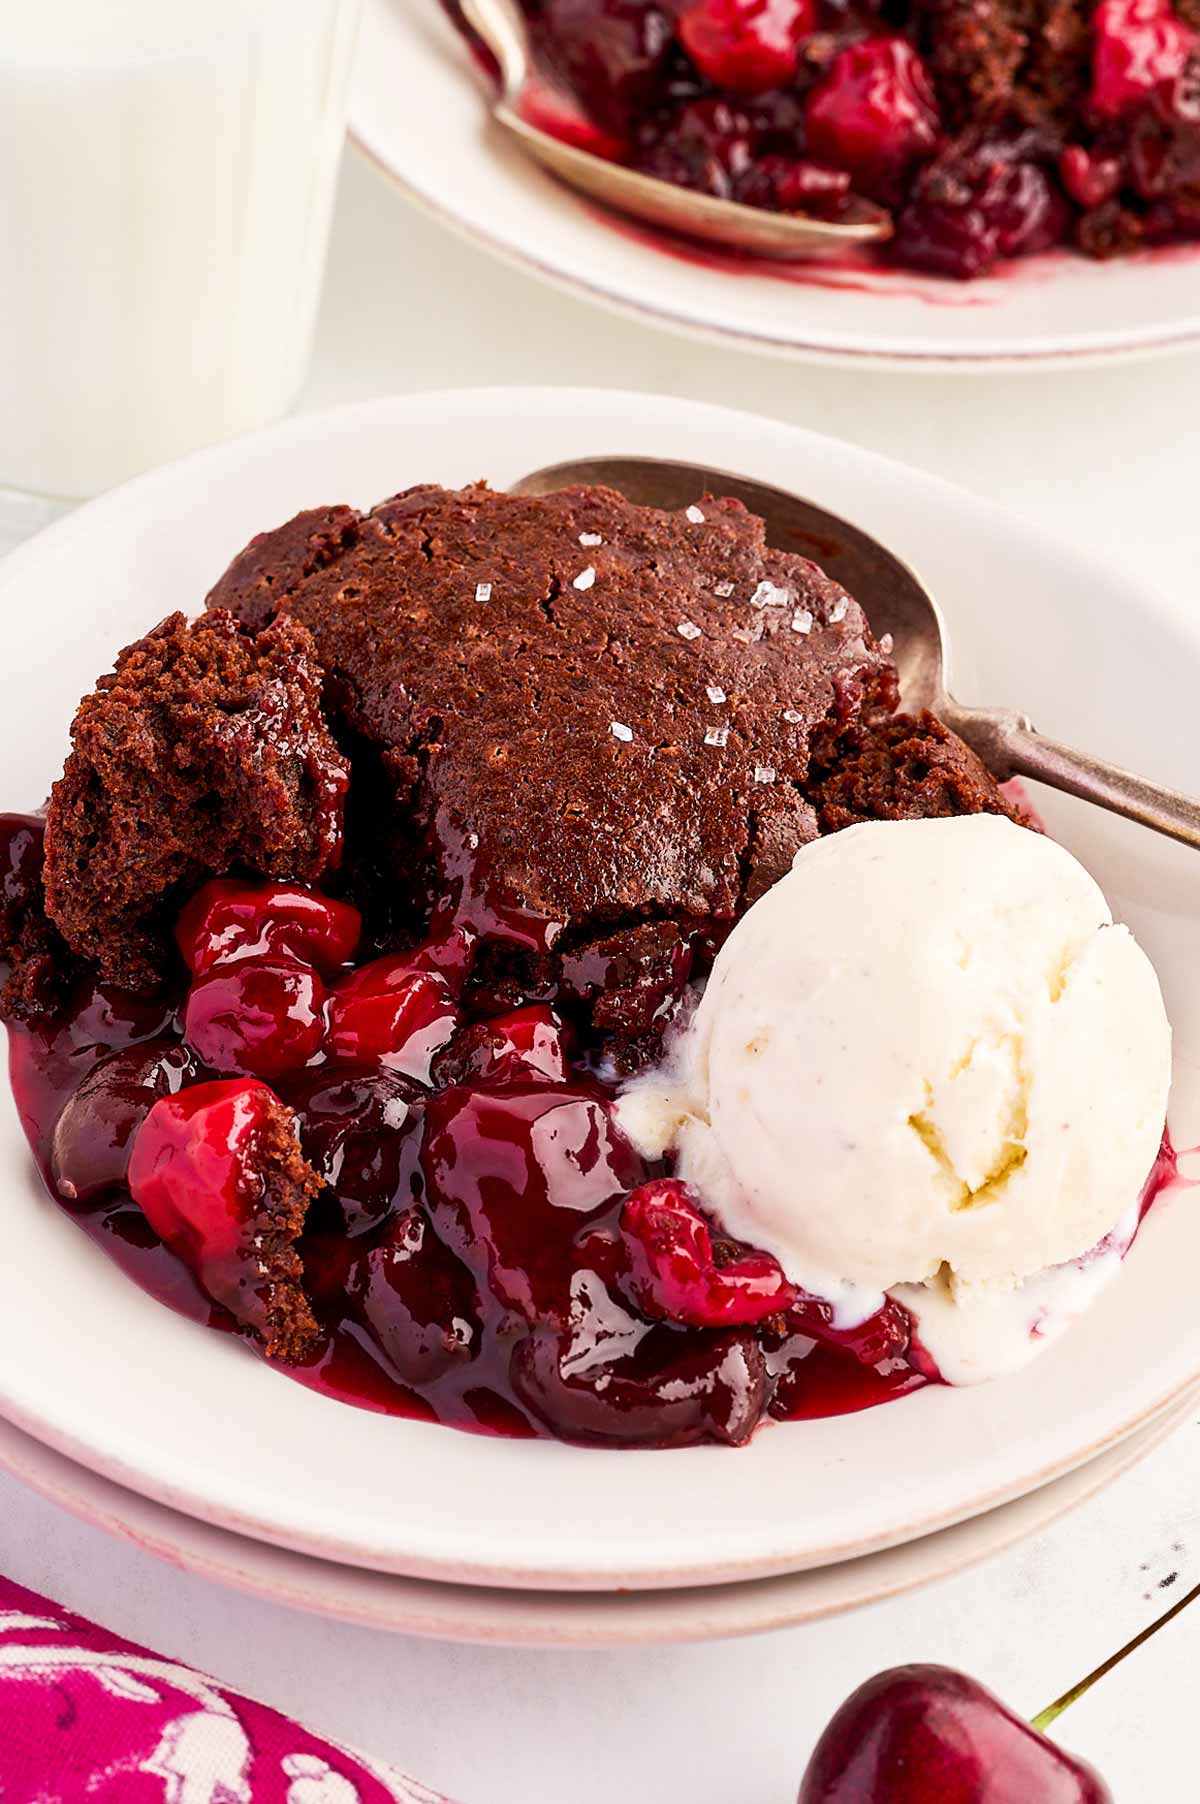
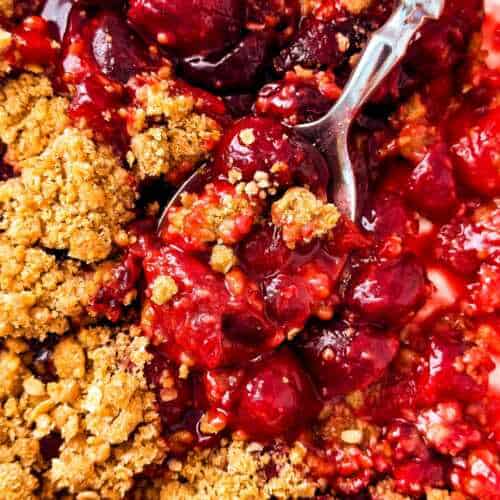
This Chocolate Cherry Cobbler features a scratch-made tart cherry filling (or canned cherry pie filling if you’re in a hurry!) and a fudgy, cocoa-based topping that bakes in a 9×9 dish. It’s similar to a classic dump cake, but the cake bakes up thicker and more brownie-like!
What makes this recipe great
I’ve never quite been able to get on board with the classic dump cake. I know, I know! But every time I try one, the topping just doesn’t hit the right note for me.
This Chocolate Cherry Cobbler is my answer to that. It’s sitting right in that sweet spot where it’s almost as easy as a dump cake, but tastes like a bakery treat. It’s a smaller 9×9 portion that’s perfect for a weeknight, and the texture is something special. It’s not quite a cake and not quite a brownie — it’s this fudgy, crackly hybrid that is incredible when it’s still warm from the oven.
- Better-than-Box Results: By quickly stirring together a few pantry staples, you get a rich chocolate crust that actually bakes up perfectly every time.
- Semi-Homemade Flex: I love making the cherry filling from scratch with frozen cherries, but if it’s been one of those days, you can absolutely swap it for about 1-½ cans of cherry pie filling and still have a win.
- The “One-Bowl” Topping: The chocolate layer comes together in one bowl with a whisk. No stand mixer, no heavy cleanup!
Let’s see how we make this:
Ingredients we’re going to use
This is about swaps and notes – jump to the ingredient list for the measurements etc.
The Cherries: I usually keep a bag of Frozen Tart Red Cherries or Mixed Variety in the freezer. The tart cherries stay bright and red, and hold their shape well. If you use dark sweet cherries, you might want to dial back the sugar just a touch.
Almond Extract: This is the secret ingredient that makes people ask for the recipe. It makes the cherries taste “more like cherry.” My family is a bit sensitive to it, so I stick to ¼ teaspoon, but feel free to measure with your heart.
The Cocoa Powder: Just standard unsweetened cocoa powder works here. Don’t use sweetened or Dutch process, or your topping won’t come out right.

Recipe walkthrough
This is about tips and hints, and the process photos if you need a visual guide. Jump to the instructions for the precise steps.
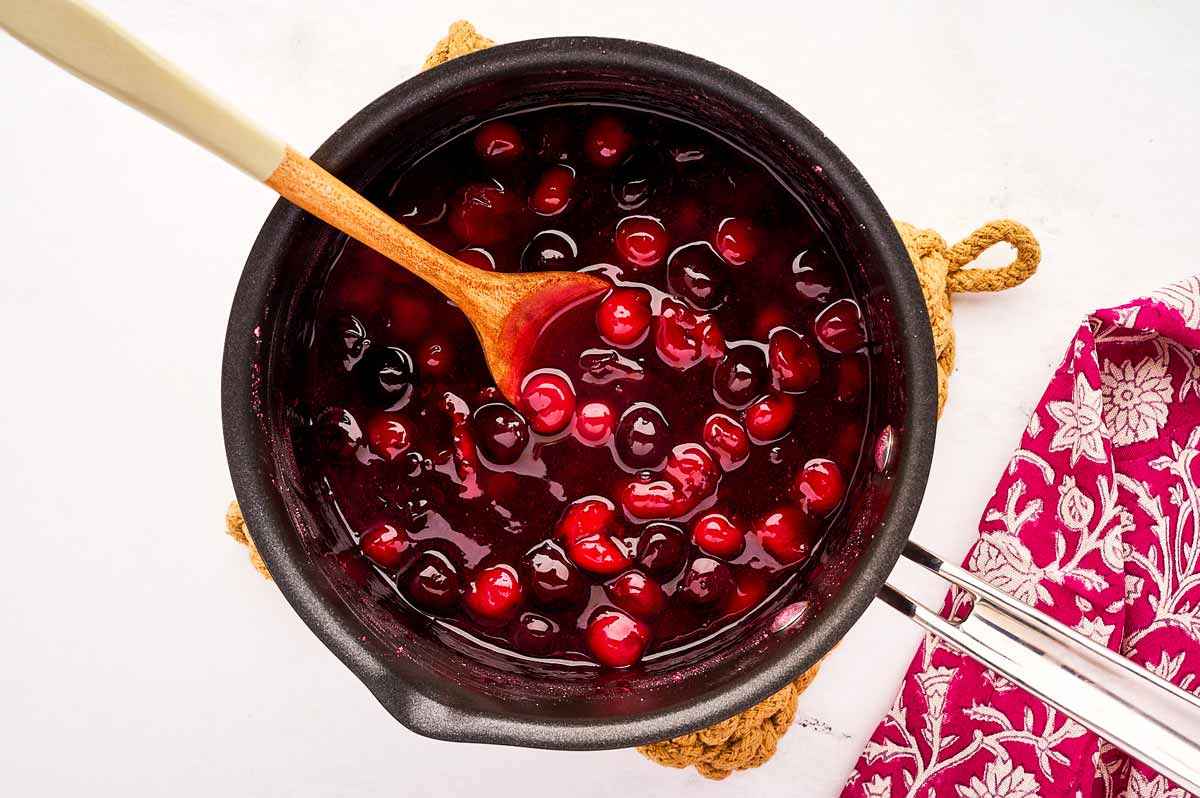
1: Watch the heat on the fruit.
When you’re simmering the cherries and sugar, keep it low and slow. If you crank the heat to save time, the sugar can scorch, and you’ll lose that bright fruit flavor.

2: The cornstarch trick.
When you stir in your cornstarch slurry, wait for the liquid to turn from cloudy/milky to clear and glossy. That’s your sign that it’s thickened and ready. Don’t walk away during this part — lumpy filling is a bummer!
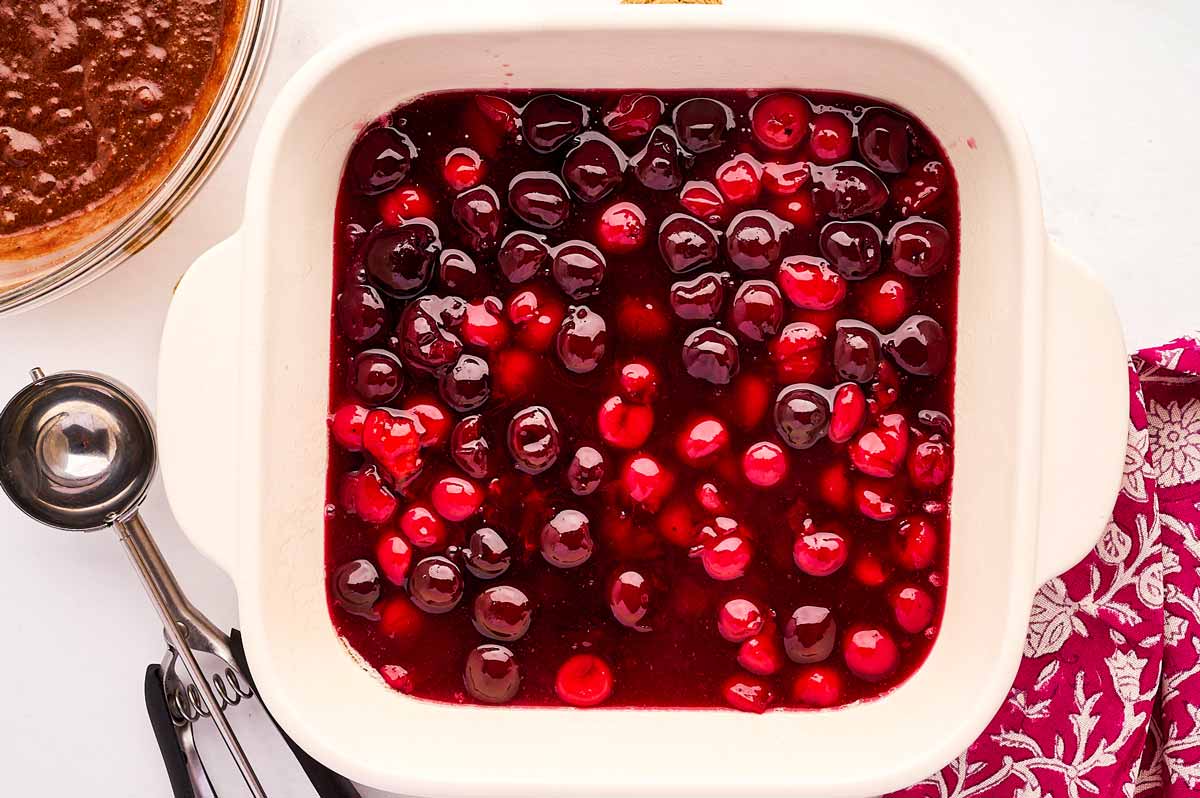
3: The cooldown.
Spread the filling in your prepared baking dish, and then set it aside while you make the chocolate topping. This will help the filling to settle a little and “carry” the chocolate topping without it sinking down.
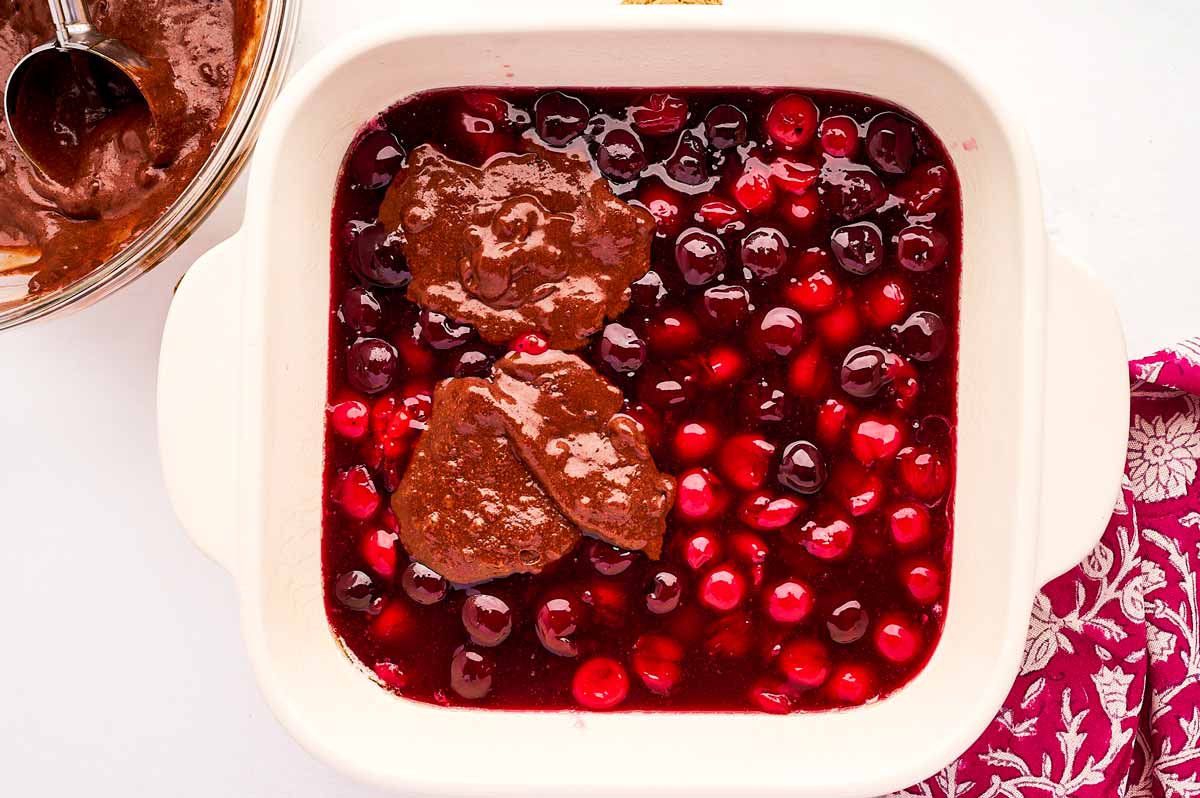
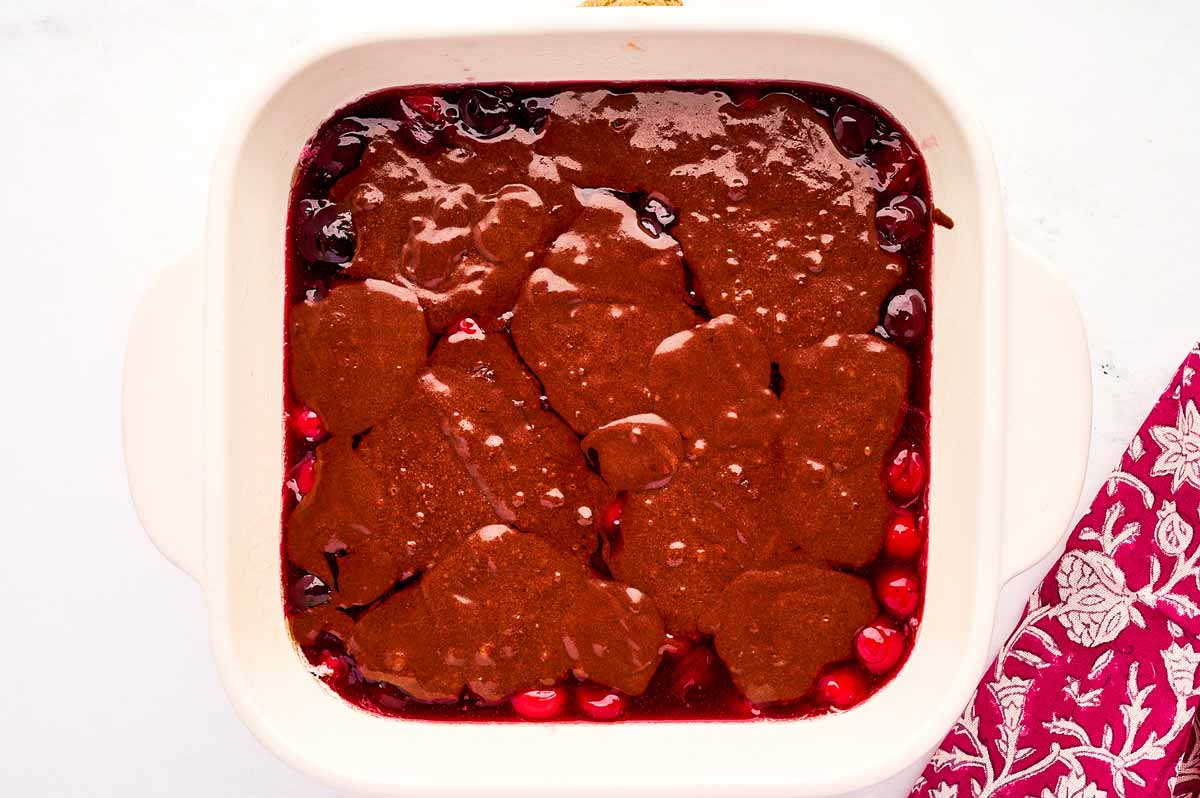
4: The dollop method.
This is the most important part. Do not just pour the chocolate batter in the center. Use an ice cream scoop to drop little mounds of batter all over the cherries. If you dump it all in one spot, it sinks to the bottom and won’t get that crackly top.
4: Resist the stir.
Once the chocolate is on top, leave it alone! Place it in the hot oven immediately, and then let the oven do the work. The filling will bubble up around the edges, and the chocolate will spread out to create that beautiful cobbler look.
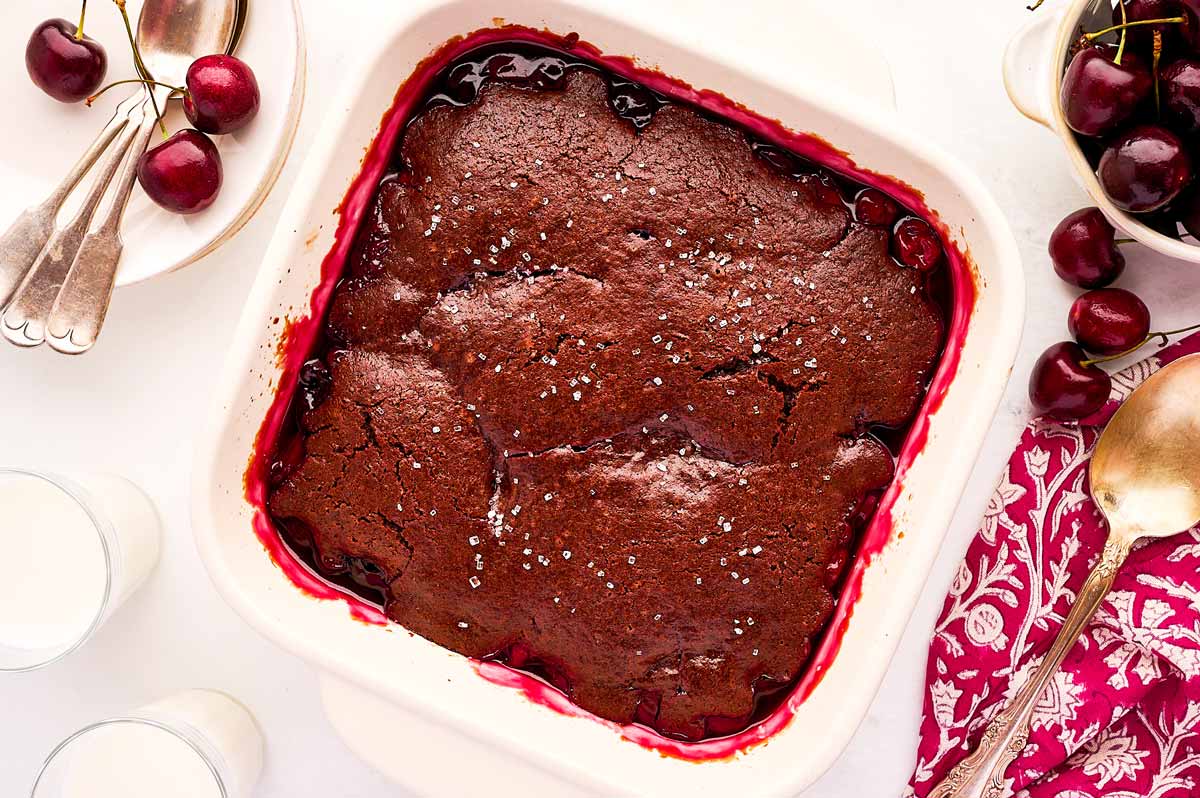
5: Bake and serve!
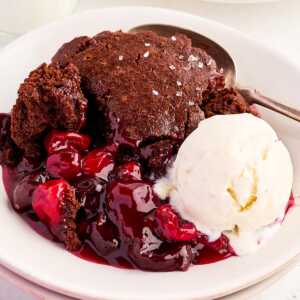
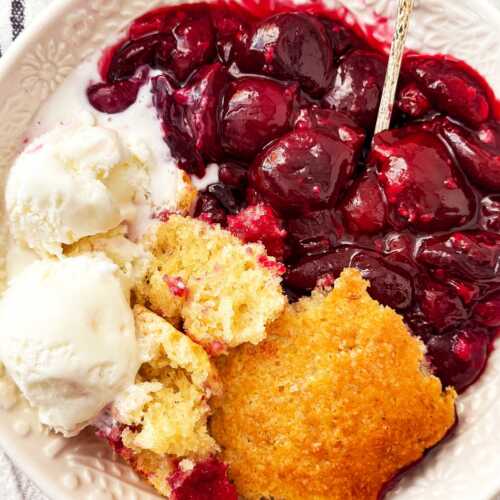
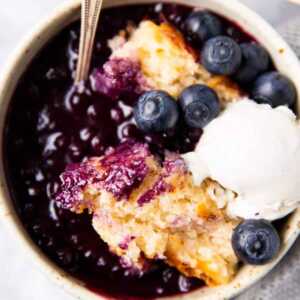
Let it cool for 10-15 minutes after baking, then serve warm. You absolutely need a scoop of vanilla bean ice cream here. The way the cold cream melts into the warm chocolate and tart cherry juice is basically a requirement!
Tl; dr: All the important stuff at a glance
If you read nothing else in this post, this is what you need to know:
- Timing: 20 minutes prep, 35 minutes bake, and 15 minutes to rest (don’t skip the rest!).
- Don’t Overmix: Stir the topping just until you don’t see any more dry flour.
- The Cooling Gap: Let it sit for 15 minutes after baking so the juices thicken up; otherwise, it’ll be a bit soupy when you scoop it.
- Quick recipe rundown: Make filling and cool. Stir together the chocolate topping. Dollop over the filling and bake.
FAQs
Can I use canned pie filling to save time?
Yes! If you’re skipping the stovetop step, just pour 1-½ cans of cherry pie filling into your greased 9×9 pan, top with the chocolate batter, and bake. It’s the ultimate “cheater” dessert.
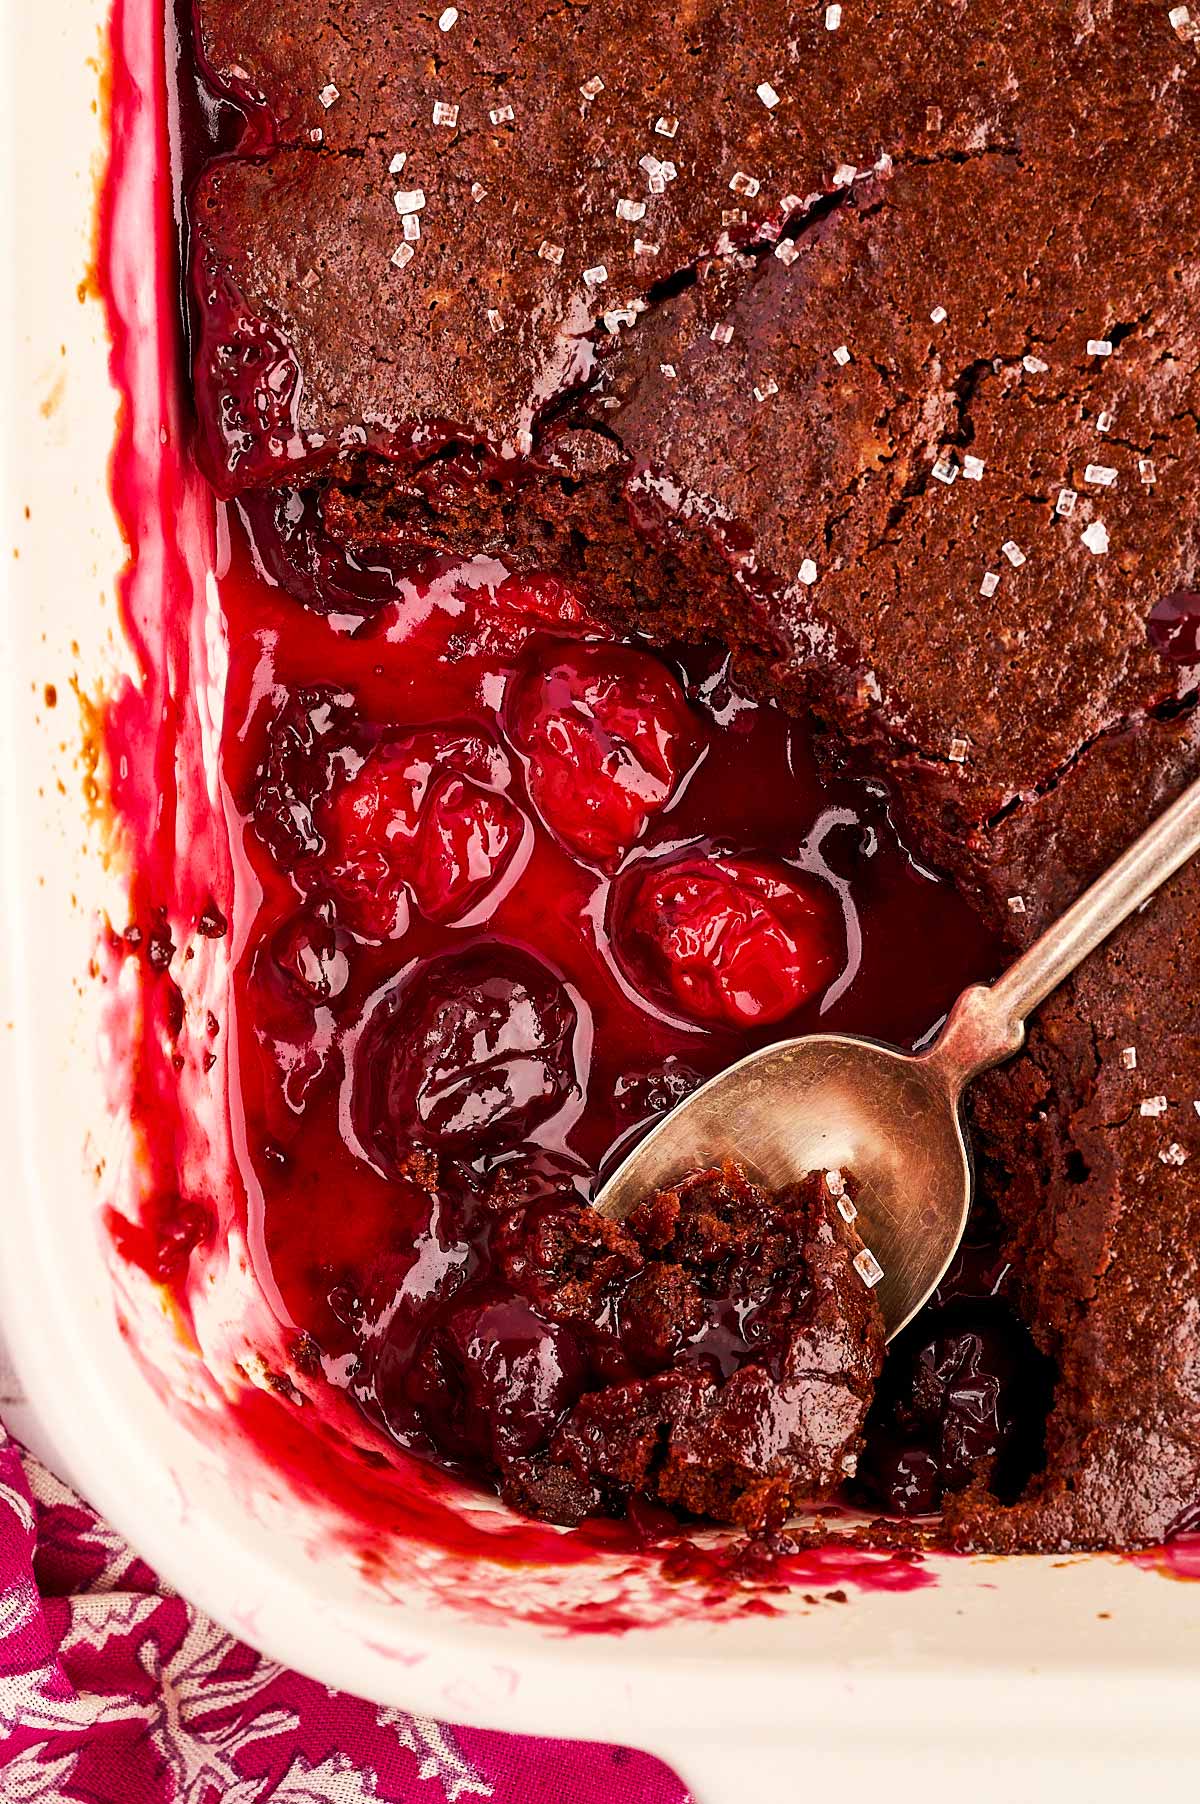
Why is my topping still gooey?
This topping is meant to be fudgy (think “molten lava cake” meets brownie), but if it looks raw or liquidy, give it another 5 minutes. Every oven is different, so go for visual cues rather than exact times.
Can I make this ahead of time?
Cobblers are best fresh and warm. However, you can make the cherry filling earlier in the day and leave it in the pan. Just whip up the topping and bake it right before dinner.
If you’re looking for more easy fruit desserts, you’ll love my Slow Cooker Berry Cobbler or my Crockpot Peach Cobbler! And the Black Forrest Brownies are always a hit!
Chocolate Cherry Cobbler
Ingredients
The Cherry Filling:
- 1 (16-oz) bag frozen cherries (Note 1)
- ¾ cup sugar (Note 2)
- 2 tablespoons cornstarch
- ⅓ cup water
- ¼ tsp almond extract (Use more or less to taste. ¼ teaspoon is the maximum my family tolerates 😅)
The Chocolate Topping:
- ⅔ cup flour
- ⅔ cup sugar
- ⅓ cup unsweetened cocoa powder
- ¾ teaspoon baking powder
- pinch of salt
- ½ cup milk
- 3 tablespoons melted butter
Instructions
- Prep: Heat the oven to 350°F (if your oven preheats quickly, you can start it once the cherry filling is done.) Spray a 9×9 inch baking dish with nonstick spray and set aside.
- Cook cherries: Combine the cherries and sugar in a medium saucepan. Cover and cook gently over medium heat until the cherries have released their juices and the sugar has melted, about 8-10 minutes (Note 3).1 (16-oz) bag frozen cherries, ¾ cup sugar
- Thicken filling: Whisk together the cornstarch and water, then stir into the cherries. Bring to a simmer and cook until thickened and the juices are no longer looking milky, but glossy, and thickened (Note 4). Stir through the almond extract and set aside in your prepared baking dish to cool slightly.2 tablespoons cornstarch, ⅓ cup water, ¼ tsp almond extract
- Make topping: For the topping, combine flour, sugar, cocoa powder, baking powder and salt. Stir through milk and melted butter just until moistened.⅔ cup flour, ⅔ cup sugar, ⅓ cup unsweetened cocoa powder, ¾ teaspoon baking powder, pinch of salt, ½ cup milk, 3 tablespoons melted butter
- Assemble: Evenly dollop the chocolate batter on top of the cherry filling. Do not stir! (Note 5)
- Bake and serve: Immediately place the dish in your hot oven and bake for 30-35 minutes, until the cobbler is bubbly, the filling is coming up a little around the edges and the top looks crackly. Remove from the oven and cool on a wire rack for 15 minutes before serving, to allow the juices to settle.Serve with vanilla ice cream, whipped cream, vanilla sauce… Whatever you like best!
Notes
- Note 1: I prefer tart red for the brightest color, but mixed or dark work – they just won’t be so vibrant.
- Note 2: If your cherries are a bit tart, or you like sweeter fillings – use 1 cup sugar. Just taste the filling and add more sugar as needed before baking the cobbler.
- Note 3: Take care that you cook this gently, else the sugar and the cherries will scorch.
- Note 4: When you cook the filling with the cornstarch, make sure to stick to a gentle simmer and don’t walk away – if you overcook it or boil it too hard, you can get lumps that won’t go away.
- Note 5: I use an ice cream scoop for this, to get the batter distributed evenly. You want to add it in dollops all over the top of the cherries, if you dump too much of it in a single spot, it will sink into the cherries and we want to avoid that.


Comments
No Comments