


These are the BEST Chocolate Chip Cookies I have ever made! Thick, soft, with the right amount of chewiness – best served warm with gooey melted chocolate chip puddles 🥰
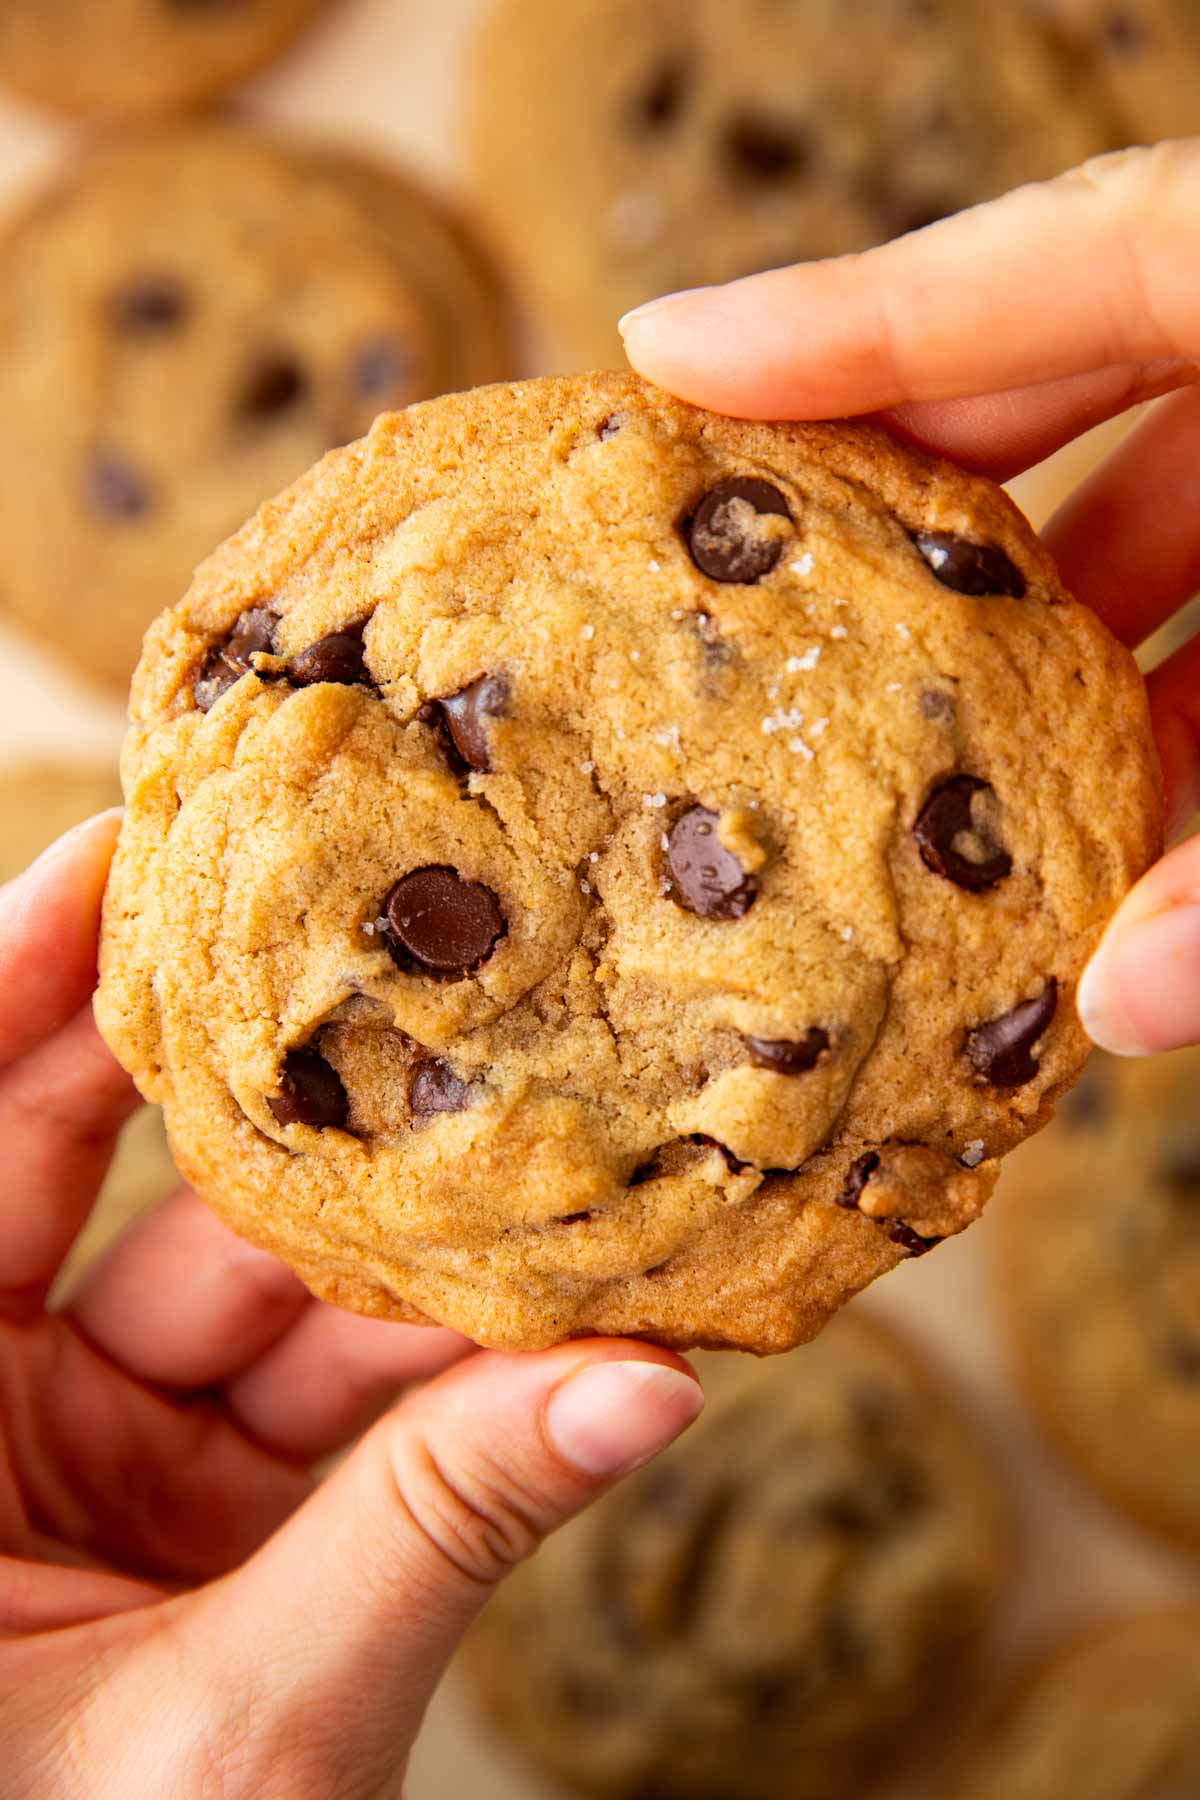
My favorite chocolate chip cookie recipe!
Is there anything better than being the house with THE chocolate chip cookies?! I mean, in the realm of cookie success, I think it absolutely is the best thing.
I’m pretty positive this recipe will keep you in the running for this position. Just this summer alone, I made several batches of these for my kiddos and their friends, and they always get inhaled. So, cookie success!
This is a VERY easy recipe. Just get your butter softened, and the rest is a cakewalk (cookiewalk?) – after creaming the butter and sugars, stir in the rest of the ingredients, fold in the chocolate chip cookies, portion and bake. There is no need to chill the dough!
I like to make these cookies either thick and soft, or wider with chewy edges. The final shape fully depends on the way you shape the cookies before baking. More about that further down in this post!
All in all, just a really amazing recipe for a classic chocolate chip cookie – I hope you like it as much as we do!
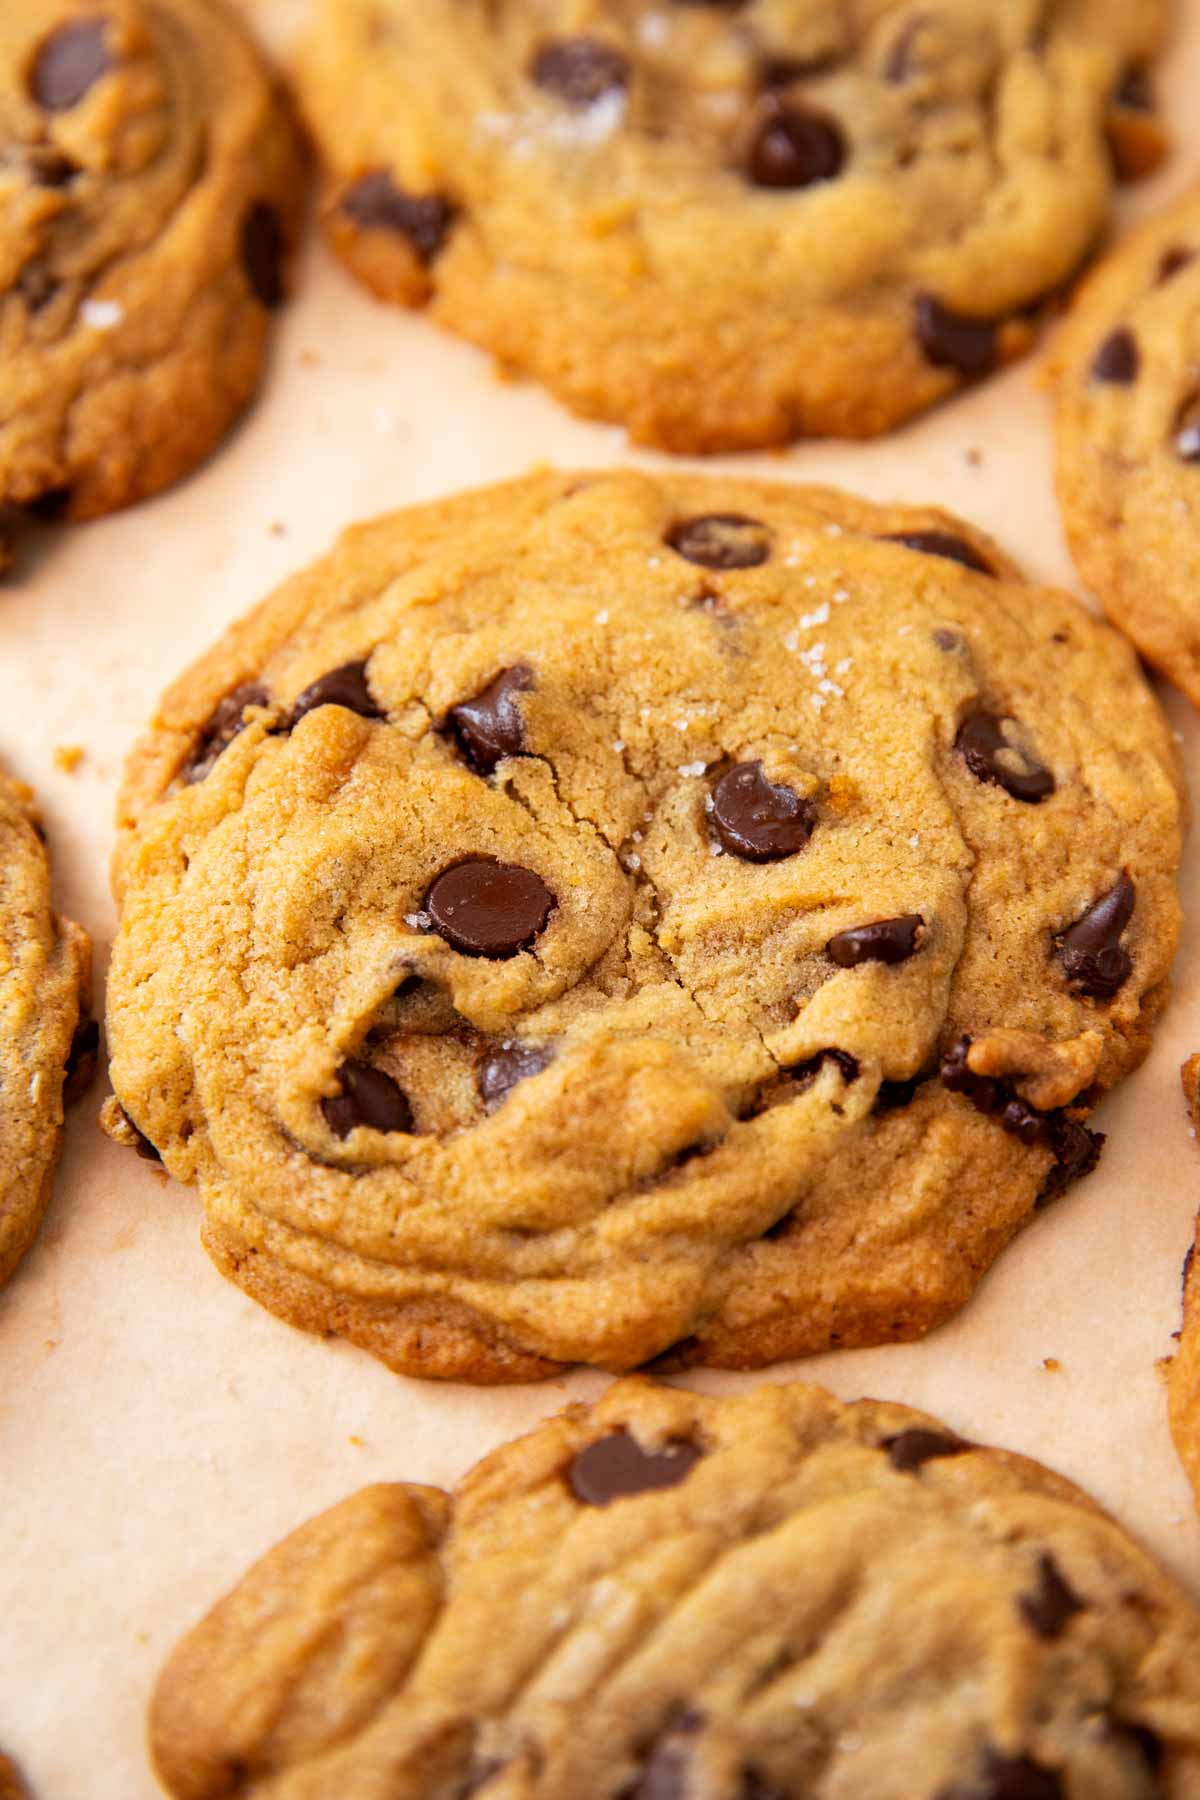
These are the ingredients I use
Here is a visual overview of the ingredients in the recipe. Scroll down to the printable recipe card at the bottom of this post for quantities!
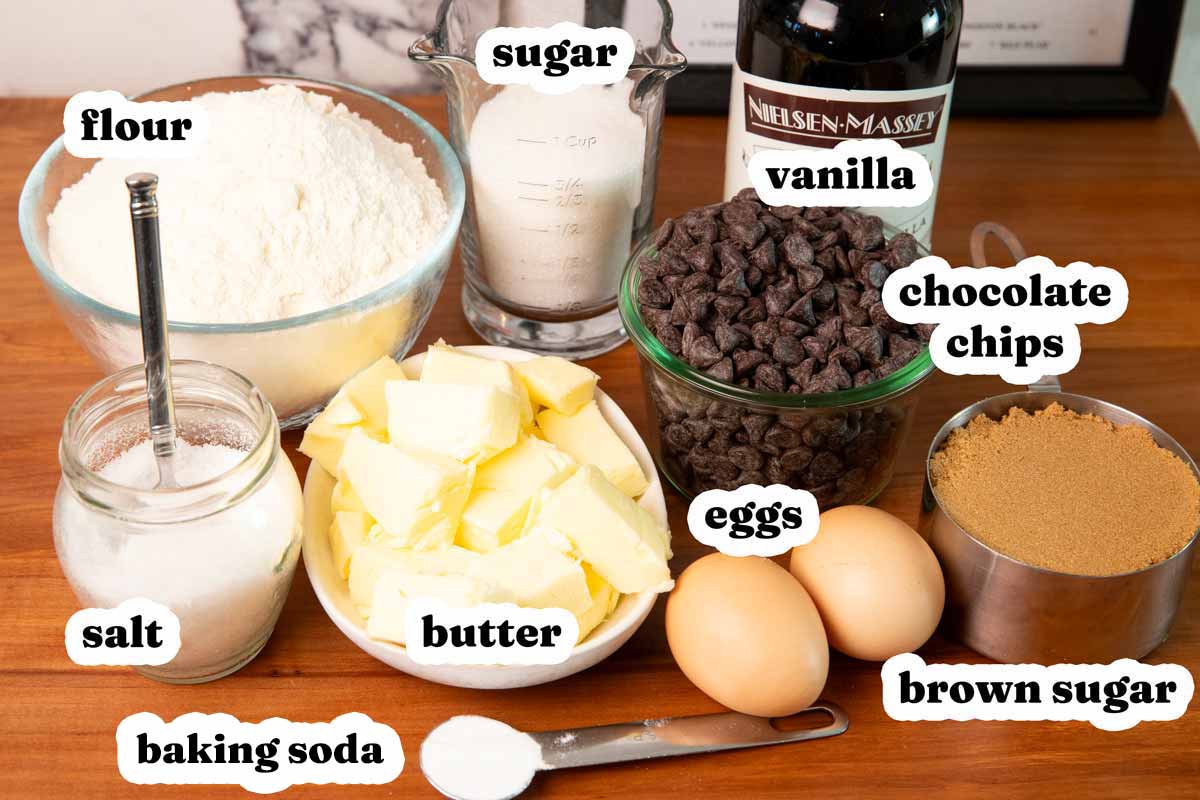
- Chocolate chips: I like using semi-sweet chocolate chips, but you could use milk or do a mix. I always get the Kirkland ones from Costco, I don’t know but they taste the best to me out of all of the chocolate chip brands I have tried – better than the expensive ones! If I want to get fancy, I chop up a bar of chocolate instead of using chocolate chips.
- Salt: I use sea salt, if you use table salt you may want to cut the salt in the recipe in half. I also like to sprinkle flaky sea salt on the cookies after baking – it seems so extra, but it really is delicious.
- Baking soda: Please do not use baking powder in place of the baking soda, they do not do the same thing in baked goods!
Let’s make some chocolate chip cookies!
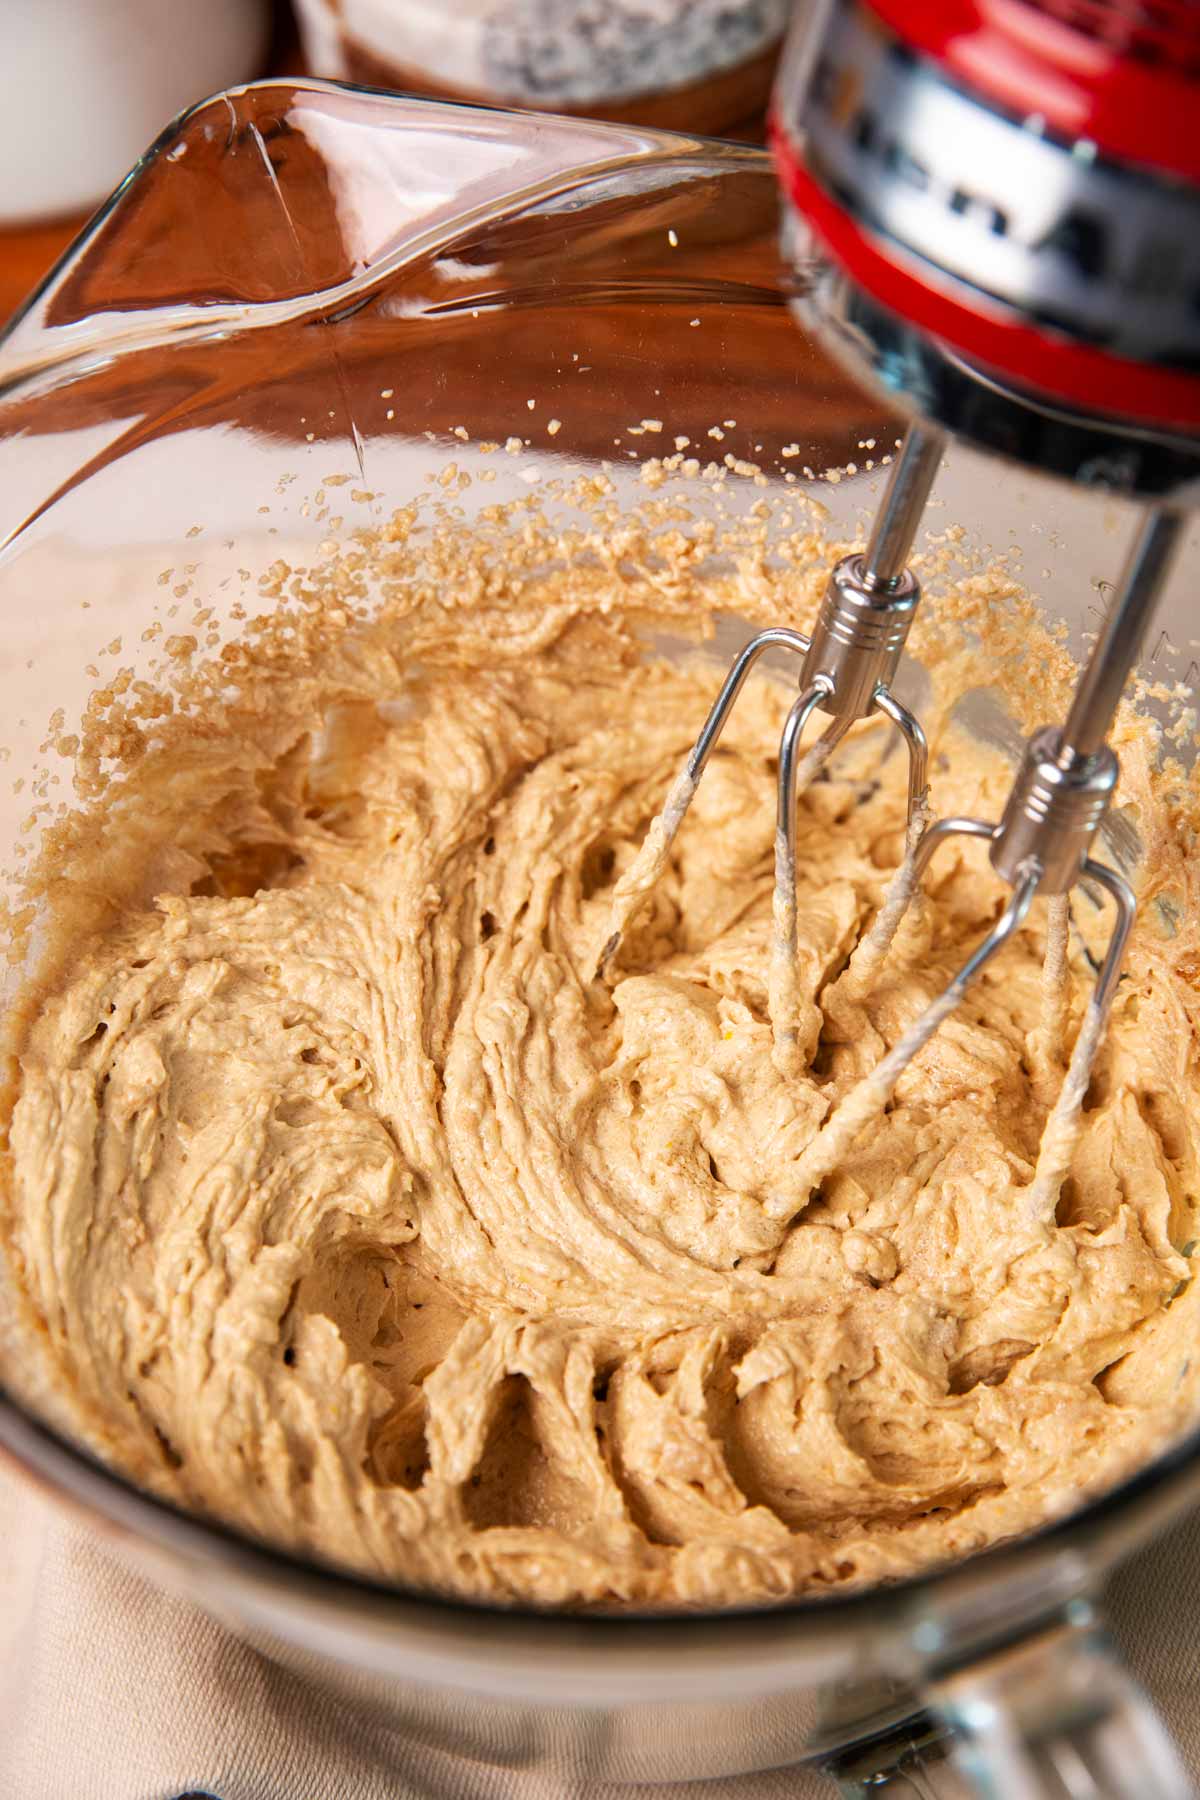
1 Cream the butter/sugar/eggs:
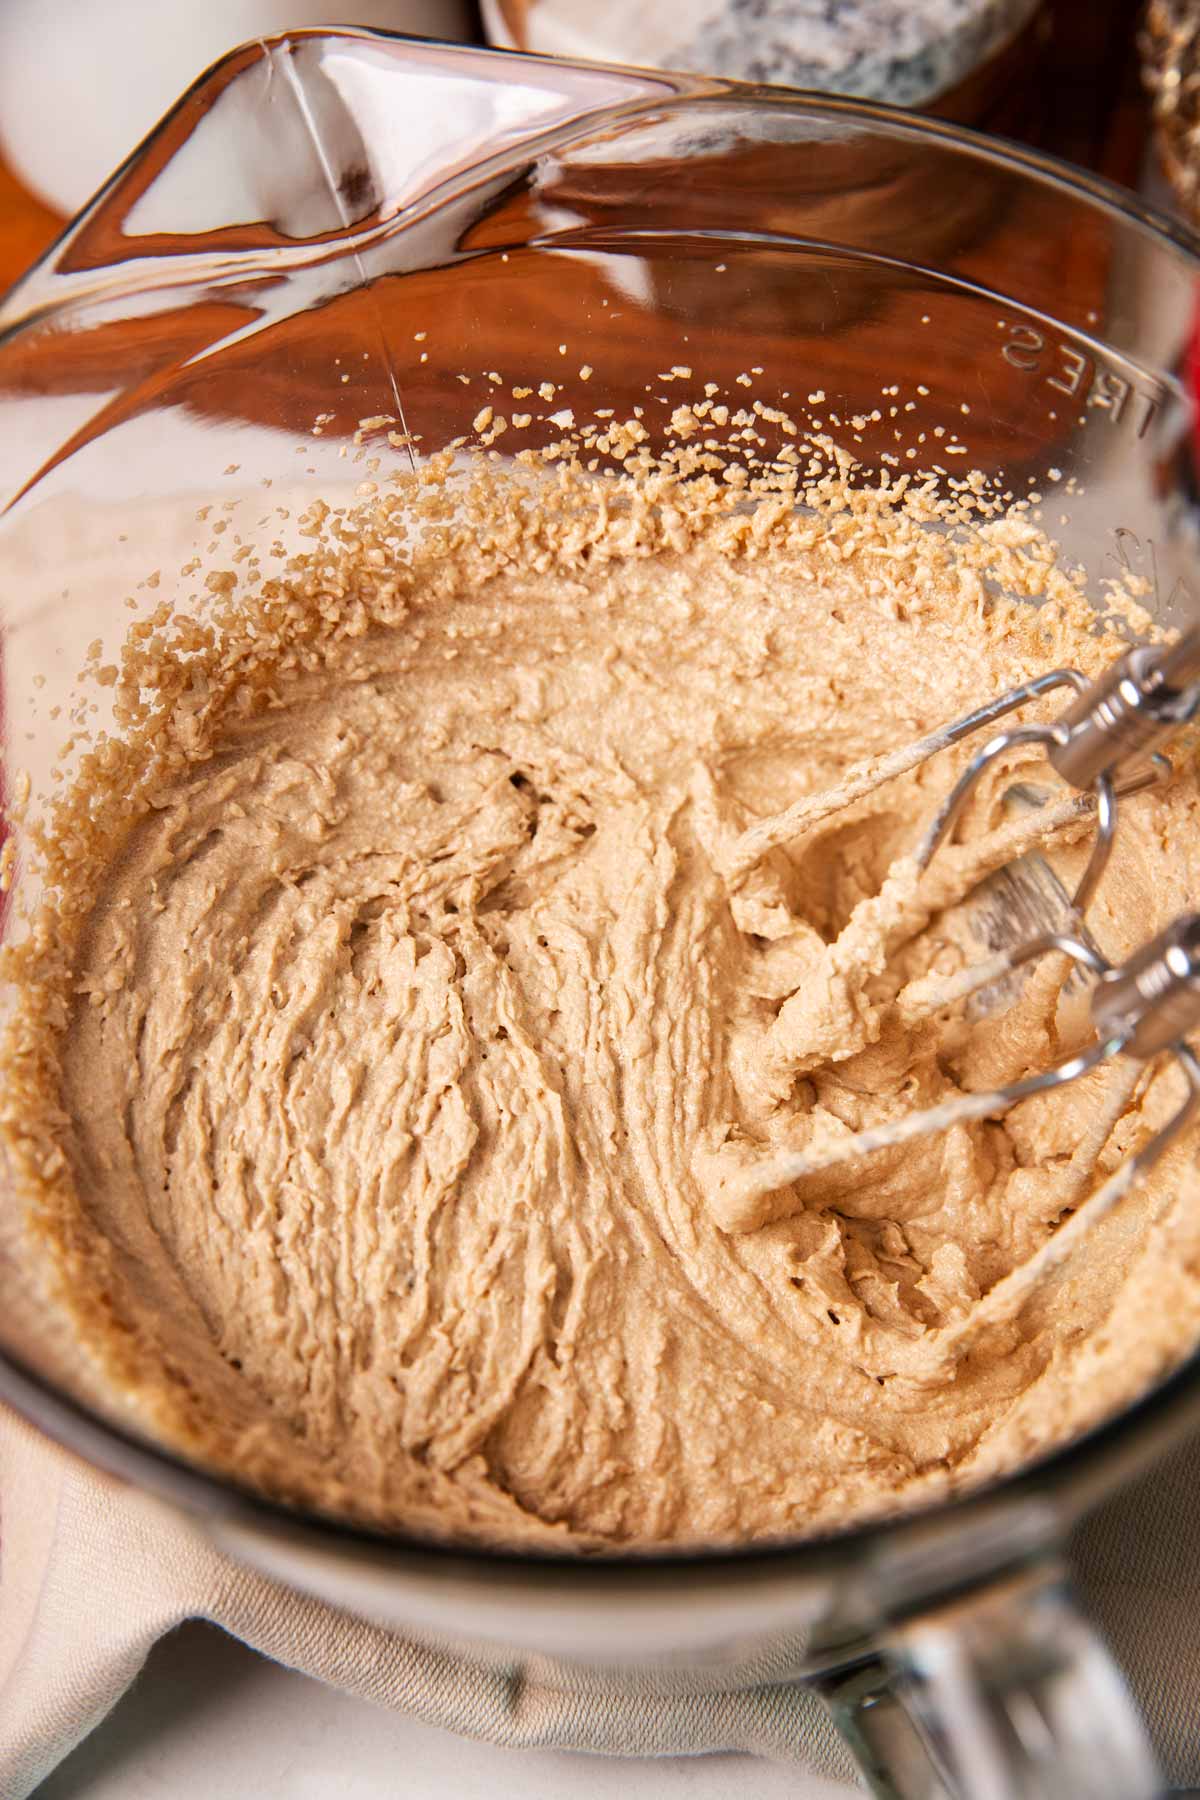
Start by creaming the butter and sugar for 1-2 minutes – you want them creamy and pretty smooth, but don’t overmix or you will incorporate too much air. This works best if your butter is well softened at room temperature!
Then, add the eggs, vanilla, baking soda and salt and mix just until the egg is fully incorporated – you definitely don’t want to overmix now, or your cookies will be tough instead of soft.
2 Finish making the cookie dough:
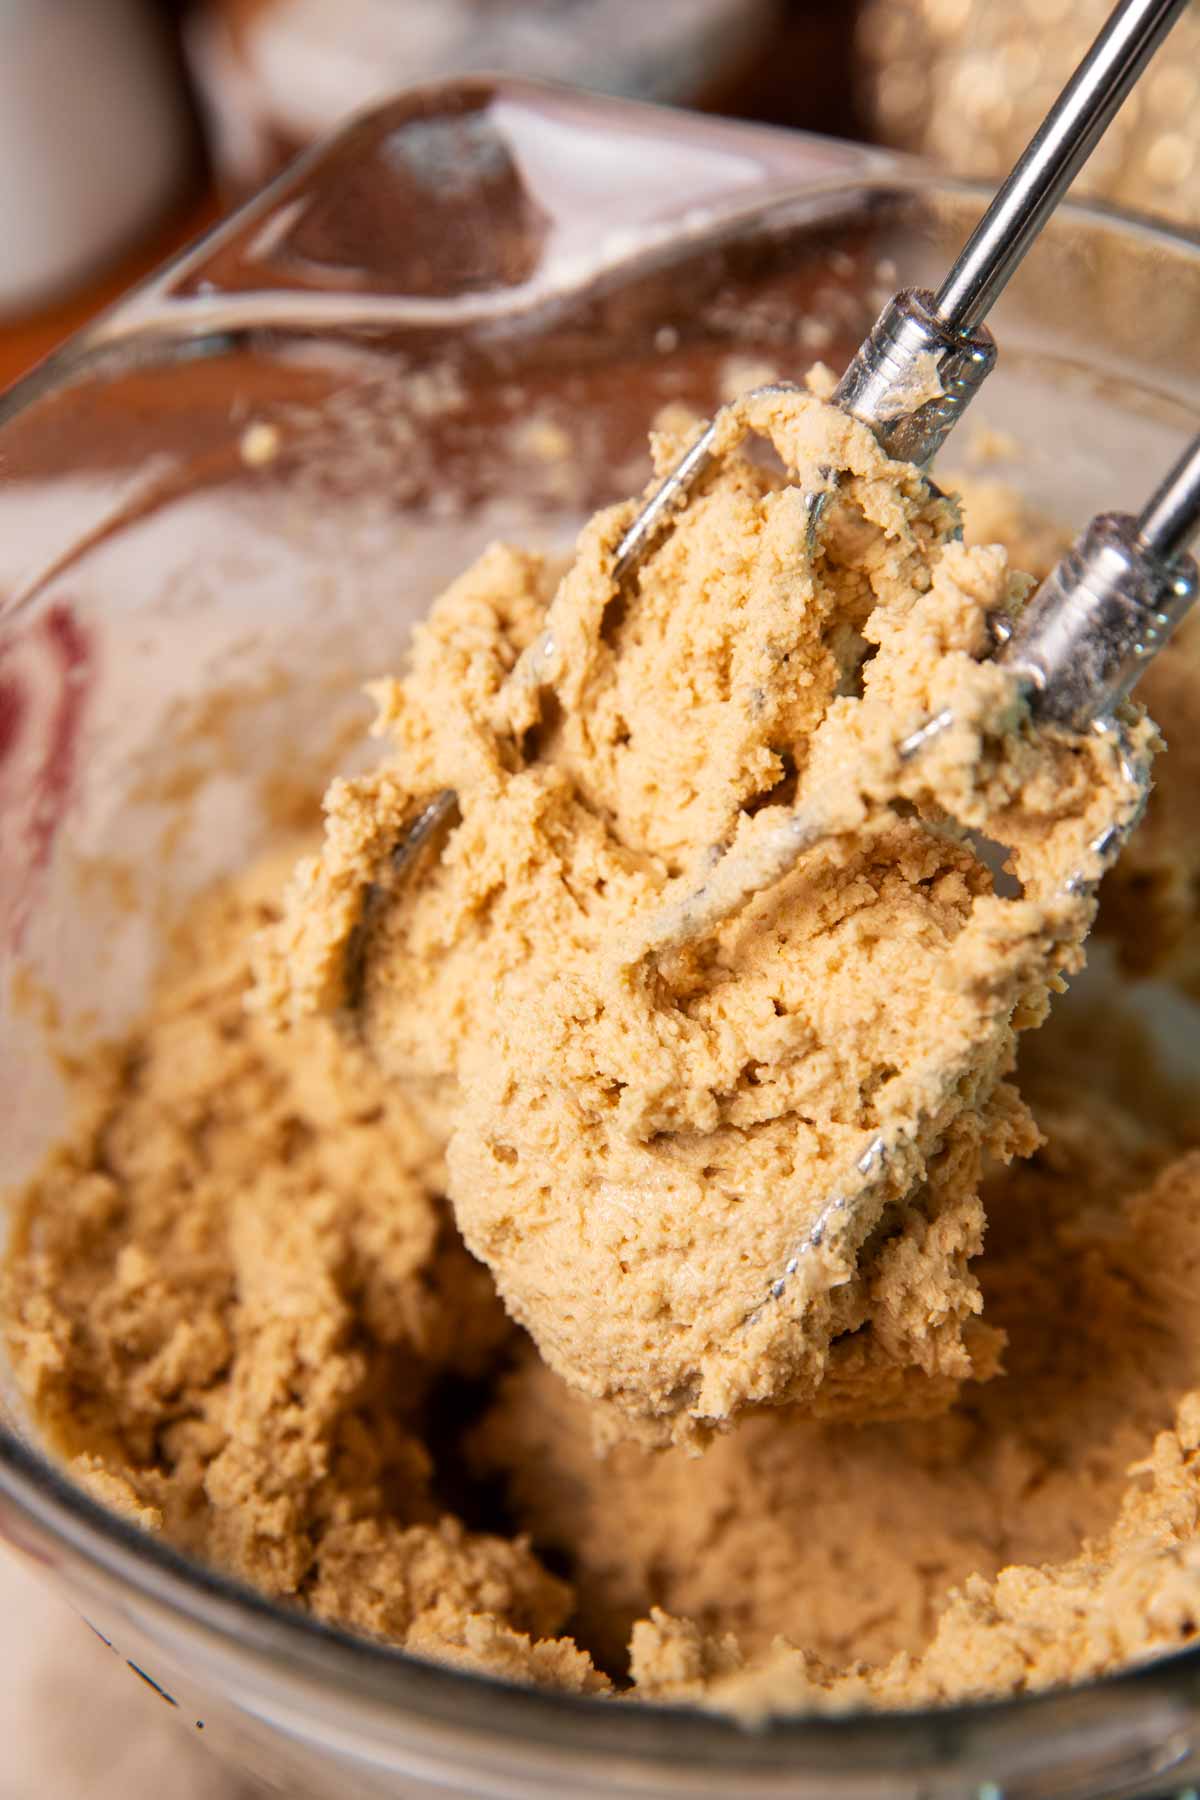
Now all that’s left to do is to incorporate the flour – add it, mix it in on the lowest speed, do not overmix! Stop mixing as soon as there is no more dry flour left in the bowl.
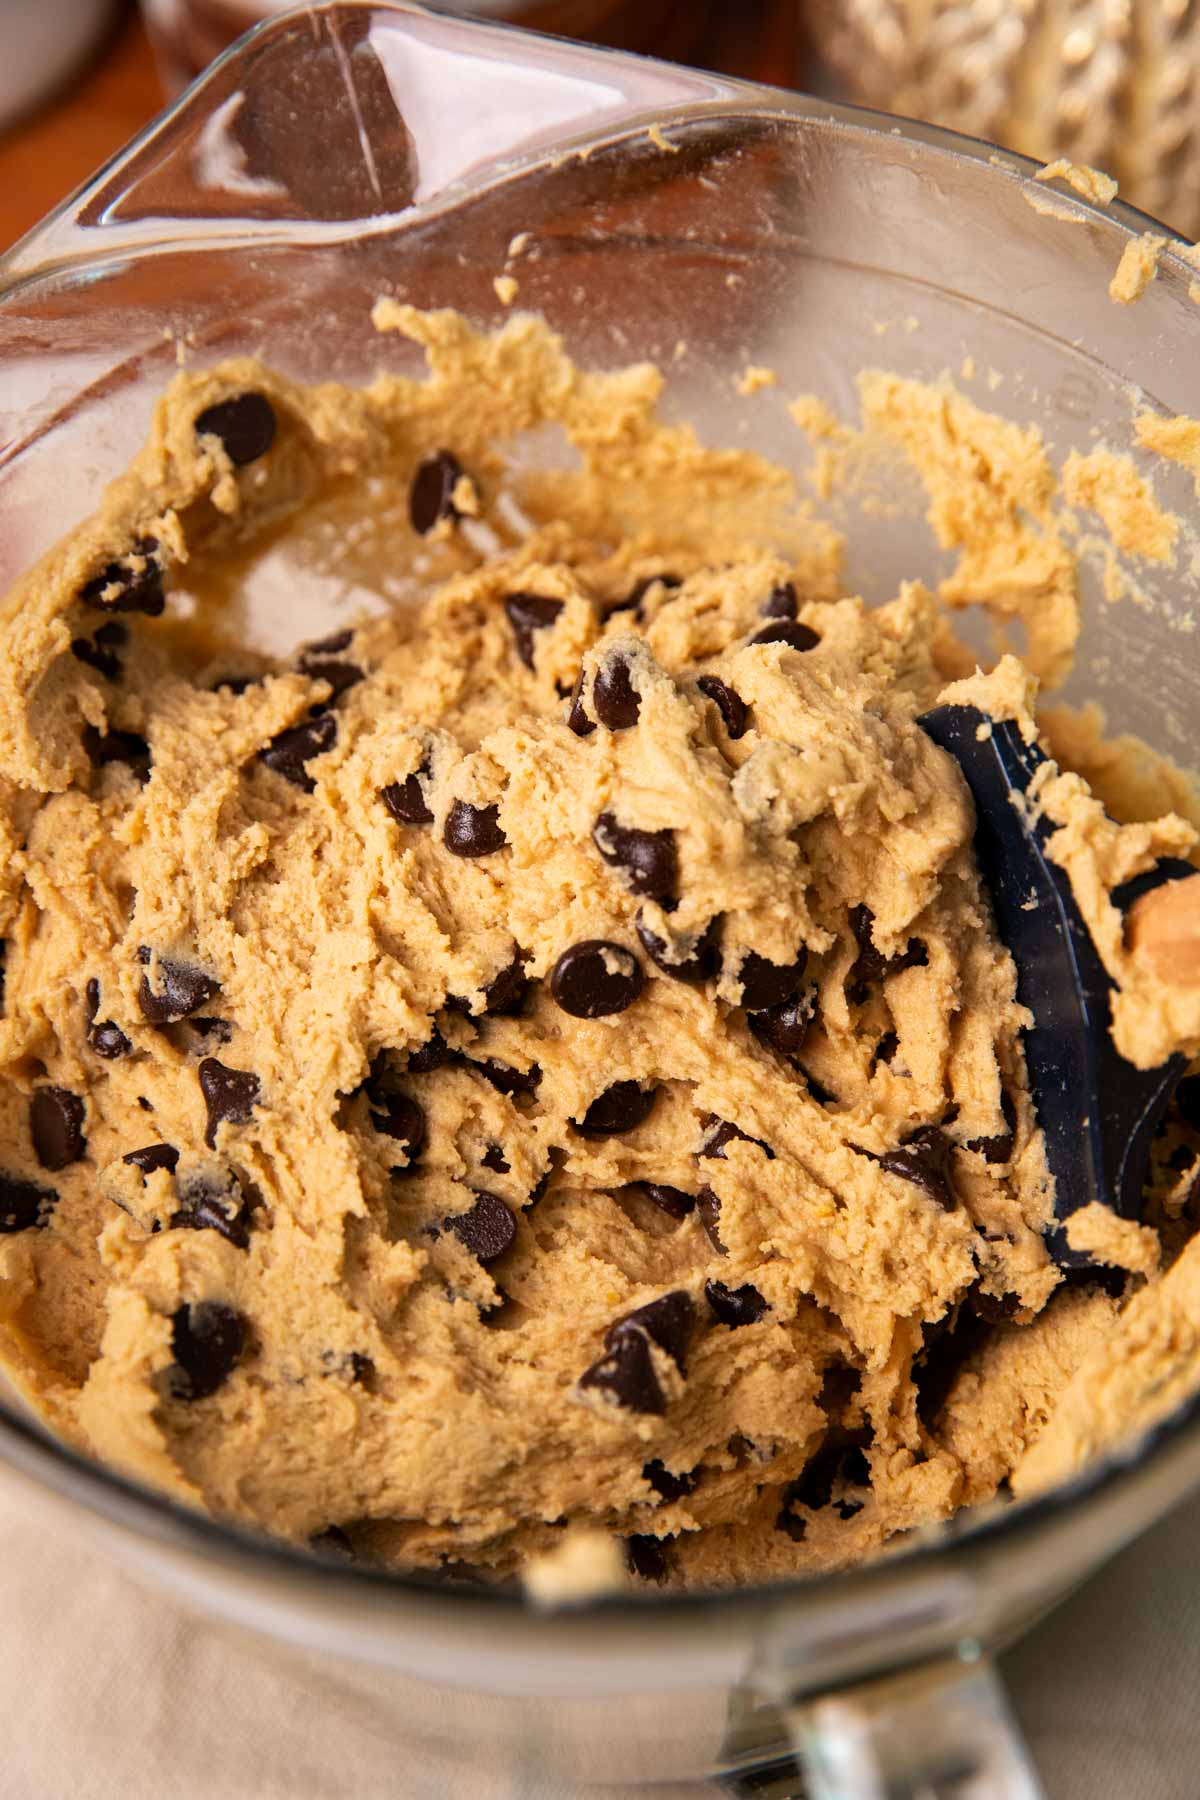
Finally, use a wooden spoon or a rubber spatula to fold in your chocolate chips! I usually do 1.5 cups, but feel free to measure with your heart.
3 Shape the cookies:
Now comes the fun part! Portioning out the cookie dough. The way you shape the cookies at this point will dictate how your cookies turn out in the end.
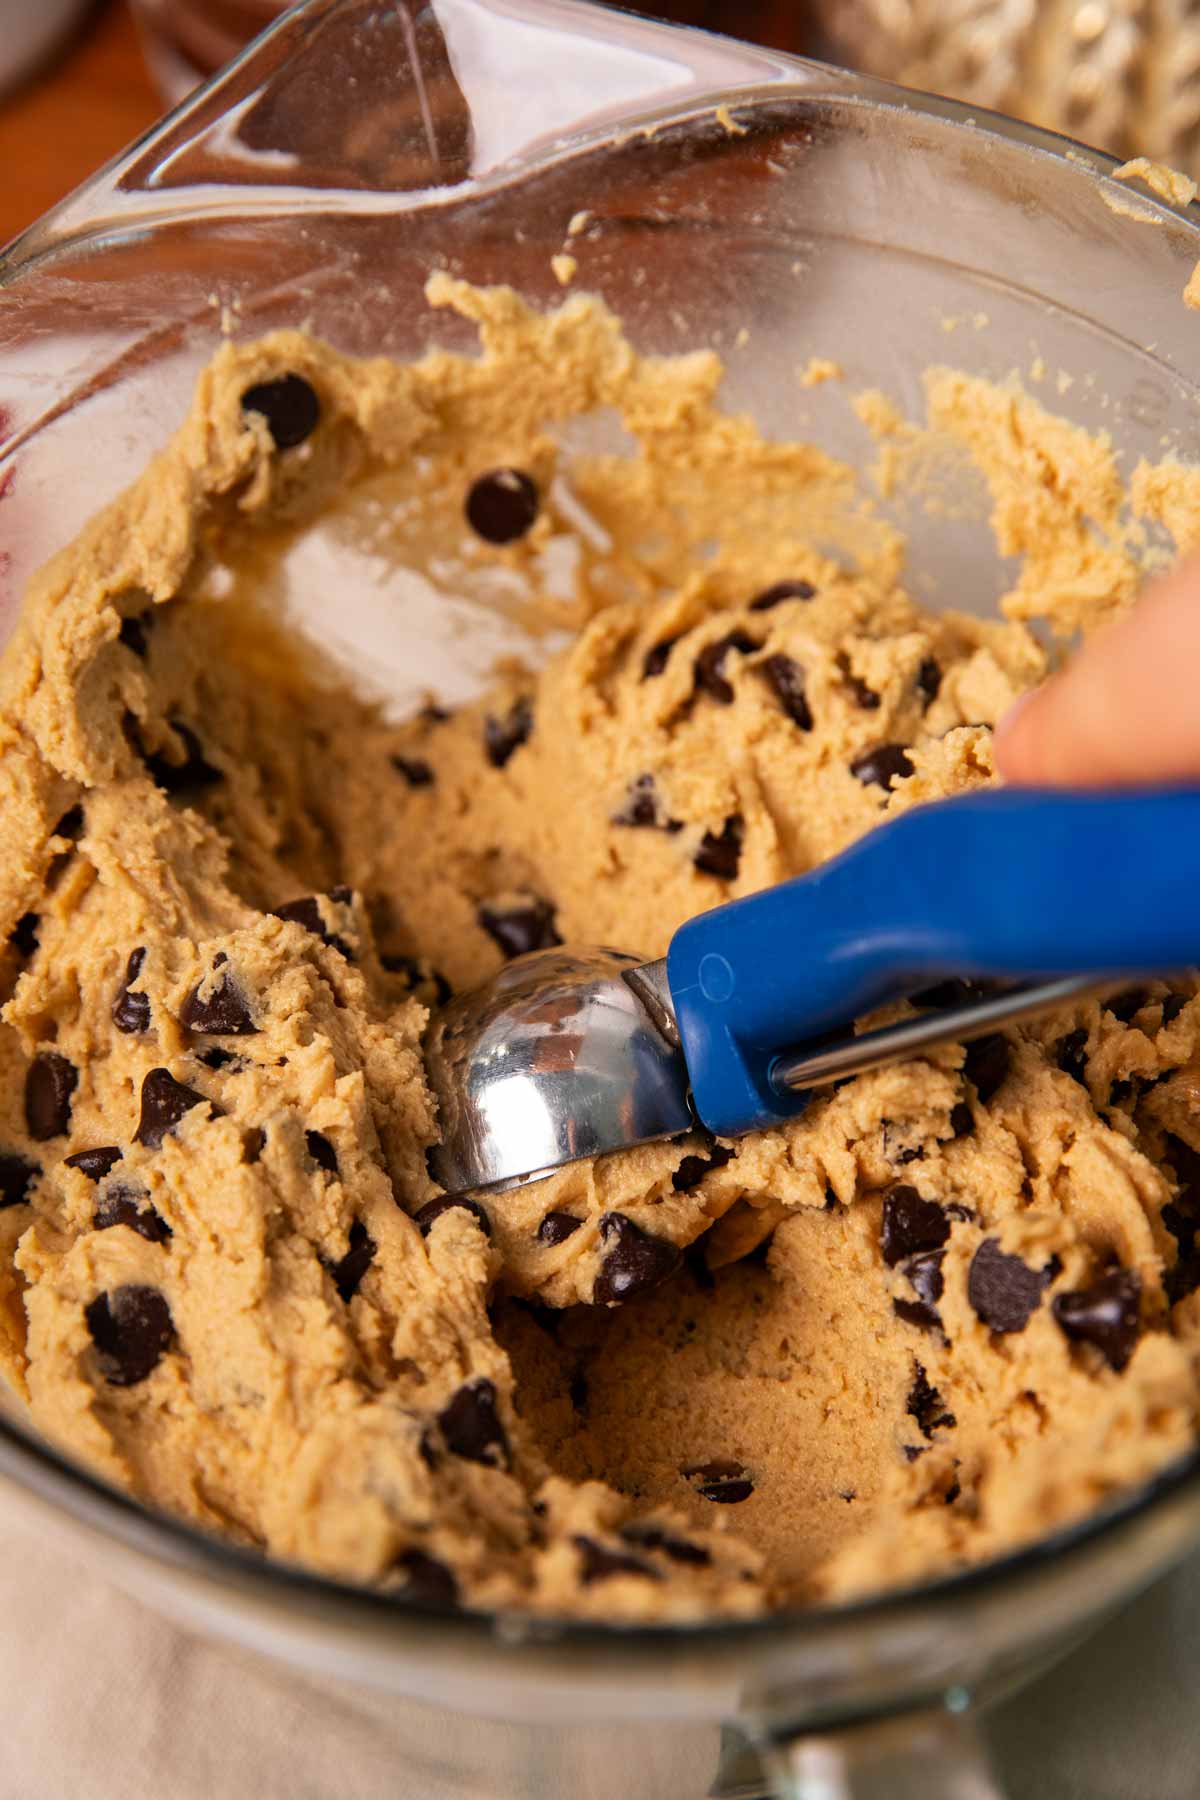
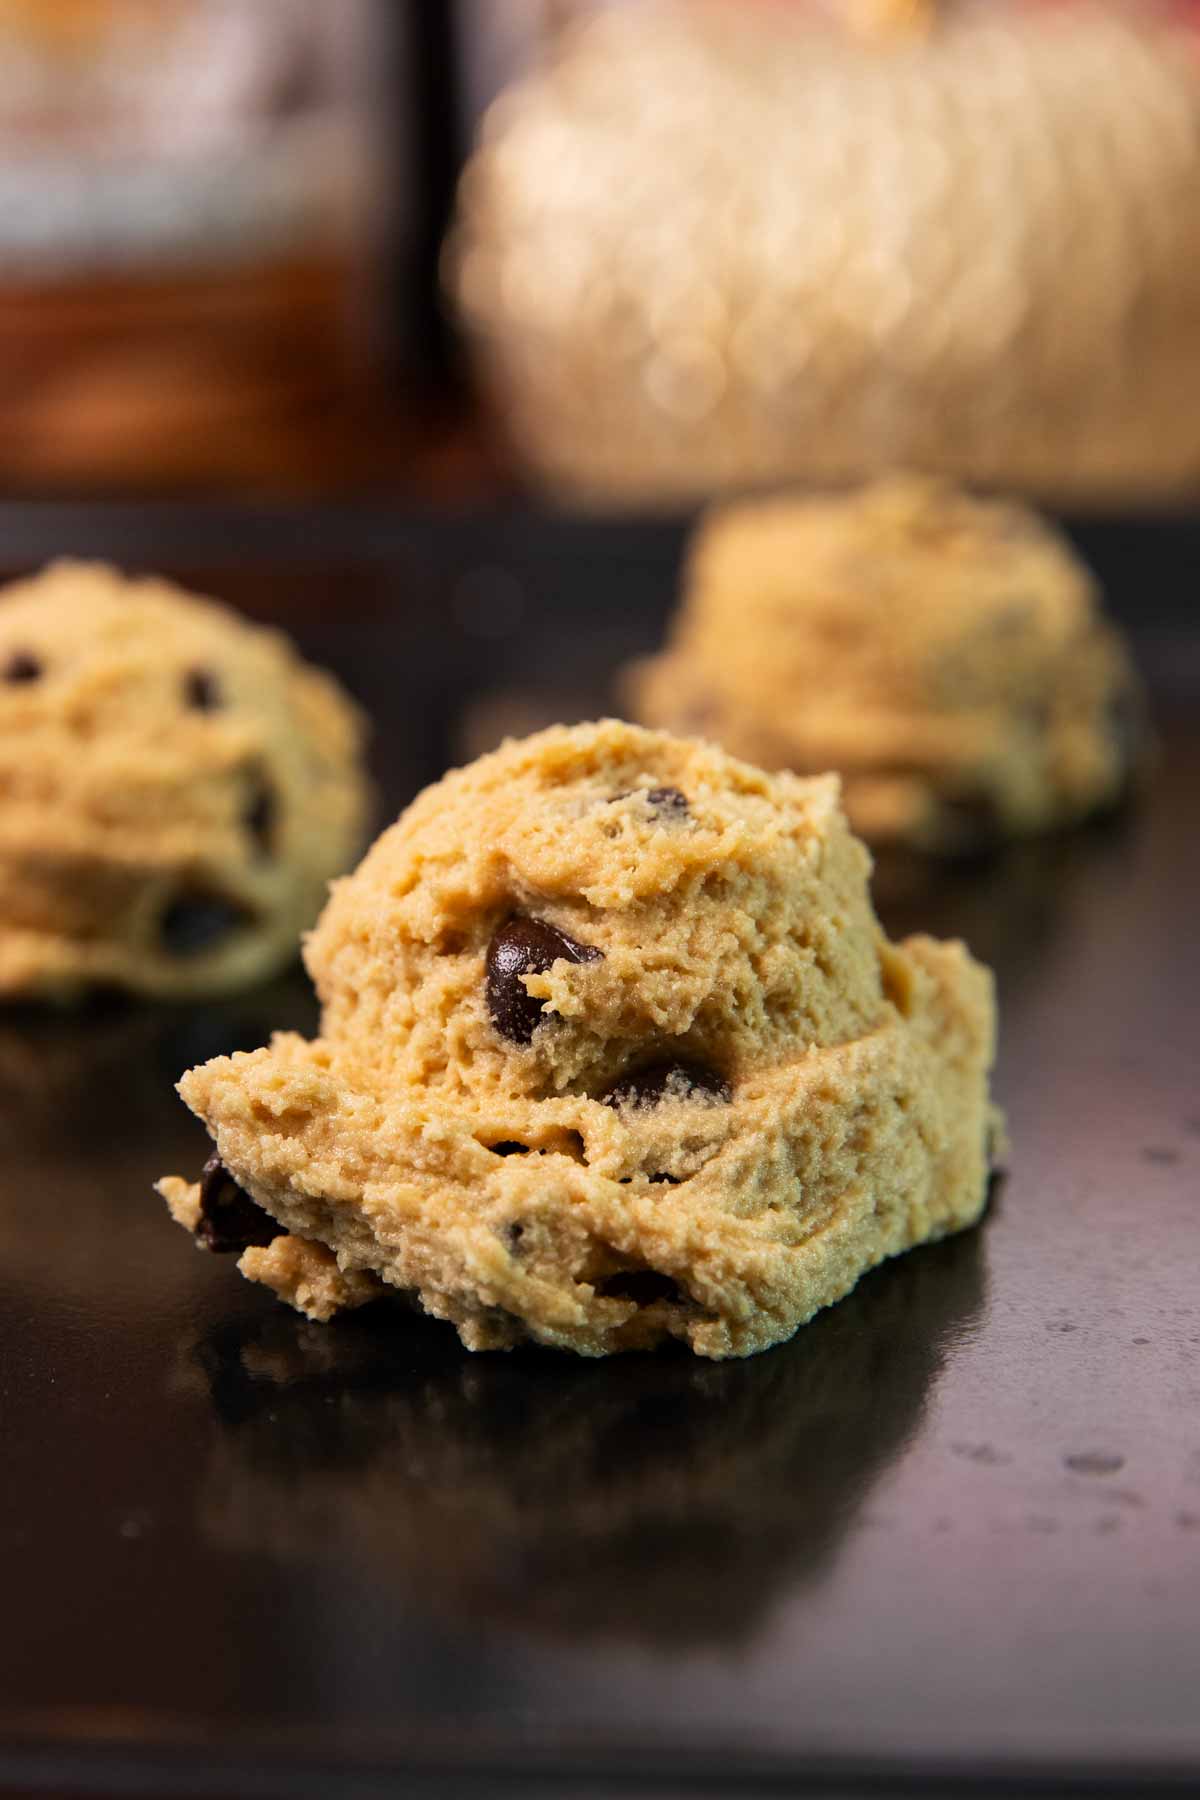
How the scoop shape affects the chocolate chip cookie outcome
I have made a lot of chocolate chip cookies, and I’m still surprised how much small changes affect the outcome so much. These are the three dough scooping/shaping “techniques” I like to use, for different purposes:
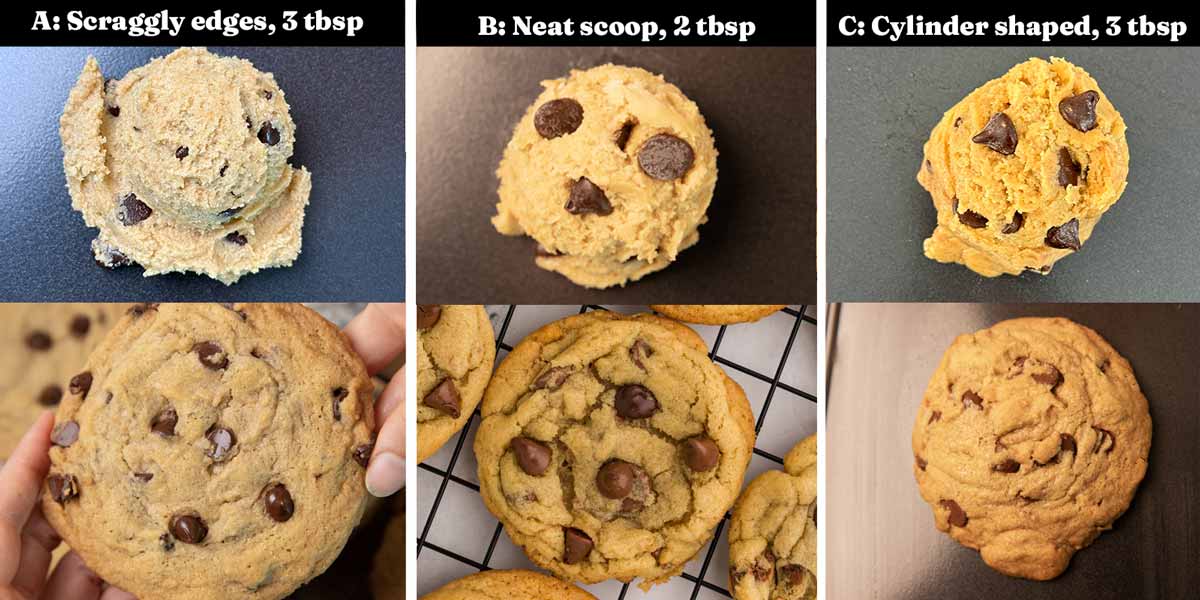
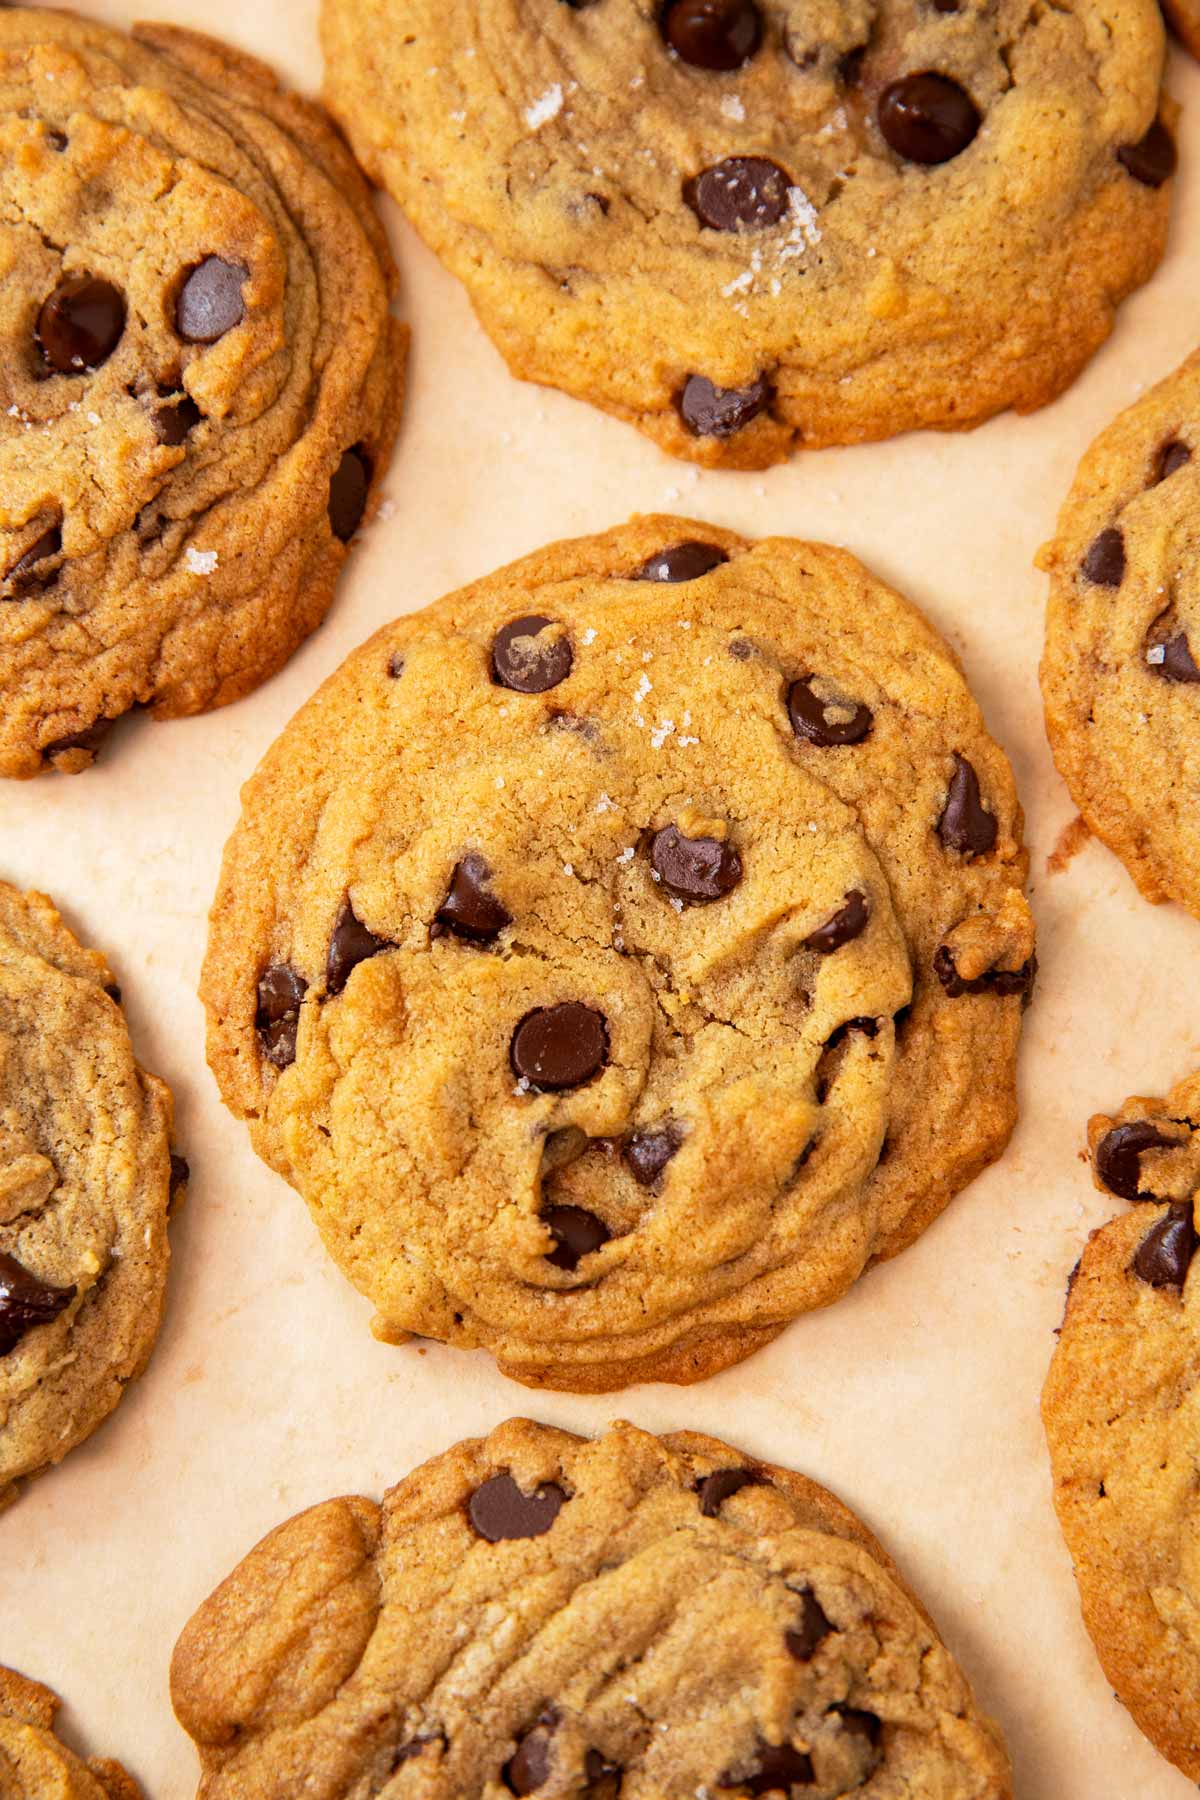
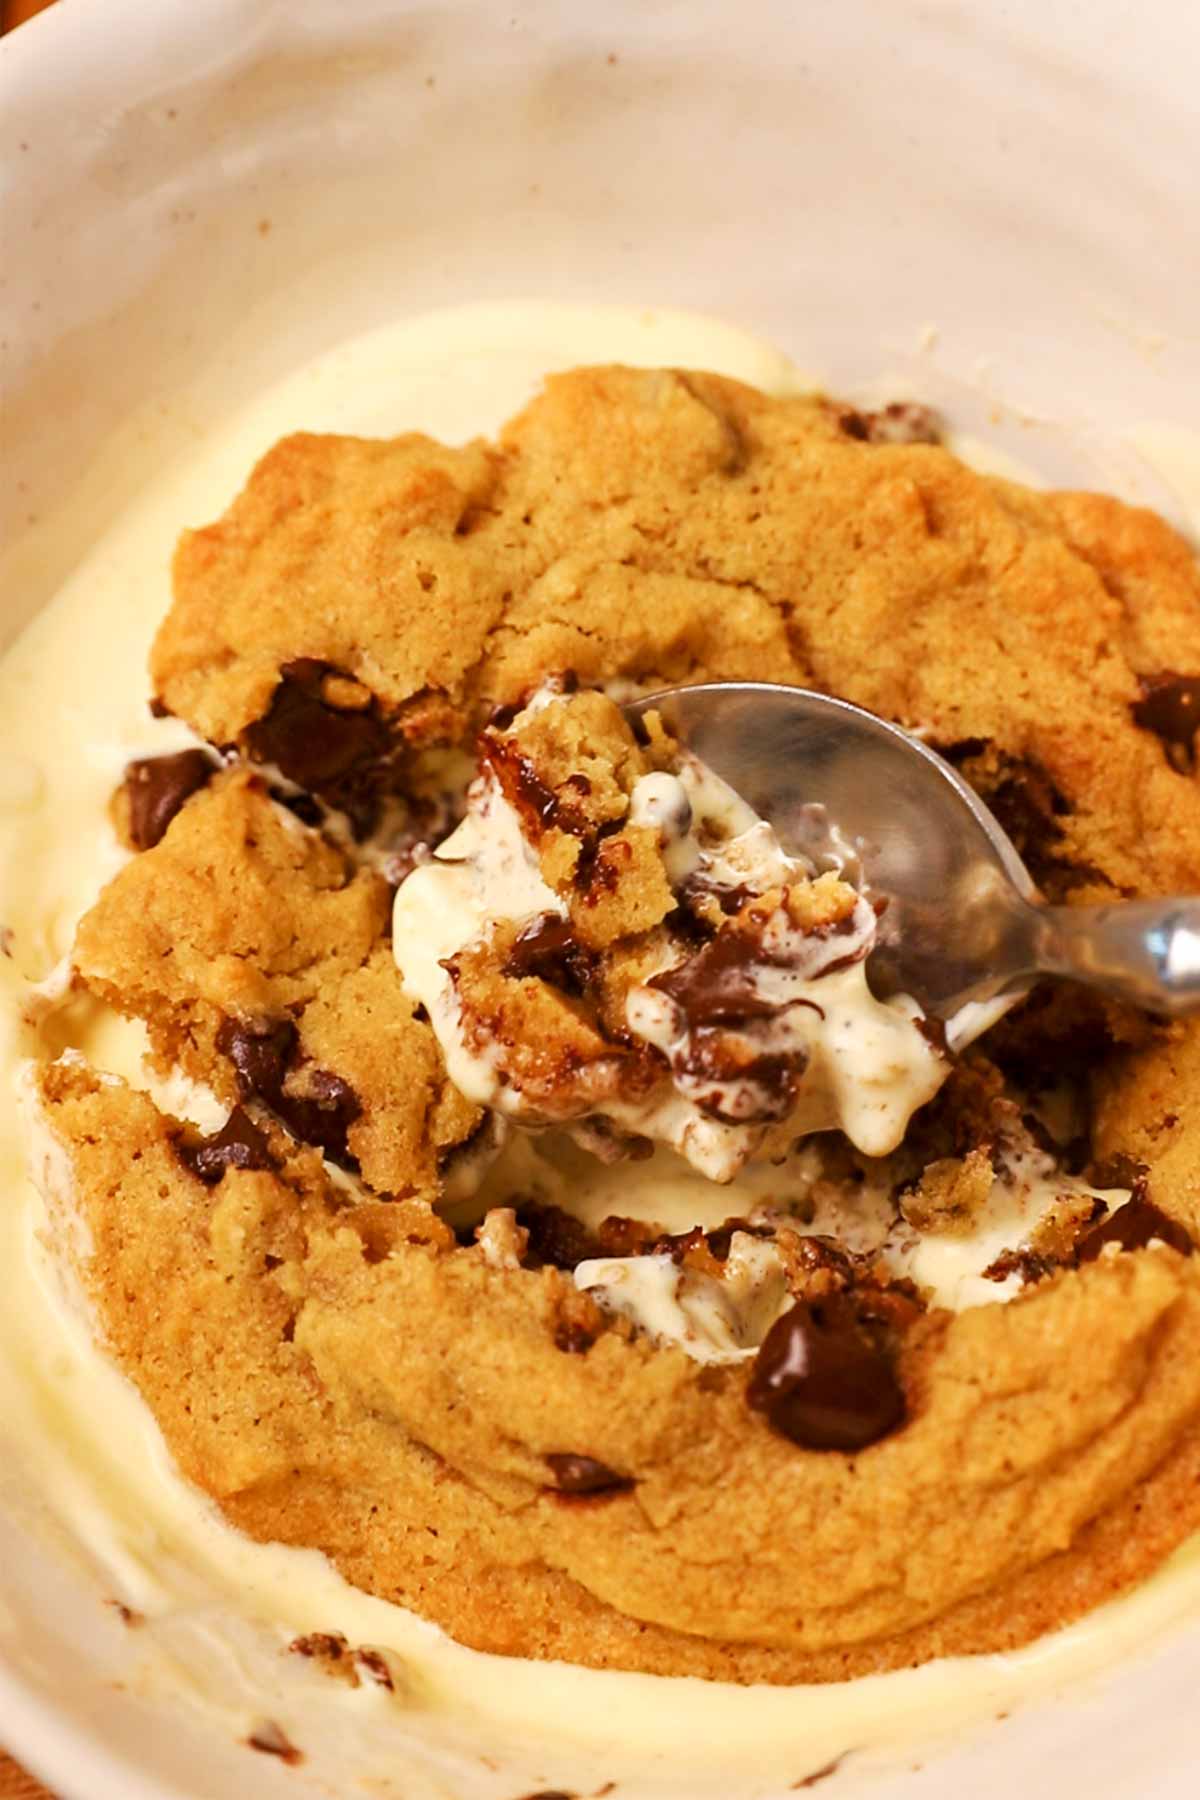
- Option A: If you scoop ~3 tablespoons of cookie dough with a ~2 tablespoon cookie scoop and portion it out looking a little messy and scraggly around the edges, the cookies will be large, a little flatter, and have a chewy edge. These are more delicate, and perfect to serve straight out of the oven over a scoop of vanilla ice cream!
- Option B: If you scoop 2 tablespoons of cookie dough with a 2 tablespoon cookie scoop and make a neat mound, the cookies will be more compact, sturdy, spread less, come out soft and medium-thick. I like these best if I need to be able to transport them somewhere.
- Option C: If you scoop 3 tablespoons of cookie dough and instead of leaving the edges messy you push them inwards to form a tall cylinder shape vs a cookie dough ball, you will get very thick and soft cookies. This is the gold star if you like bakery-style cookies!
4 Bake and cool:
Once you have shaped your cookie dough to your liking, all that’s left to do is bake your cookies!
Two important things for chocolate chip cookie baking:
- Do not crowd your cookie sheet, leave 2 inches between your cookies to let the heat circulate evenly and to keep them from spreading into each other.
- Do not overbake your cookies.
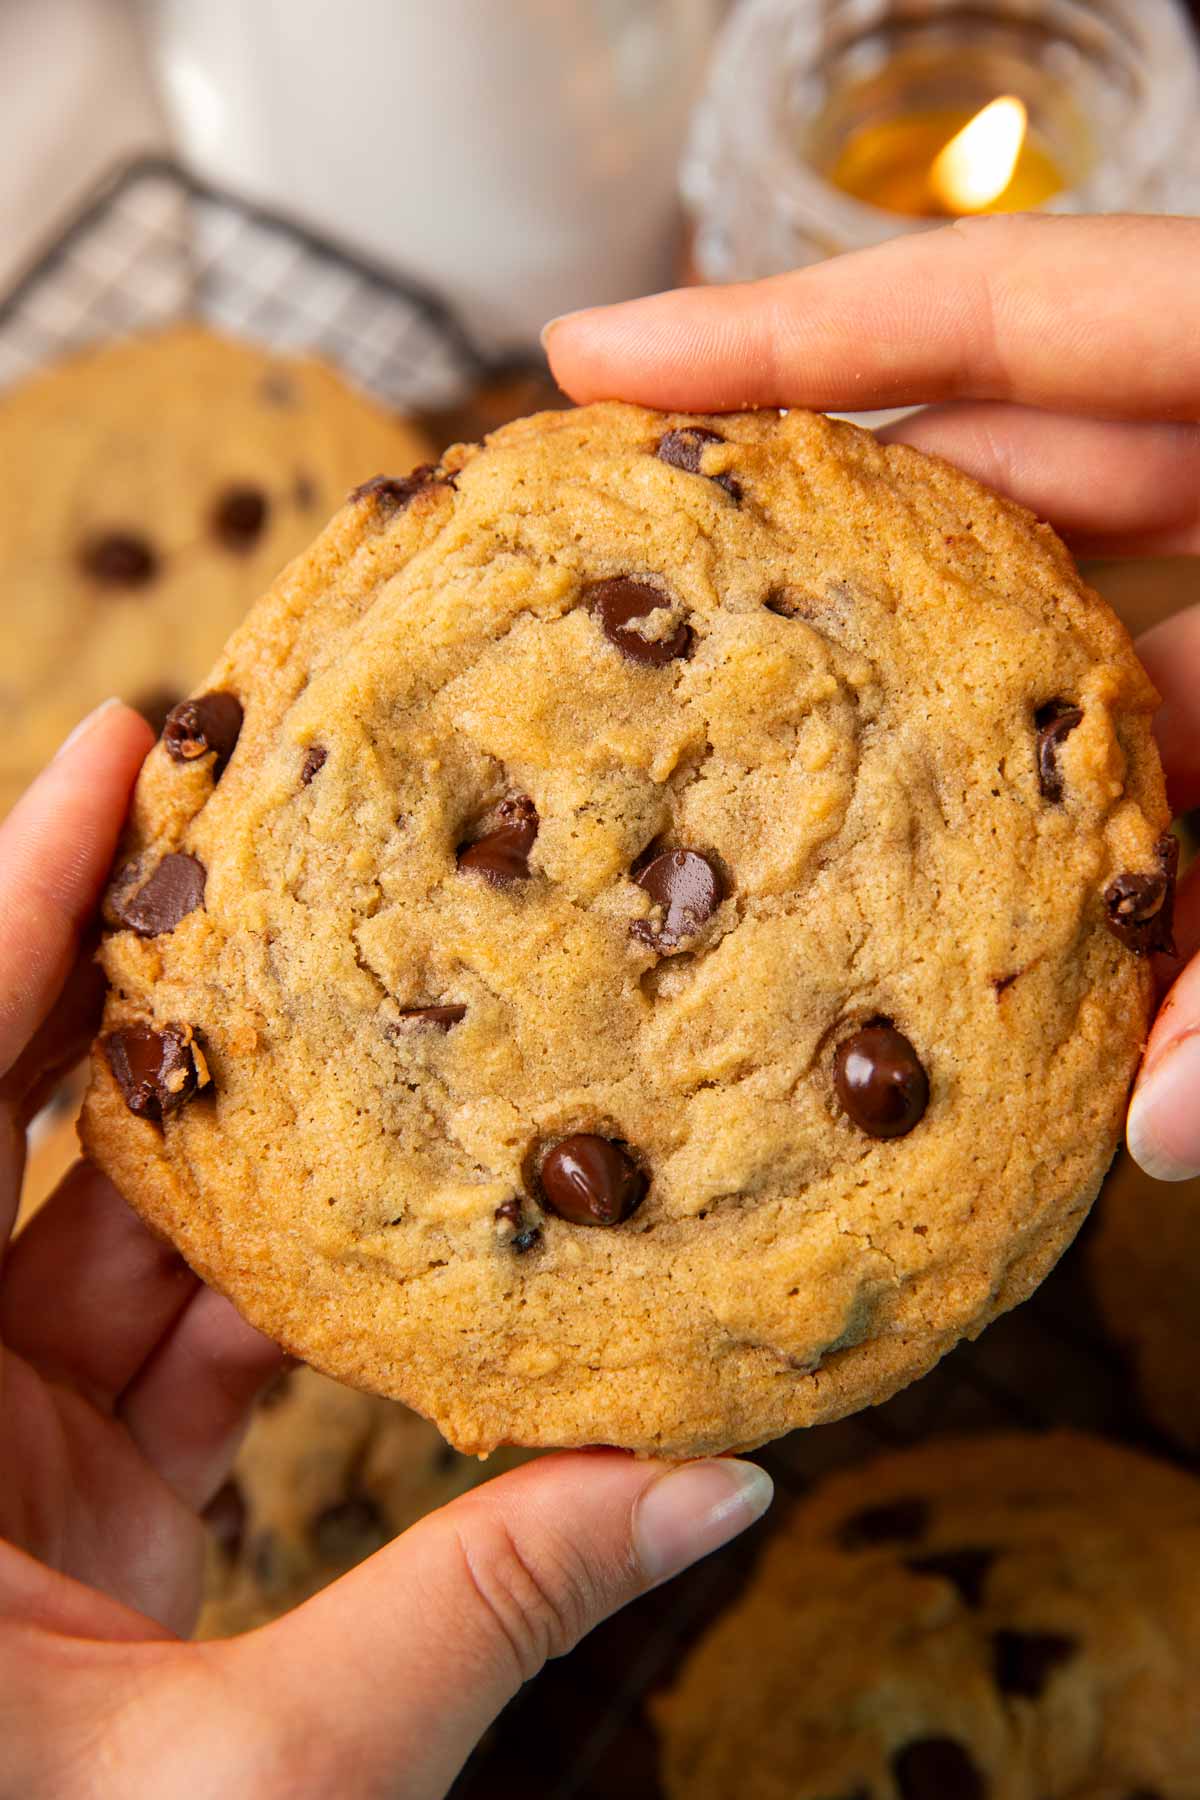
Now, there is a school of thought for cookie baking to completely underbake them. I do not enjoy eating such a large serving of half-raw cookie dough, so I do fully bake my cookies. However, there is a BIG difference between fully baked and overbaked cookies.
With this cookie recipe it’s a little harder to tell from color, because the large proportion of brown sugar makes them a bit darker naturally. I usually bake the cookies until the top doesn’t look raw anymore and the edges are turning a light golden color with a soft interior:
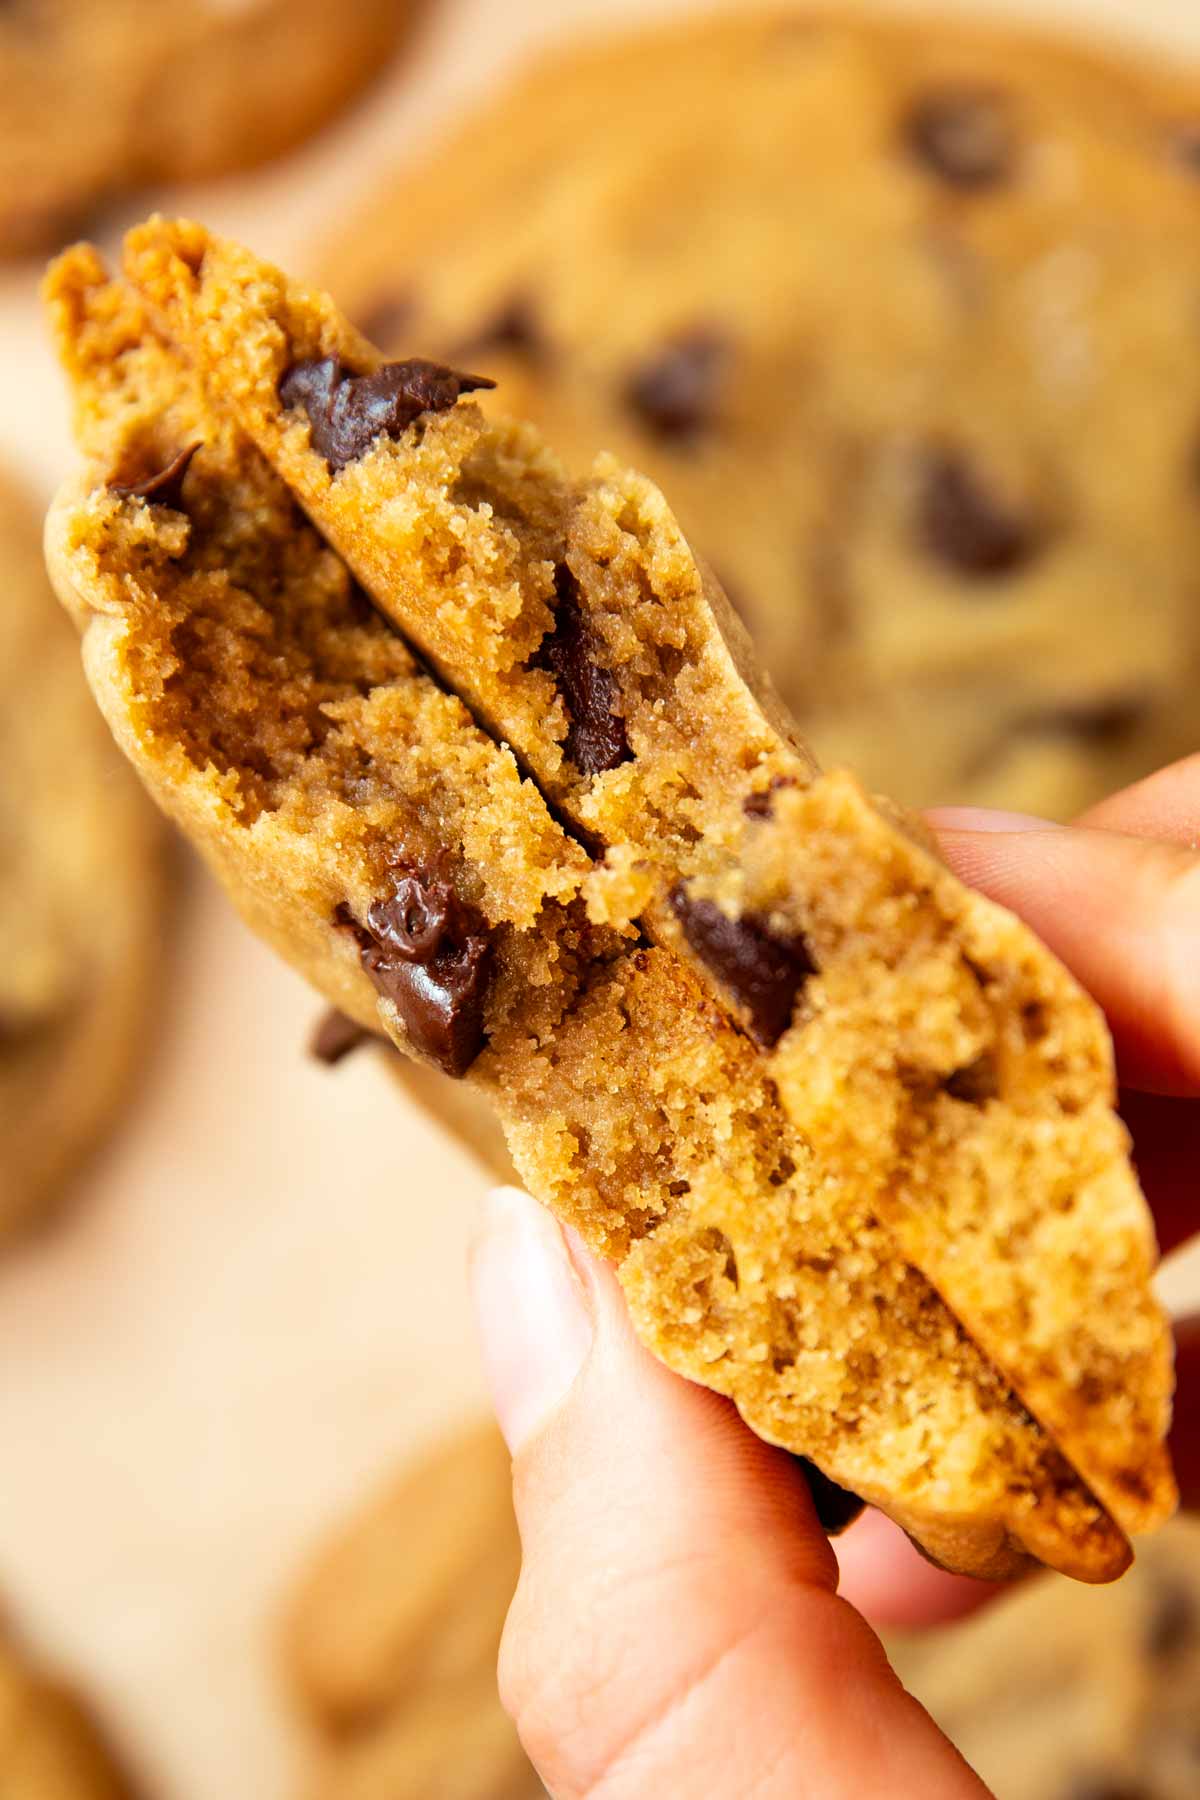
Fully baked, these are perfectly soft, with chewy edges if you left them a little scraggly when scooping the dough. If you choose to underbake yours, you are of course free to take that risk – I will keep eating my fully heated eggs and flour 😉
Top tips from my kitchen
- Don’t skip the butter softening: Make sure your butter is softened at room temperature – it should give when you press it, but not be melty. This is key to that light and fluffy creaming stage.
- How I measure the flour: Honestly, I’m too lazy a baker these days to spoon and level. I scoop the flour for these cookies, I just try to fluff it a little first and don’t pack the cup densely. It works just fine.
- Don’t overbake: Cookies are done when the edges are lightly golden, and the centers still look a bit soft. They’ll set up as they cool, so trust the process and resist the urge to keep them in the oven too long.
- One sheet at a time: Baking one sheet on the middle rack of your oven helps with even heat distribution. It’s worth the extra time it takes!
Storage tips
To keep the cookies fresh and delicious, I like to store them like this:
- Countertop storage:
- Store baked cookies in an airtight container at room temperature for up to 5 days. To keep them soft, add a slice of bread to the container – it helps maintain moisture without affecting the flavor!
- Freezing the dough:
- For ultimate convenience, scoop the cookie dough into balls and freeze them on a baking sheet until solid (about 1–2 hours).
- Once frozen, transfer the dough balls to a freezer-safe bag or container. They’ll keep for up to 3 months.
- When ready to bake, place the frozen dough on a baking sheet and bake directly from frozen, adding 1–2 minutes to the baking time. The cookies will be thicker than baking from room temperature.
- Freezing baked cookies:
- Let the cookies cool completely, then layer them between sheets of parchment or wax paper in a freezer-safe container or bag. They’ll stay fresh in the freezer for up to 3 months.
- When you’re ready to enjoy, thaw them at room temperature or pop them in a 300°F oven for a few minutes to refresh their just-baked taste.
Serving tip
Have you seen this thing on Instagram and TikTok, where you place a freshly baked, hot chocolate chip cookie on top of a scoop of vanilla ice cream? It’s basically the cookie form of a brownie sundae, and it’s SO good! Highly recommend!!!

Perfect Chocolate Chip Cookies
Ingredients
- 1 cup butter ((that's 2 sticks), softened)
- 1 cup light brown sugar
- ¾ cup granulated sugar
- 2 large eggs
- 2 teaspoons vanilla extract
- 1 teaspoon baking soda
- 1 teaspoon salt (I use sea salt, table salt needs a little less)
- 3 cups flour ((measured by scooping fluffed flour; or weigh out 435g))
- semi-sweet chocolate chips (measured with your heart (I use 1.5 to 2 cups))
Instructions
- Prep: Preheat your oven to 350°F. I use a nonstick, unlined cookie sheet that's completely flat (no raised edges) for baking – feel free to line yours with baking parchment if it’s not nonstick, or you want to avoid the cleaning.
- Creaming stage: In a medium bowl, beat the softened butter with both sugars using a hand mixer on medium-high speed until creamy – about 1-2 minutes. Add the egg, vanilla, baking soda and salt, and beat JUST until fully combined.1 cup butter, 1 cup light brown sugar, ¾ cup granulated sugar, 2 large eggs, 2 teaspoons vanilla extract, 1 teaspoon baking soda, 1 teaspoon salt
- Finish dough: Add the flour and beat on low speed JUST until incorporated and no more dry flour is visible. Fold in the chocolate chips using a rubber spatula or wooden spoon.3 cups flour, semi-sweet chocolate chips
- Portion dough: Scoop the cookie dough into 2-3 tablespoon sized mounds (see notes below for different shaping techniques). Place 2 inches apart on your cookie sheet (only bake one sheet at a time, work in batches).
- Bake: Bake for 8-12 minutes, until set and very lightly golden. Allow to cool on the cookie sheet for 5 minutes (they are very delicate when warm!), then transfer to a cooling rack to cool completely.
Notes
- Large and delicate: Scoop ~3 tablespoons of cookie dough with a ~2 tablespoon cookie scoop and portion it out looking a little messy and scraggly around the edges. The cookies will be large, a little flatter, and have a chewy edge. These are more delicate, and perfect to serve straight out of the oven over a scoop of vanilla ice cream!
- Compact and easy to transport: Scoop 2 tablespoons of cookie dough with a 2 tablespoon cookie scoop and make a neat mound, the cookies will be more compact, sturdy, spread less, come out soft and medium-thick. I like these best if I need to be able to transport them somewhere.
- Very thick and soft: Scoop 3 tablespoons of cookie dough and instead of leaving the edges messy like in the first option above, you push the messy base inwards to form a tall cylinder shape vs a cookie dough ball, you will get very thick and soft cookies. This is the gold star if you like bakery-style cookies!
- Countertop: Store cookies in an airtight container for up to 5 days; add a slice of bread to keep them soft.
- Freezing dough: Freeze scooped dough balls for up to 3 months; bake from frozen, adding 1–2 minutes to the bake time.
- Freezing cookies: Freeze baked cookies for up to 3 months; thaw at room temperature or warm in a 300°F oven.
Between originally posting this recipe in 2024 and updating it in 2026, I made a few tweaks and learned some extra things about making these chocolate chip cookies, so I adjusted the recipe and the post accordingly.




Eric says
Thank you for sharing this recipe
Chris says
Best chocolate chip cookies I’ve ever made! I didn’t change anything, and they came out amazing. definitely chill the dough if you want them really thick. Thanks for such a great recipe!!
Nora says
I’m so glad to hear it, Chris!
Sarah says
omg these were delicious. made them for the kids after school, and they ate them all in like 5 mins 😂. added a little sea salt on top before baking—so good. will make again for sure!
Nora says
Haha, that’s what happens around here too, Sarah! Glad they were a hit – love the sea salt addition.
Tina says
These cookies are EVERYTHING!! buttery, soft, and full of chocolate. I doubled the recipe and froze some of the dough so I can bake more anytime. New fave cookie recipe for sure!
Nora says
That’s so smart, Tina! Glad you liked the cookies.
Maddie says
These cookies were SO good!! I made them for a family get-together and everyone kept asking me for the recipe. Soft in the middle, a little crispy on the edges. perfect. Def saving this one!
Nora says
I’m so glad, Maddie!
Jamie says
Such a good recipe! Super easy and the cookies came out chewy and gooey, just how I like them. I used half dark choc chips and half milk choc—so good. Already planning another batch this weekend!
Nora says
I love that, Jamie. So glad you enjoyed the cookies!