

〈 swipe for more photos 〉
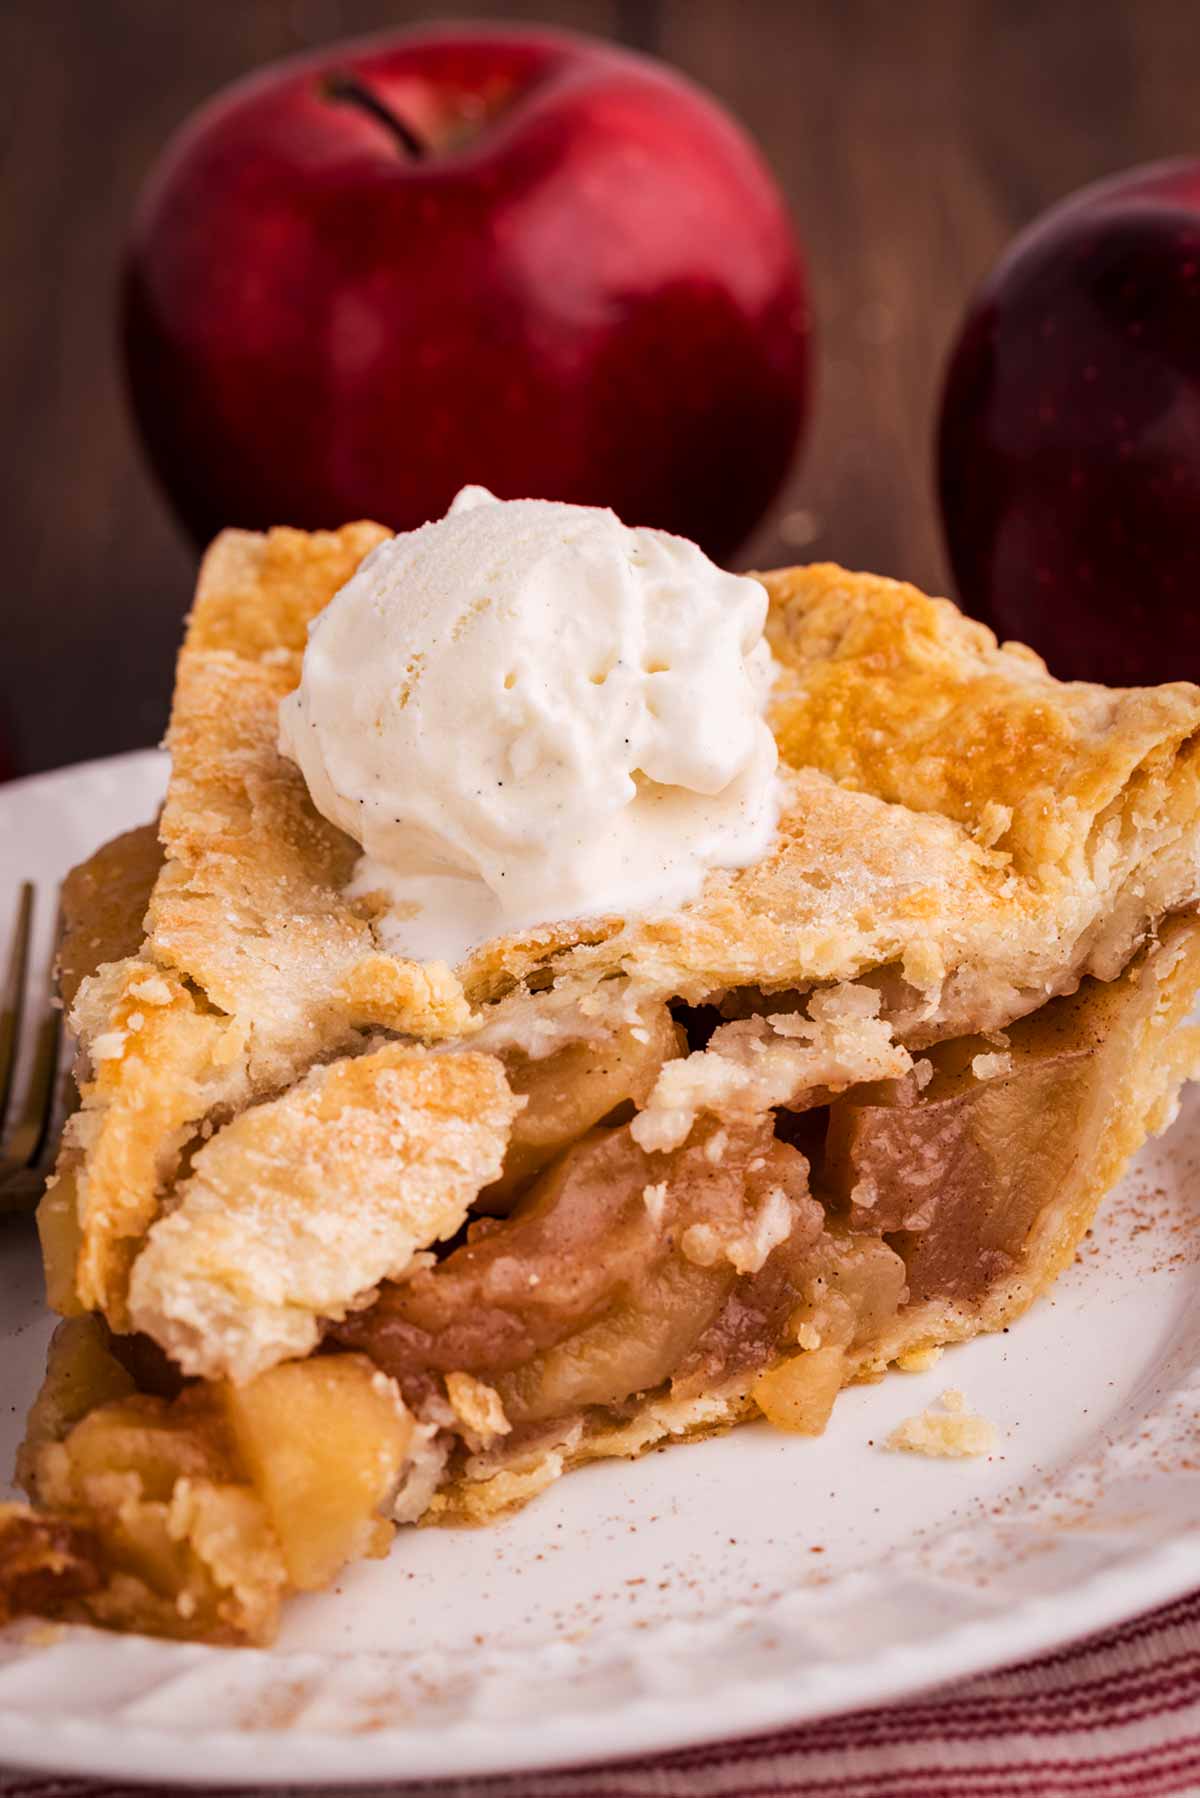
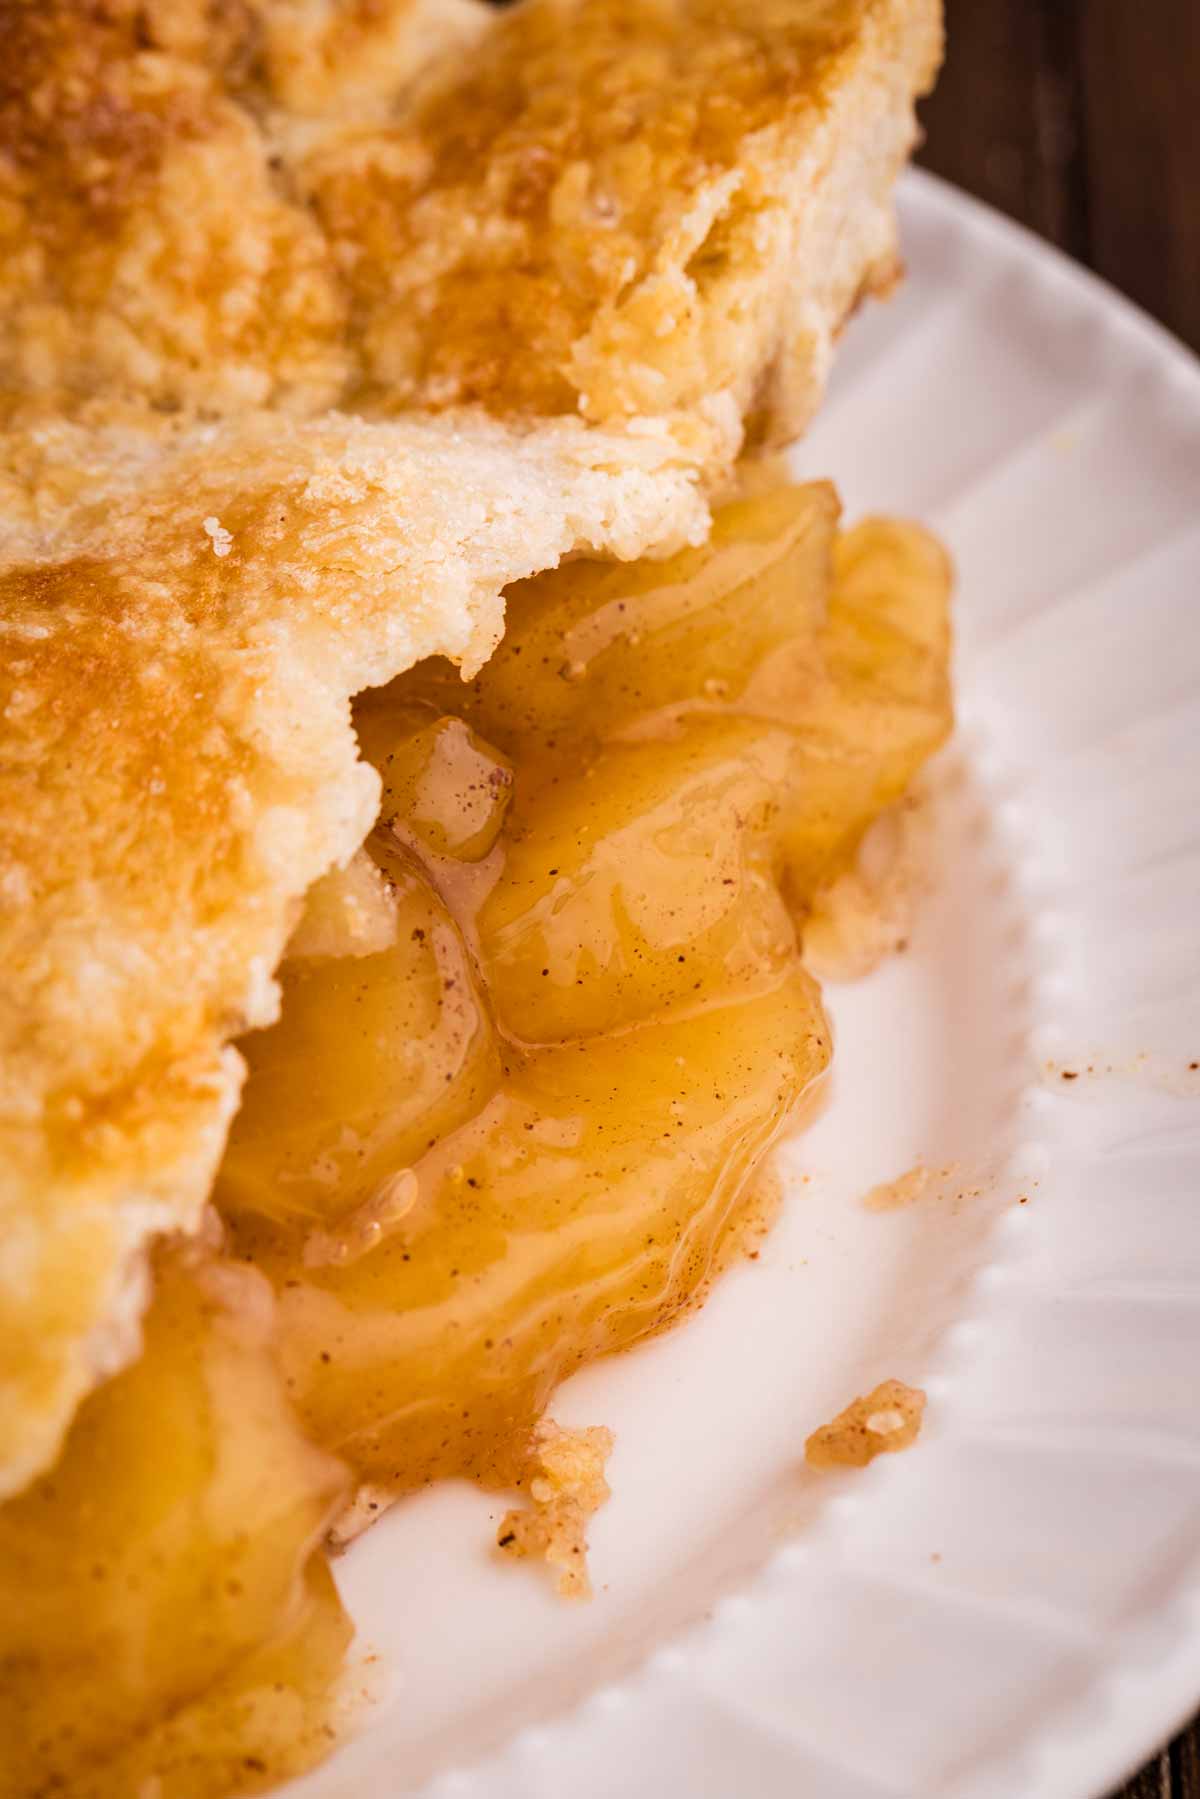
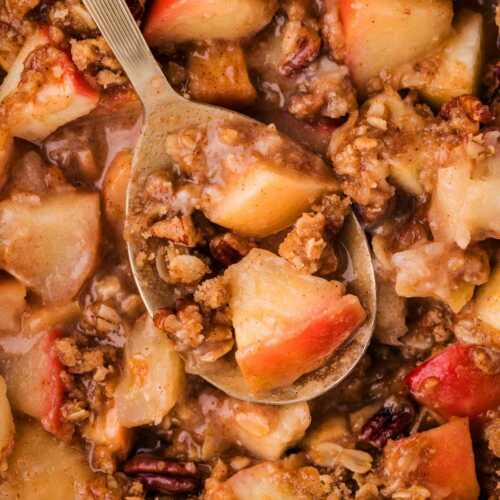
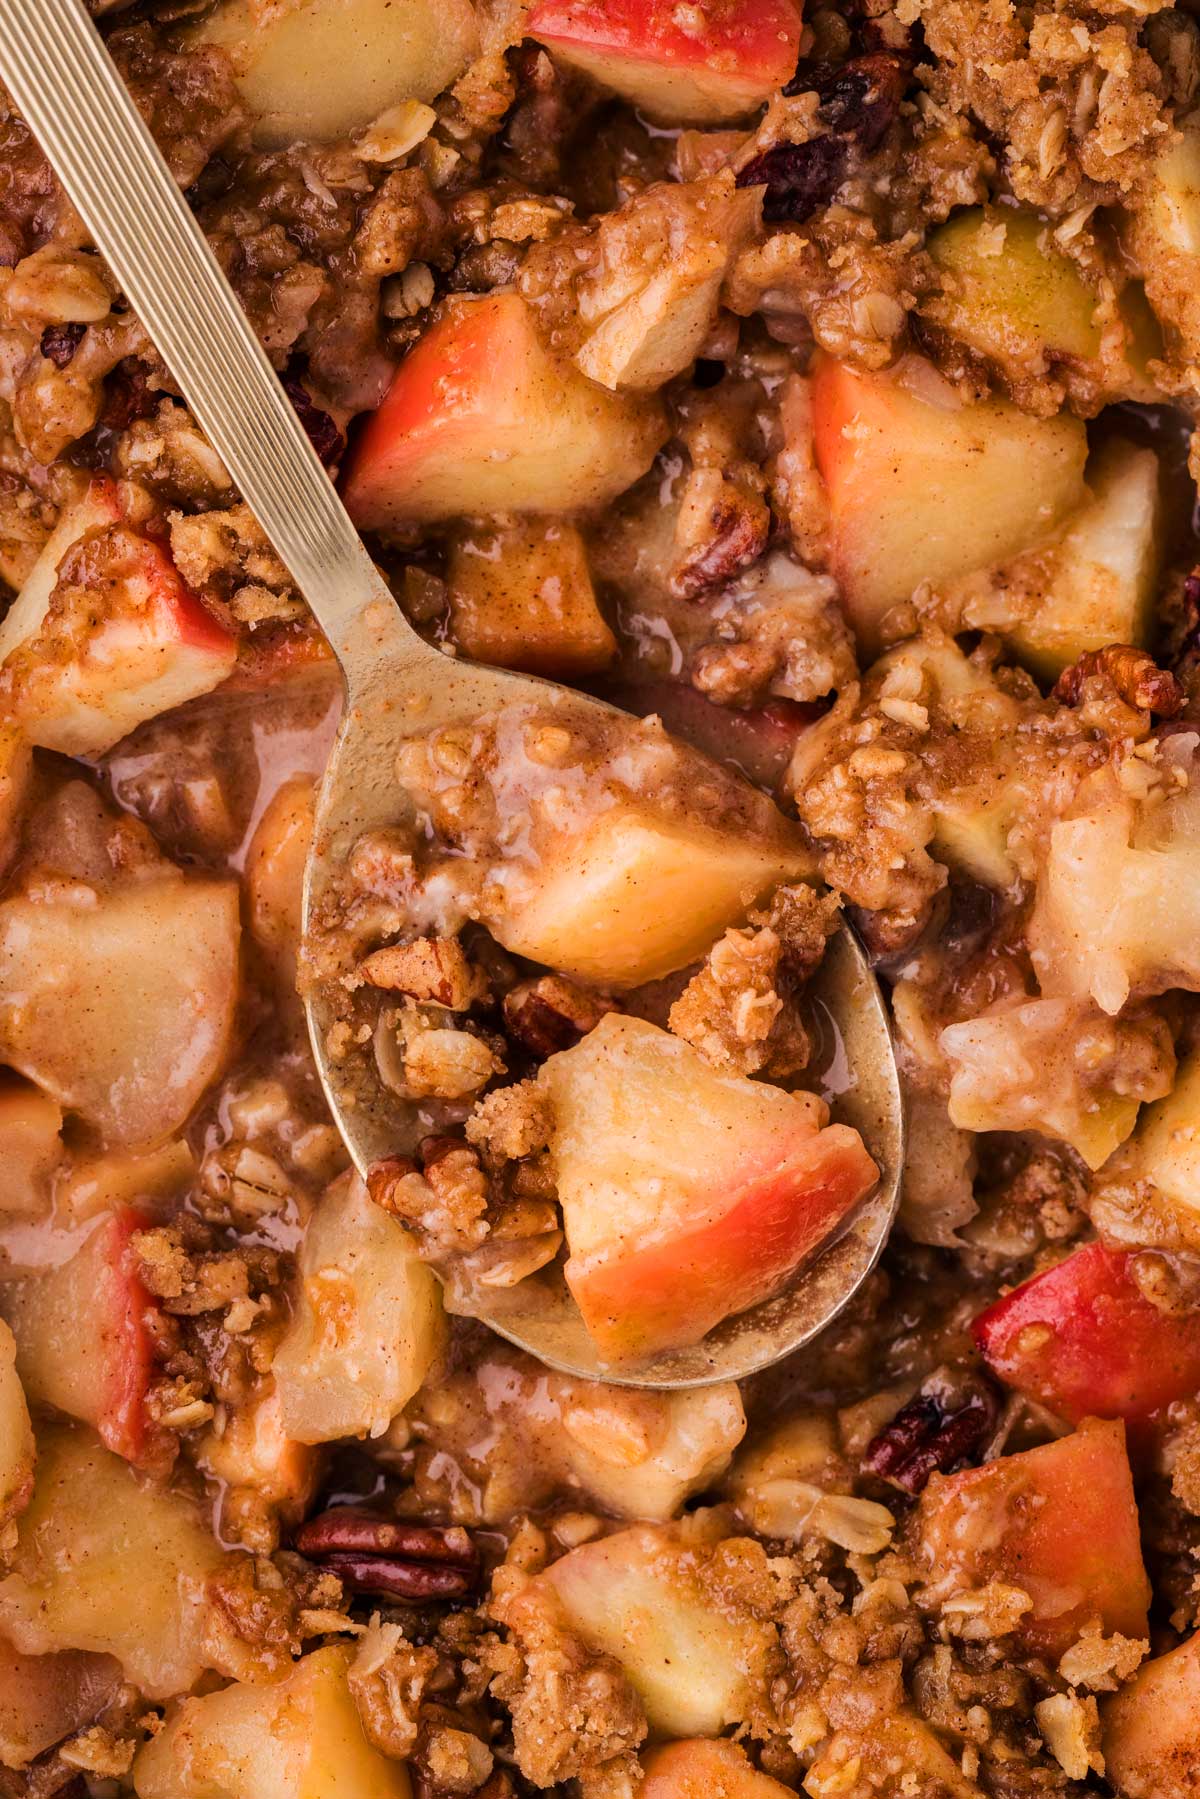
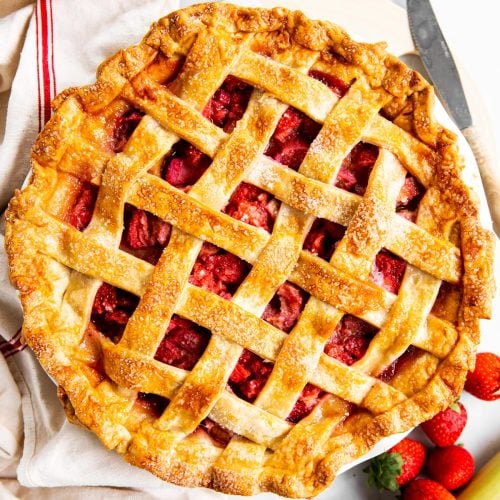
This recipe for a homemade Classic Apple Pie is the best you can find! An easy apple pie filling is baked in a made-from-scratch crust for the ultimate holiday dessert.
What’s to love
- Classic recipe. This recipe our take on Sam Sifton’s recipe for the Thanksgiving classic on the dessert table – just as traditional as his but a little easier and more foolproof to make.
- Old-fashioned taste. Sam Sifton’s approach to the apple pie filling is very classic and not too sweet. If you’re looking for a filling that’s more sweet and saucy like canned filling, you may want to try this Homemade Apple Pie Filling instead.
- Shortcut or homemade. You can easily use a store-bought pie crust for this recipe. If you’re intimidated by pie crust, don’t be. We have an entire post on how to make pie crust from scratch, so go read that if you need a little extra help.
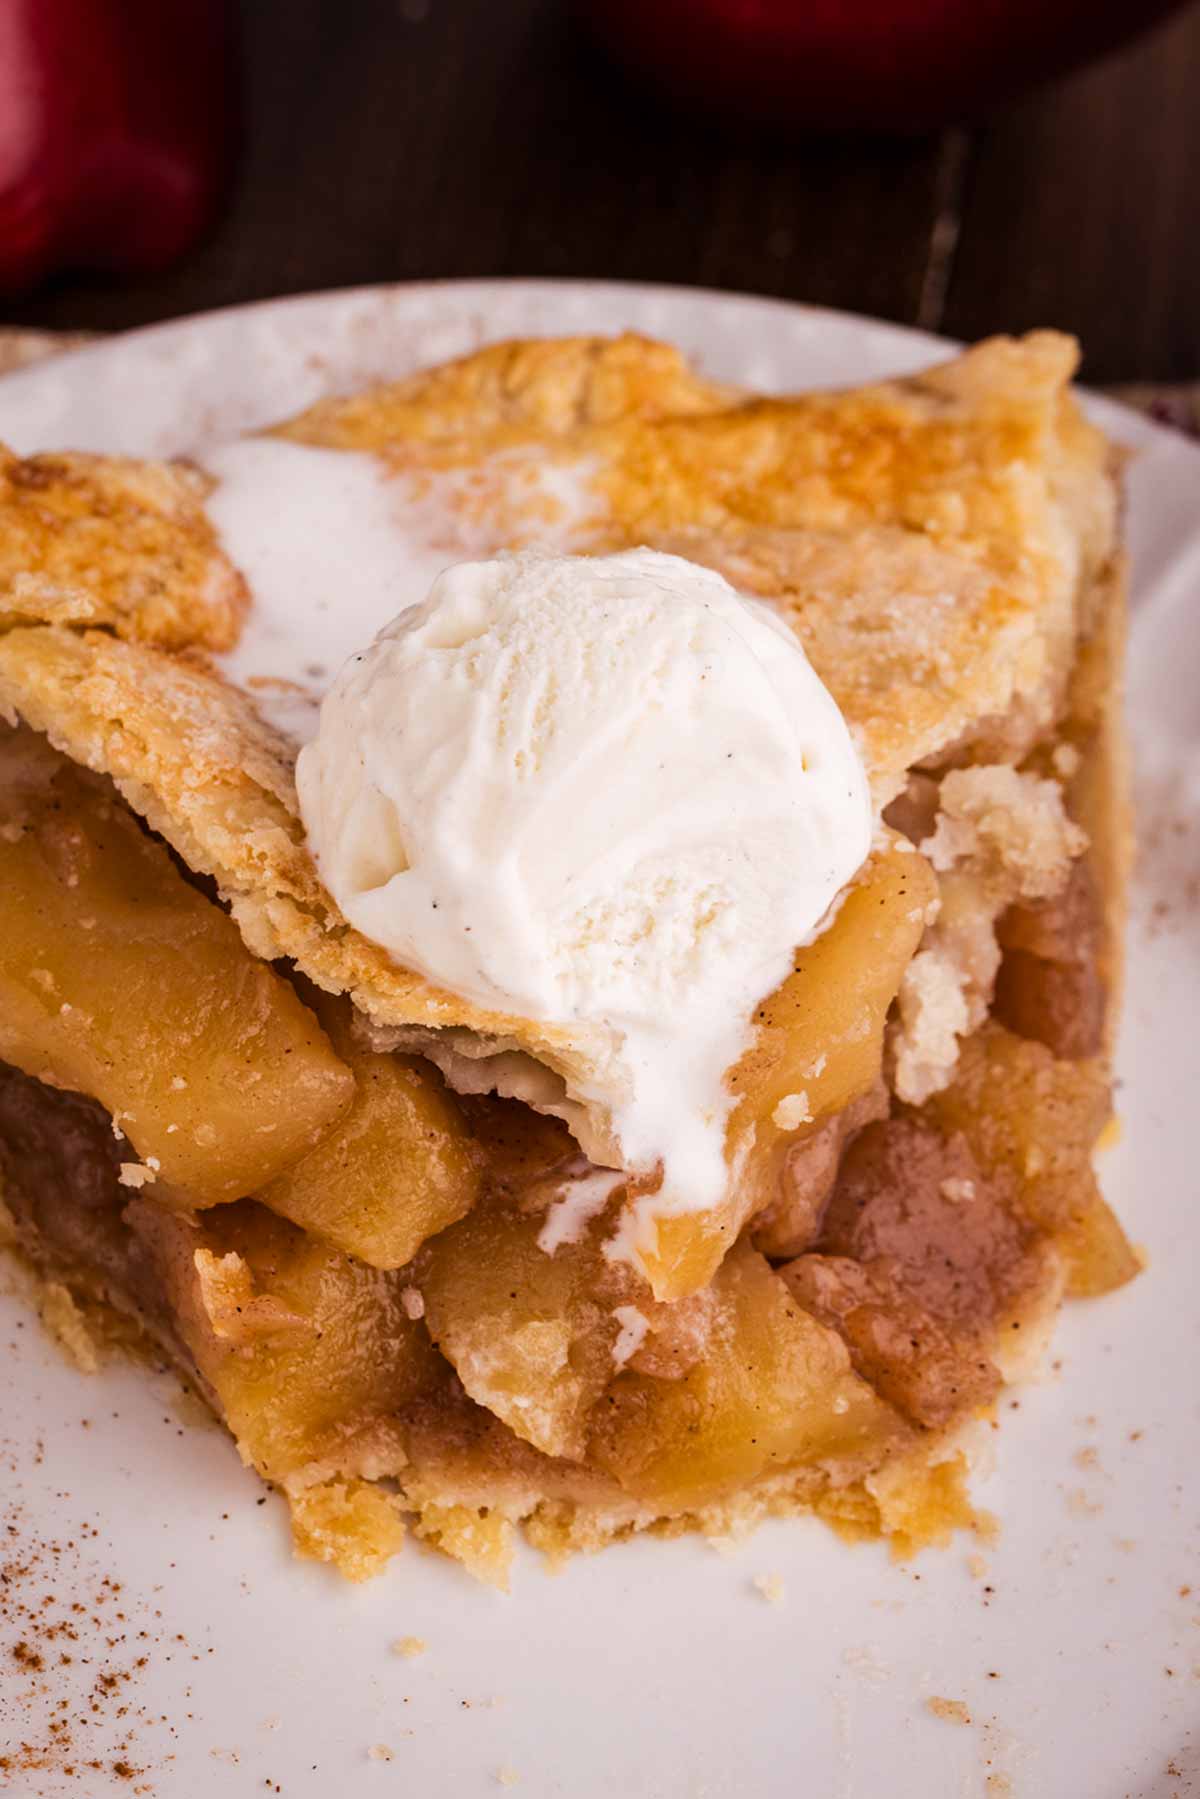
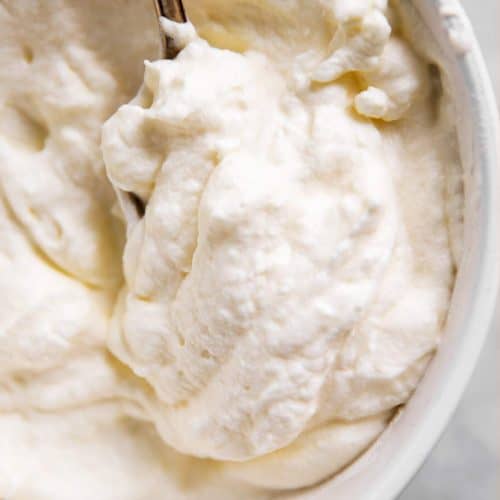
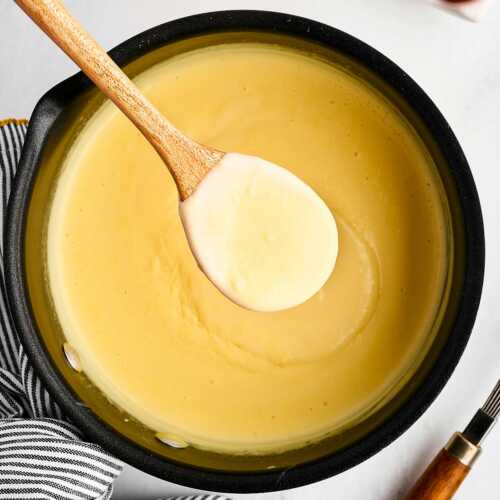
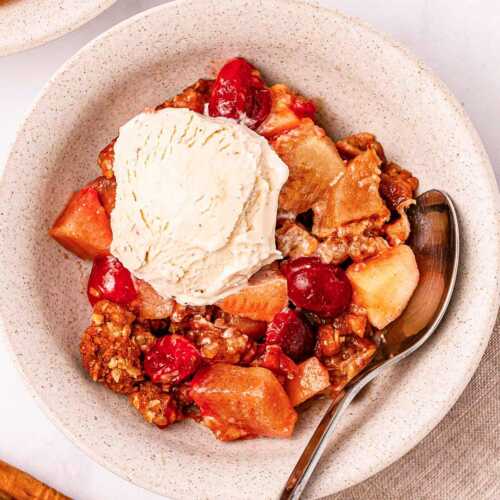
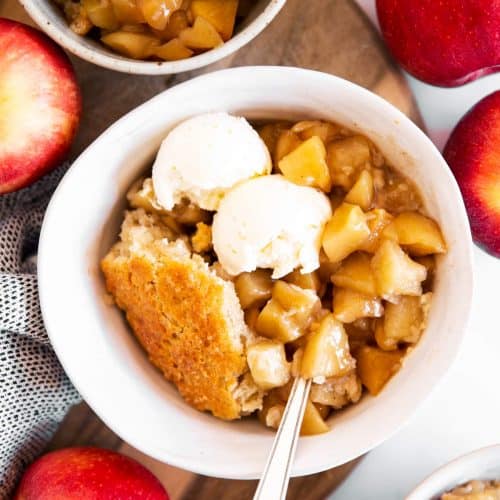
Apple pie tastes delicious by itself or with a scoop of vanilla or pecan ice cream – but warm vanilla sauce is surprisingly delicious with it, too!
Printable Recipe Card
Ingredients
For the crust:
- 2 ½ cups all-purpose flour
- ½ teaspoon salt
- ¾ cup cold unsalted butter (cubed)
- 1 teaspoon apple cider vinegar
- ½ cup ice-cold water
For the filling:
- 2 tablespoons unsalted butter
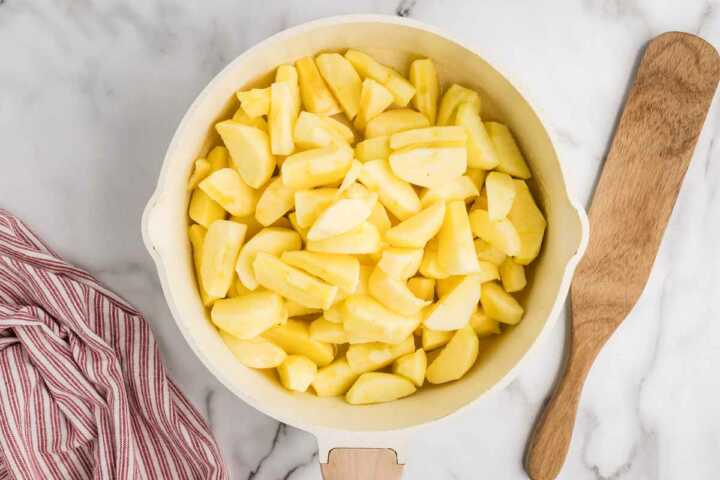
- 3 pounds apples (peeled, cored and sliced)
- ½ teaspoon cinnamon
- ¼ teaspoon allspice (OR apple pie/pumpkin spice)
- ¼ teaspoon salt
- ½ cup sugar
- 2 tablespoons brown sugar
- 3 tablespoons cornstarch
- ½ tablespoon apple cider vinegar
To finish:
- 1 egg white
- 1 tablespoon granulated sugar
Tips
- Make sure to use butter cold from the fridge and ice-cold water. It yields the flakiest pie crust.
- Salt: The salt in the filling makes it more flavorful and compliments the sweet acidity of the apples.
- Brown sugar: You can use extra white sugar in place of the brown sugar, you’ll lose some of the caramel notes in the filling.
- Cornstarch: Can use the same amount of flour if you don’t have any cornstarch on hand. It tends to get lumpy a little more, so make sure to stir well.
Instructions
- Prep:Make sure there is space in your fridge for the pie crust. Get your ingredients ready.


Make the crust:
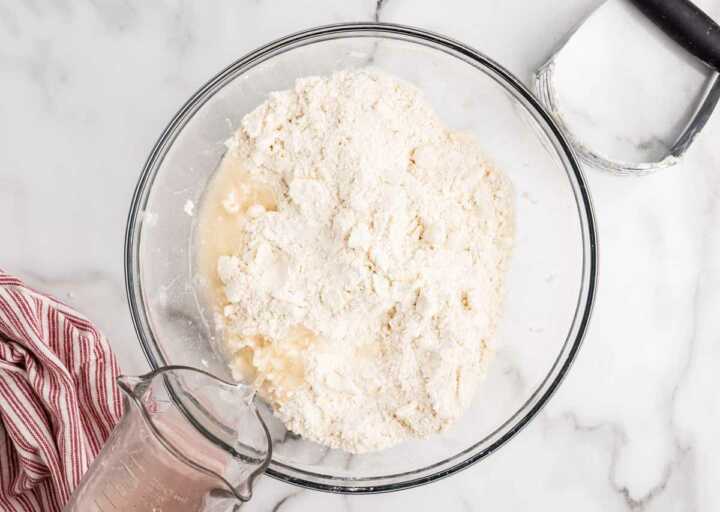
- Blend dry ingredients and butter:Mix flour and salt in a large mixing bowl. Add the butter and blend using a pastry blender, two forks or your hands until you have a bowl filled with pea-sized crumbs.2 ½ cups all-purpose flour, ½ teaspoon salt, ¾ cup cold unsalted butter

- Make pastry:Mix vinegar and water in a measuring jug. Slowly pour over dry ingredients and mix just until it comes together into a dough.1 teaspoon apple cider vinegar, ½ cup ice-cold water

- Chill pastry:Push the dough into a ball. Do not knead or overwork! Divide into 2 disks, wrap in foil and chill for 1 hour.


Make the filling:
- Sauté apples:Melt the butter in a large sauté pan or skillet over medium heat. Add the apples and toss to coat with butter.2 tablespoons unsalted butter, 3 pounds apples
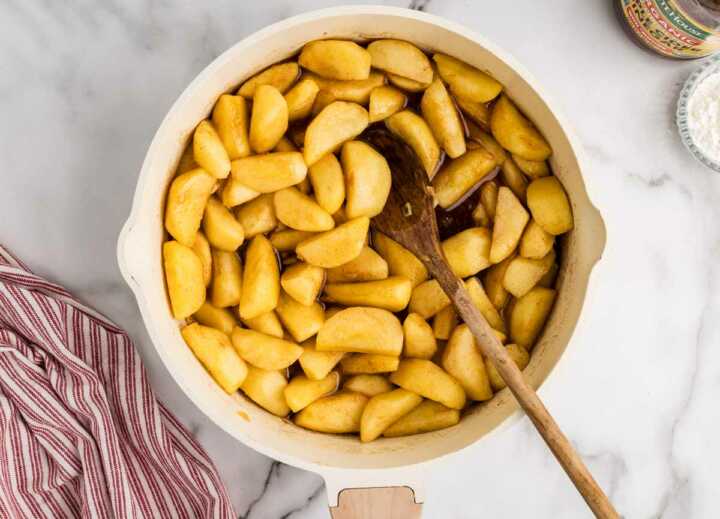
- Cook apples:Stir in cinnamon, allspice, salt and both sugars. Cook for around 5 minutes, or until the apples have softened.½ teaspoon cinnamon, ¼ teaspoon allspice, ¼ teaspoon salt, ½ cup sugar, 2 tablespoons brown sugar

- Thicken:Sprinkle the cornstarch over the apple mixture and continue cooking 3 to five minutes, stirring occasionally until the juices have thickened.3 tablespoons cornstarch

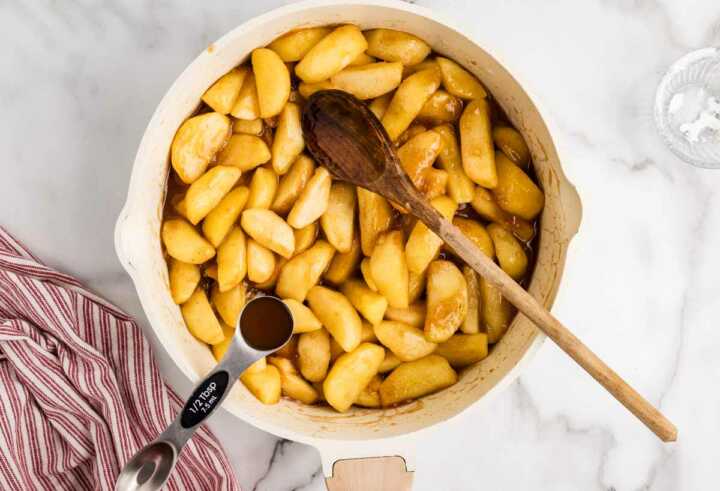
- Finish and cool:Stir in the vinegar, taste test and then cool the filling completely.½ tablespoon apple cider vinegar


Assemble and bake the pie:
- Prep:Place a baking sheet in the lower half of the oven and preheat to 425°F. Lightly grease a 9-inch pie dish.
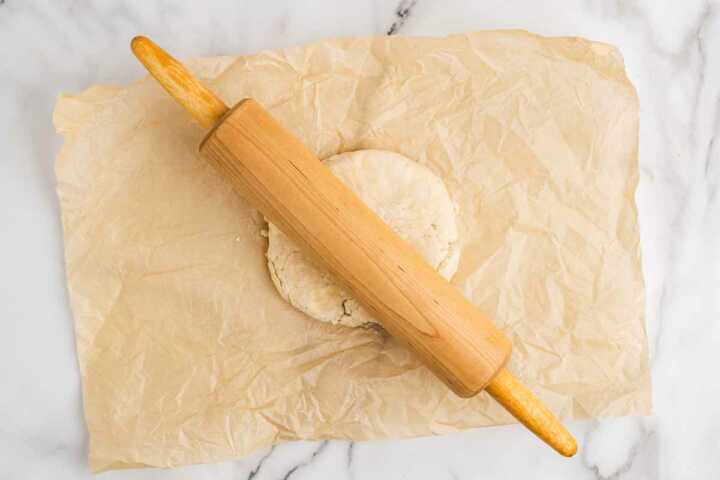
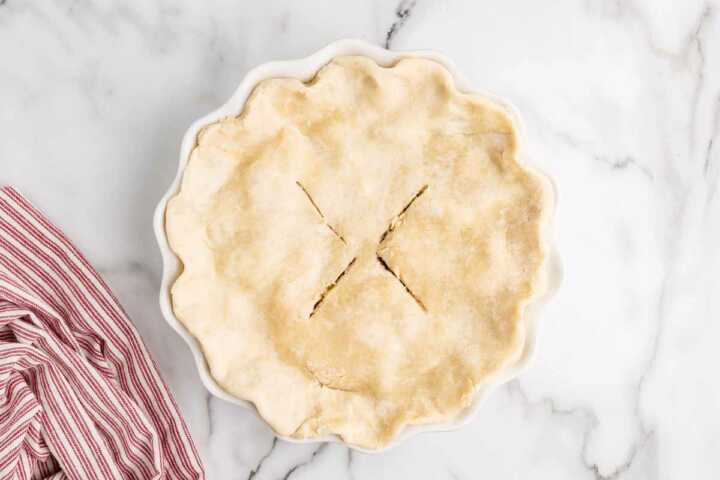
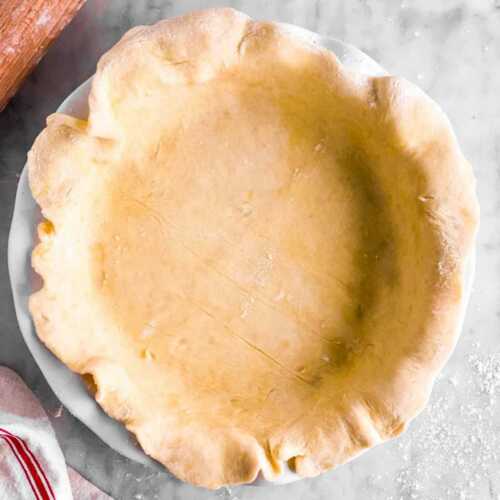
- Roll out crust:Place 1 disk of the chilled pastry between 2 sheets of baking parchment. Roll into a circle of about 10 inches in diameter. Chill in the fridge between the parchment sheets until ready to use.Place the second disk of the pastry between 2 sheets of baking parchment. Roll into a circle slightly larger than a 9 inch pie dish. Fit into the lightly greased pie dish.Please note: The photo only shows one sheet of baking parchment, so the crust is visible in the picture.
- Fill pie:Spread the cooled apple pie filling in the bottom crust.
- Add top crust and crimp:Remove the top crust from the refrigerator and fit on top of the pie. Seal the edges, trim and crimp. Make four incisions in the crust for steam vents.
- Finish:Lightly brush the top of the pie with beaten egg white and sprinkle with 1 tablespoon granulated sugar.1 egg white, 1 tablespoon granulated sugar
- Bake:Place the pie on the hot baking sheet and bake for 20 minutes before reducing the heat to 375°F.Continue baking for 30-40 minutes or until the top is golden brown.Remove and cool on a cooling rack for at least 2 hours before slicing to serve.


Classic Apple Pie
make your kitchen smell like home?Apple Pie FAQs
You can make apple pie up to 2 days ahead. Store it in the fridge covered with plastic wrap. If you make it only 1 day ahead, you can store it one the counter covered with a clean tea towel.
Allow to come to room temperature or slightly warm in the oven before serving.
Apple pies can be frozen up to 2 months.
Baked apple pie: cool completely, then wrap in plastic foil first, then in aluminum foil. Label with the name and use-by date before freezing. Bake at 300°F for 45-60 minutes to defrost and warm.
Unbaked apple pie: carefully wrap in plastic foil first, then in aluminum foil, making sure you’re not turning the pie or the filing will leak. Label with the name and use-by date before freezing, making sure the pie is level in the freezer. Thaw in the fridge before baking as directed in the recipe.
To speed up the cooling of the filling, spread it on a baking sheet or in a large casserole dish.
If your pie pastry is very chilled and hard, it can be easier to roll it after it’s been at room temperature for 5-10 minutes. Do not let it stand for longer though or the butter will get soft and your pie crust could turn out dense and gummy.
Do not skip pre-heating the baking sheet, it helps so much with browning the bottom crust!
If necessary, loosely cover the pie with a piece of aluminum foil after 20-30 minutes of baking time to keep it from getting too dark on top.
Cool the finished pie on a cooling rack on the counter to keep a soggy bottom away.
Yes! Both in the crust and in the filling. The apple cider vinegar doesn’t affect the taste of the pie pastry, but it helps to make the pie crust flaky. Vinegar helps to stop the gluten from developing. Developing the gluten would make for a tough crust, so please don’t skip it out of fear you’re going to end up with a tart crust.
In the filling, THIS is what makes Sam Sifton’s apple pie filling SO special! It adds something amazing to the taste of the finished apple pie you can’t quite place your finger on. It definitely doesn’t taste of vinegar in the end!
Most people consider Granny Smith the best apples for apple pie, but Honeycrisp or Jonathan also work really well.
The crust turns out best with a high-quality European-style butter (it has a slightly higher fat content), but it’s delicious with regular butter, too.
Please don’t use buttery spread, but stick margarine is fine – it just won’t taste so buttery.
If you prefer making a pie crust with shortening instead of butter, use all shortening/Crisco in place of the butter called for in the pie crust recipe above. Cut the flour back to 2 ¼ cup.
Vegan or dairy free crust: Follow the recipe as written, using solid coconut oil or vegan margarine in place of the butter.
If you can’t use eggs, or don’t want to, here are some alternatives to make your pie crust look good after baking:
Half-and-half or heavy cream can be used for a lightly shiny pie crust.
Water or milk can be used for a browned crust.
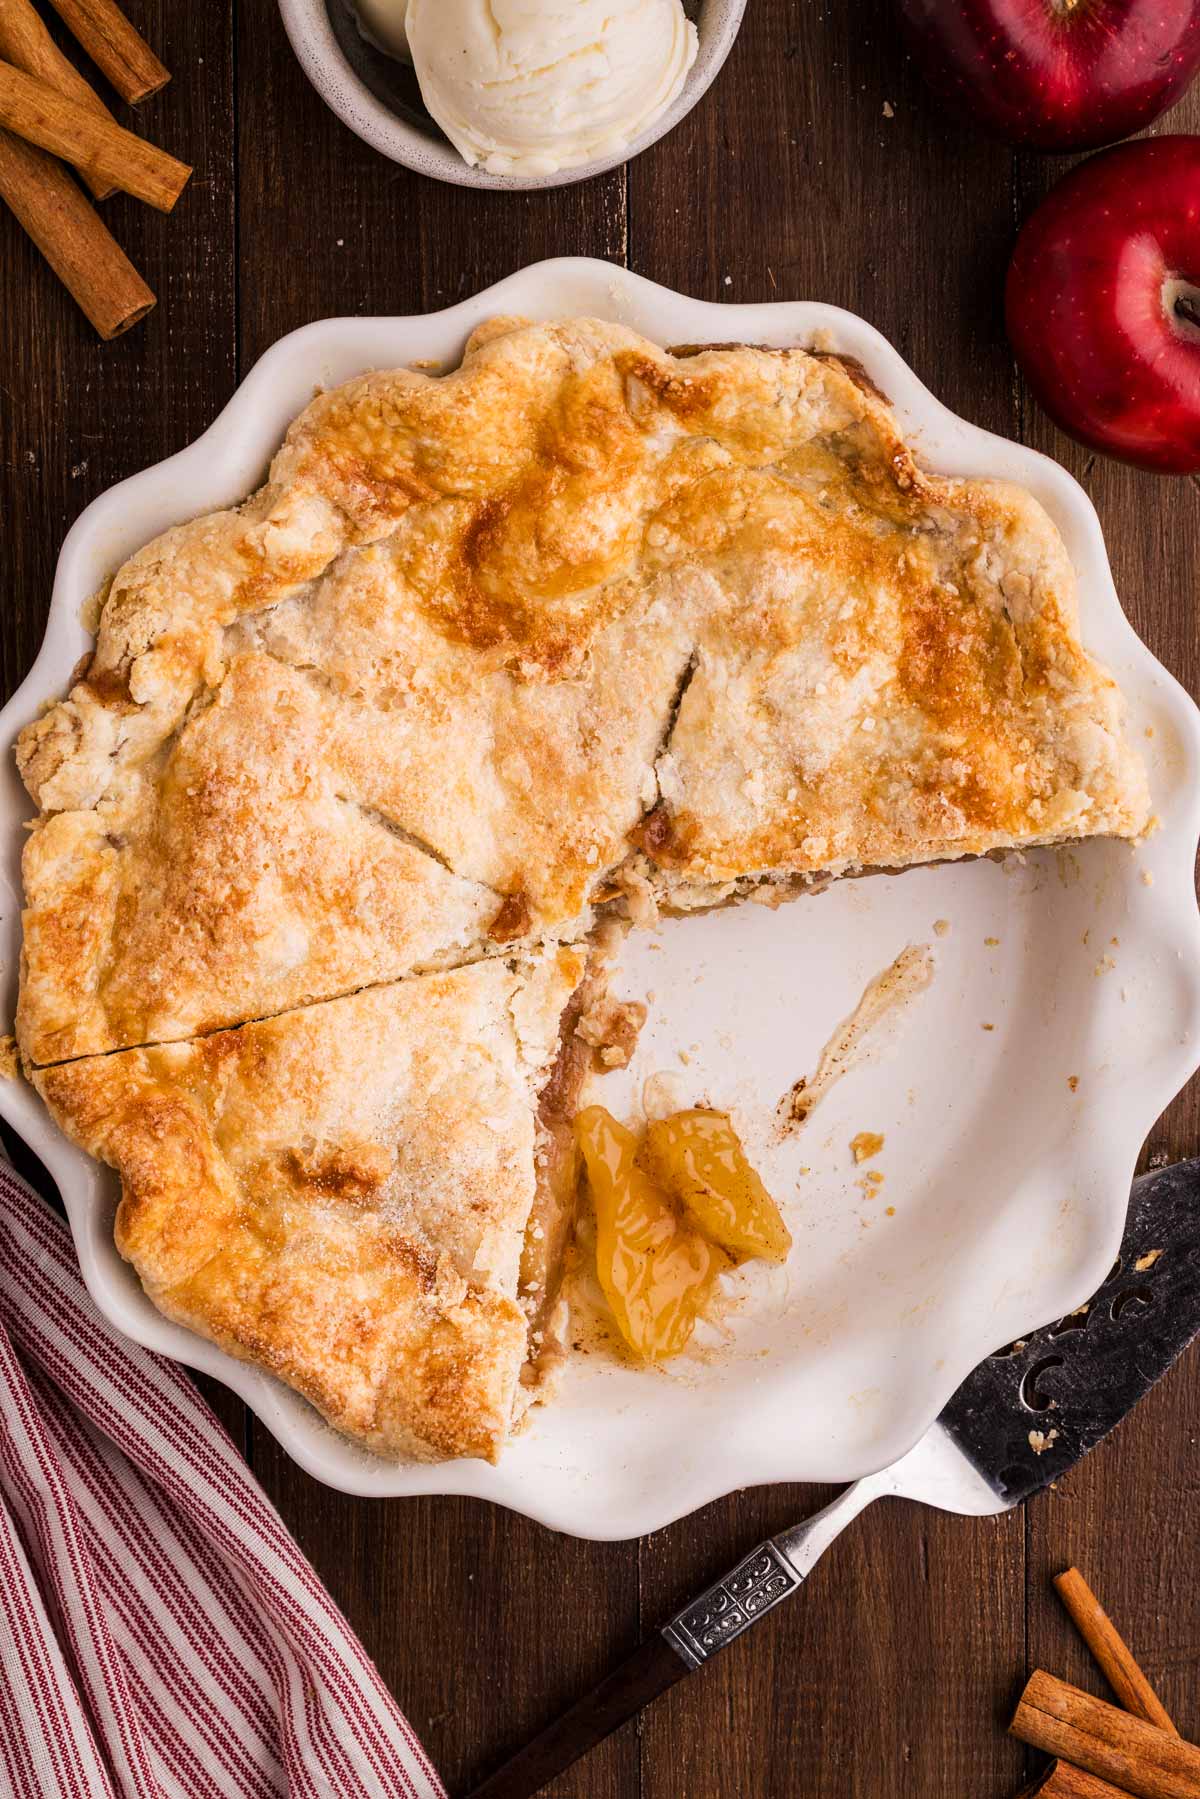
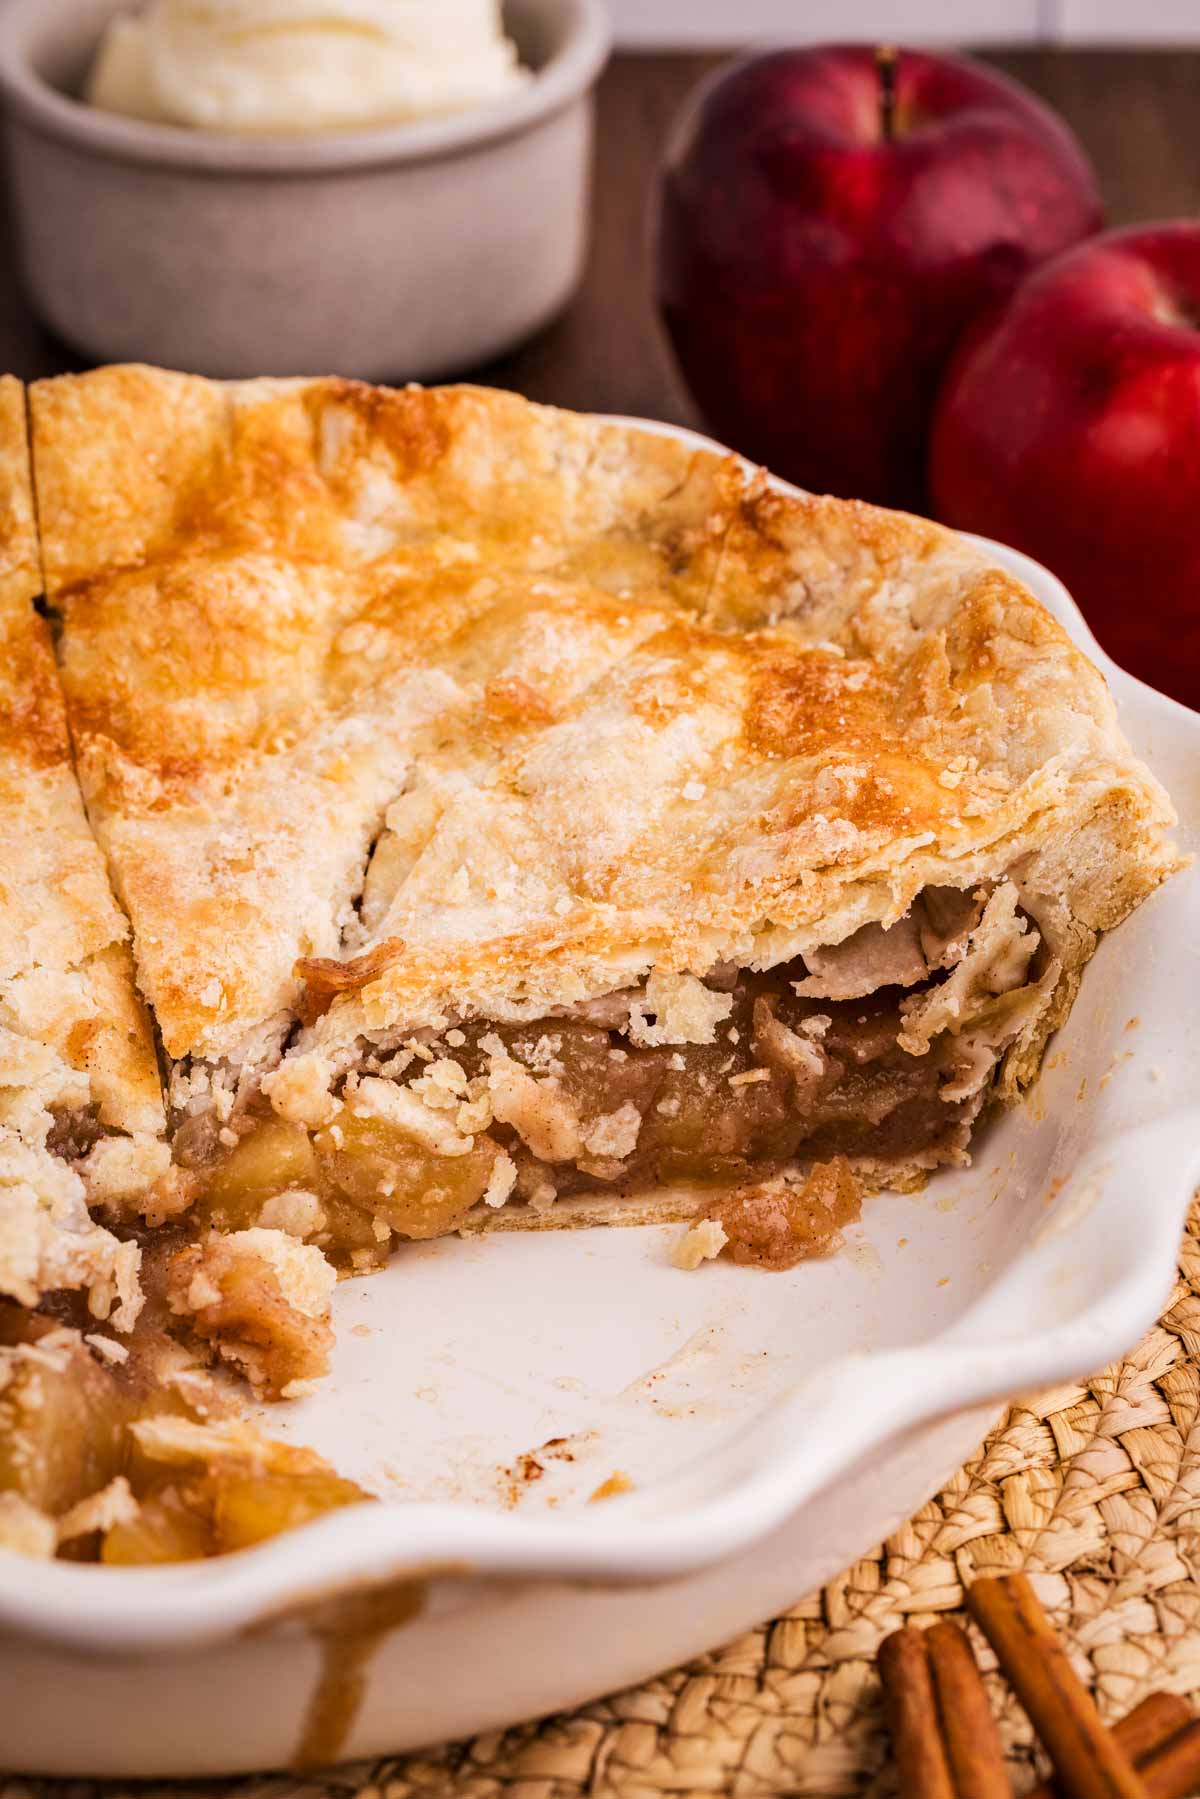
Slicing the cooled pie into 8 even slices for serving works best. The first slice of pie is always very difficult to remove well and it often collapses/turns into a mess.
If you have company you want to impress, you’ll want to pull at least the first slice from the dish away from prying eyes. Once that first slice is removed, it’s a lot easier to get a hold of the slices with a cake server to remove them neatly.
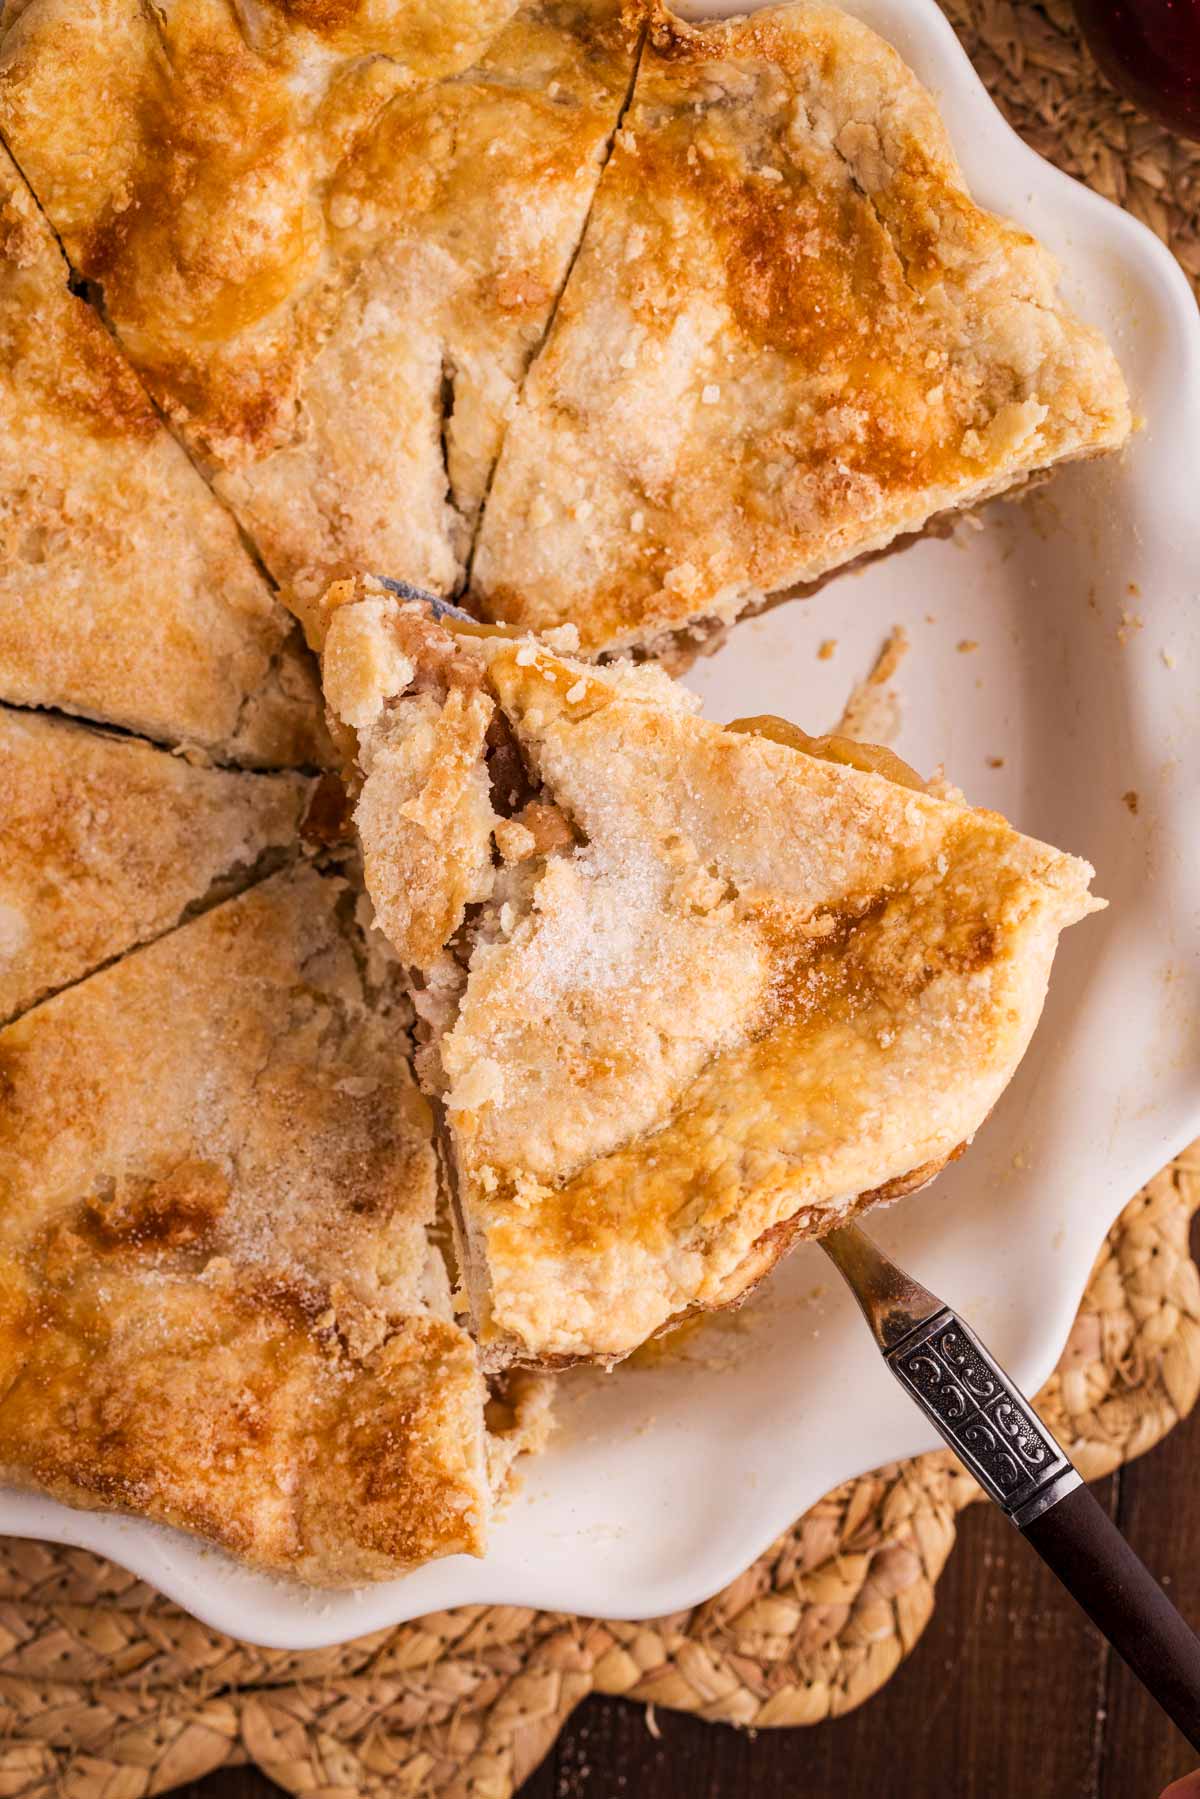
It’s also important to make sure each slice is fully sliced away from its neighboring slices. Else, you’ll rip off half of the pastry when you’re trying to remove it from the dish.
Perfect to serve with
More Thanksgiving desserts
If dinner needs to be easy but still cozy and comforting, these casserole recipes are for you. They’re warm, hearty, and so satisfying – real-life meals that bring everyone to the table without a lot of fuss.
Browse all Thanksgiving dessert recipes 〉
〈 swipe for more 〉
More recipes you may enjoy

〈 swipe for more 〉
Recipe first published on 11/19/2014. Updated with new photos and better text on 11/07/2021, and again November 2025.


Emmalynn says
This was gone so fast at our Friendsgiving party and everybody asked for the recipe!! Directed them all to your website hahah! Thanks for a wonderful recipe!!!!
Nora Rusev says
I’m so glad, Emmalynn! And ha! Thanks for sending all your friends my way 😀
Kelsey says
Made this for a turkey day test run and it was a HIT!! Def my go to now.
Nora Rusev says
I’m so glad to hear this, Kelsey! Thanks for coming back to leave a review, I appreciate your time.
Bob says
This was really good, though I used Bramley apples because I think these are way better. Otherwise a fine and simple recipe for Apple pie
Nora Rusev says
Bob, I always make apple pie with brambly apples when visiting family in the UK! I don’t think they’re widely available in the US 🙁 but good point!