

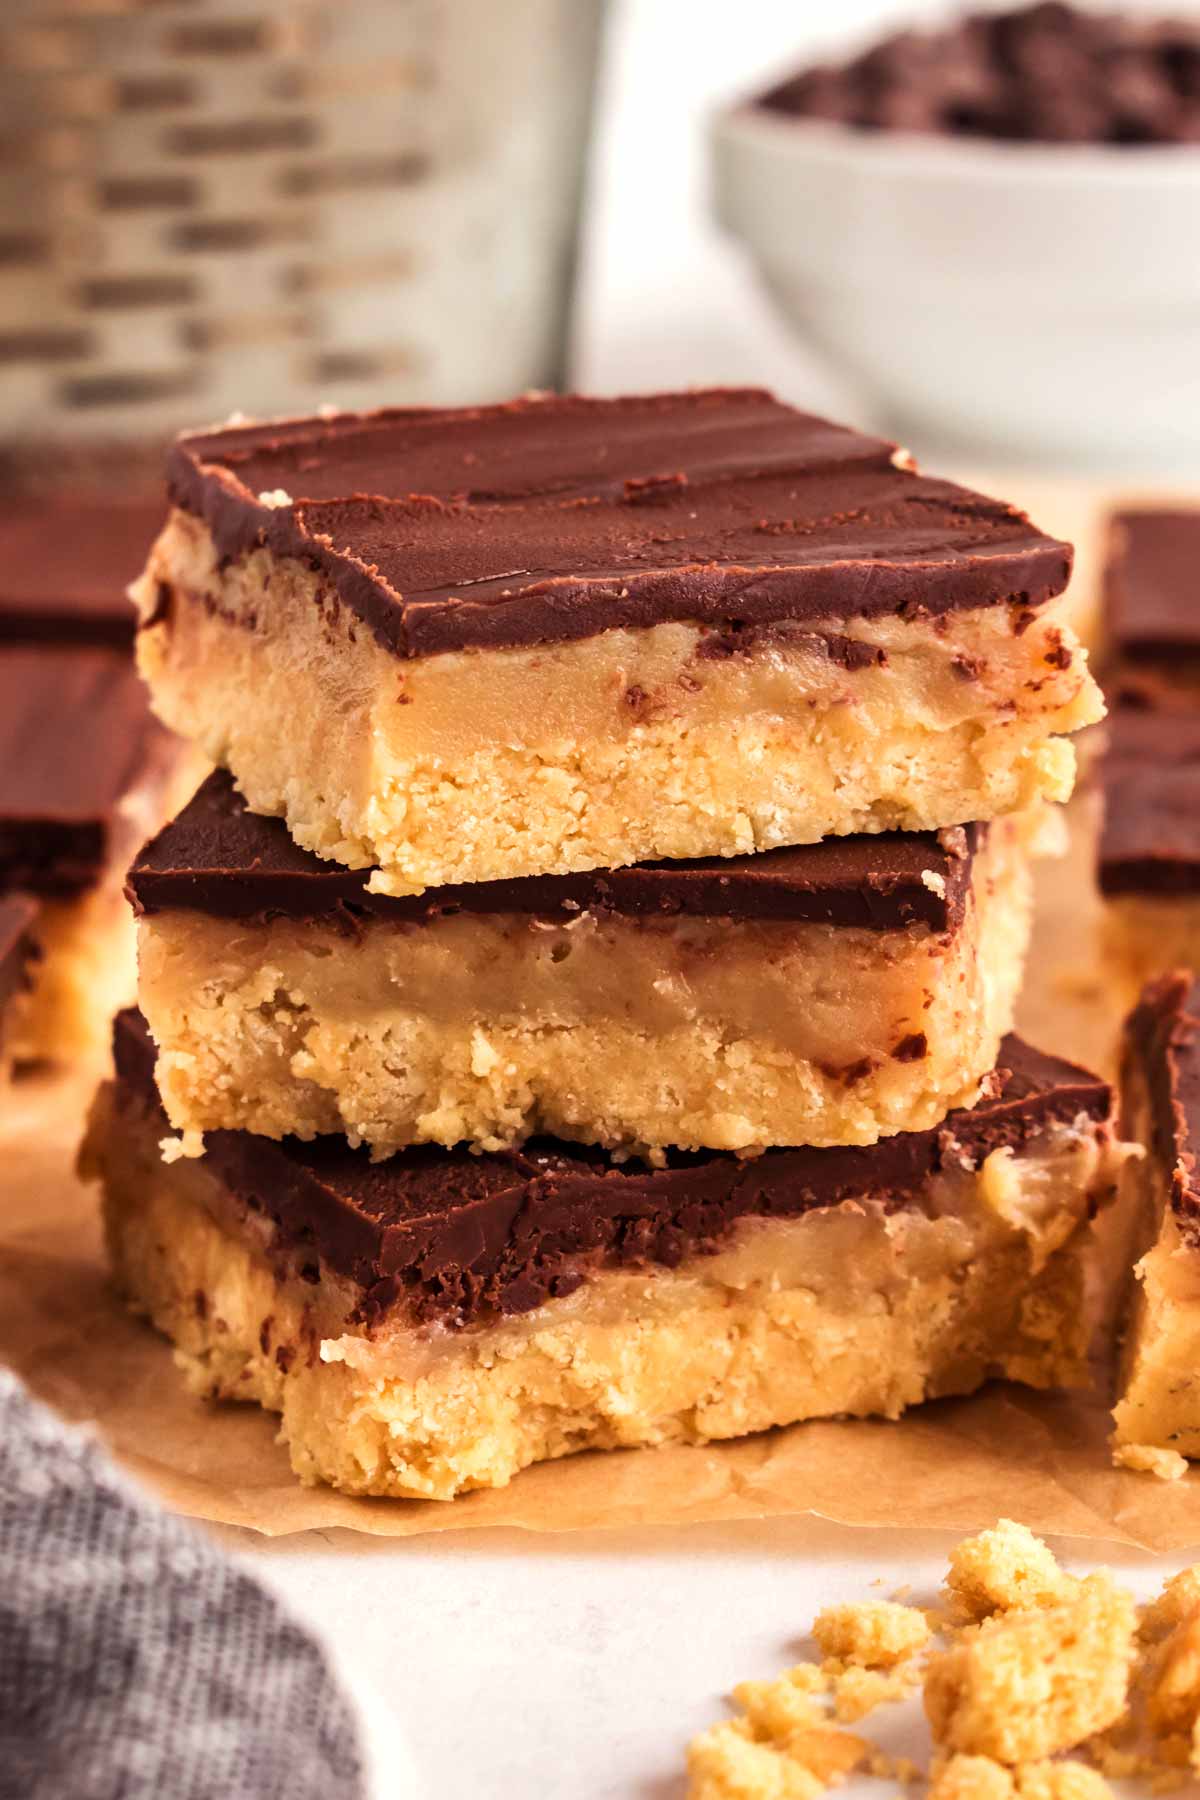
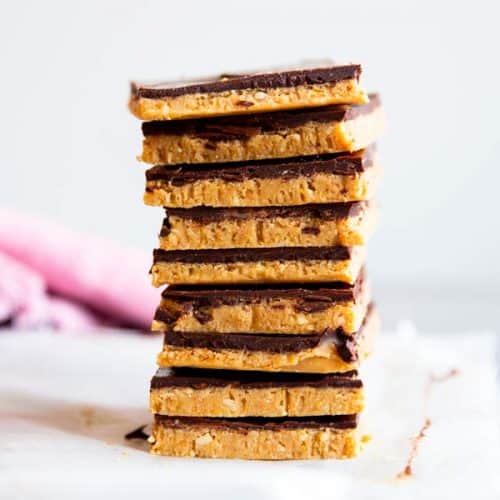
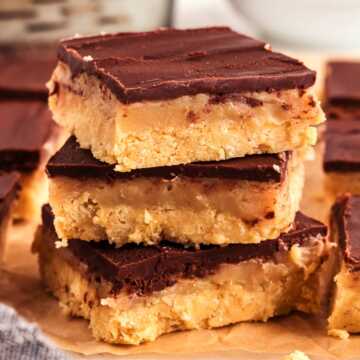
This is the ultimate no-bake millionaire’s shortbread bars recipe, and it’s about to become your new favorite treat. A buttery shortbread base, gooey caramel, and smooth chocolate topping come together for a dessert that’s as easy to make as it is to devour.
Perfect for family gatherings, school events, or a well-deserved mom break!
Why you’ll love this recipe
- No baking, no stress: I first made Millionaire’s Shortbread from an all-from-scratch recipe which took about 10 hours to complete. Who has the time for that?! My no-bake recipe keeps it simple, so you can whip up a batch of these dreamy bars without breaking a sweat.
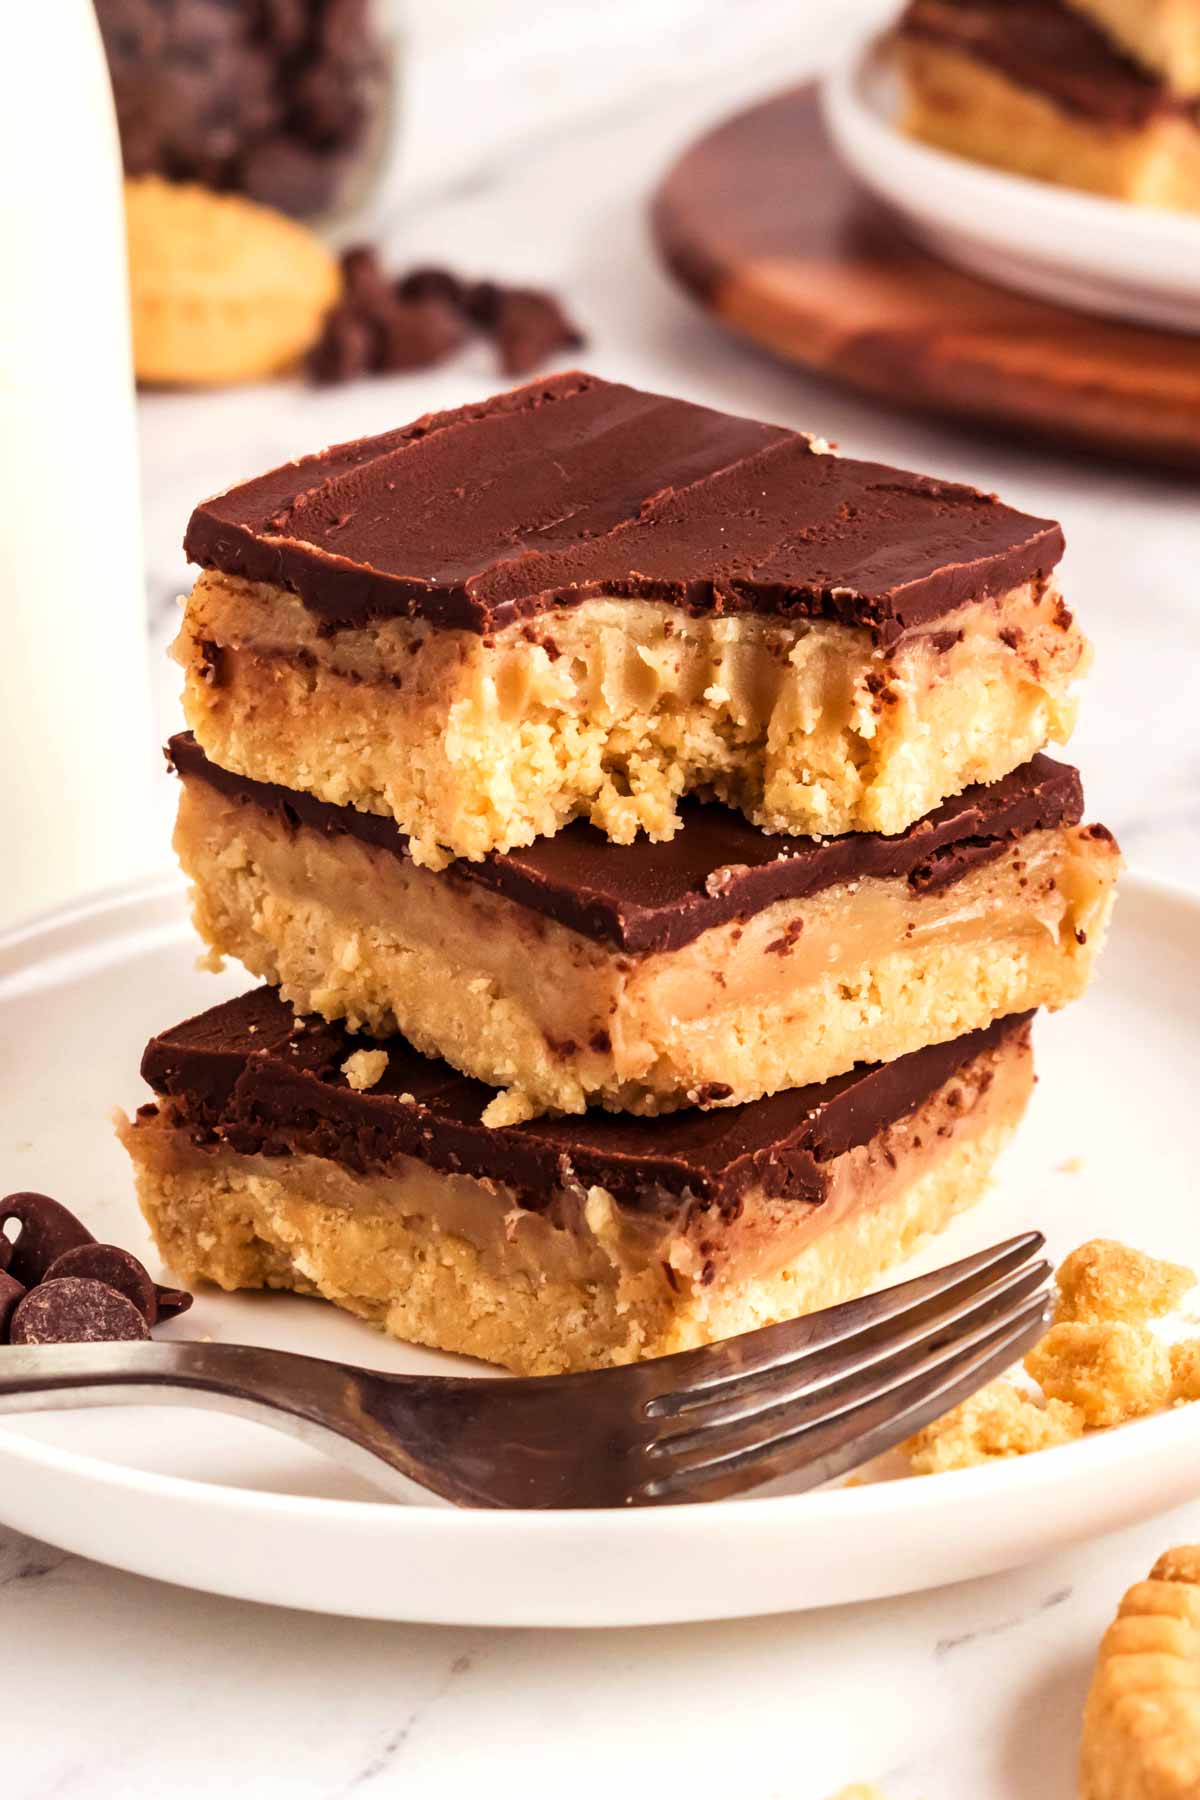
- Layers of pure magic: Buttery shortbread, rich caramel, and silky chocolate – these bars are like a dessert trifecta that’s impossible to resist.
- Perfect for every occasion: From lunchbox treats to party showstoppers, these bars deliver on flavor and presentation every single time.
Ingredients you’ll need
Here is a visual overview of the ingredients in the recipe. Scroll down to the printable recipe card at the bottom of this post for quantities!

Ingredient notes:
- Shortbread cookies: Any buttery shortbread will do. Walker’s Shortbread is the perfect luxury if you can find it – but it’s definitely not a must. If you’re in a pinch, graham crackers or digestive biscuits can work, though they’ll change the flavor slightly.
- Sweetened condensed milk: This is the key to thick, dreamy caramel – don’t swap it for evaporated milk, or you’ll be stirring forever without the same results.
- Semi-sweet chocolate chips: Semi-sweet strikes a perfect balance, but milk or dark chocolate work just as well depending on your preference. If you’re out of chips, a chopped-up chocolate bar melts beautifully, too – just add the butter to ensure smooth spreading.
- Unsalted butter: Using unsalted butter gives you control over the flavor, especially in the caramel layer. If all you have is salted butter, you can skip the added salt in the recipe to balance things out.
- Salt: A pinch of salt in the caramel enhances its richness and balances the sweetness. You can use flaky sea salt as a finishing touch on the chocolate layer for an elegant, slightly salty-sweet vibe.
Note: If you prefer to make your own shortbread base, follow the steps in my Lemon Bars for the base (cut in HALF). Bake the base around 20-25 minutes, or until it’s lightly golden brown. Cool completely before adding the caramel.
Step by step photos
Let’s make these no-bake millionaire’s shortbread bars together! I promise, this recipe is as fun to make as it is to eat, and I’m here to guide you through every step.
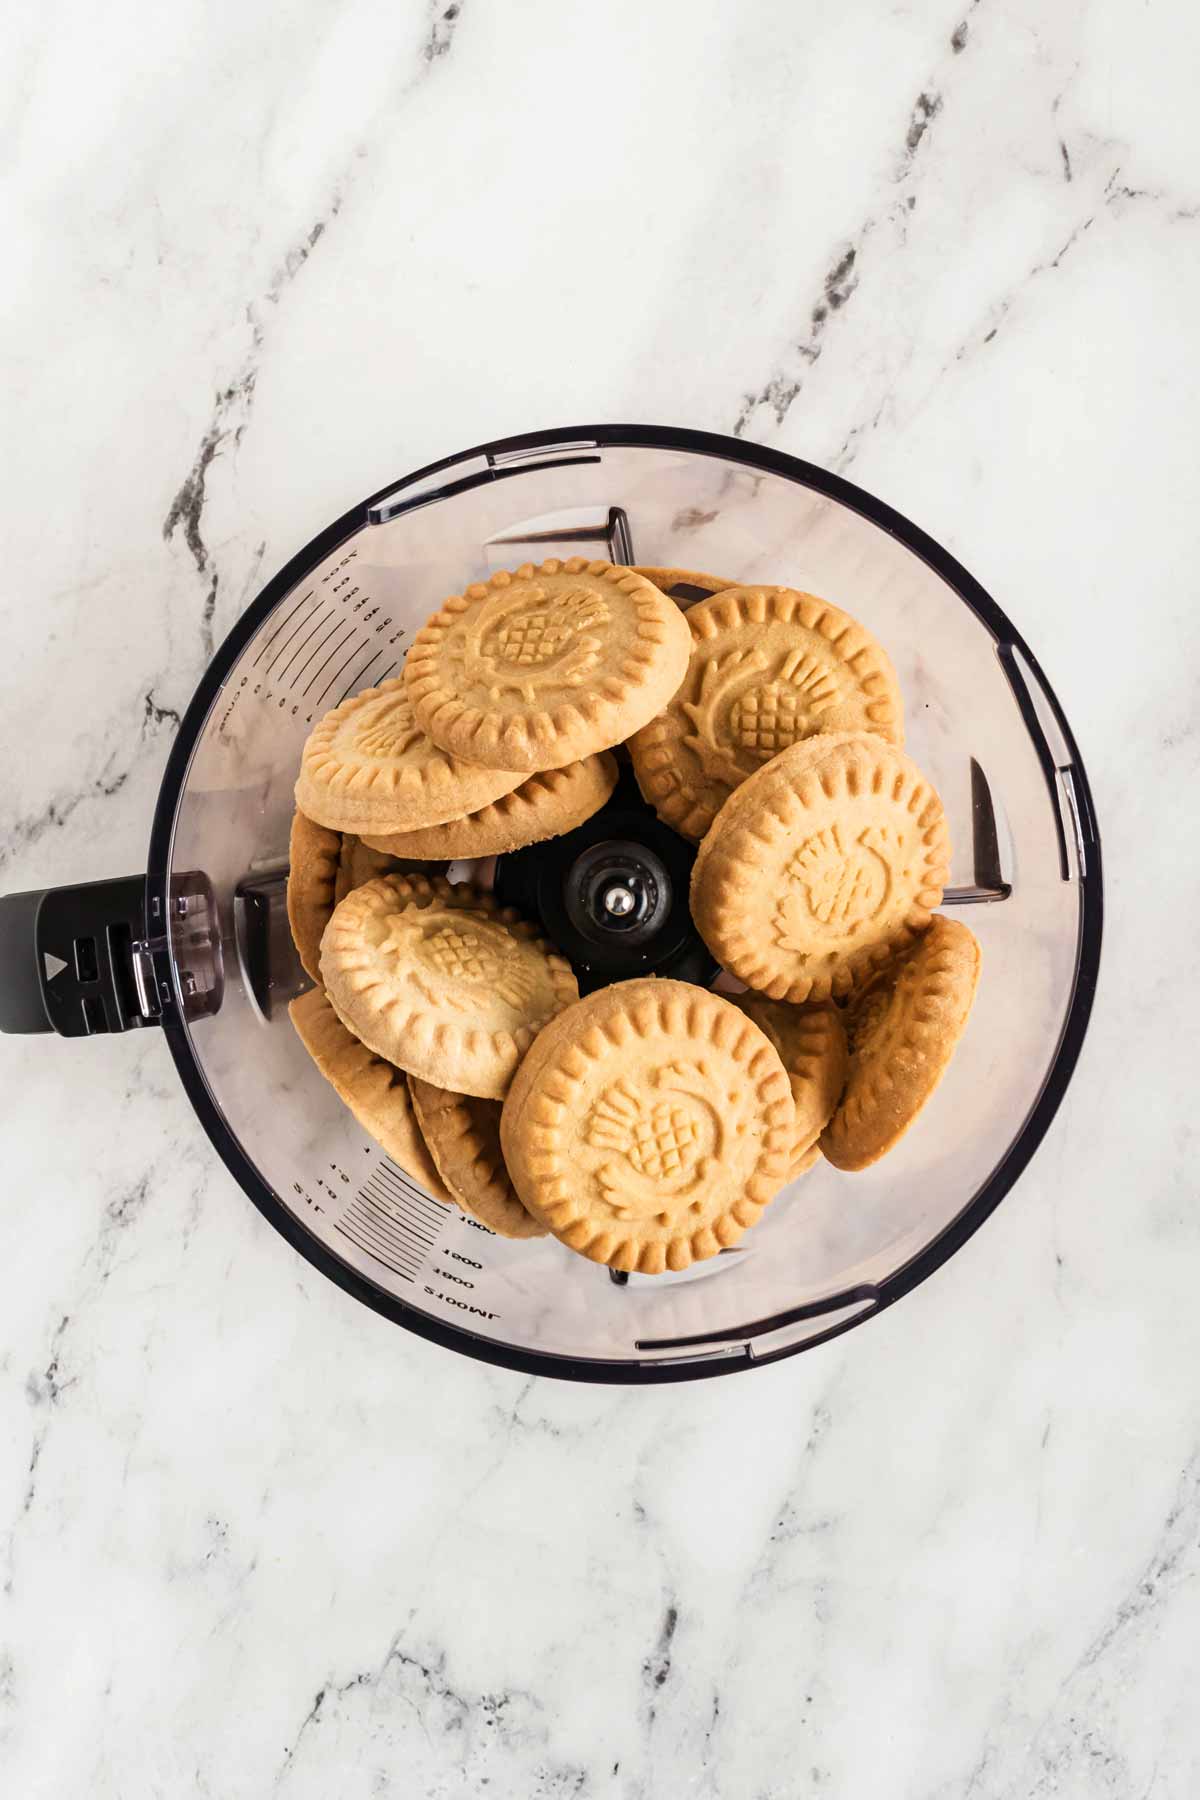
Step 1: The buttery shortbread base
First, grab your shortbread cookies (about 10.5 ounces) and add them to a food processor with 7 tablespoons melted butter.
Process them until the cookies turn into crumbs and the mixture looks like wet sand. This buttery goodness is going to be the sturdy base for our bars.
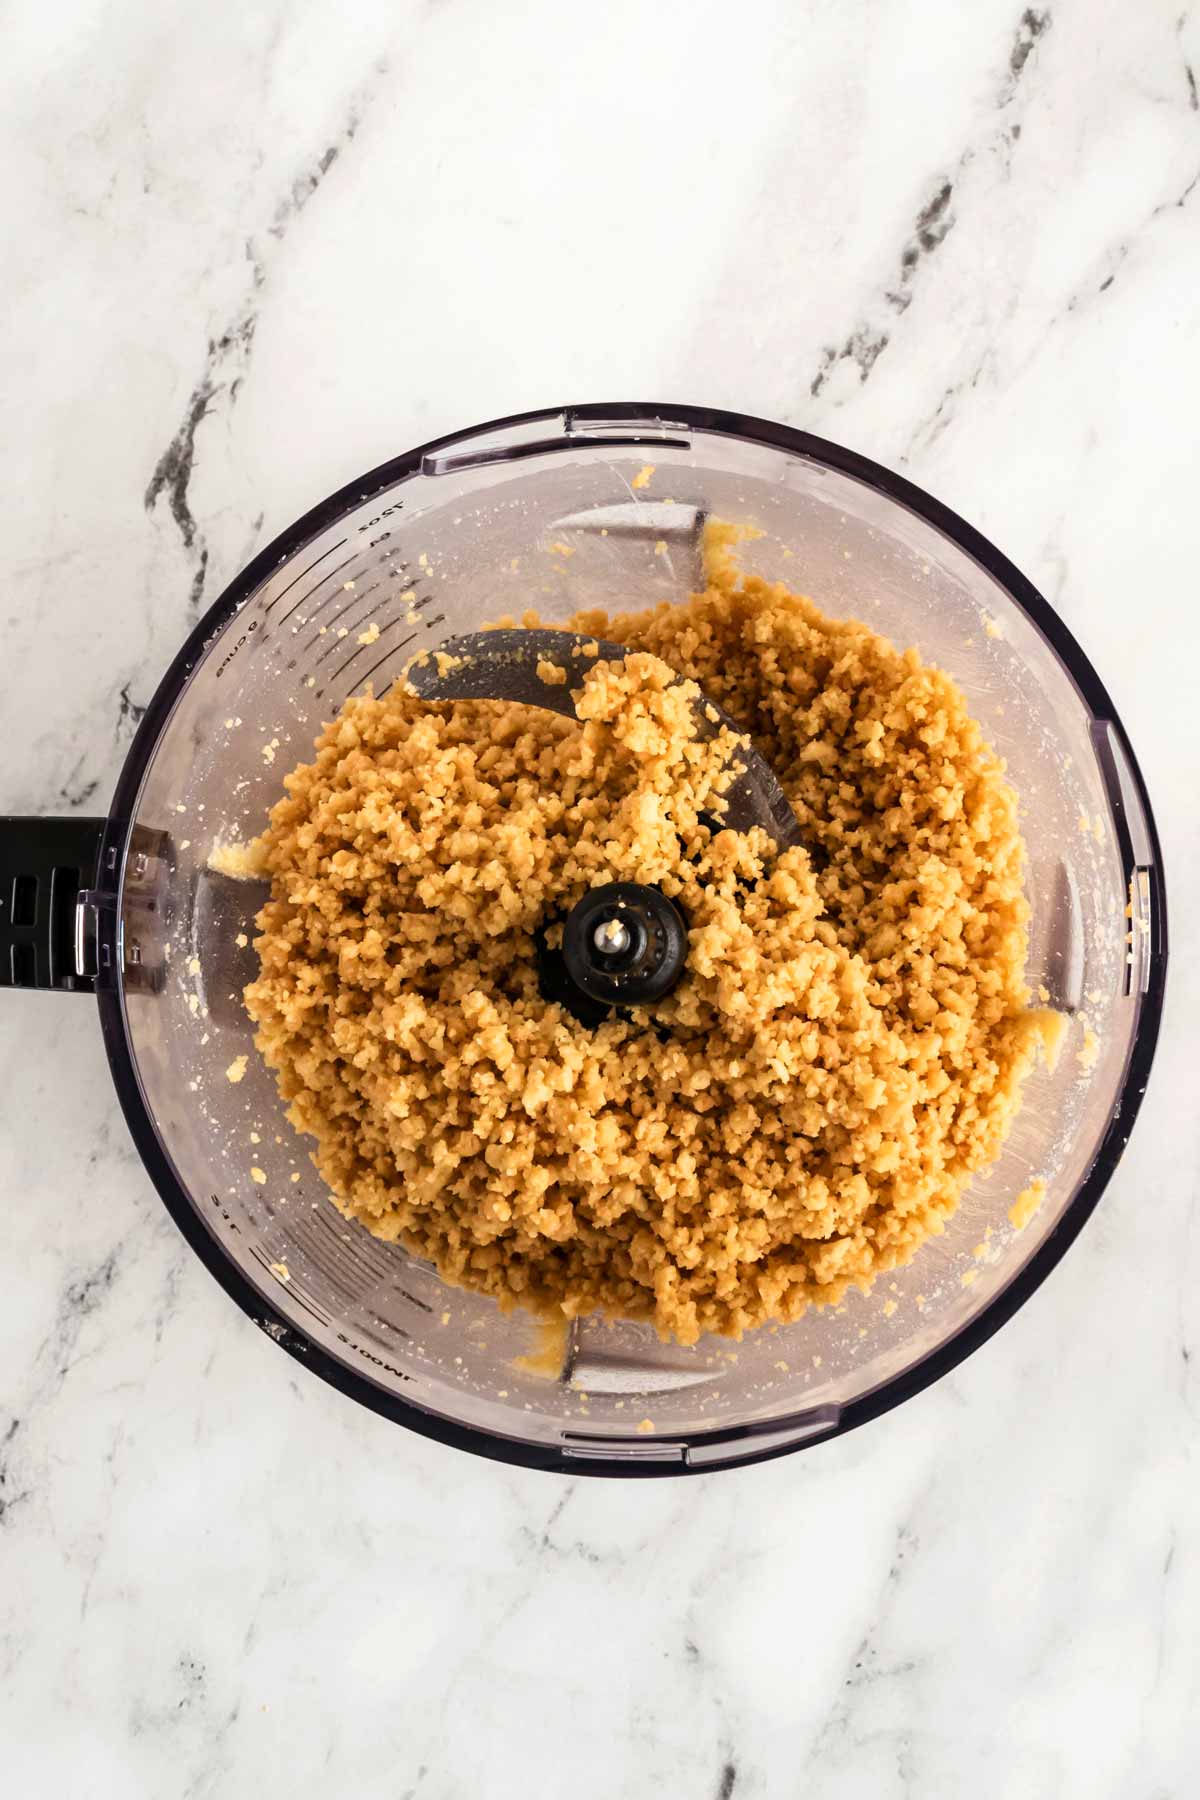
I like to use a food processor because it’s quick, but if you’re having one of those “keep the kids busy” kind of days, give them a rolling pin and let them crush the cookies inside a zip-top bag.
If you crush the cookies in a bag, toss the crumbs into a bowl and mix them with 7 tablespoons of melted butter. Stir until the crumbs are coated and everything feels like wet sand.
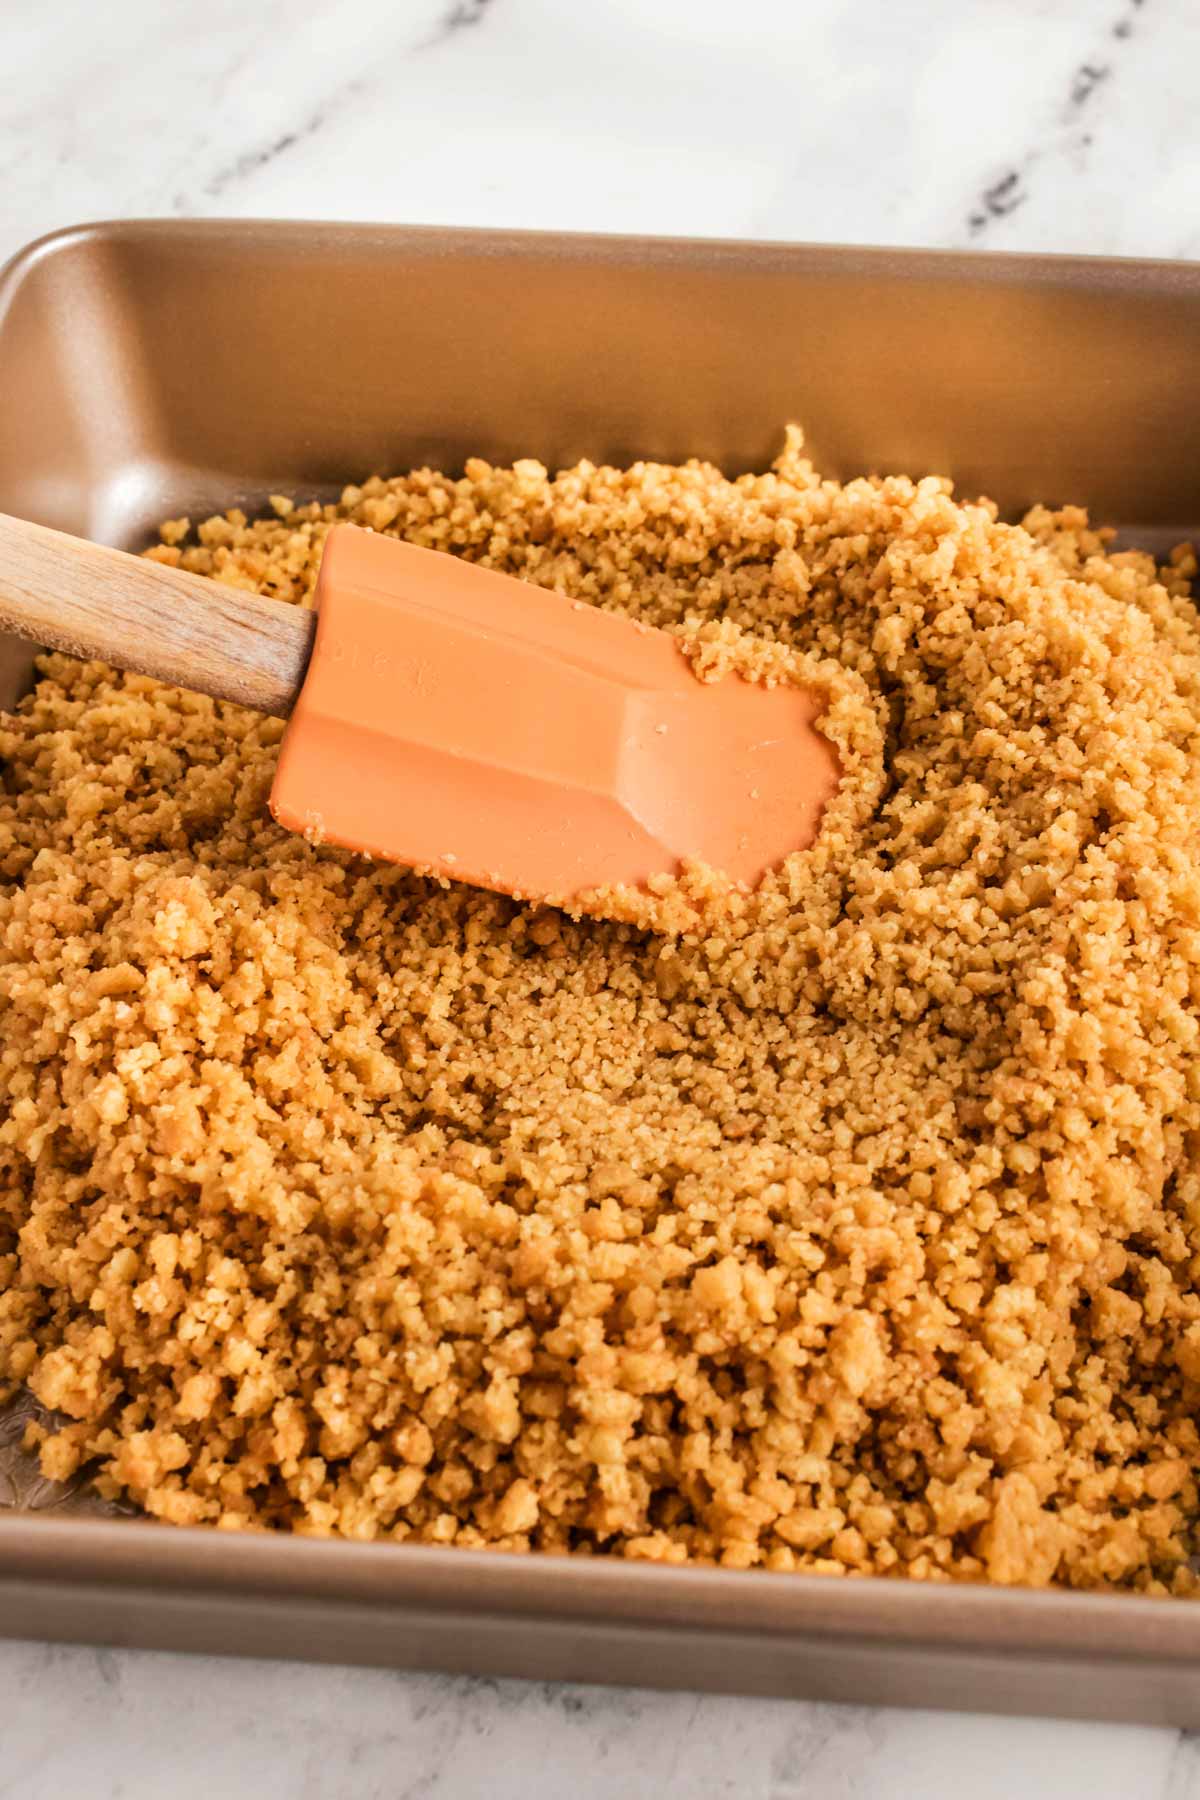
Next, line and grease an 8×8 or 9×9-inch pan to make sure nothing sticks later. Pour the crumb mixture into the pan and press it down firmly. You can use your hands, the back of a spoon, or even a flat-bottomed glass to get it nice and even.
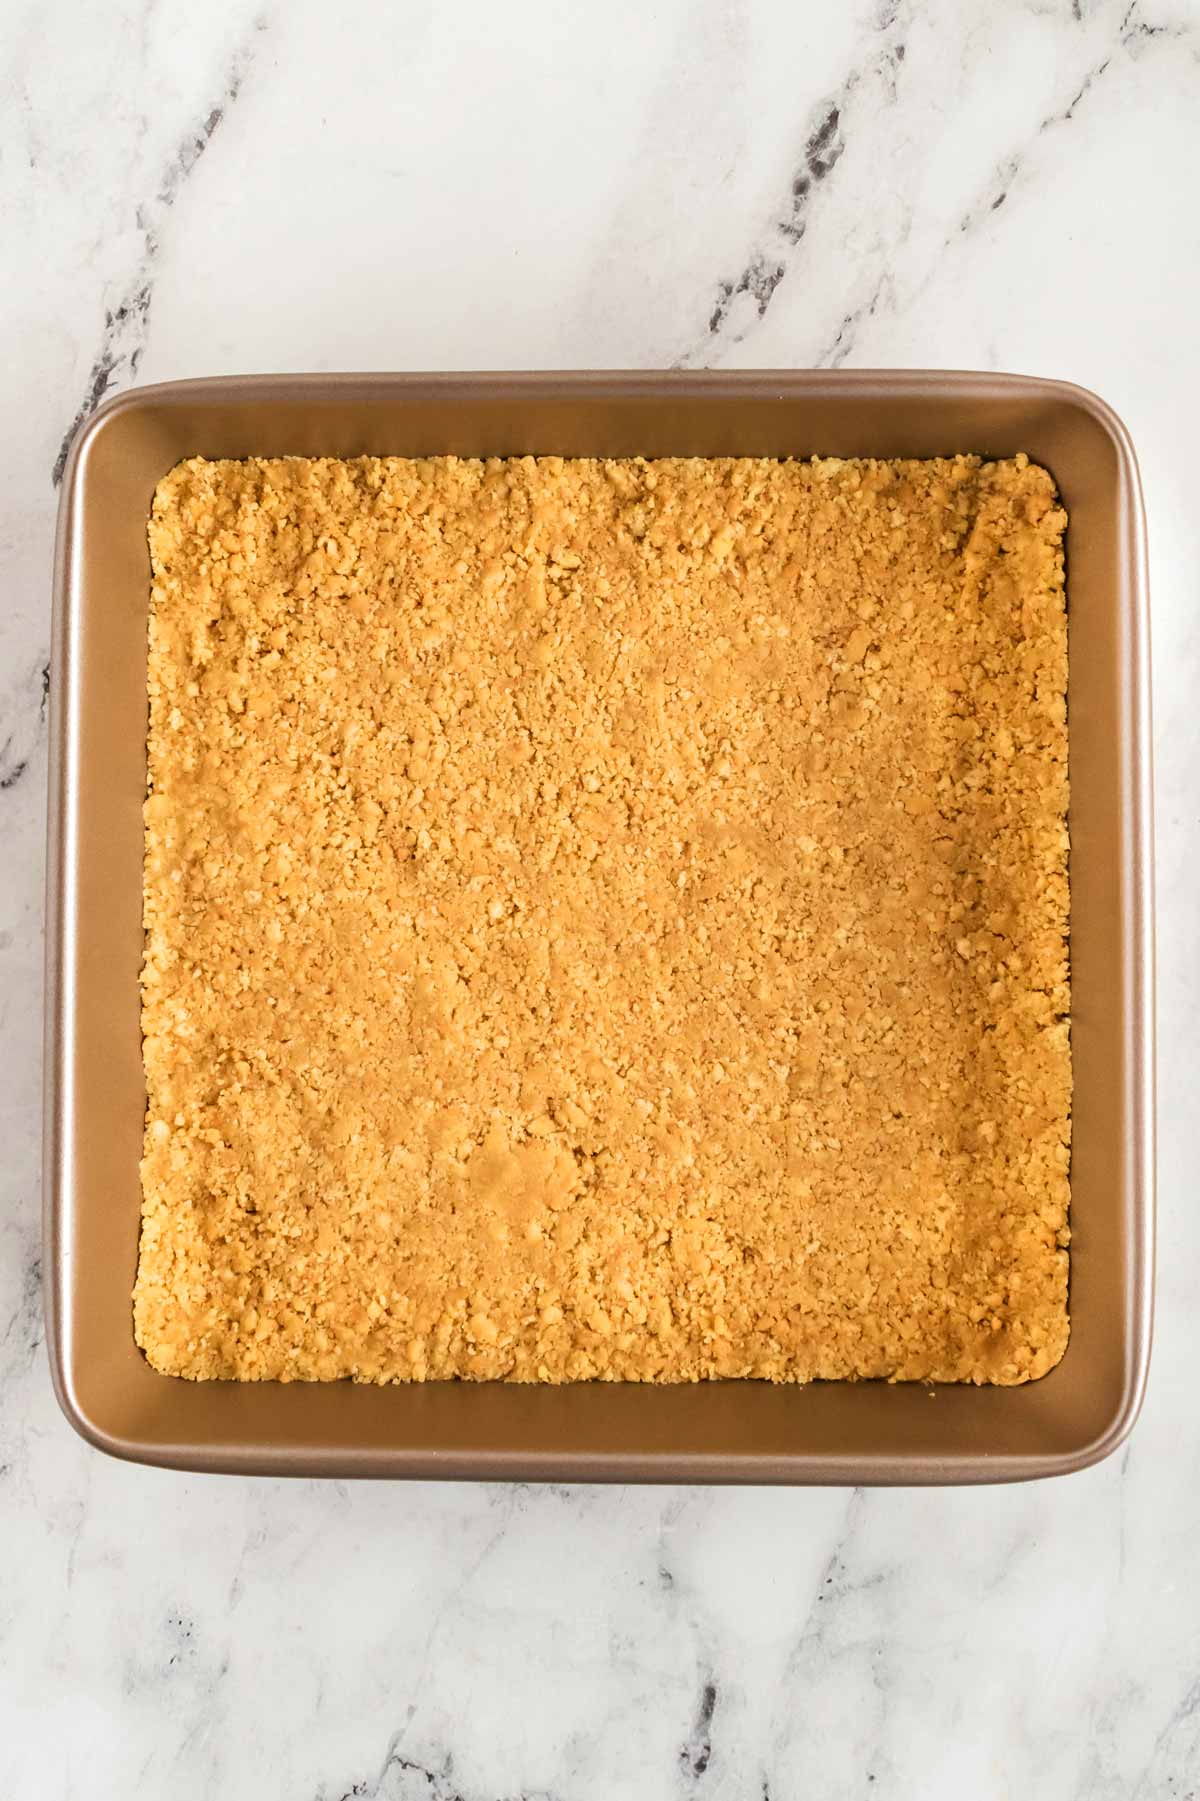
Pop that pan into the fridge so the base can chill and firm up while we move on to the caramel.
Step 2: The gooey caramel layer
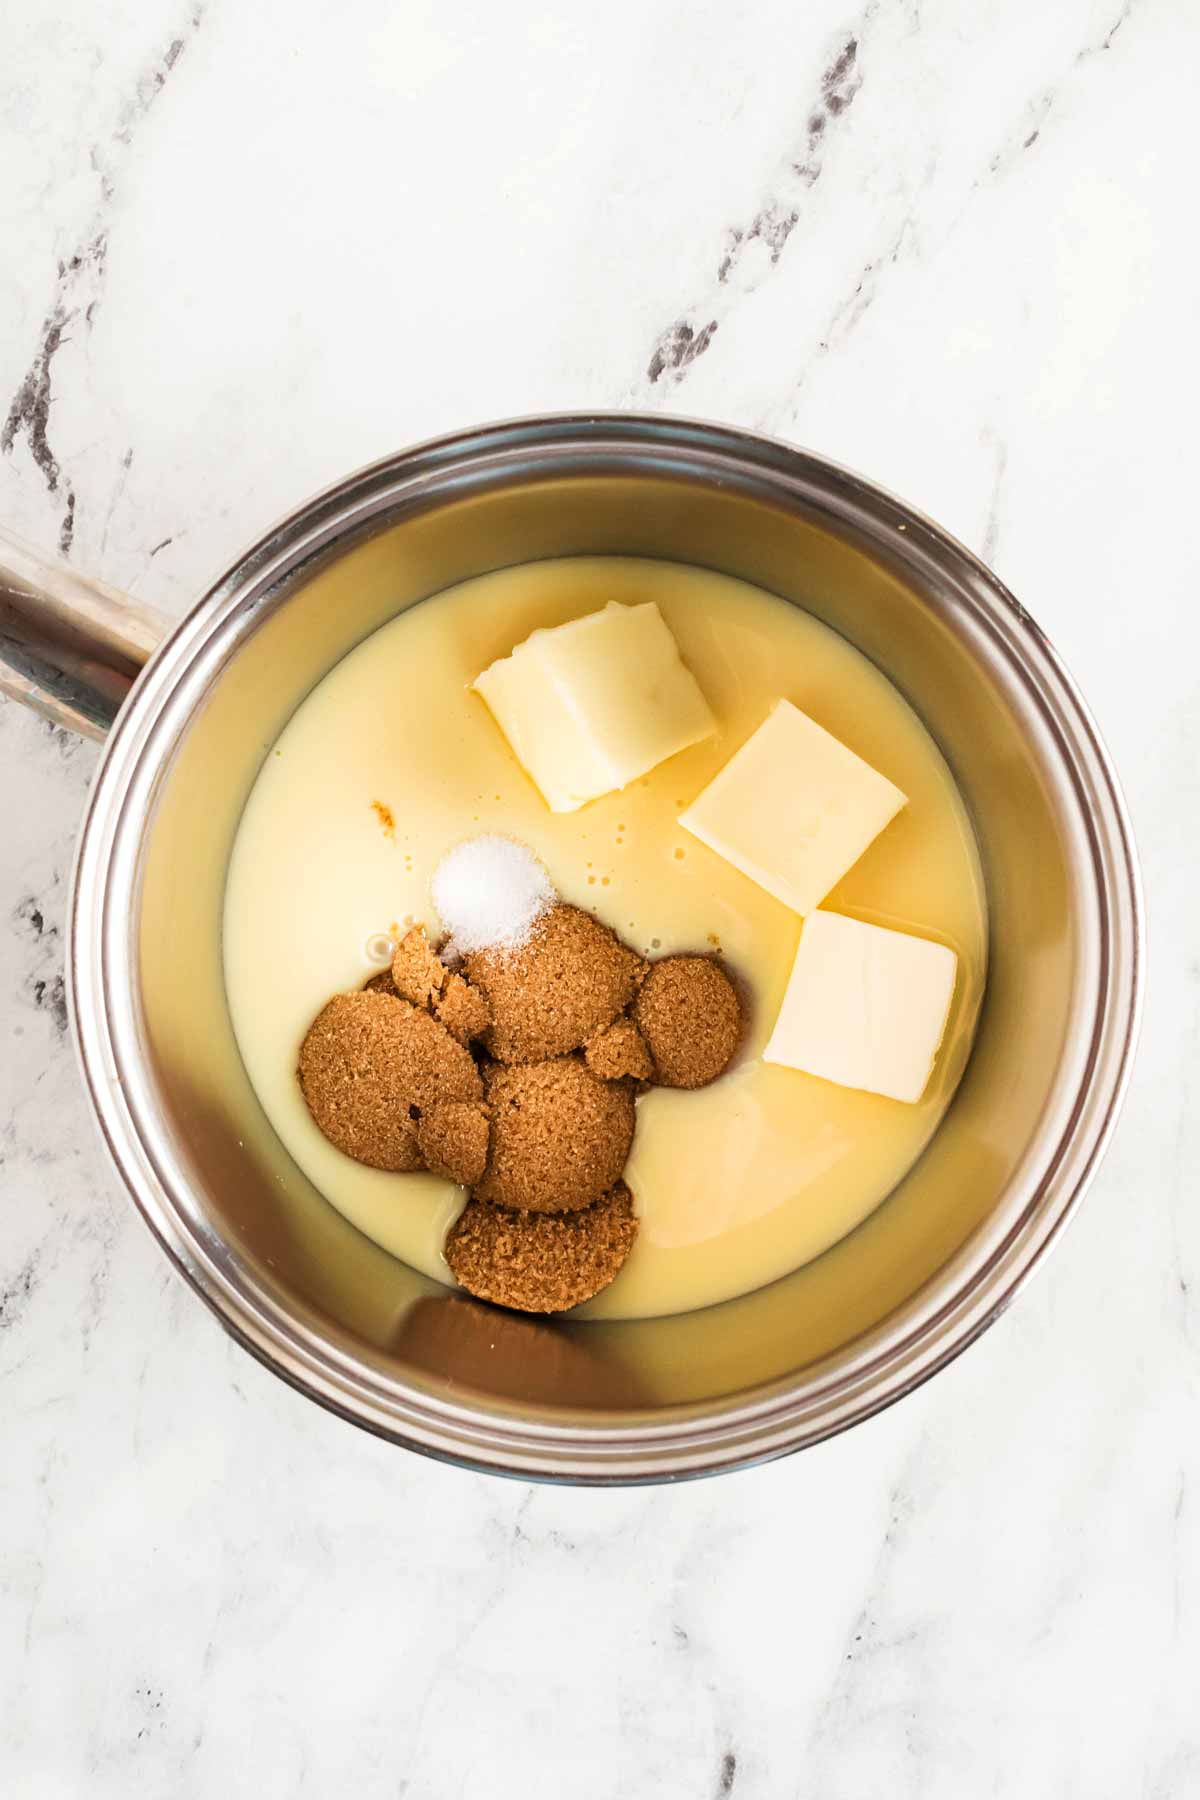
Now for the fun part – making caramel! In a small saucepan, combine 6 tablespoons of light brown sugar, 6 tablespoons of butter, a 14-ounce can of sweetened condensed milk, and a pinch of salt (I usually do ¼ teaspoon, but you can adjust to your taste).
Stir everything together over medium heat until it starts to bubble. Keep an eye on it and stir constantly; you don’t want it to burn.
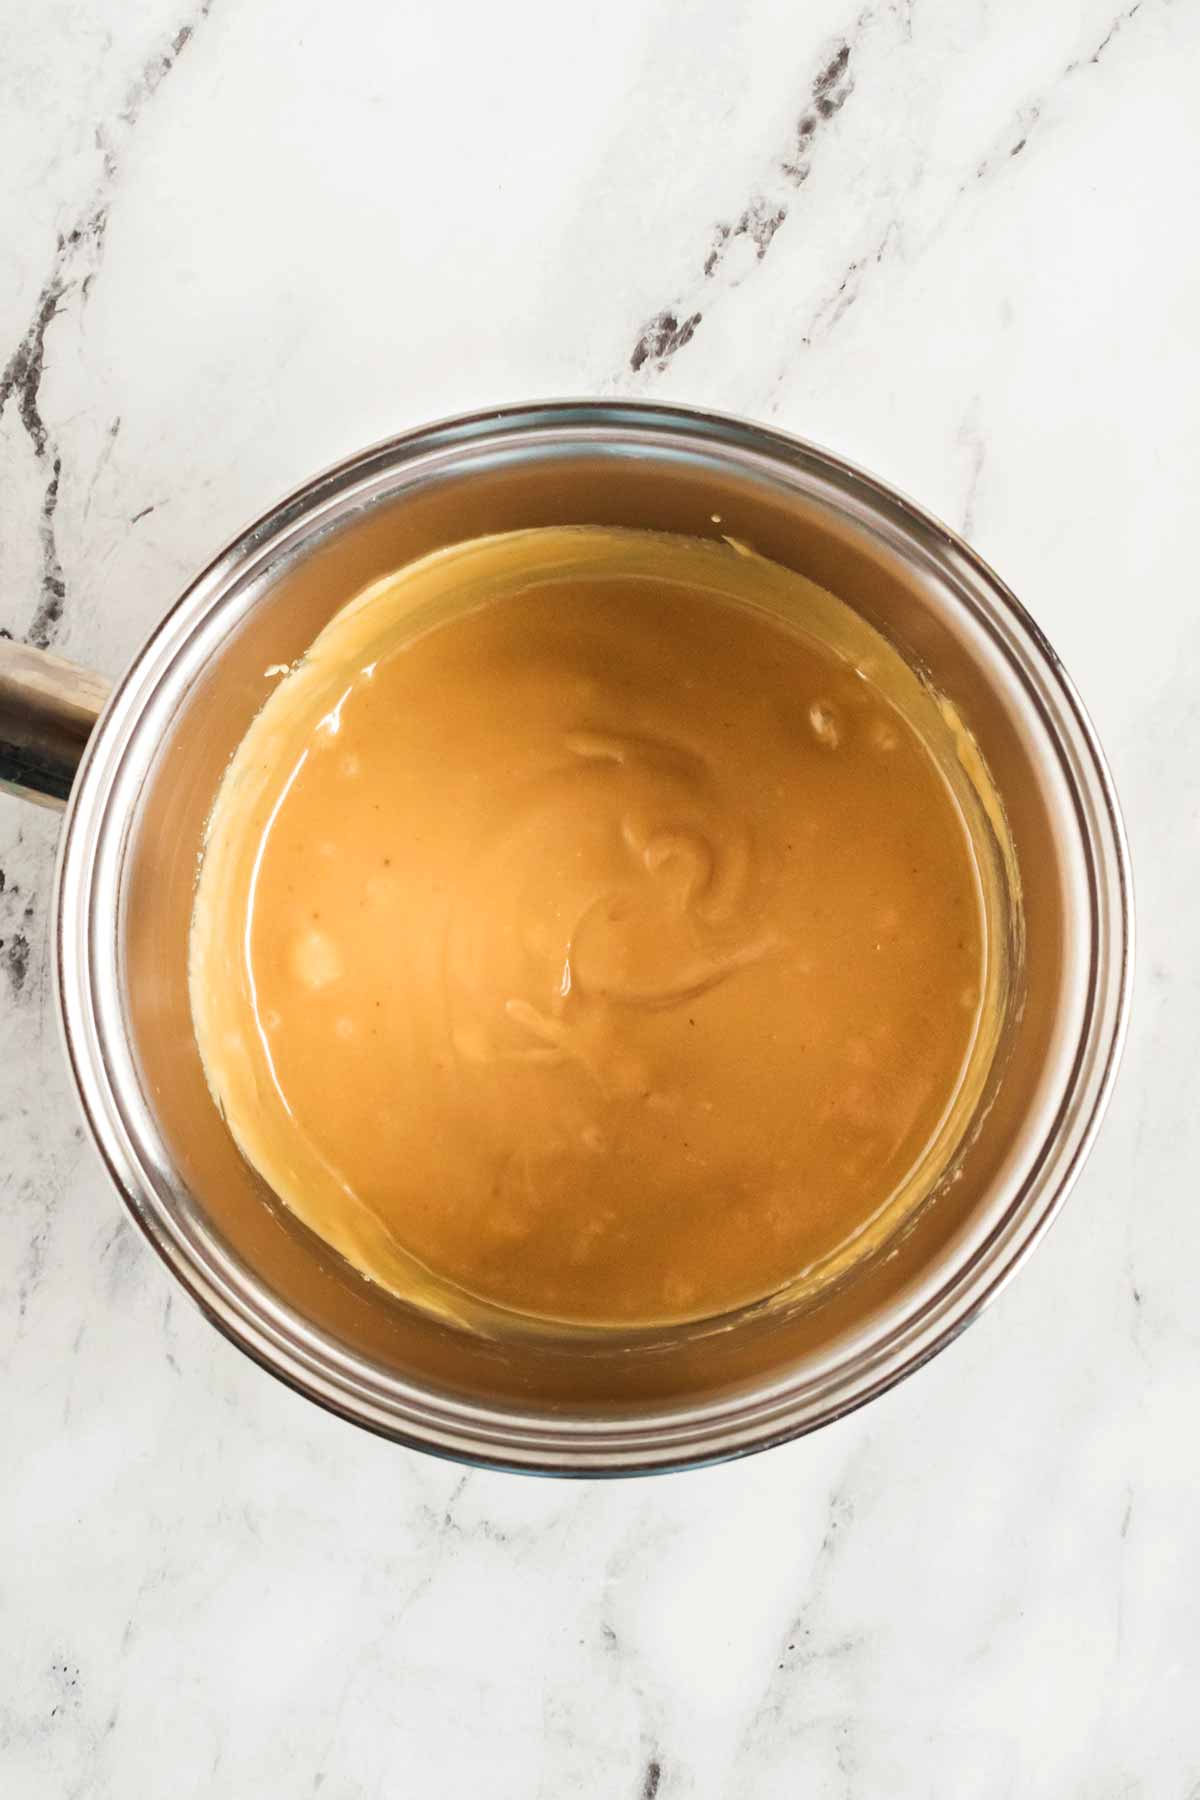
Once it’s boiling, lower the heat and let it simmer gently. You’ll want to keep stirring as it thickens into a golden, glossy caramel. This step takes patience – it can take 10-15 minutes – but trust me, it’s worth every second.
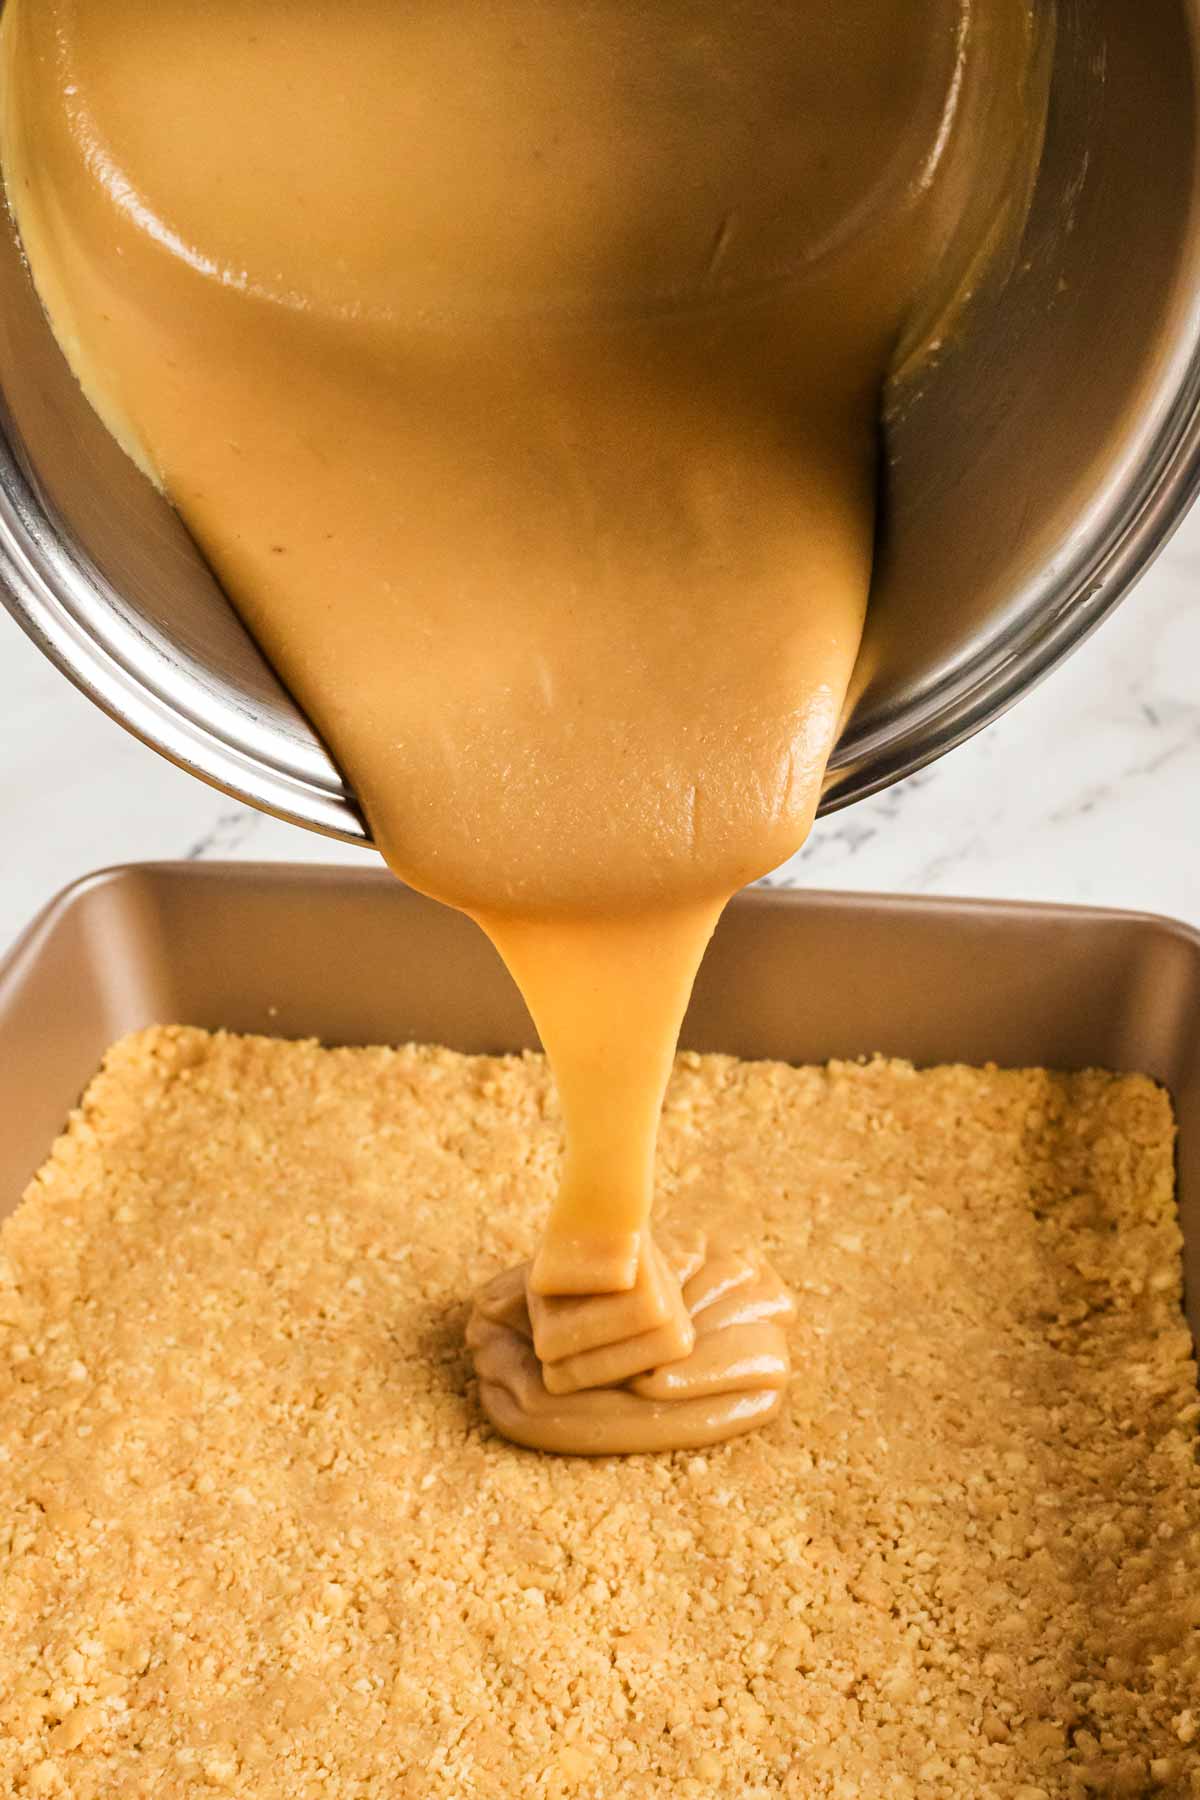
Once your caramel is thickened, pour it over the chilled shortbread base and spread it out evenly. Then pop the pan back in the fridge to let the caramel set completely. You don’t want to rush this step, or your chocolate layer might melt into the caramel.
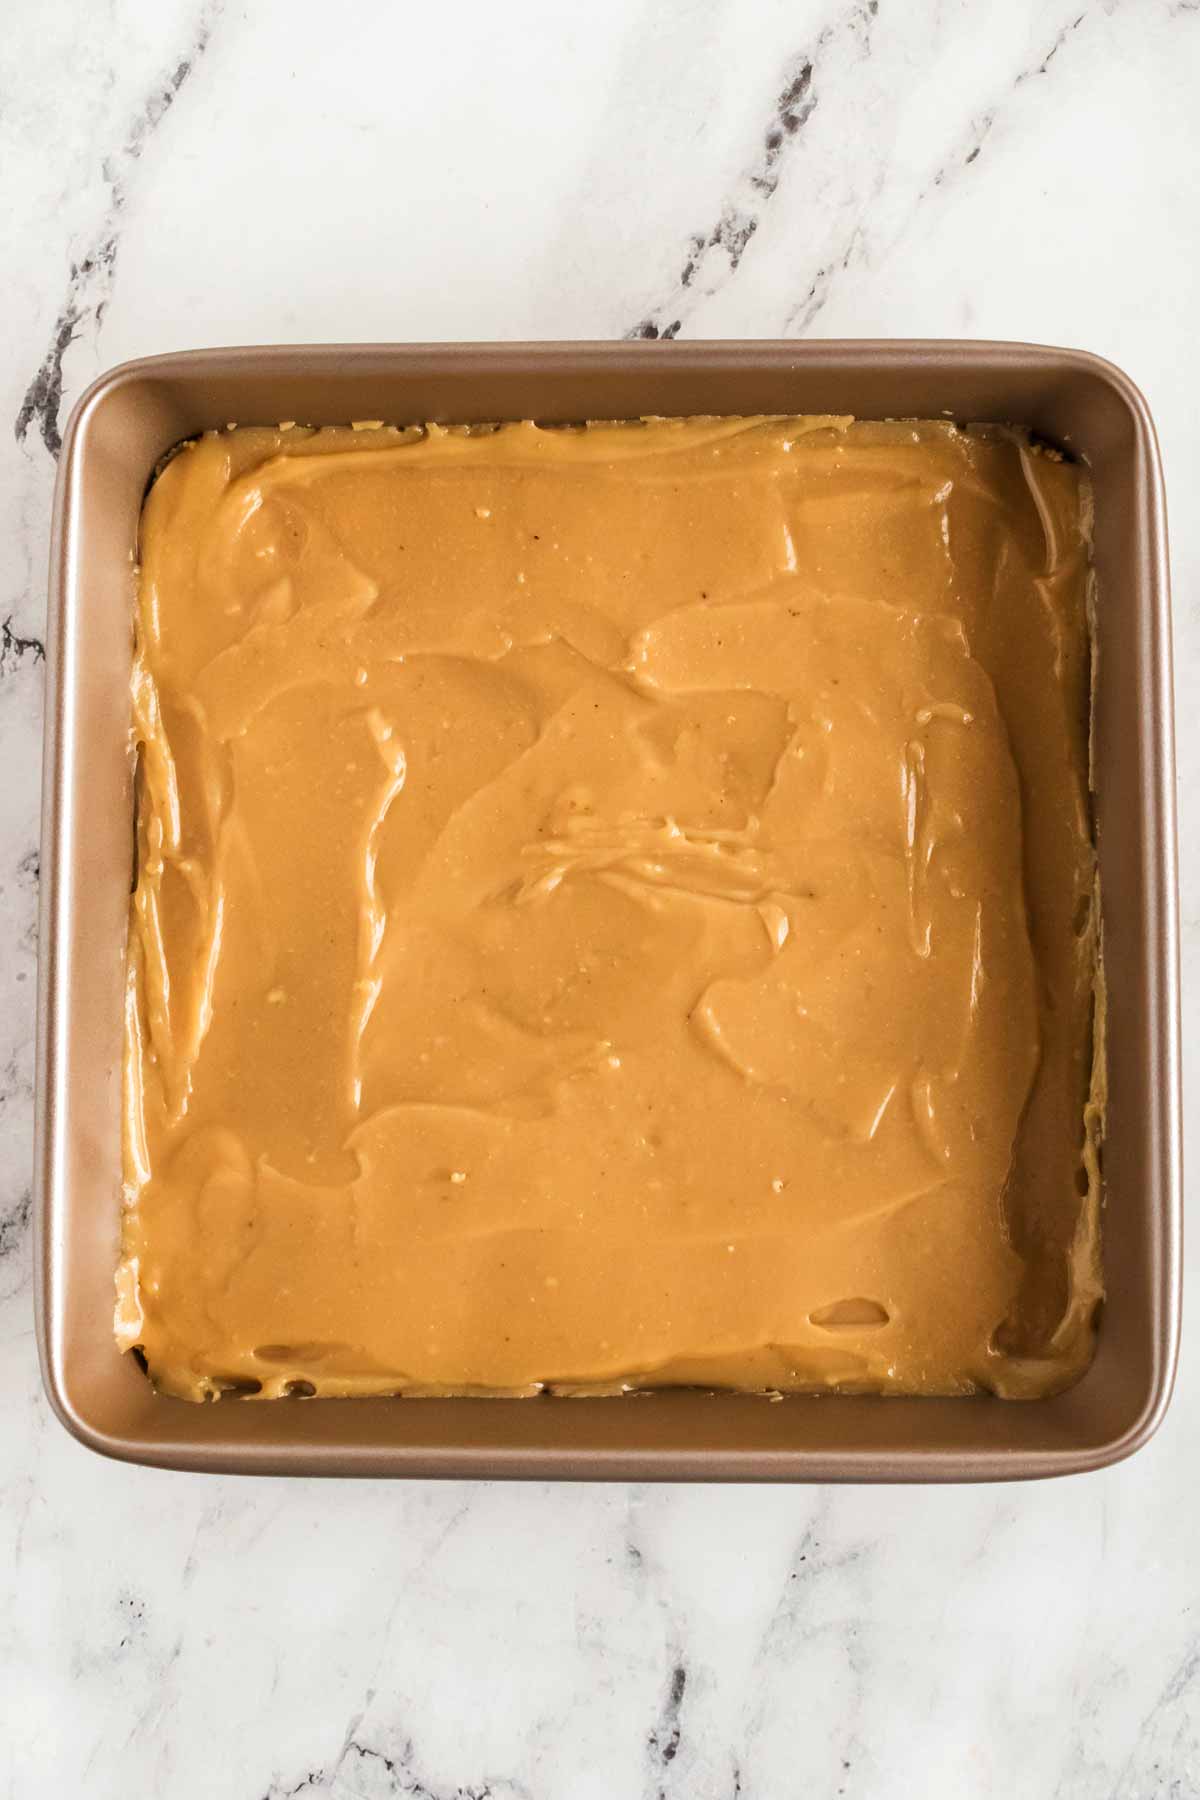
Step 3: The chocolate topping
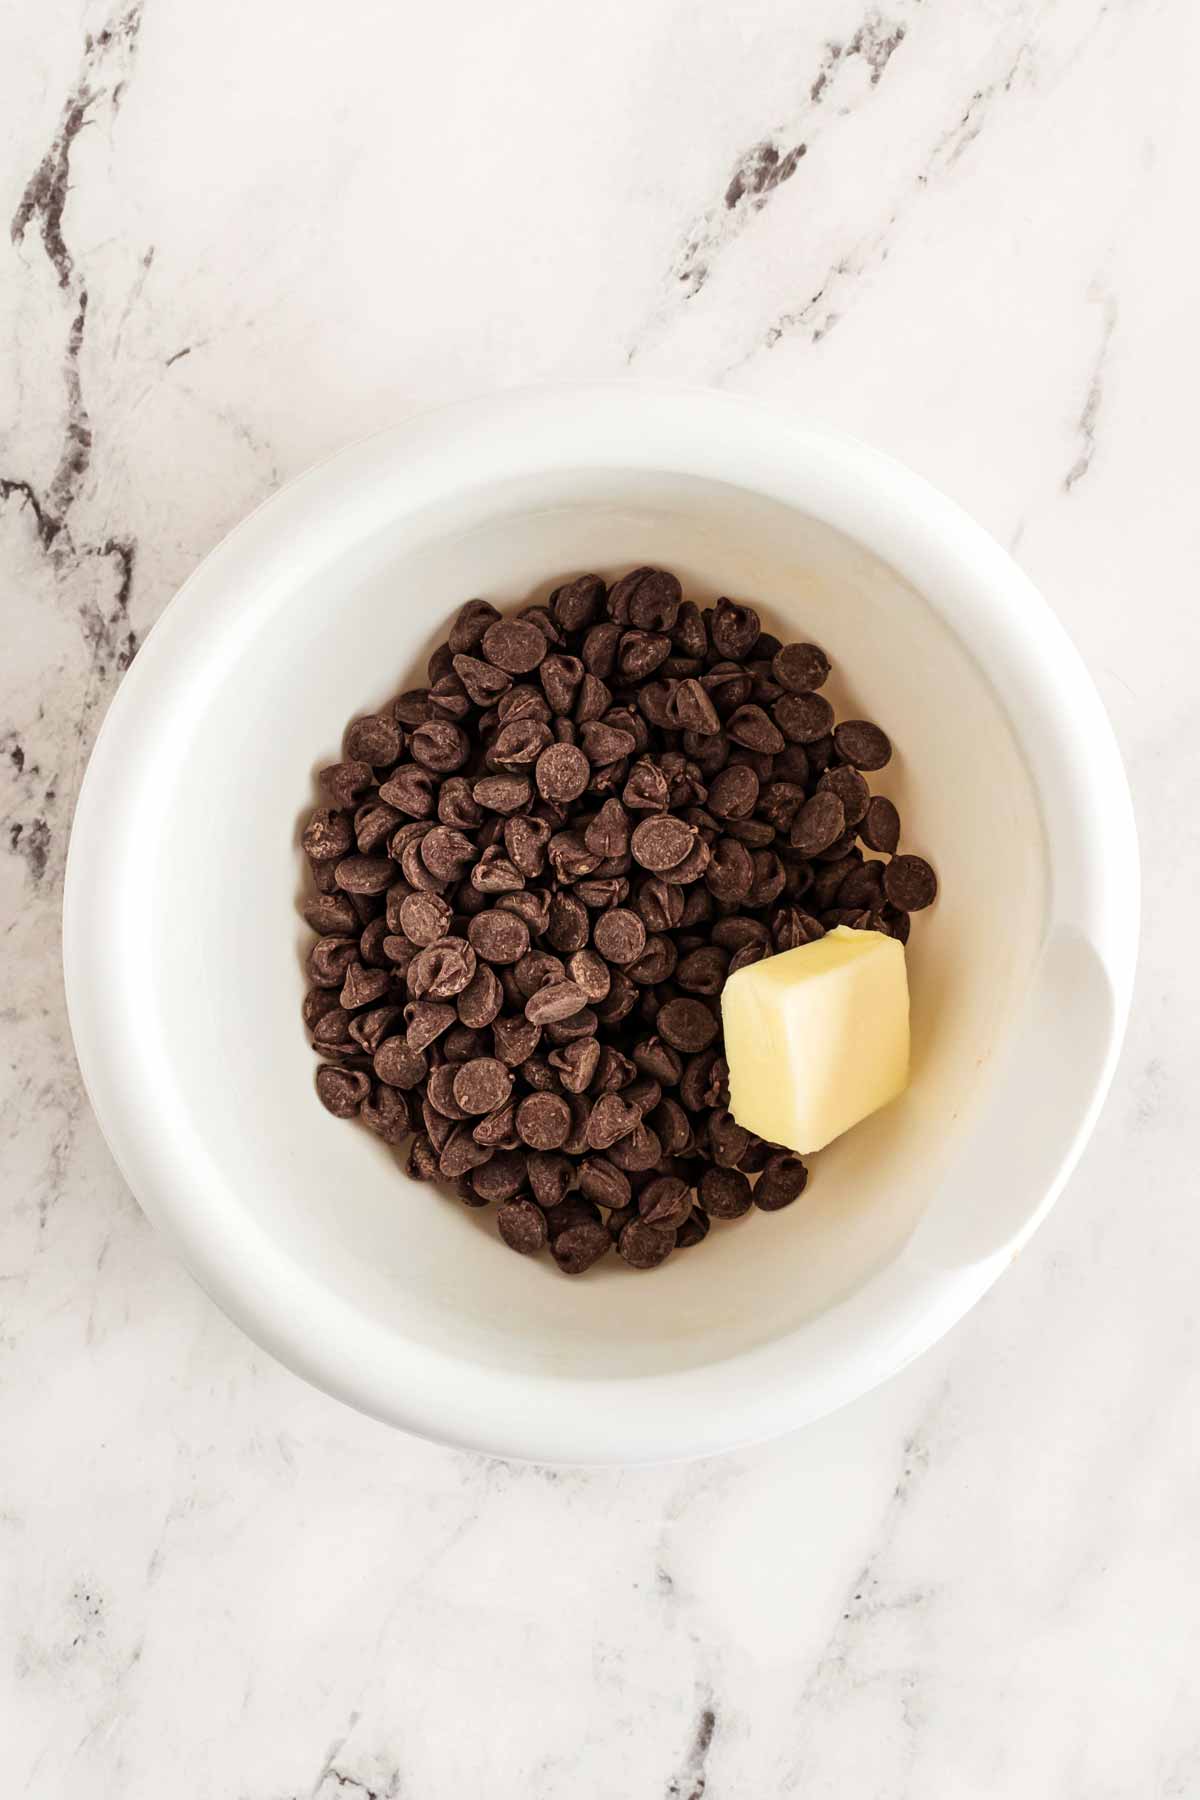
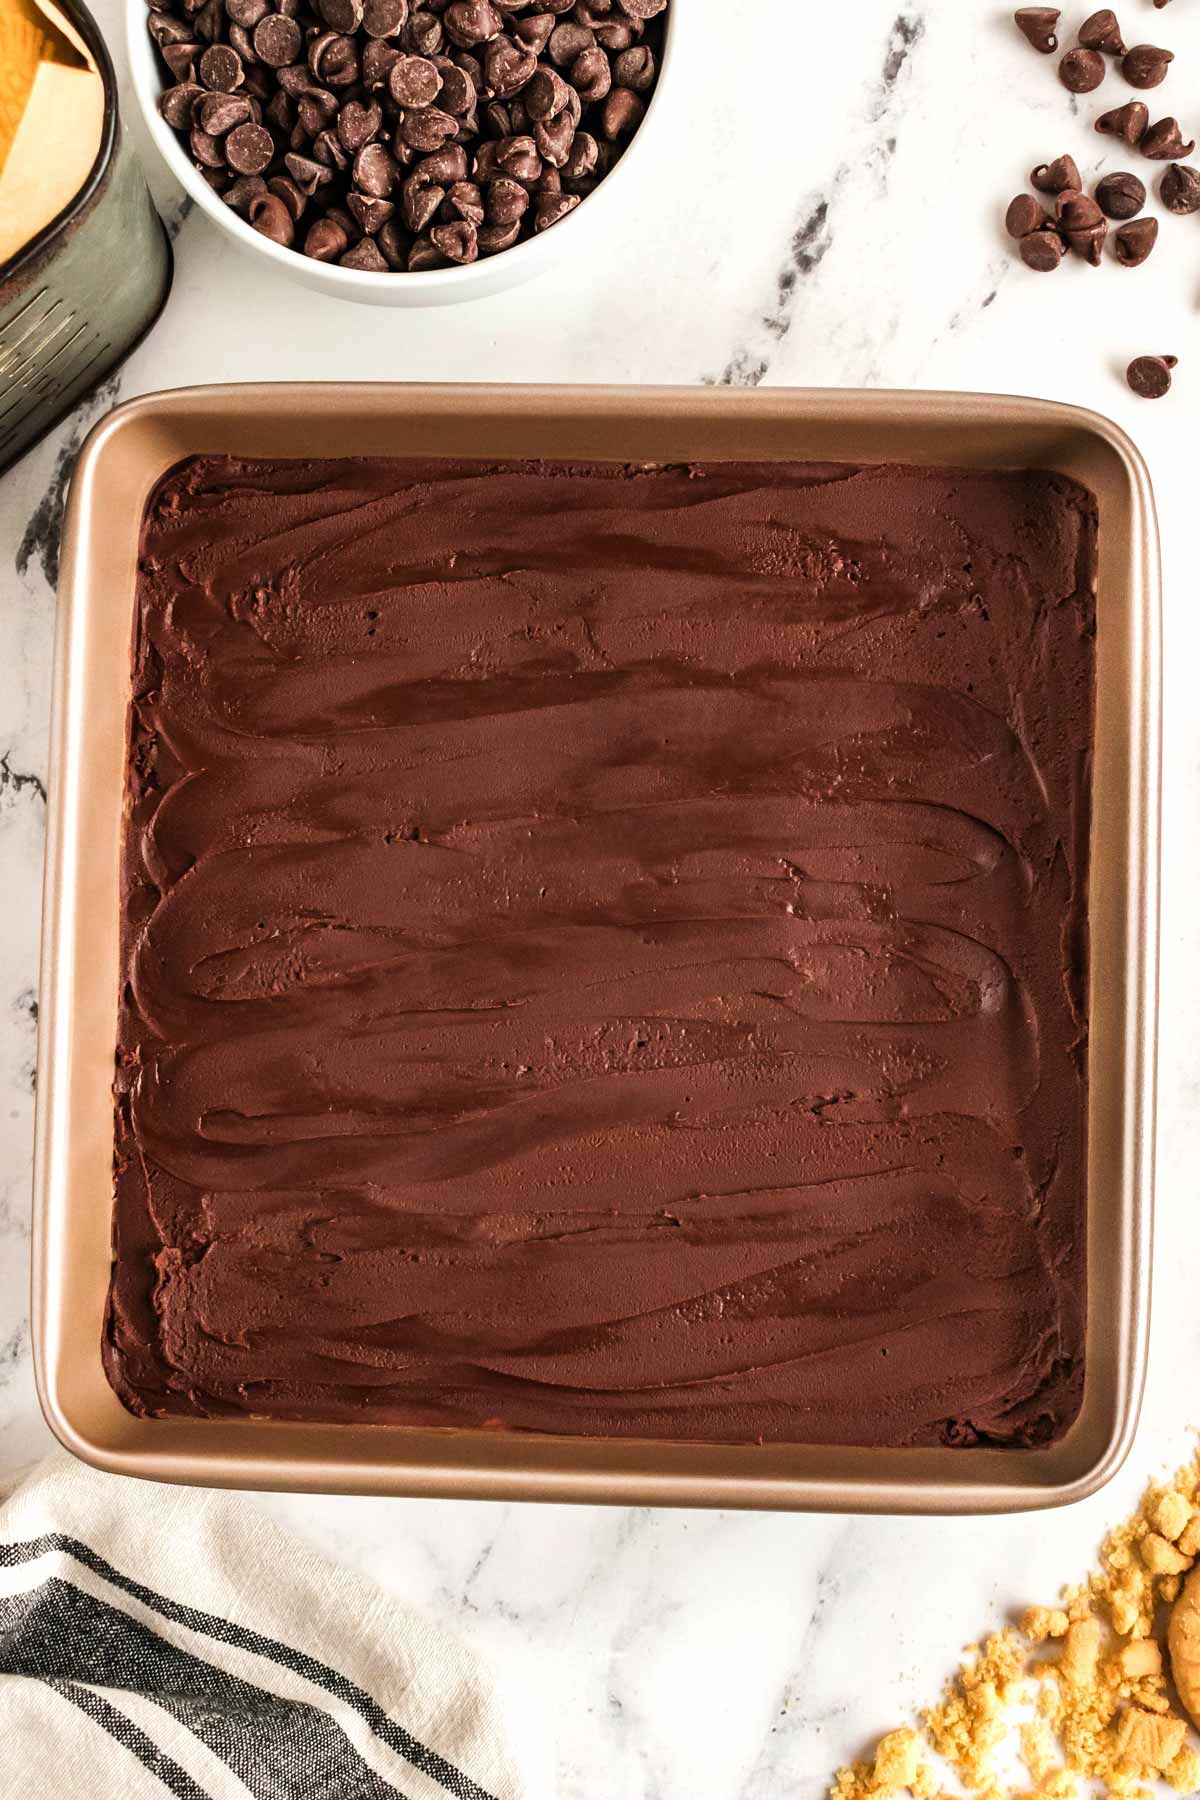
Now it’s time to finish these beauties with a layer of chocolate. Melt 8 ounces of semi-sweet chocolate chips with 1 tablespoon of butter. I do this in the microwave in 20-second bursts, stirring in between, but you can also do it on the stovetop over low heat if you prefer. Once it’s smooth and glossy, pour the melted chocolate over the caramel layer.
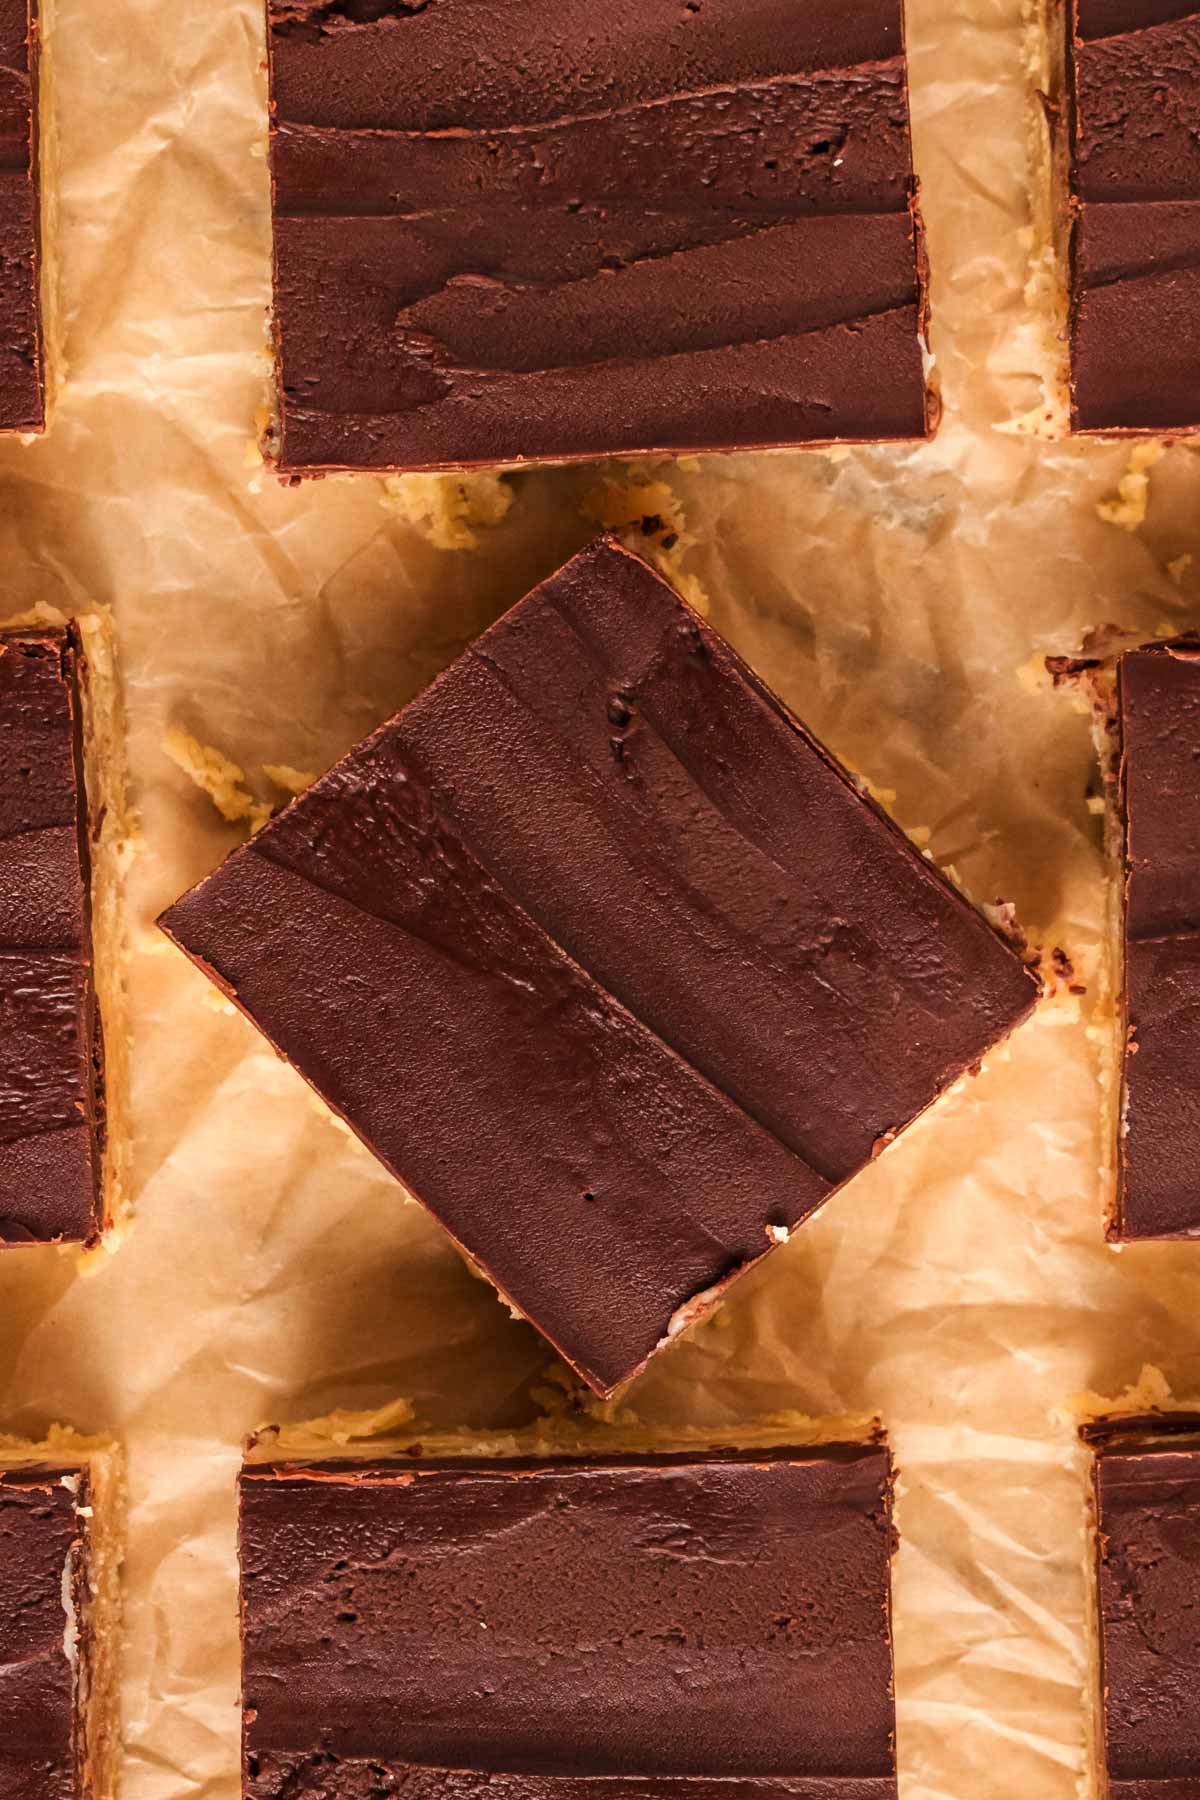
Here’s where you can have a little fun: use a spatula to spread the chocolate and add some texture. I like to make little swirls—it looks fancy, but it’s so simple. Just be careful not to press too hard, or you’ll disturb the caramel underneath.
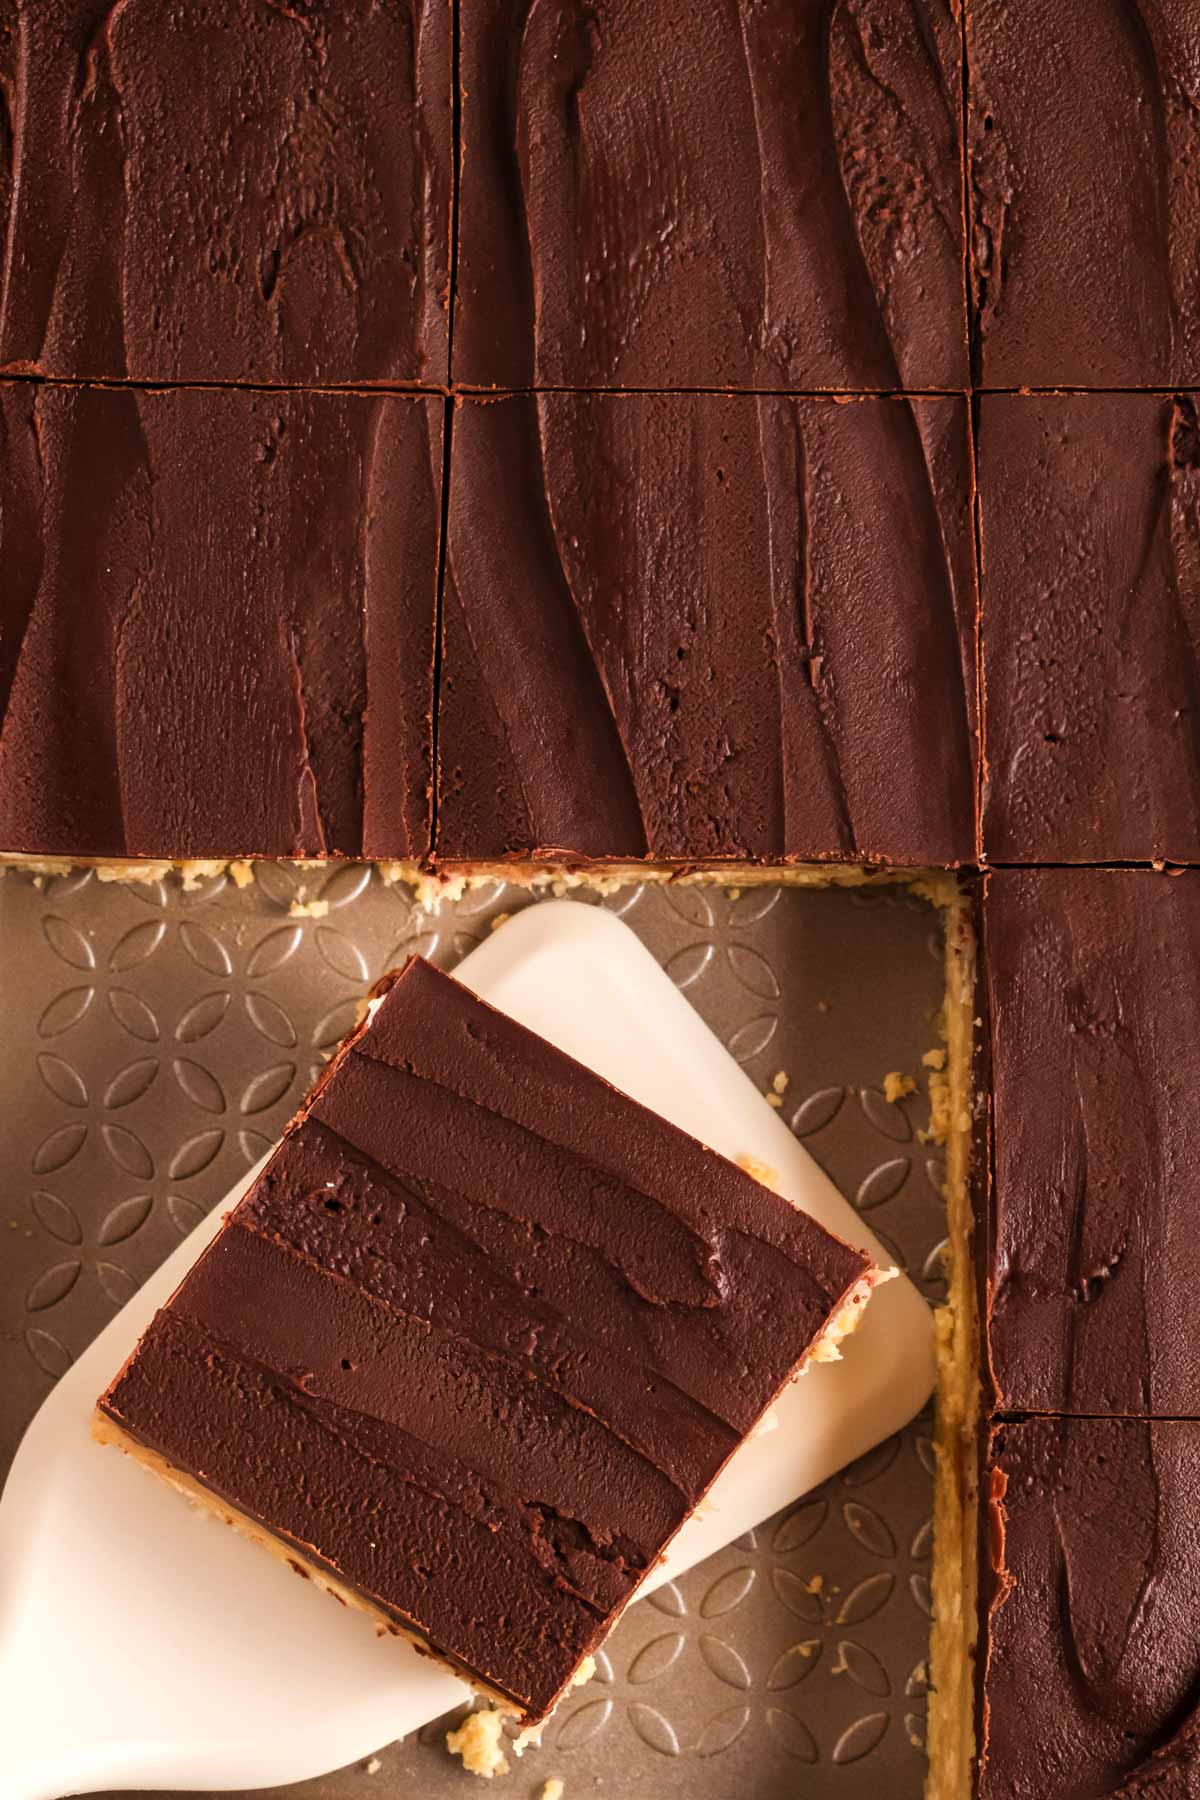
Let the chocolate cool and harden at room temperature. Once it’s set, lift the whole thing out of the pan (a greased pan or parchment lining really helps here) and cut into small bars.
I recommend letting the bars sit at room temperature for a few minutes before slicing if they’ve been in the fridge – they’ll cut more cleanly, and the chocolate is less likely to crack.
That’s it! You’ve just made a batch of the most irresistible no-bake millionaire’s shortbread bars. If you’re anything like me, you might want to hide a few pieces for yourself before your family devours them all. Enjoy!
Tips & tricks
- Caramel: Some commenters have noted that the caramel never thickened for them. This is most likely due to brand differences, or due to using evaporated milk instead of condensed milk. As a little troubleshooting if your caramel won’t thicken, put it back on high heat (be careful not to burn it!) and let it get bubbly until you notice it starts thickening. Then you can turn the heat back down.
- Chill between layers: I can’t stress this enough – make sure the base and caramel layers are properly chilled before moving on. If you skip this, the layers can mix together, and you’ll lose that clean, beautiful look we all love. I’ve learned this the hard way when my kids were too impatient!
- Keep stirring the caramel: Caramel can be a little finicky if you let it sit too long on the stove without stirring. I like to stay close and keep stirring so it doesn’t stick or burn. If it’s taking longer to thicken, give it some extra time – it’s worth it!
- Don’t rush the chocolate: Let the caramel cool completely before adding the chocolate layer. If you pour warm chocolate onto warm caramel, it’ll mix together, and nobody wants that. And when spreading the chocolate, use a light hand so you don’t disturb the caramel underneath.
- Line your pan: This is a total game-changer for getting those perfect bars out of the pan. I like to line mine with parchment paper and leave a little overhang so I can just lift the whole thing out once it’s set. It makes slicing so much easier, and cleanup is a breeze!
- Room temp for slicing: If the bars are too cold when you slice them, the chocolate can crack. I like to let mine sit out at room temperature for 10-15 minutes before cutting. A warm knife (just dip it in hot water and wipe dry) can also help you get those clean, picture-perfect cuts.
These tips have saved me more times than I can count—hopefully, they’ll do the same for you! Let me know if you have any other tricks up your sleeve!
Helpful recipe hints

Recipe variations
- Nutty twist: Add a handful of chopped pecans or almonds to the caramel layer before it sets for an extra crunch. My kids love the surprise crunch when they bite into these!
- Salted caramel bars: Sprinkle flaky sea salt on the chocolate layer just before it sets. It’s such an easy way to elevate the flavors and add a touch of elegance.
- Dark chocolate lovers: Swap the semi-sweet chocolate chips for dark chocolate if you prefer a less sweet version. It pairs beautifully with the rich caramel!
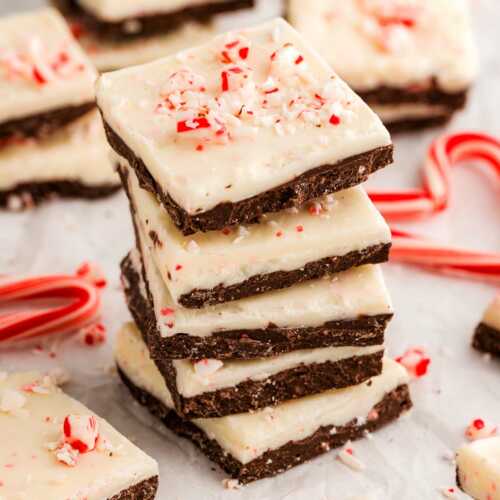
- Festive flair: Add a sprinkle of colorful sprinkles, crushed peppermint, or even edible glitter to the chocolate layer to make these bars holiday-ready.
Storage tips
Storing leftovers: I store mine in a single layer in an airtight container in the fridge, where they’ll keep for about 5 days. If you’re stacking them, use parchment paper between the layers to prevent sticking.
Freezer-friendly: These bars freeze beautifully! Wrap them tightly in plastic wrap and then in foil or store them in a freezer-safe container. They’ll keep for up to 3 months. Just thaw them in the fridge overnight before serving.
Serving ideas
Here are some of my favorite ways to serve these bars. They’re such a versatile treat, and I love finding new ways to enjoy them with my family and friends!
- Afternoon tea delight: I love setting up a little tea party at home with these bars as the star. Pair them with finger sandwiches and a pot of tea – it’s a simple way to make an ordinary afternoon feel special.
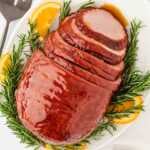
- Holiday dessert platter: When I’m hosting during the holidays, I like to include these bars on a dessert platter with treats like my Chewy Chocolate Crinkle Cookies and Snowball Cookies. They’re always the first to disappear!
- Picnic sweet treat: These bars are my go-to for a quick and packable dessert when we head out for a picnic. I usually pair them with some fresh fruit salad and my homemade strawberry lemonade. They travel so well, and everyone loves them.
- Morning coffee snack: I’ll admit, I’ve grabbed one of these bars with my morning coffee more than once! So no judgment there if you do the same.
These ideas are all family-tested and mom-approved – I’d love to hear how you enjoy them, too!

More no-bake treats
Or, click here to browse all my cookies and bars, or click here to browse all of my dessert recipes.
PS If you try this recipe, please leave a review in the comment section and add a star rating in the recipe card – I appreciate your feedback! Follow along on Pinterest, Facebook or Instagram.
No-Bake Millionaire’s Shortbread Bars
Recipe details
Ingredients
For the base
- 10.5 ounces shortbread cookies
- 7 tablespoons unsalted butter melted
For the caramel layer
- 6 tablespoons light brown sugar
- 6 tablespoons unsalted butter
- 1 (14-oz) can sweetened condensed milk
- ¼ teaspoon salt or more to taste
For the chocolate layer
- 8 ounces semi-sweet chocolate chips
- 1 tablespoon unsalted butter
Instructions
To make the base
- Prep: Line a 8×8 inch (or 9×9 inch pan) square baking pan with parchment paper and grease lightly for easy removal later.
- Make cookie base: Process 10.5 ounces shortbread cookies to crumbs, add to a medium-large mixing bowl. Add 7 tablespoons unsalted butter (melted) and stir until fully combined (should be texture of wet sand). Press shortbread mixture into prepared pan in an even layer. Refrigerate until firm.
To make the caramel layer
- Cook caramel: Add 6 tablespoons light brown sugar, 6 tablespoons unsalted butter, 1 (14-oz) can sweetened condensed milk and ¼ teaspoon salt to a small saucepan and bring to a boil. Reduce heat to low and simmer until thickened while stirring often.
- Add to base: Pour caramel over hardened shortbread base and refrigerate again until firm.
To make the chocolate layer
- Melt chocolate: Melt 8 ounces semi-sweet chocolate chips together with 1 tablespoon unsalted butter until melted and glossy but still spreadable.
- Add to bars: Pour chocolate over the caramel layer. It looks lovely when the chocolate is spread with a spatula in a way that it isn't completely smooth, but showing some chocolate swirls and some texture (make sure you do not disturb the caramel layer).
Finish
- Cool and serve: Allow to cool at room temperature until hardened. Lift from pan and cut into small bars.
Notes
Ingredient notes
More recipe information
I first published this recipe all the way back in 2014. I updated it several times over the years, with a video and fresh text. The latest update was in December 2024, when I finally replaced the old photos from 2014 and added much improved text. The recipe has always remained the same.


Colawoman says
How many cookies make 10.5 oz? I have a huge box of those Walker Shortbread cookies. This recipe looks good and I need a way to use up the cookies!
Nora says
I think you’d really need a kitchen scale to weigh this out. The cookies come in so many shapes and sizes. Or let me know which shape you have and I’ll see if I can figure it out!
NickiDE says
Delicious! These will be going on my Christmas cookie trays. The caramel layer took about 25 minutes, but it is worth the wait. I’m wondering if just melting caramel candies might work too? May give that a try.
Nora says
I’m so glad!
Margaret Kirkwood says
They are amazing have made them lots of times. My friend’s and family love them.
Margaret Kirkwood kwood says
Great and easy recipe. Taste amazing will be making this recipe a lot.
Amber says
I loved it thankyou soo much!! My siblings loved it! ??
Rita Jones says
May be a silly question. I plan on making these. After these are made, do they need to be refrigerated or can they just be stored in a closed container until they all devoured! I’m sure it won’t take long! They look amazing!
Nora Rusev says
Rita, not a silly question at all! I definitely need to update the post with this information. They can be kept either way for a few days. Depends on how you like them – they stay soft on the counter, and much firmer in the fridge. If it feels safer to you to keep them in the fridge, but you want them soft to eat, just let them sit at room temperature for 15-20 minutes before serving. Hope that helps!
Emma says
Delicious. Although I’ve melted my butter in order to measure the tablespoons, but notice you have used solid butter in the video to make the caramel. Do you have a weight for this?
Lauren Vavala says
These look so amazing! Im going to make a batch for a my kid next week – they will love them!
Nora says
Hope your kiddo enjoyed the bars!
Nikki Lynch says
I made these the other day and they were delicious!! Such and easy recipe. My kiddos and hubby ate them all in a day (I may have had 2 myself). I will be making these again for an easy Christmas treat!!
Nora says
So happy to hear this, Nikki! Thank you so much for coming back to leave a review – I appreciate your time.
Adam Paget says
I am looking forward to trying this recipe it looks great. However, the country of origin is wrong, these are actually Scottish. In fact these were invented before America was even discovered.
Nora says
Thanks for the heads-up, Adam! Of course I knew these aren’t American – that was the recipe card auto-filling the information. I mean, as a semi-Brit… This is embarrassing, ha.
Nancy Clay says
Then God bless the Scottish!
Tiff says
I’m looking forward to trying this recipe, but I need to double check something. You used condensed milk for the caramel not evaporated milk correct? Your ingredients list says evaporated, but your video said condensed.
Nora says
Hi Tiff! Thanks for noticing this mistake. The original recipe was with evaporated milk, but readers kept having issues with it not thickening. So I tried with condensed for the video and now suggest using condensed milk because it’s a lot faster. It does work with evaporated milk if that’s what you have on hand, it just takes more time. Hope that helps, let us know how the bars turn out for you!
Victoria says
hi
1) when you mean chill, do you mean the freezer or refrigerator
2) when I cut the bars after I was done, the caramel and chocolate didn’t stick to the cookie base it came right off, do you know why? I made sure it was fully frozen before I cut it
thank you!
Nora says
Hi Victoria! Just in the fridge, no need to freeze the bars 🙂 And you don’t need to freeze them solid before cutting, just chill them enough so the chocolate is firm. That’s probably why the layers split! I’m sorry you didn’t have a better experience!
Silvia ibarra says
Can you send to me the full recibe???
Nora says
Silvia, if you scroll to the bottom of the post, you’ll find the full recipe. It’s just above the comments – let me know if it’s not showing up for you so I can troubleshoot for you!
Susan says
These were great! We loved them so much we’re making them for a family get together this weekend. Thanks so much for this delicious bar!!
Nora says
Susan, I’m beyond happy to read this! I hope your extended family will love them just as much. Thank you so much for taking the time to report back, I truly appreciate it.
Denise says
What type of shortbread cookies did you use in this recipe?
Nora says
Hi Denise, thanks for asking. This is the exact type of shortbread cookie I used: http://www.amazon.com/Walkers-Shortbread-Butter-Fingers-Ounce/dp/B0014D2B86/ref=sr_1_6?ie=UTF8&qid=1448795768&sr=1-6&keywords=walkers+shortbread
I’ll link to it in the post as well for others who might want to know. I hope that helps, please don’t hesitate if you have more questions!
Hezzi-D says
These look so good but I couldn’t get the evaporated milk to caramelized. I had it on the stove for well over an hour. I finally gave up and then made my own caramel with condensed milk, the way I normally do.
Nora says
I’m sorry Hezzi, it seems to differ between brands. Some milks need some extra full-on heat to thicken. I’m glad you found a solution.
Michelle @ Giraffes Can Bake says
I love Millionaire’s Shortbread – and this no bake version looks yummy! Sharing!
Nora says
Thanks so much, Michelle!
Lois says
Easter weekend here in the UK and my nan (sadly passed now) always used to make this so I plan on using your recipe and take over for our family get together – thank you!
Nora says
Thank you so much for sharing your story Lois, hope you and your family like the Millionaire’s Bars and have a wonderful Easter!
Megan says
Going to try these this afternoon for a massive work bake-off to feed 70! need all the shortcuts I can get and these look utterly fantastic. Ill let you know how I get on. Thanks for sharing xx
Nora says
Wow! Good luck on your baking ventures 😀 I hope they go well for you! In case you can’t manage the caramel layer to thicken in due time – bring it to boiling point again and cook until it thickens. That should do the trick if there’s any trouble (evaporated milk products vary sooo much in every country…). That’s the only trouble shooting I could add to the recipe to make everything faster 🙂
Mary says
Your millionaire bars look wonderful but I’m also confused about the “unsweetened condensed milk.” The can of condensed milk I have in my cupboard is VERY thick and is labeled “sweetened condensed milk”, but my evaporated milk is very thin and is labeled “evaporated milk.” I believe sweetened condensed milk can be caramelized, but I haven’t heard that about evaporated milk. I’ve never heard of “UNsweetened condensed milk.” Please clarify which should be used. I’d like to try making these bars for a cookie exchange. Thanks a bunch!
Nora says
Hi Mary, I’ll go change that in the recipe! It’s definitely the thin evaporated milk! And it caramelizes beautifully with the sugar added to it! I hope you’ll like the bars!
Bonnie Martin says
My caramel never thickened after an hour and a half. Very disappointing.
Nora says
I’m very sorry it didn’t work out for you Bonnie! The caramel can take a while to thicken but it definitely shouldn’t take this long! I’ve made this recipe various times and it took me 20 minutes, max so I have no idea why it didn’t work out for you! Did you make sure to use evaporated milk? I know there has been some confusion around that. Also, if you ever have a caramel not thicken again, try adding a tad more sugar. It’s always difficult when working with different ingredients in different countries and unfortunately I’m unable to take this into account! The caramel might also have been too cold, increasing the temperature or even bringing the caramel to the boil again for a few minutes should usually do the trick! Again, my apologies for your bad experience!
Catarina says
I was having the same problem so i cranked up the heat, made caramel in no time!
Nora says
Awesome Catarina – glad you could fix it!
joni says
I’m glad I’m not the only one who has had this problem! Mine has been cooking for an hour and forty five minutes and it’s as thin as when I started.
Nora says
Joni – I’m so sorry you didn’t have any luck with the recipe. It really just needs more heat if it doesn’t thicken. I hope you found a solution in the end!
VLH says
Same thing happened to me. I think I will try it with sweetened condensed milk.
Nora says
I’m sorry to hear that! Sweetened condensed milk will definitely work, the unsweetened kind sometimes just needs some extra heat to caramelize depending on the brand you’re using.
Marla Meridith says
Totally love these bars!
Nora says
Thank you so much Marla!
Shari Hardin says
I really want to try these this weekend, but I’m confused, the recipe calls for unsweetened condensed milk, is that correct?
Nora says
Yes, that’s correct! That’s what it’s called in Switzerland, I believe it’s evaporated milk in most English speaking countries! Sorry for the confusion!
karen says
Nooo, evaporated milk is something totally different. Evaporated milk is like a single cream consistency and used as an alternative to cream to pour over desserts. We have condensed milk too. All the large supermarkets stock it, Asda, Tesco, Sainsbury etc, its labelled condensed milk. Hope this helps.
Nora says
Thanks, Karen! This is so confusing, lol. So there’s evaporated milk, unsweetened condensed milk and sweetened condensed milk?
Nora says
I’m the same! And it’s fun to make your own treats 🙂
Katrina @ Warm Vanilla Sugar says
I definitely don’t pretend to make everything from scratch either! It’s part of the fun sometimes! Millionaire bars are one of favorite treats EVER. Definitely need to try this quicker version!
Nora says
I agree! Oh they are so good… But it’s so much work to make them the more complicated way!
Sarah | Broma Bakery says
I have no words. Just swooning over here.
Nora says
Awwww, I’ll forgive the silence 😉
Liz says
You know what I like most about your recipes? They’re all fabulous and beautiful. I’m adding this to my ever-growing list.
Nora says
Awwww thank you Liz <3