
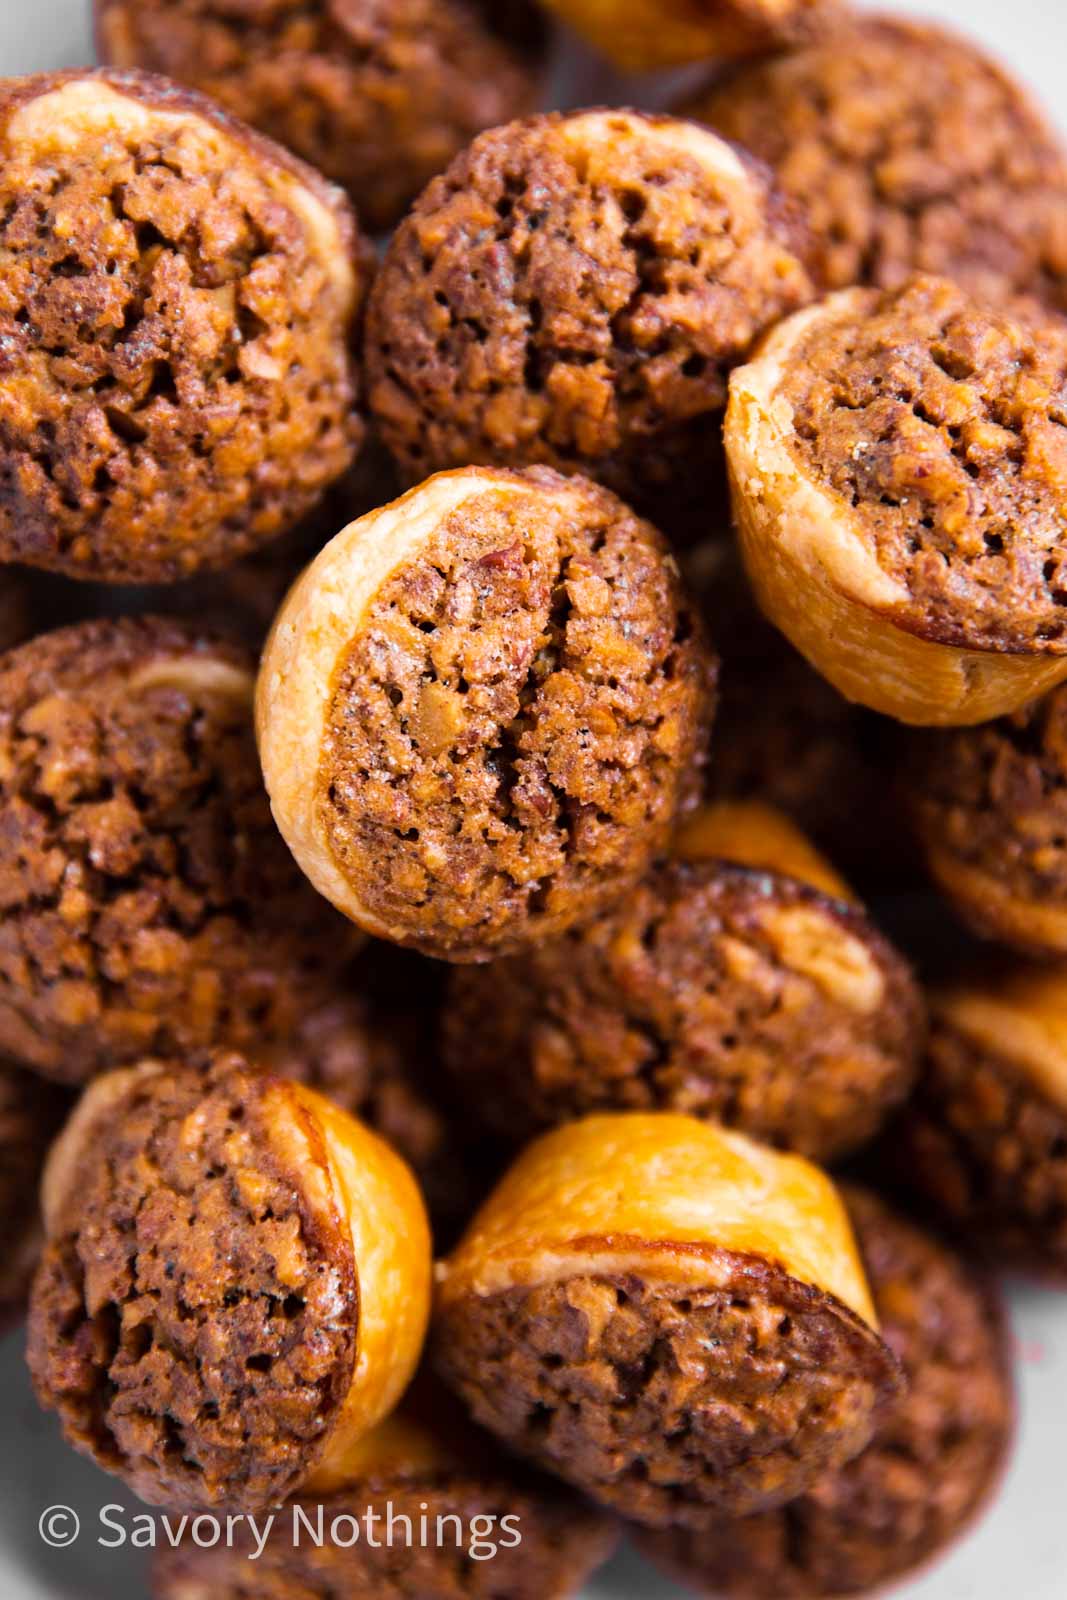
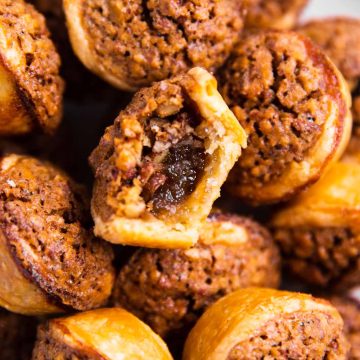
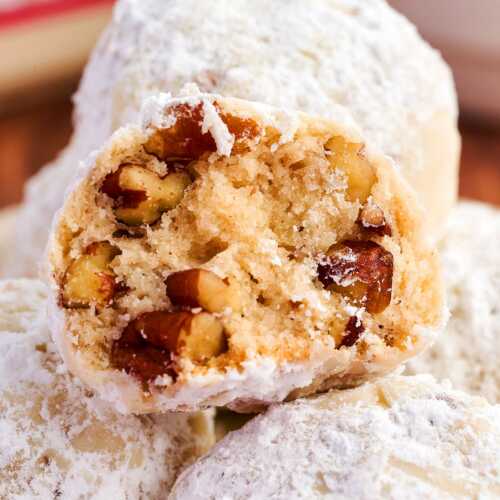
This is the best recipe for Pecan Tassies you’ll ever make! The easy 3-ingredient pastry turns out so buttery and flaky, and is stuffed to the brim with the most delicious pecan pie filling.
Finally, one of my all-time favorite holiday treats has made it to this blog! Even as a child, I have always loved pecan pie. But make it in miniature form with a 3 ingredients crust I don’t have to roll out? Even better.
And I don’t call these the best without reason: They truly are (I may be a tad biased, but still… they are really, really amazing). Not only do they turn out absolutely pretty, but they’re also so tasty you’re going to want to make a double batch!
Ingredients you’ll need
Here is a visual overview of the ingredients in the recipe. Scroll down to the printable recipe card at the bottom of this post for quantities!
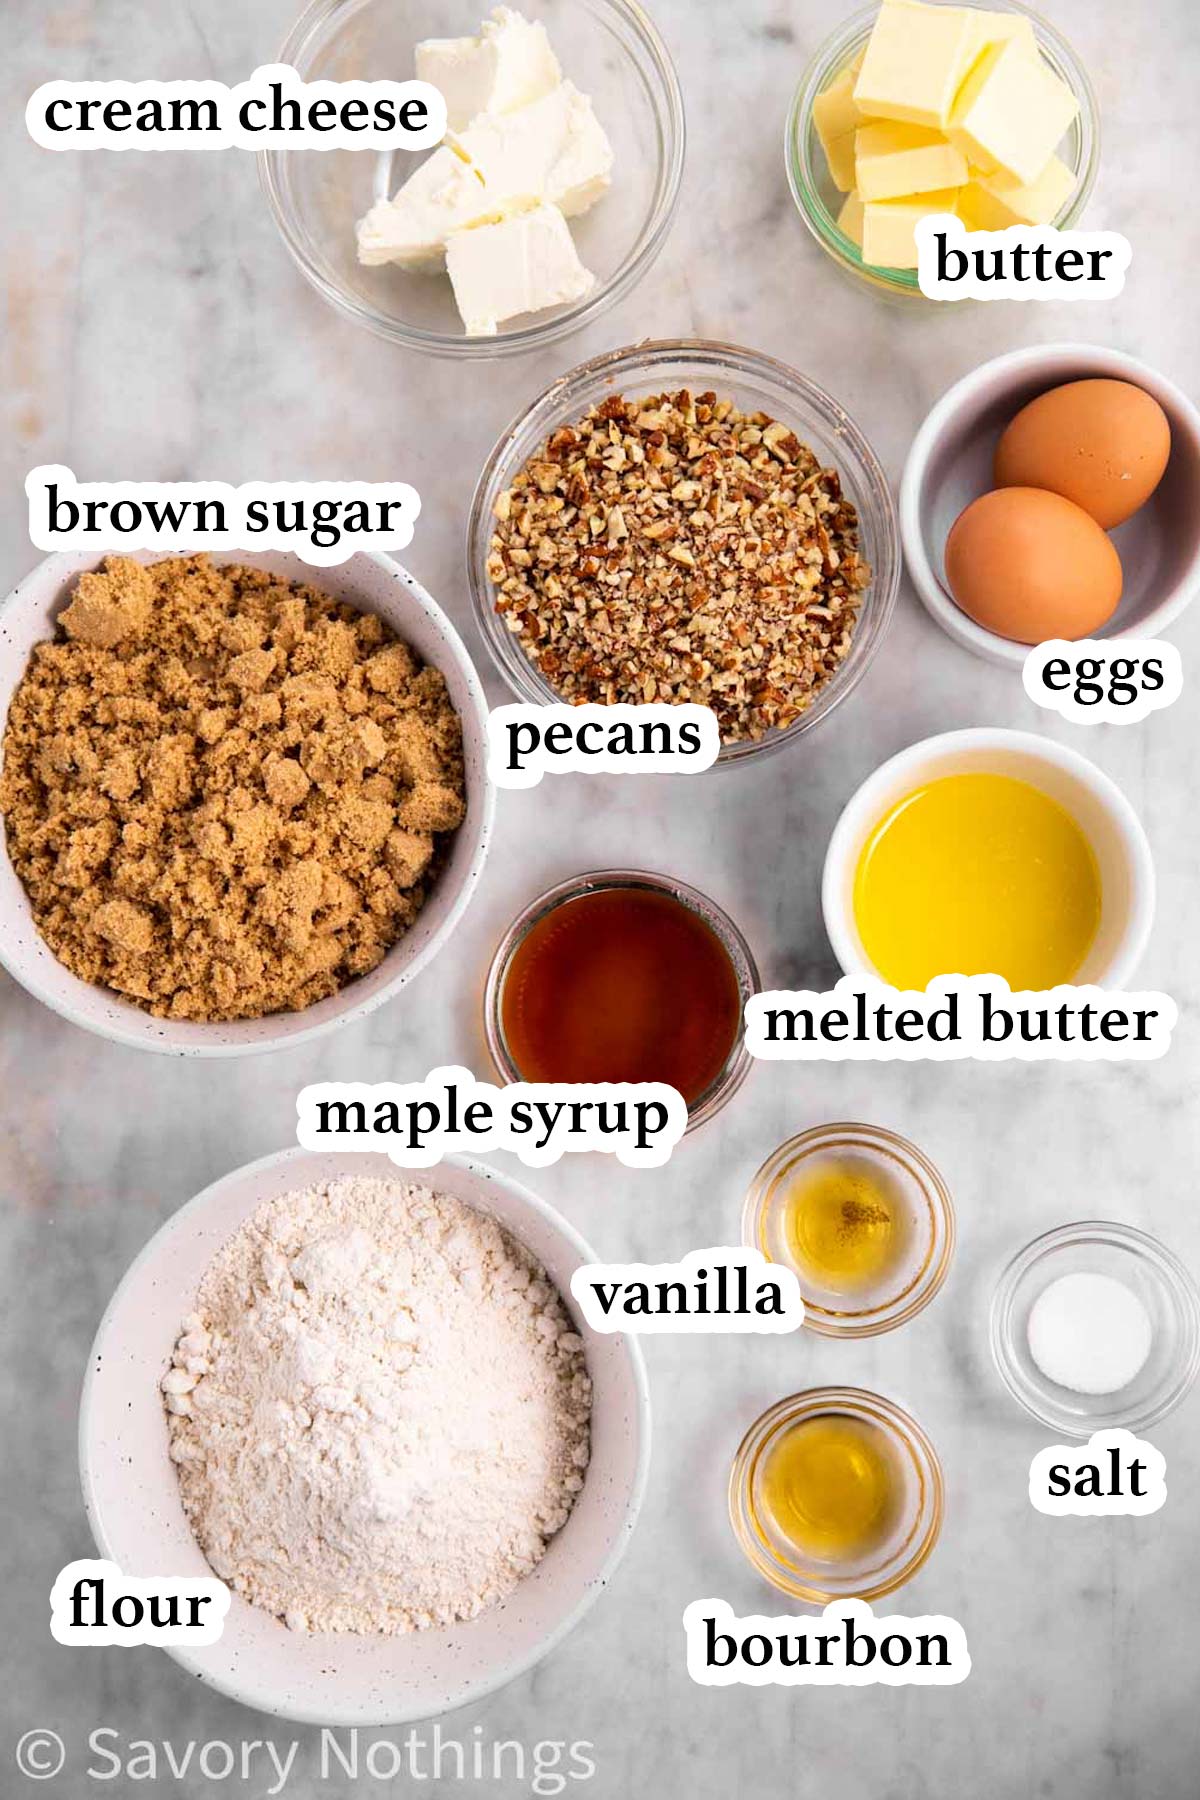
Ingredient notes
- Bourbon: This just adds a little depth to the flavor of the filling, it’s just a small amount and you can skip it if you don’t have it on hand/don’t use alcohol.
- Maple syrup: Real maple syrup tastes best to me, but you can use maple flavored syrup if that’s what you have on hand.
- Brown sugar: I use light brown sugar here. Feel free to use half light brow and half dark brown if you want a richer/heavier molasses taste.
- Butter: If you choose to use margarine instead of butter, please make sure to use stick margarine and NOT a spreadable product.
- Pecans: I highly recommend chopping the pecans finely, it yields the best consistency for the filling.
How to make Pecan Tassies
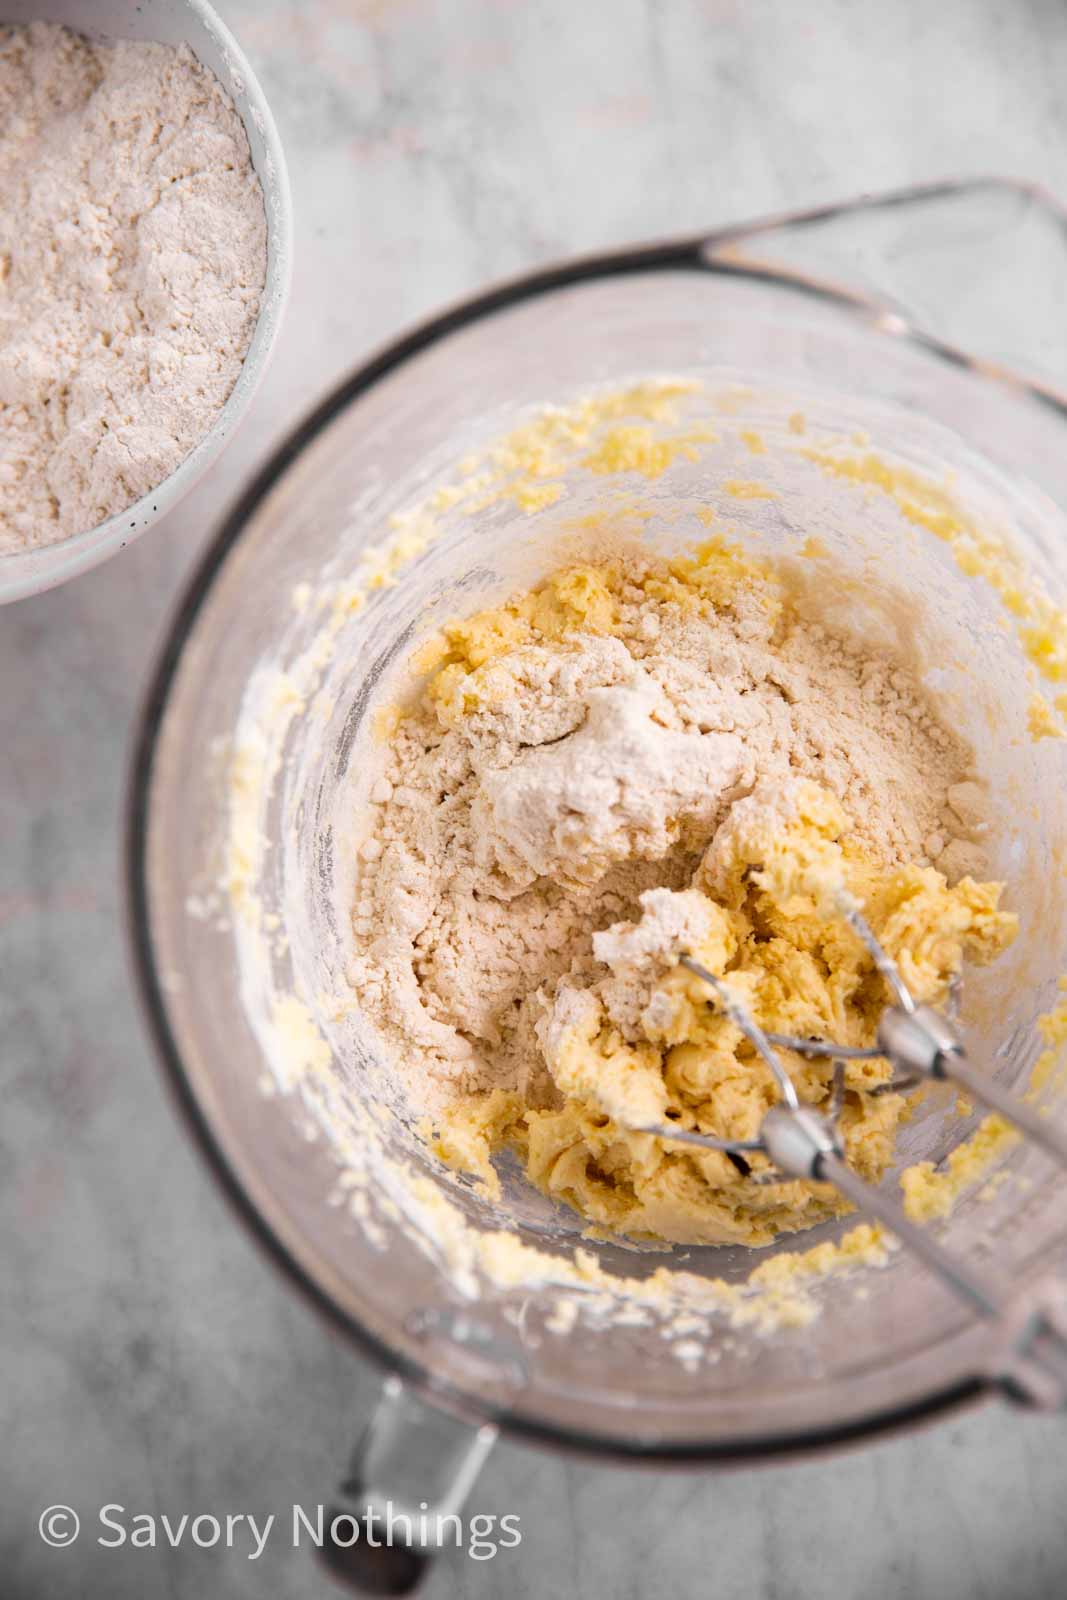
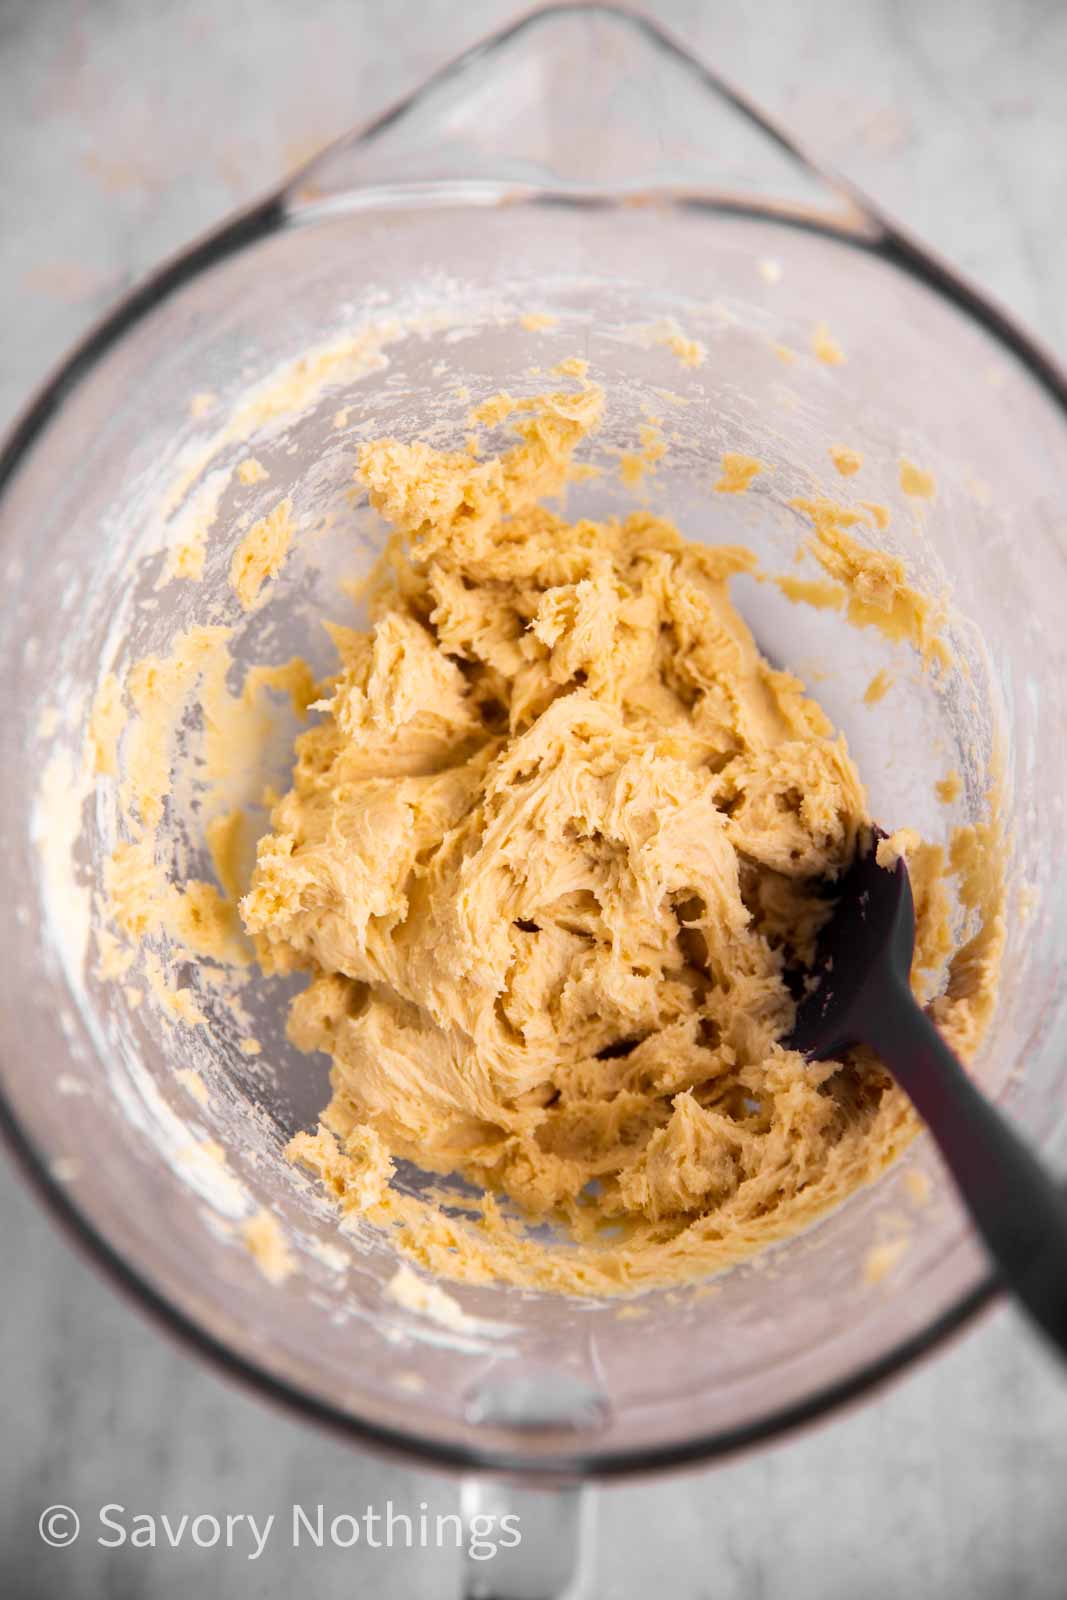
1. Make the pastry first, as it needs to chill for at least 2 hours. Cream softened butter and cream cheese with a little salt, then gradually beat in the flour on low speed.
It will be very soft and sticky, which is why it needs to go into the fridge for at least 2 hours before you can use it.
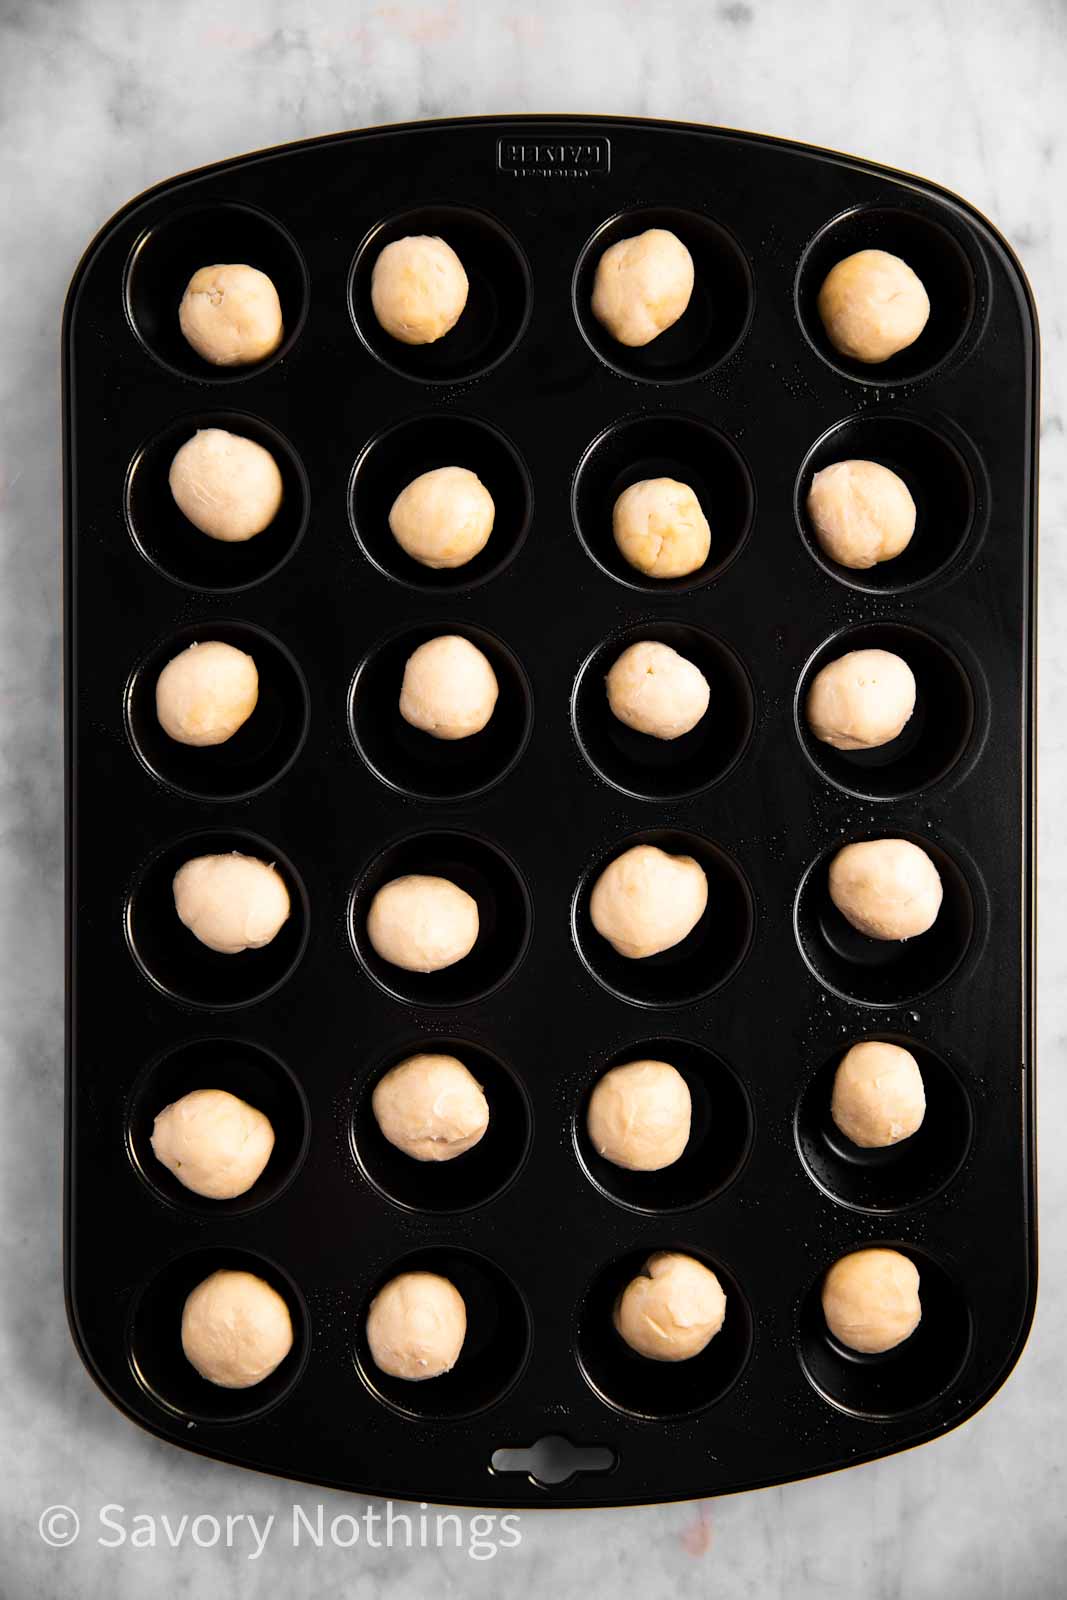
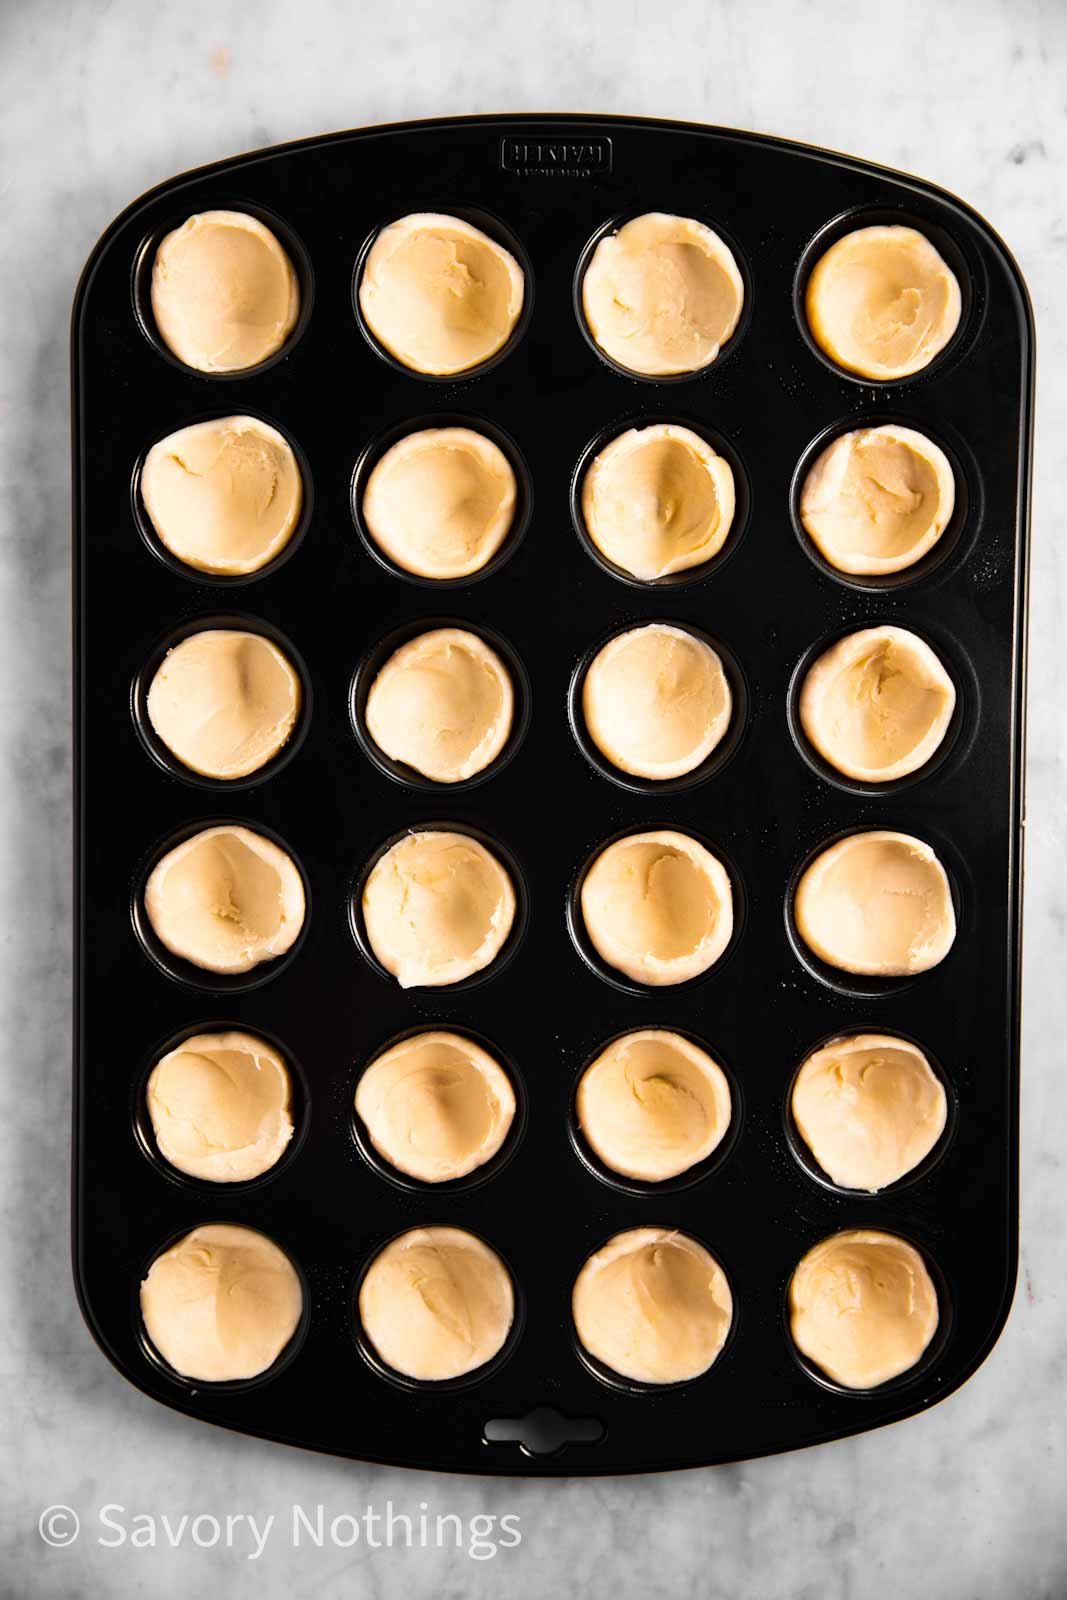
2. Once the pastry is ready, roll it into 24 balls and place them into greased miniature muffin cups. Press the pastry into the cups to form a little shell, making sure the bottom isn’t too thin. Place it back into the fridge to firm up while you’re making the filling.
You’ll also want to heat the oven to 350°F at this point.
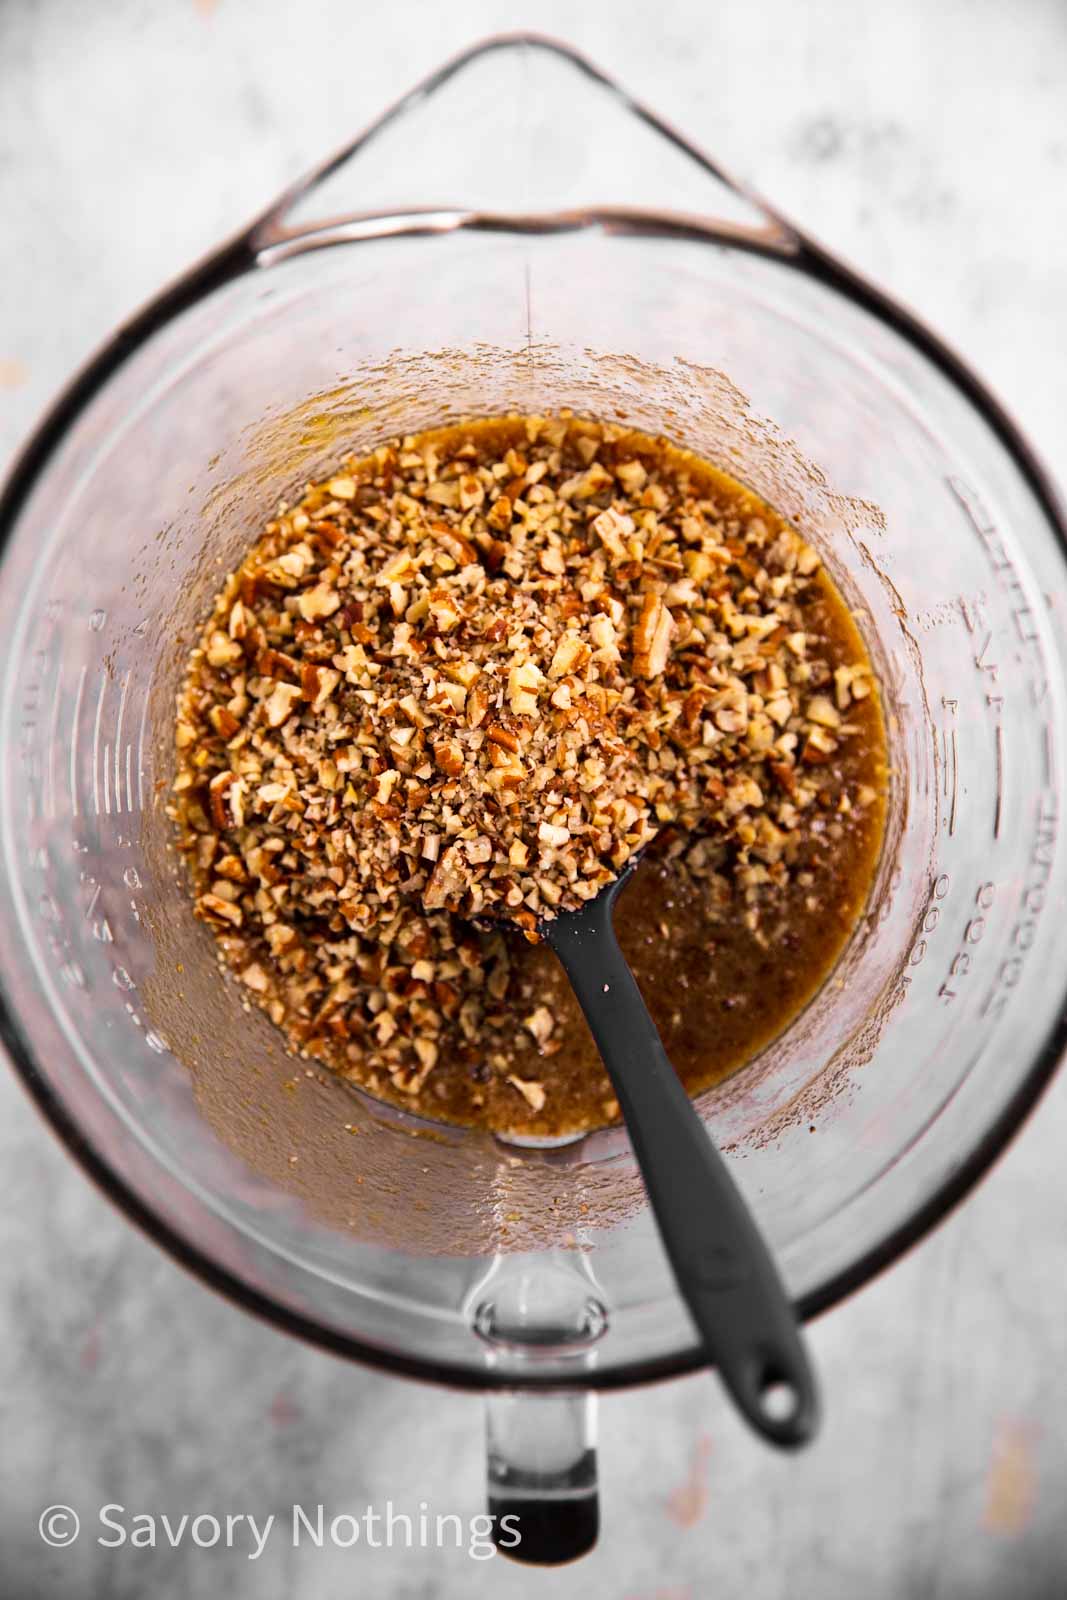
3. To make the filling, combine the remaining ingredients (except for the pecans) until smooth. Then, stir through the finely chopped pecans.
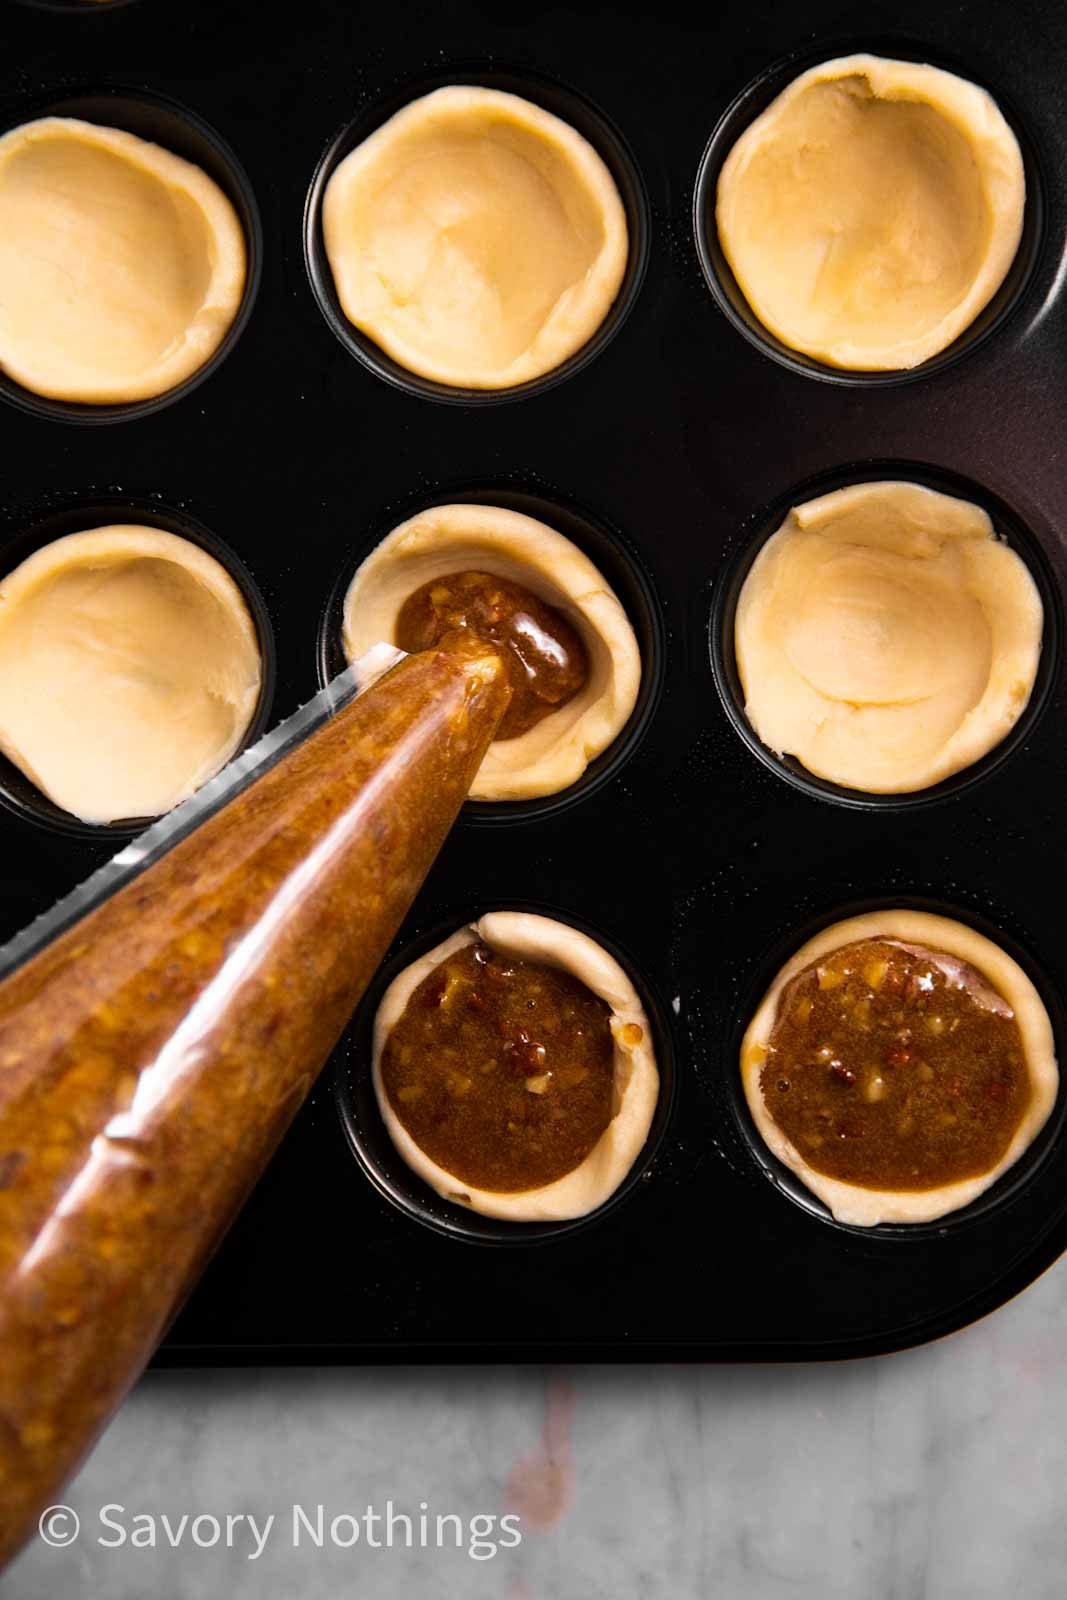
4. Spoon or pipe the filling into your chilled pastry shells. You want to fill them all the way up, it’s fine if the filling goes a little over the edge of the pastry as long as it doesn’t spill over the top of the muffin cups. Then bake the Tassies in the hot oven for 25-30 minutes, until they’re golden and the filling has set.
Note: Depending on the size of your miniature muffin pan, you’ll have some filling left. You can just add it to a lightly buttered ramekin and bake it at the same time as the Tassies, just a little longer if the ramekin is very full, and it will be like a crustless pecan pie (delicious for the baker to indulge in with a scoop of vanilla ice cream… shhhh, don’t tell anyone ?)
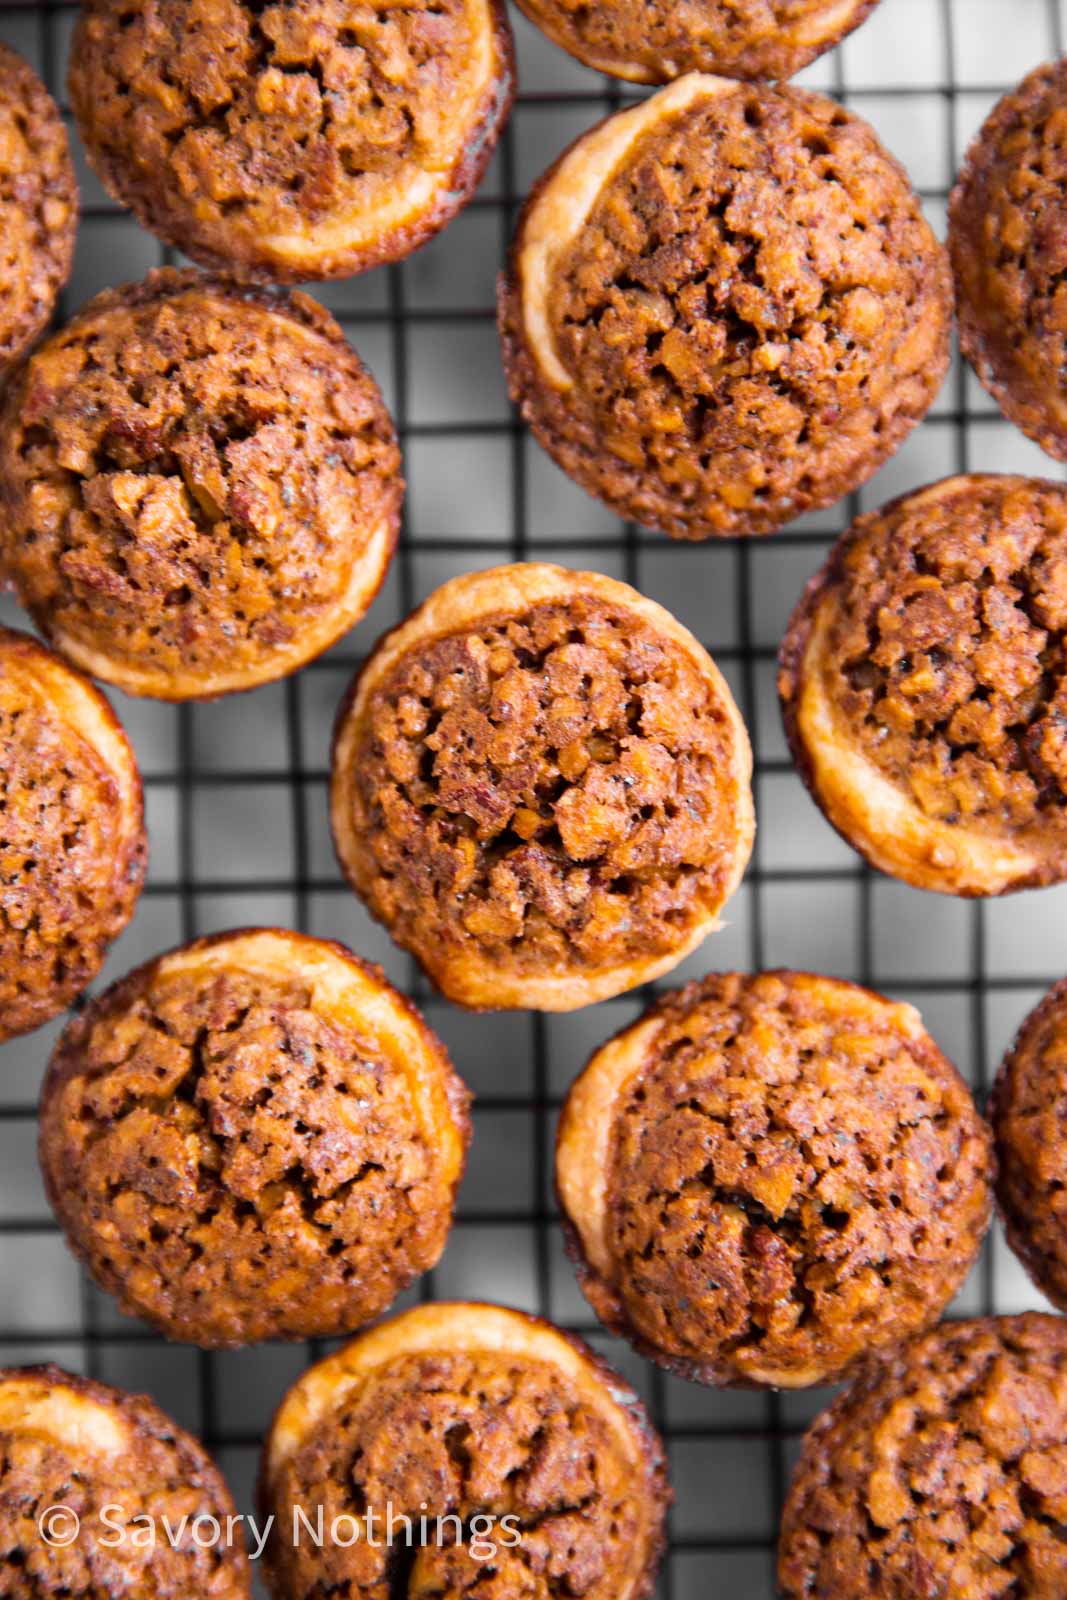
5. Remove the pan from the oven and place it on a cooling rack on the counter for 5 minutes, then immediately remove the Tassies to a cooling rack to cool completely.
Recipe tips
- Do not overmix the pastry, just beat on low until the flour is incorporated.
- Do not skip chilling the pastry dough, it is not workable without at least 2 hours in the fridge. It also comes out the flakiest if it’s properly chilled.
- I want to stress that it’s very important to chop the pecans very finely for the filling to work out perfectly. It’s a little extra work, but it makes a big difference. You don’t want the nuts ground to a powder, but they do need to be chopped down well.
- I do find it a lot easier to get the filling into the pastry shells with a piping bag or zip-top bag. No need to use a tip, just snip off an edge large enough for the chopped nuts to easily pass through. It works fine with a spoon if you don’t want to bother with the bag, it’s just a little messy.
- Bake the tassies long enough for the filling to be nicely domed and set, and for the pastry cases to be golden brown on the outside. Do not pull them from the oven too soon, or they’ll collapse.
Storage tips
Short-term: If you’re eating the Tassies within a day, keep them loosely covered with a paper towel on the counter.
A few days: If you’re planning on keeping the Tassies for longer, keep them in an airtight container OR tightly wrapped in plastic wrap in the fridge for up to 4 days.
Freezer: This is a wonderful treat to make ahead and freeze! Bake as directed, then cool completely. Place the Tassies on a lined baking sheet, loosely cover with plastic wrap and freeze until sold, about 2-3 hours. Then, place them in a freezer-safe zip-top bag or airtight container and freeze for up to 3 months.
To defrost, just unpack them and place them on a rack on the counter until fully defrosted.

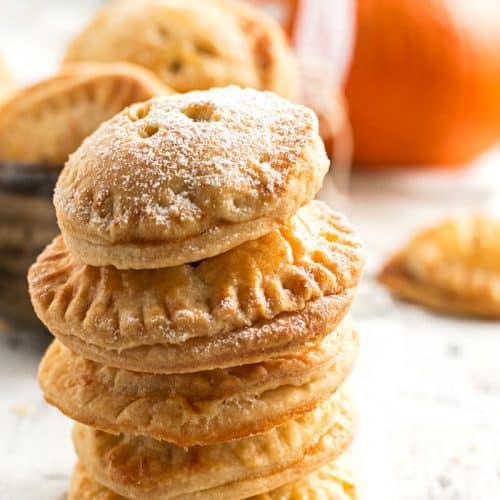
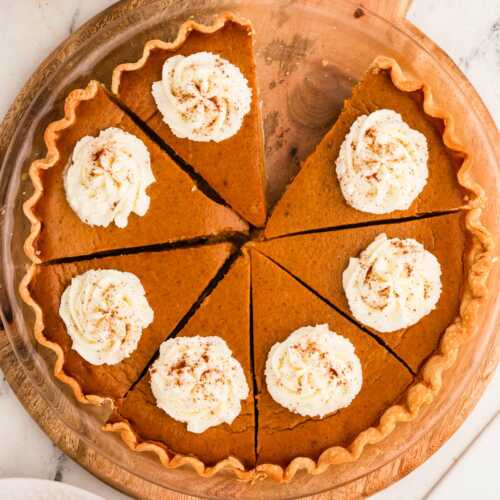
More Thanksgiving treats


PS If you try this recipe, please leave a review in the comment section and add a star rating in the recipe card – I appreciate your feedback! Follow along on Pinterest, Facebook or Instagram.
Pecan Tassies
Recipe details
Ingredients
For the pastry
- ½ cup butter softened
- 1 (3-oz) package cream cheese softened
- ¼ teaspoon salt
- 1 cup all-purpose flour
For the filling
- 1 ¼ cups light brown sugar
- 2 large eggs
- 2 tablespoons butter melted
- 2 tablespoons maple syrup
- 1 teaspoon bourbon increase to up to 1 tablespoon to taste
- 1 teaspoon vanilla extract
- 1 pinch salt
- 1 cup finely chopped pecans preferably lightly toasted
Instructions
- Make pastry: Cream softened butter butter, softened cream cheese and ¼ teaspoon salt in a medium mixing bowl. Gradually beat in flour on medium speed, just until combined – do not overbeat. Cover bowl and place in refrigerator for at least 2 hours, until firm. Do not skip chilling.
- Prep: Once pastry is ready, heat oven to 350°F. Lightly grease a 24-count miniature muffin pan.
- Assemble pastry: Roll chilled pastry into 24 balls, place into prepare pan. Press into bottom of muffin cups and up the sides, making sure bottom is not too thin. Place pan back into refrigerator.
- Make filling: In medium bowl, whisk together all ingredients for filling EXCEPT for chopped pecans. Once fully combined, stir through nuts.
- Assemble: Remove miniature muffin pan from refrigerator. Using a piping bag or a zip-top bag with corner snipped off, OR a teaspoon, fill each pastry shell with pecan filling – make sure filling goes all the way to the top for the best look and taste (leftover filling can be baked in lightly greased ramekin).
- Bake: Bake tassies in hot oven for 25-30 minutes, until filling is puffed up and set, and pastry cases are golden brown on the outside.
- Cool: Once ready, remove muffin pan from oven and place on cooling rack on counter for 5 minutes. Then, remove Tassies to cooling rack immediately and allow to cool completely.
Notes
Ingredient notes
- Bourbon: This just adds a little depth to the flavor of the filling, it’s just a small amount and you can skip it if you don’t have it on hand/don’t use alcohol.
- Maple syrup: Real maple syrup tastes best to me, but you can use maple flavored syrup if that’s what you have on hand.
- Brown sugar: I use light brown sugar here. Feel free to use half light brow and half dark brown if you want a richer/heavier molasses taste.
- Butter: If you choose to use margarine instead of butter, please make sure to use stick margarine and NOT a spreadable product.
- Pecans: I highly recommend chopping the pecans finely, it yields the best consistency for the filling.
Recipe tips
- I do find it a lot easier to get the filling into the pastry shells with a piping bag or zip-top bag. No need to use a tip, just snip off an edge large enough for the chopped nuts to easily pass through. It works fine with a spoon if you don’t want to bother with the bag, it’s just a little messy.
- Bake the tassies long enough for the filling to be nicely domed and set, and for the pastry cases to be golden brown on the outside. Do not pull them from the oven too soon, or they’ll collapse.


Marilyn Scalf says
Ridiculously extra amount of filling leftover if using gem tart pans, only half the recipe is needed.
Nora says
Marilyn, sorry you found the amount of filling disappointing. The recipe calls for a miniature muffin pan, not a gem tart pan. To my understanding, the gem tarts are much more shallow than muffin pans, so they would naturally require less filling. The tassies also need filling right up to the edge of the pastry.
I used a standard mini muffin pan and had one small ramequin of filling left over, which needn’t go to waste at all, as the recipe states: “Note: Depending on the size of your miniature muffin pan, you’ll have some filling left. You can just add it to a lightly buttered ramekin and bake it at the same time as the Tassies, just a little longer if the ramekin is very full, and it will be like a crustless pecan pie (delicious for the baker to indulge in with a scoop of vanilla ice cream… shhhh, don’t tell anyone ?)”
Cathie says
Do you know the exact measurement for the 24 balls?
Ex: 2 Tablespoons??
Thank you
Ann says
My mom used to make Tassies every holiday season and I now make them as too, however I add chopped rasins and dates…wonderful addition. I’m looking forward to trying your recipe with the bourbon, different.
Nora says
Ann, that sounds so wonderful with the raisins and dates! I hope you enjoyed the recipe with bourbon.
Sherry Oden says
My family and friends love these! I have made them a lot . They are just a bite of southern charm.
Nora says
They are a favorite of mine, too, Sherry!